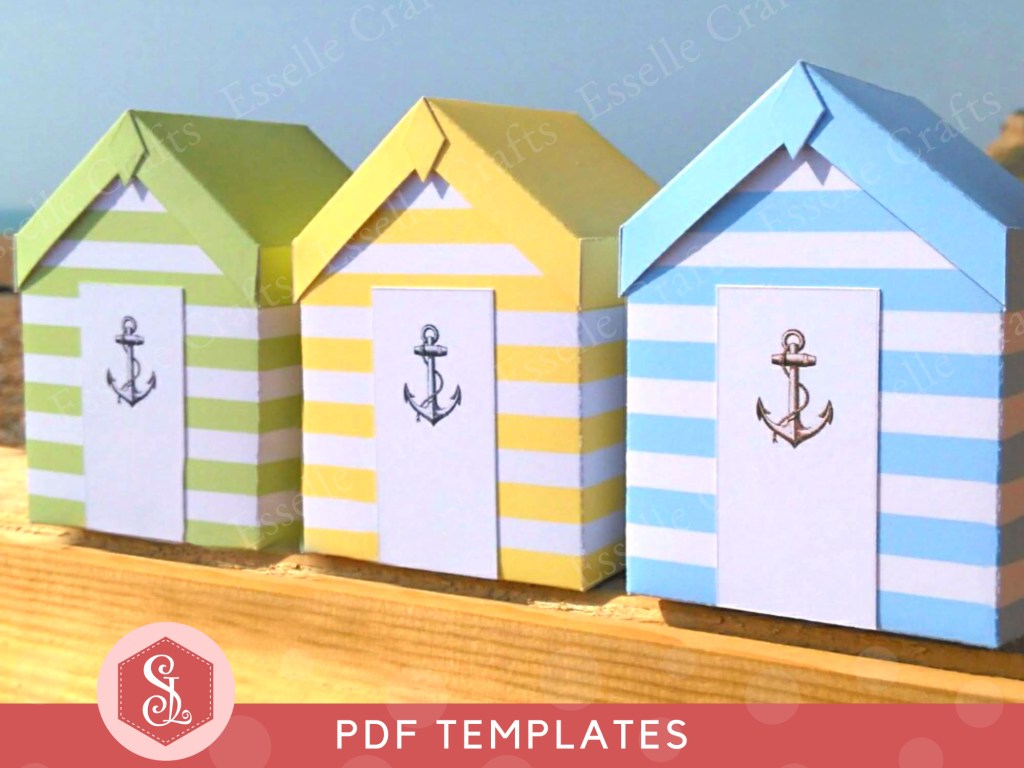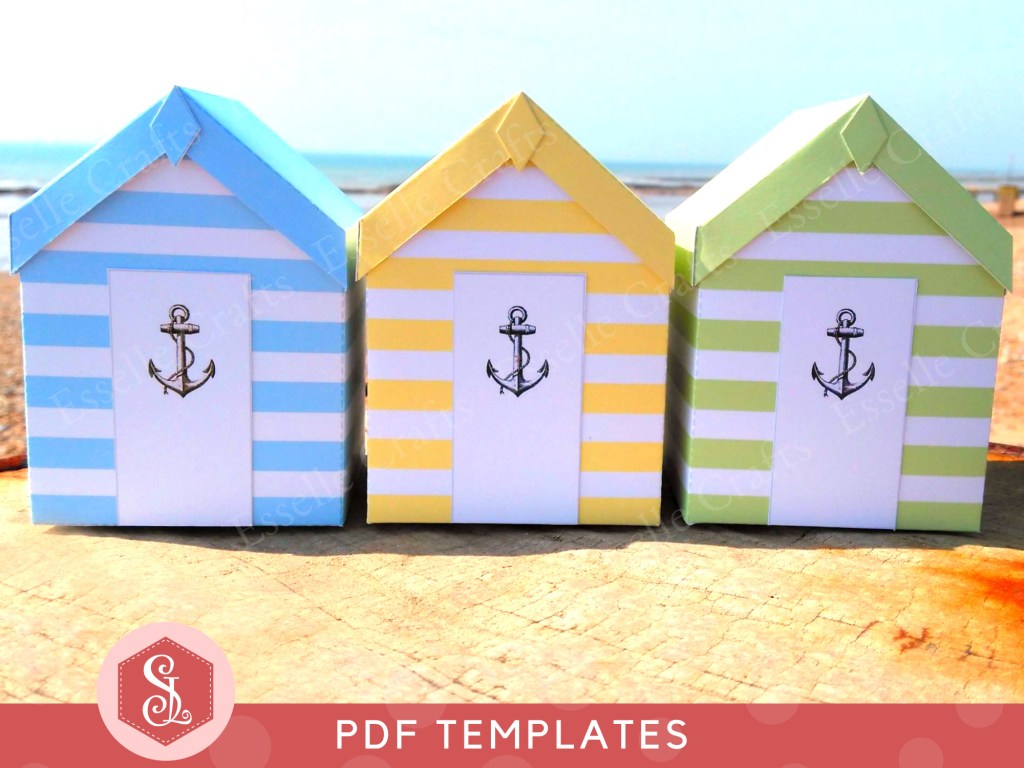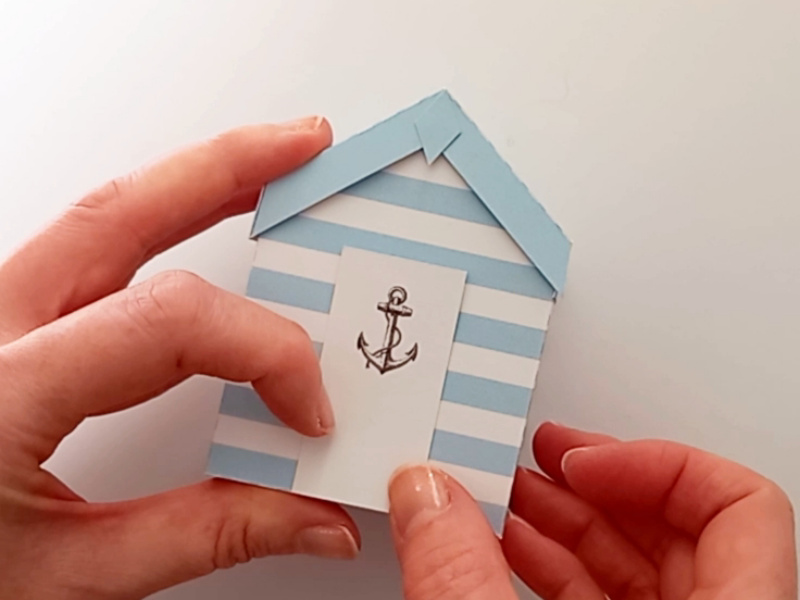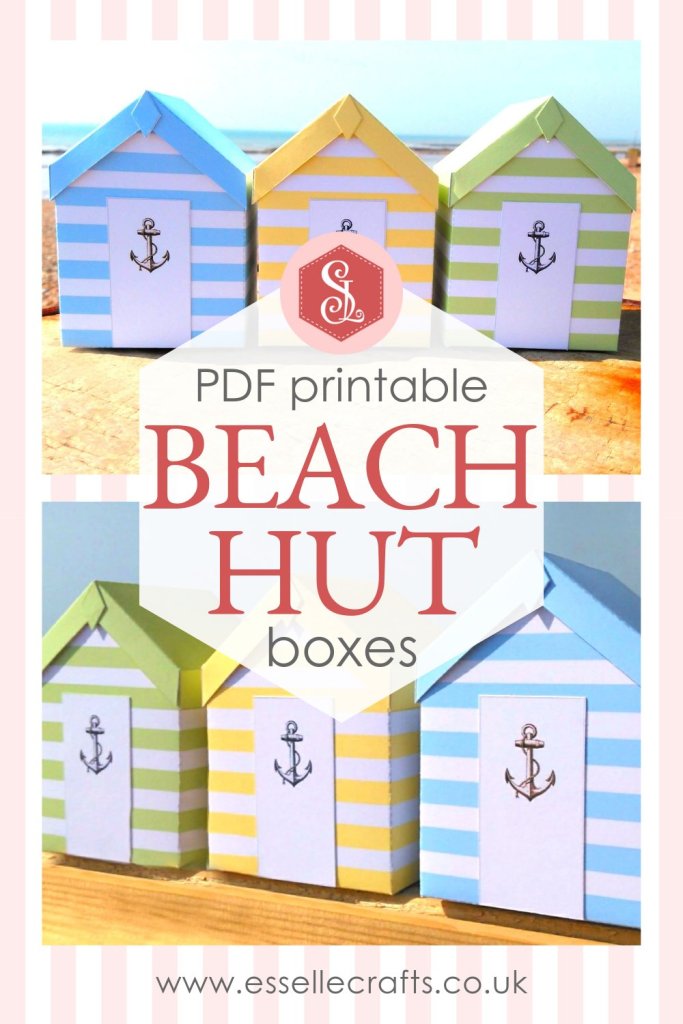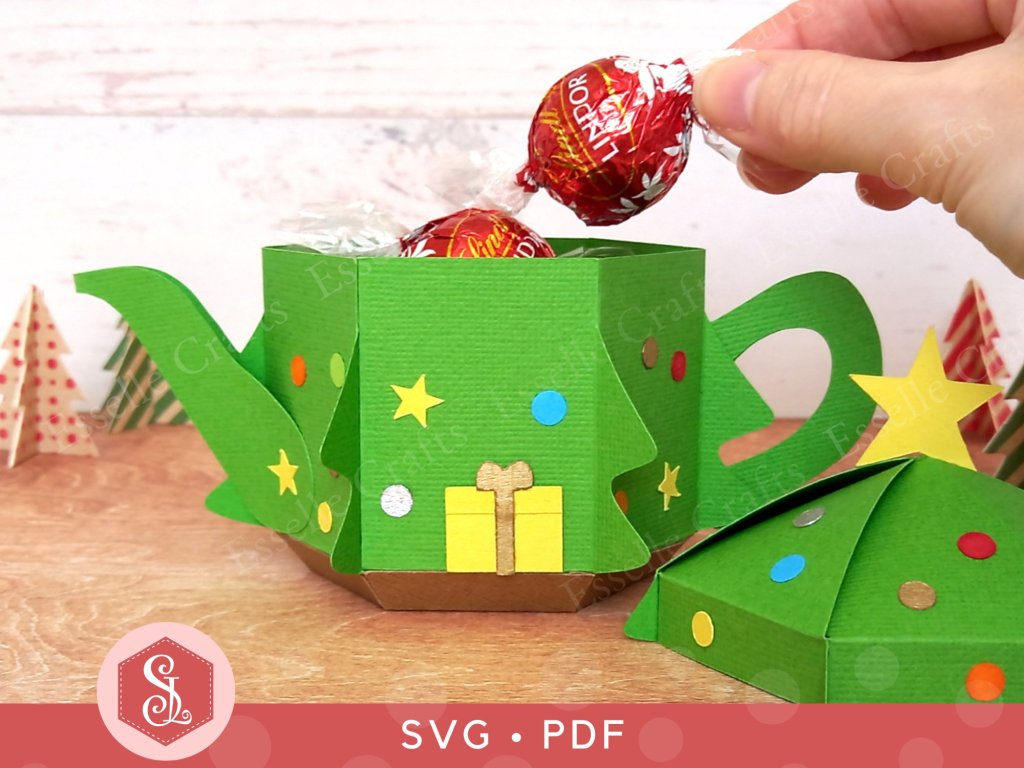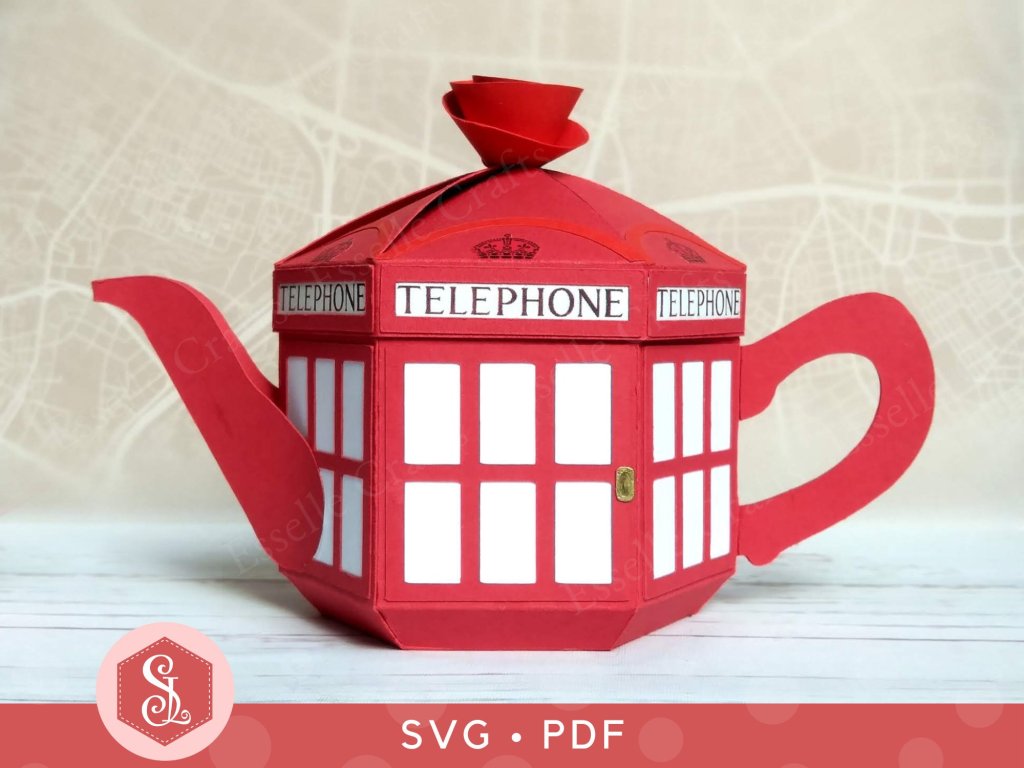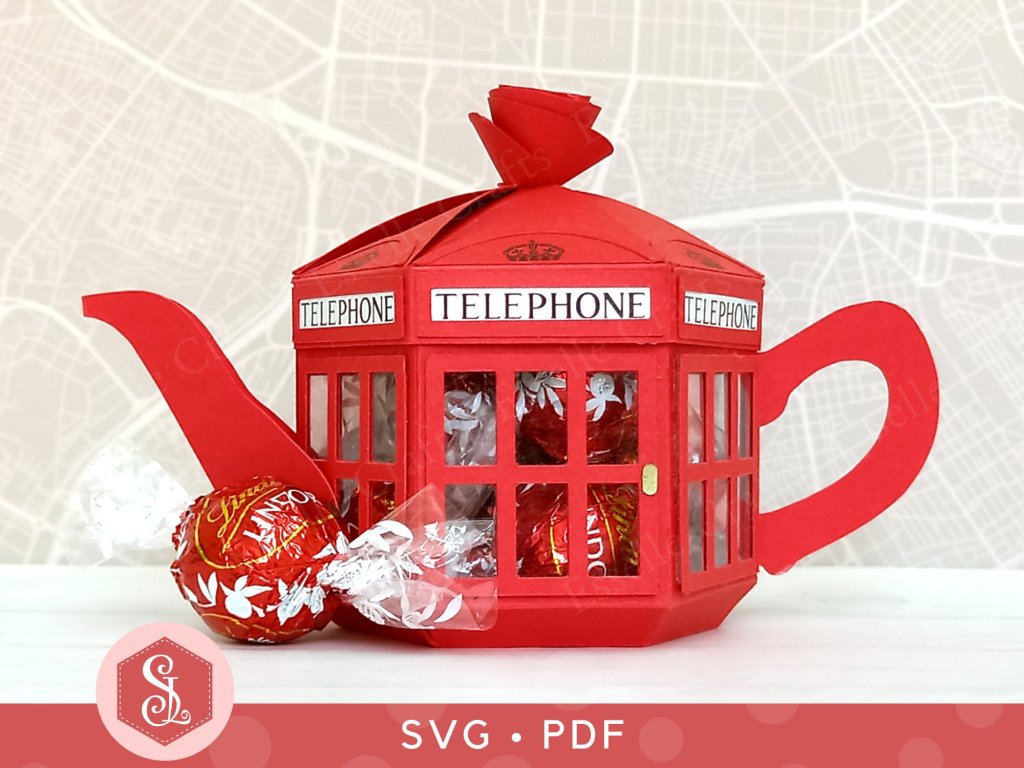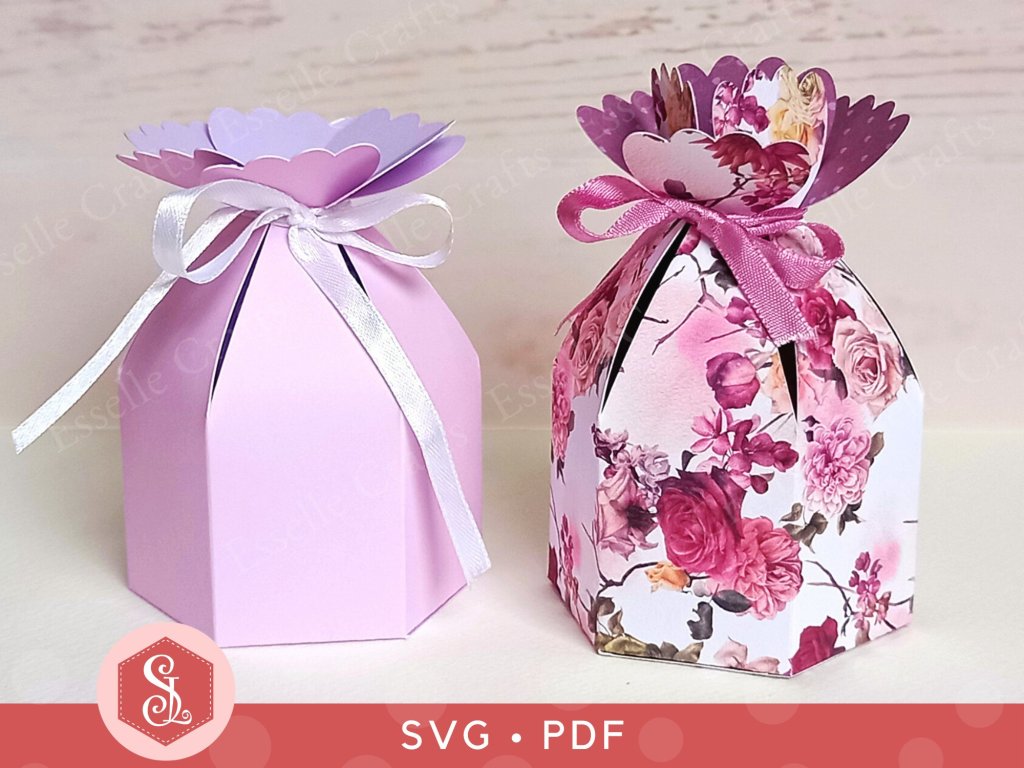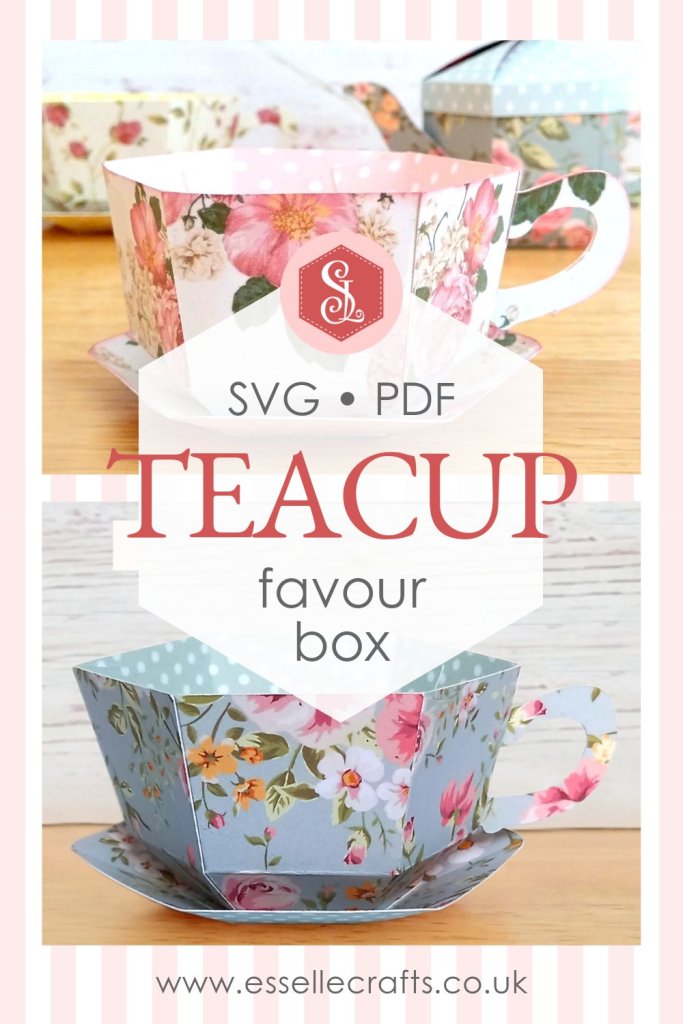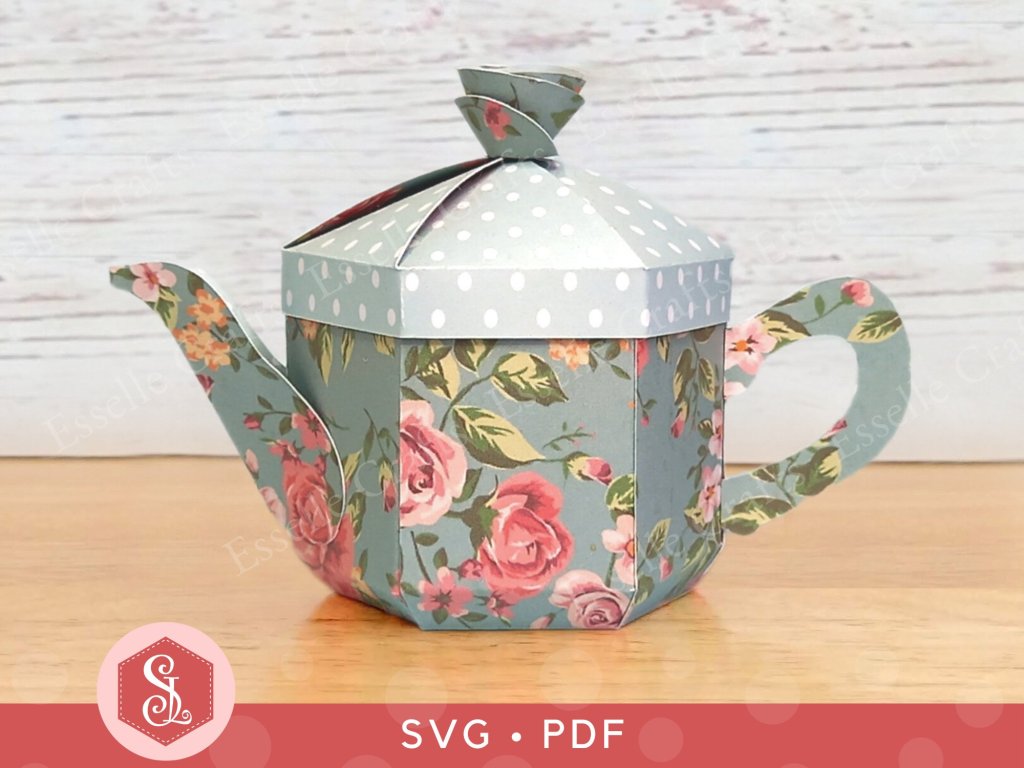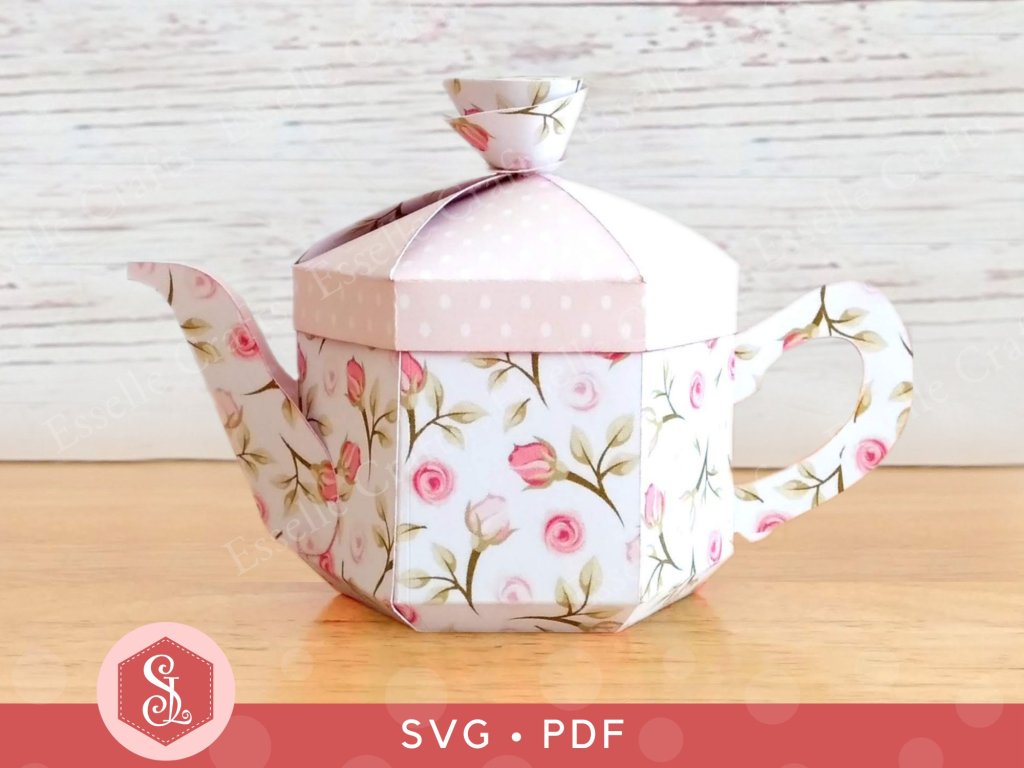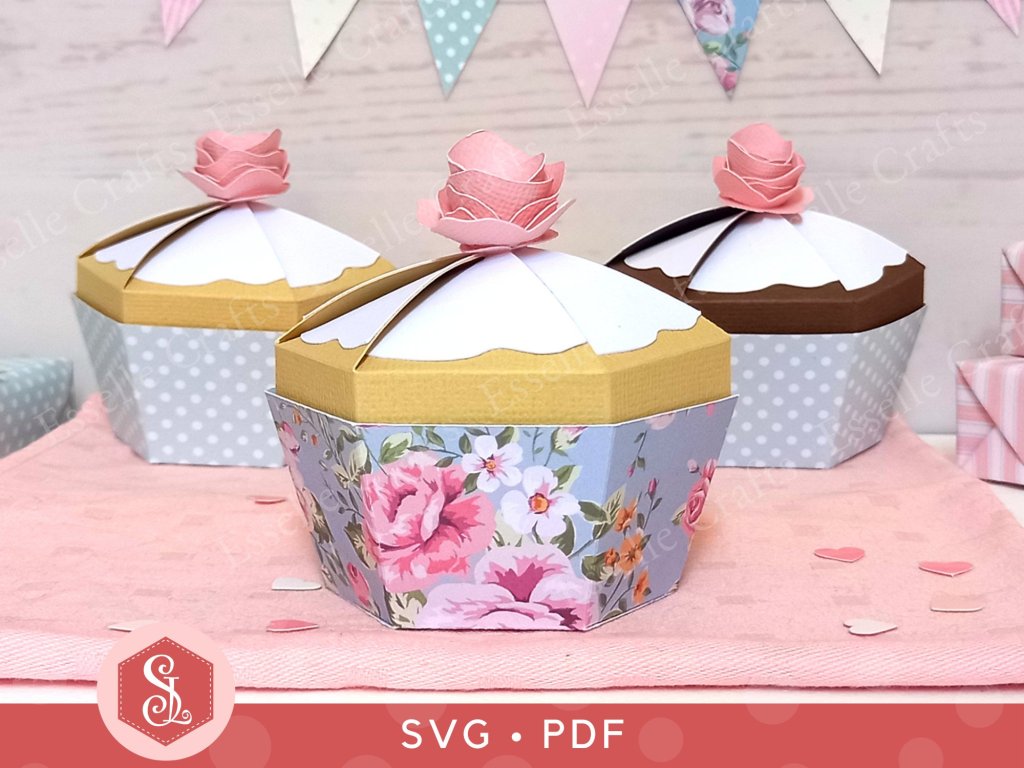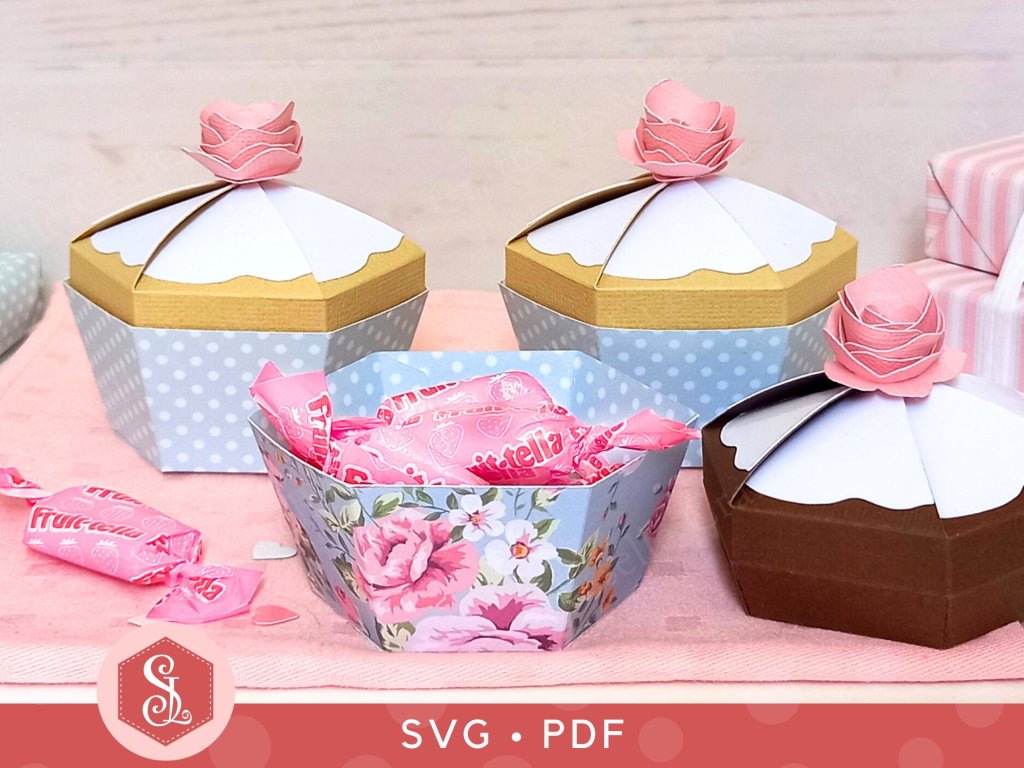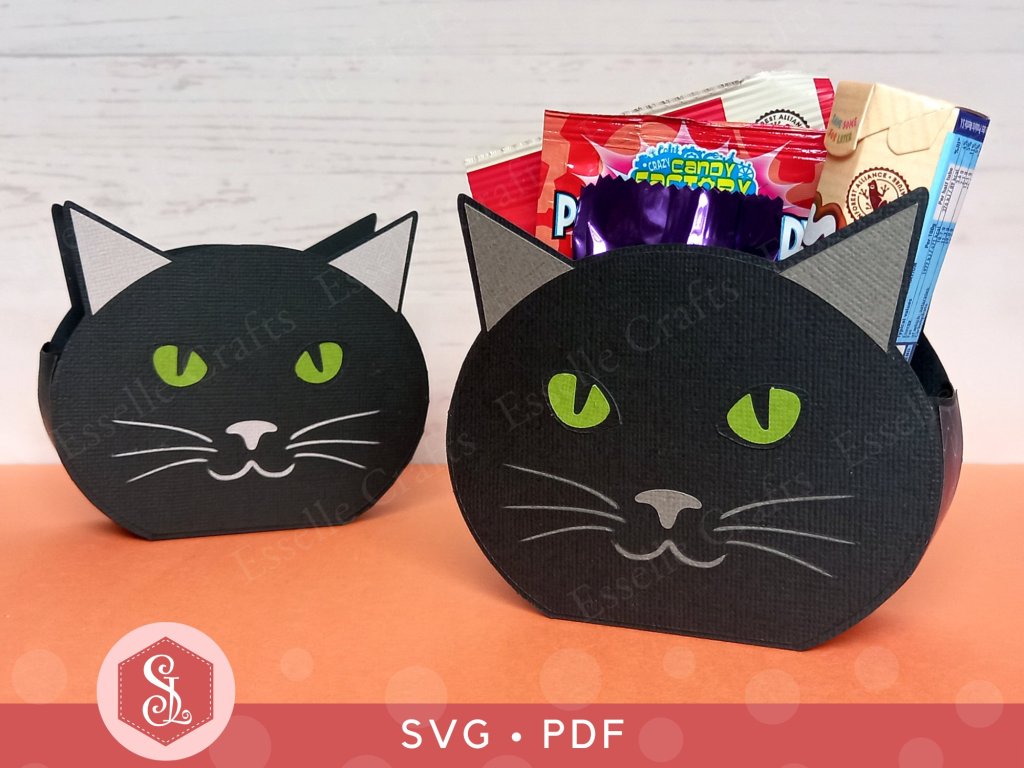
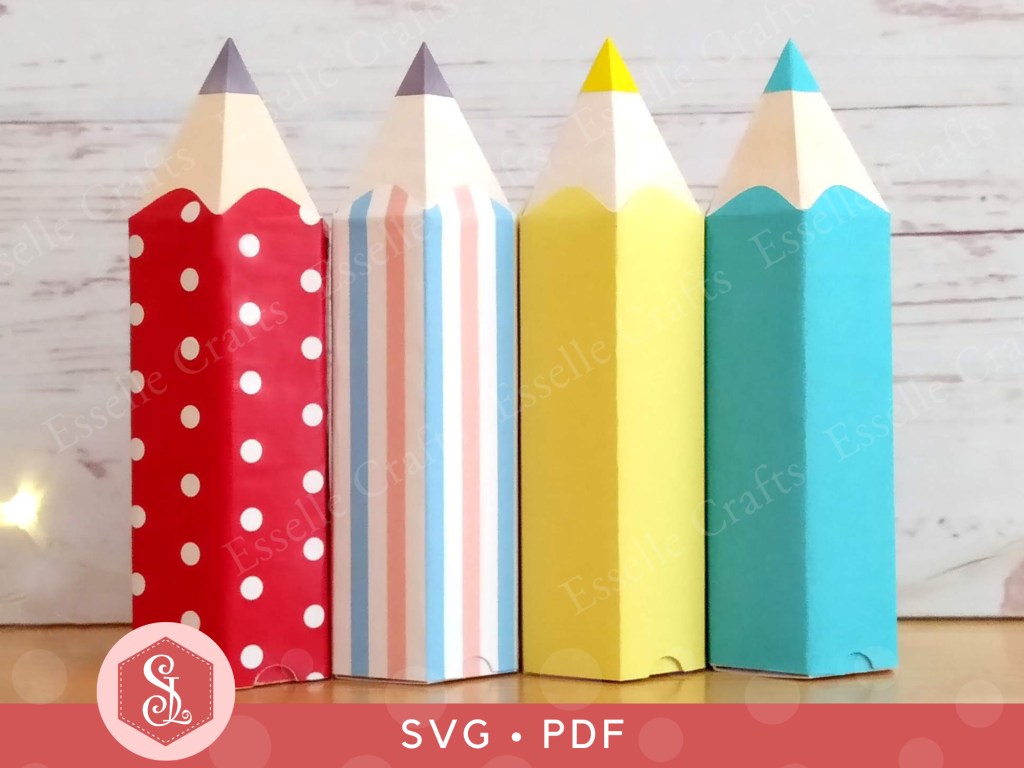
Easy to open, these super cute pencil favour boxes can be filled with sweets or small treats. Ideal for stationery addicts, teacher gifts, back to school gifts and so much more!

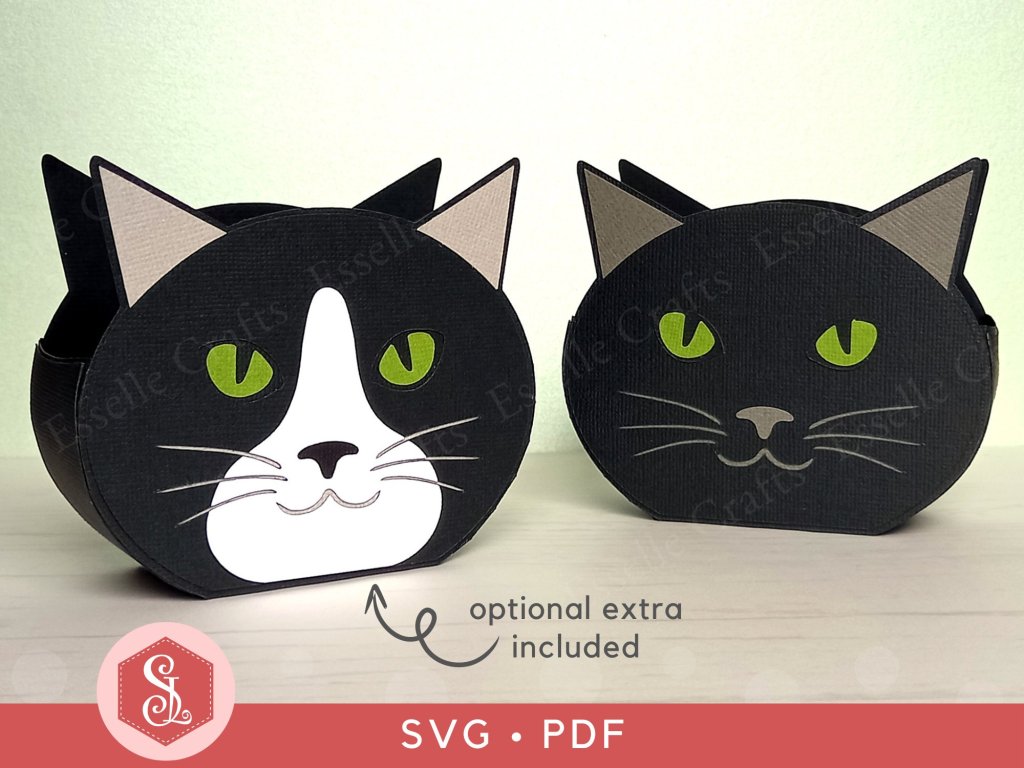
The template comes as an SVG cut file, as well as a plain black and white PDF if you prefer to cut out by hand. You can therefore choose your own colour scheme and easily resize it to suit your needs.
To make one, you will need:
* Pencil Favour Box template (SVG and PDF available)
* Computer and printer to print the PDF template and instructions
* Digital cutting machine
* Double sided cardstock (220-250gsm / 80-92lb recommended)
* Thinner card or paper for the pencil lead pieces (90-160gsm / 33-60lb recommended)
* Craft glue / double-sided tape
If you are not using a cutting machine, you will also need:
* Craft knife / scissors
* Scoring tool
* Ruler
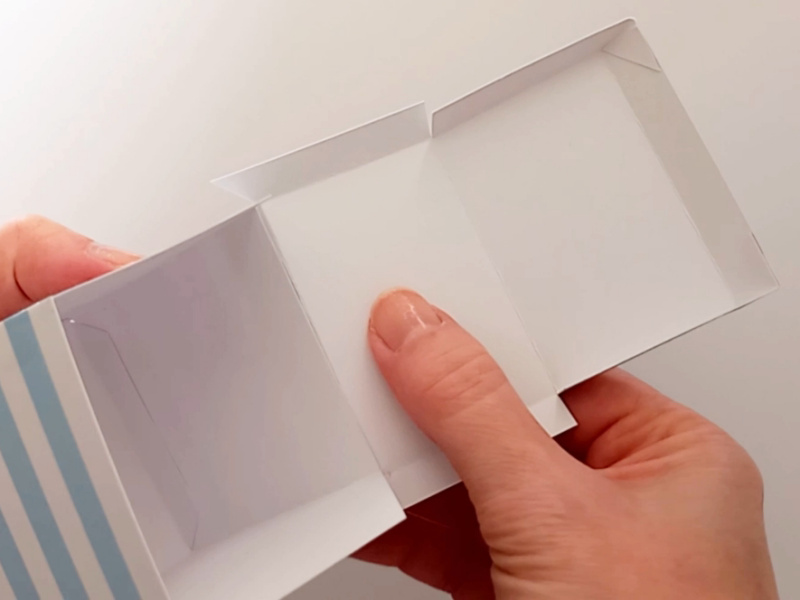
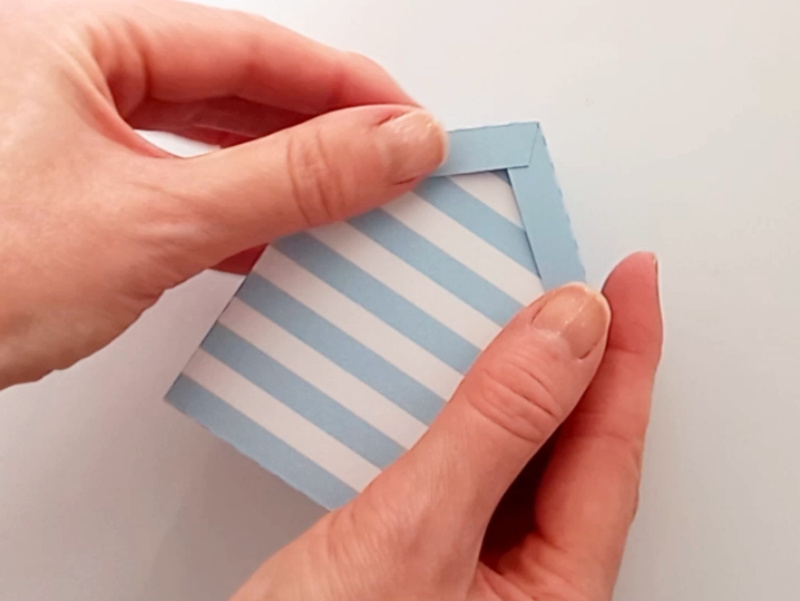
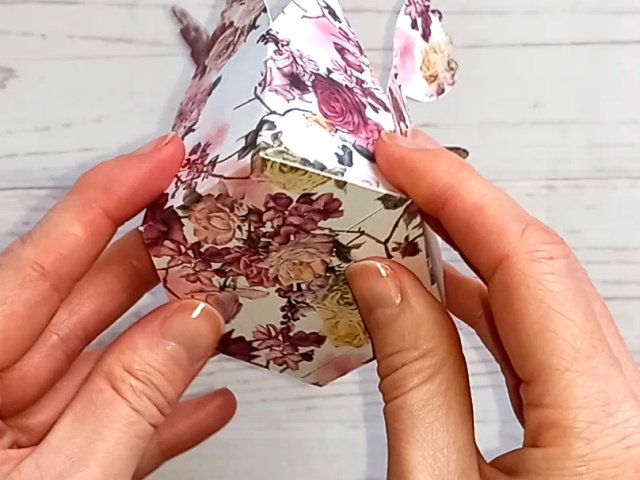
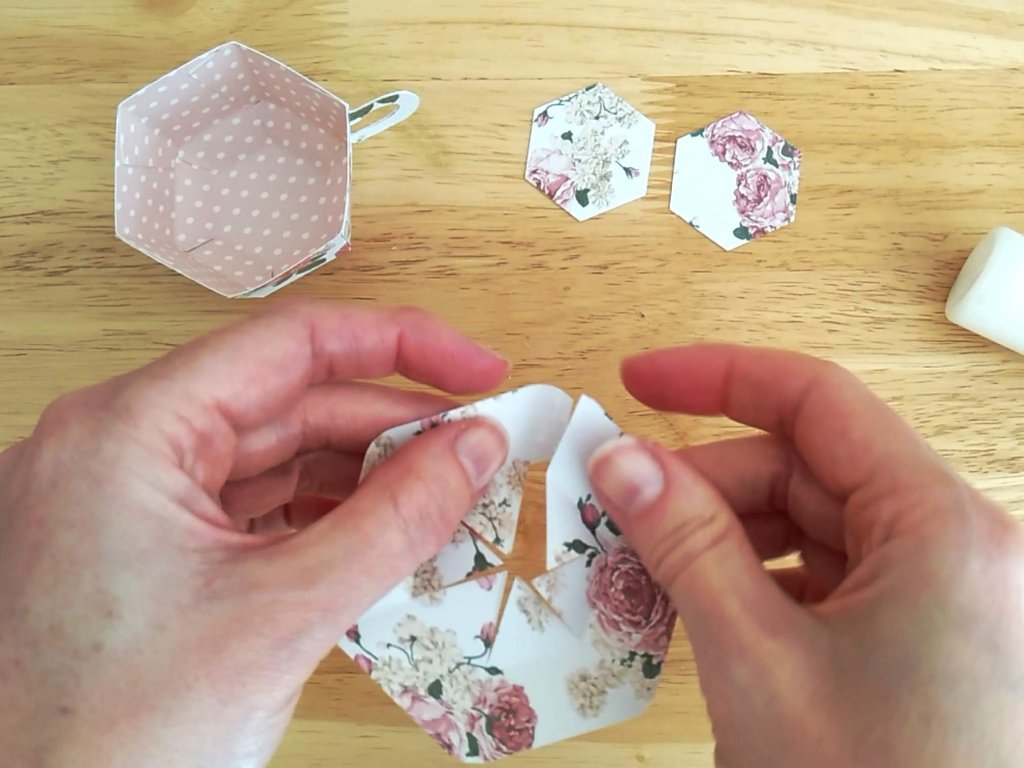
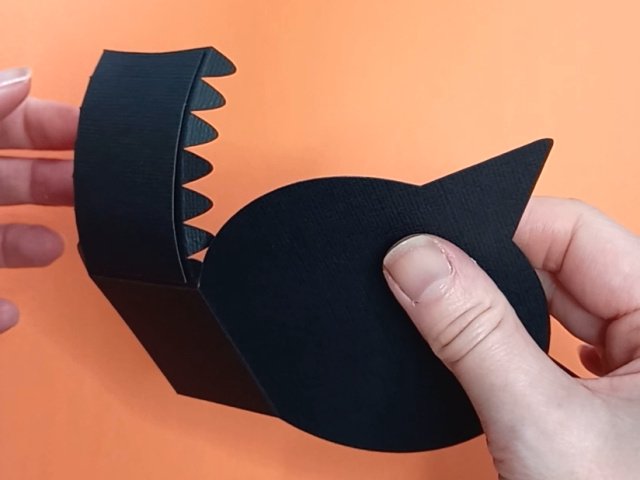
Watch my video tutorial showing how to assemble the box and be sure to follow the tips below:
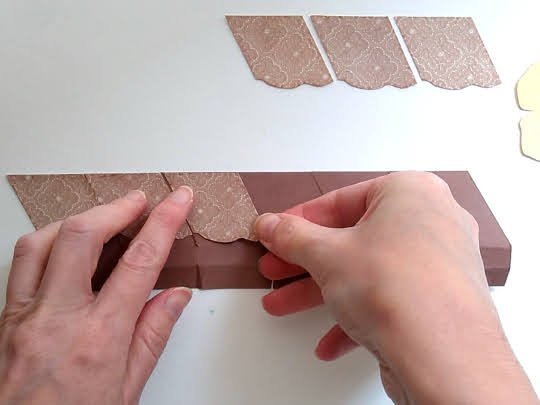
TIP 1 : This isn’t necessary, but I tried to follow the decorative pattern around the pencil by adding the panels in the same order that they had been cut out by my Cricut. I lined the panels up fairly closely like this in Design Space to try to keep as much of the pattern continuity as possible.

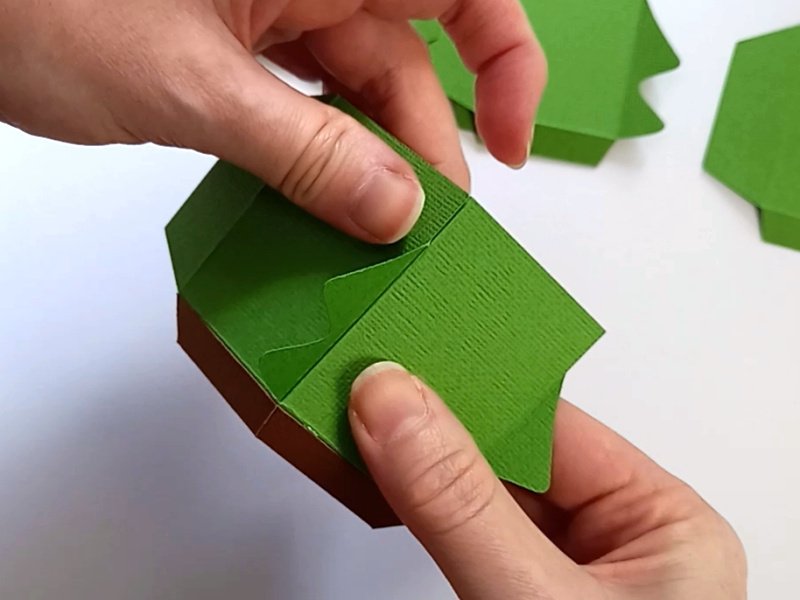
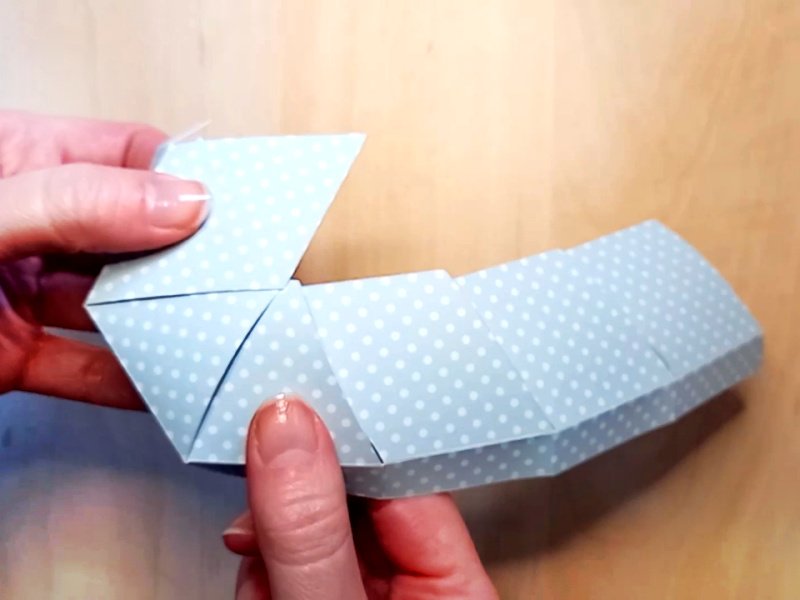
TIP 2 : Start with the shortest tab on the pencil point piece and glue it to the first section of the pencil. Make sure that the (red) curved edge is not stuck down.

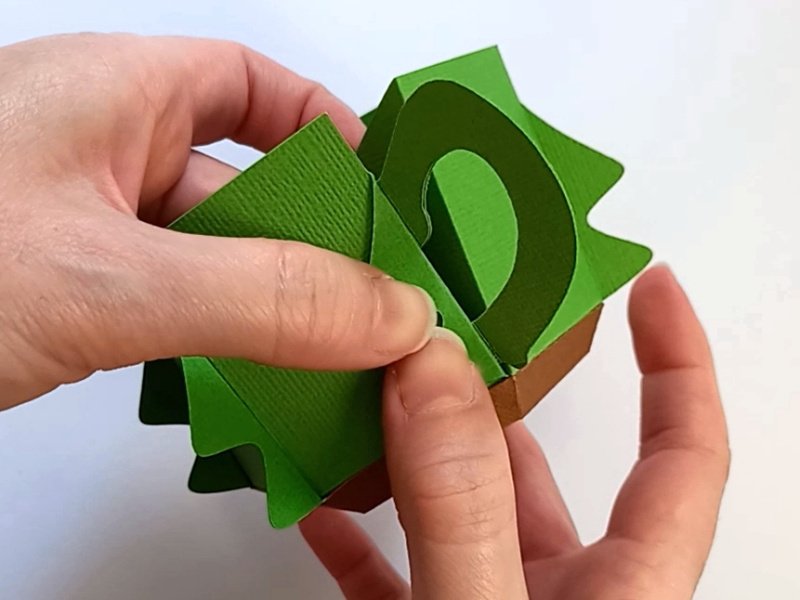
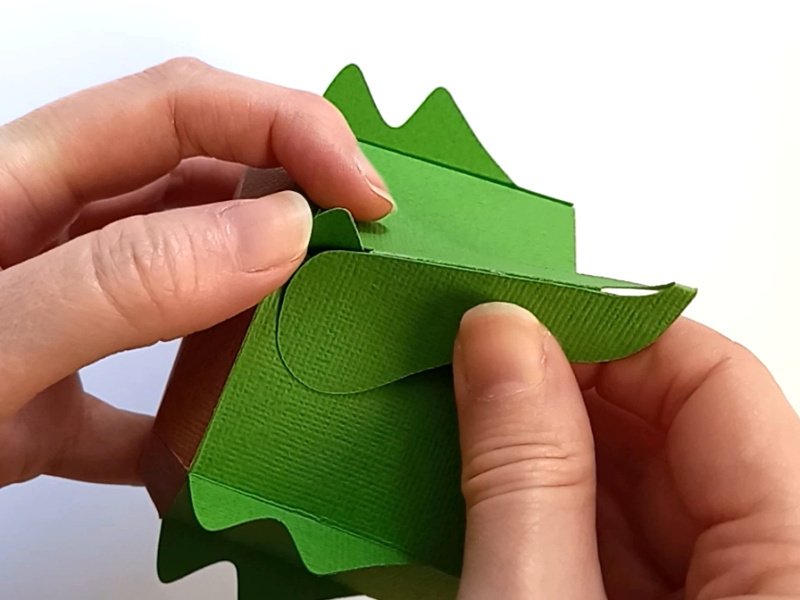
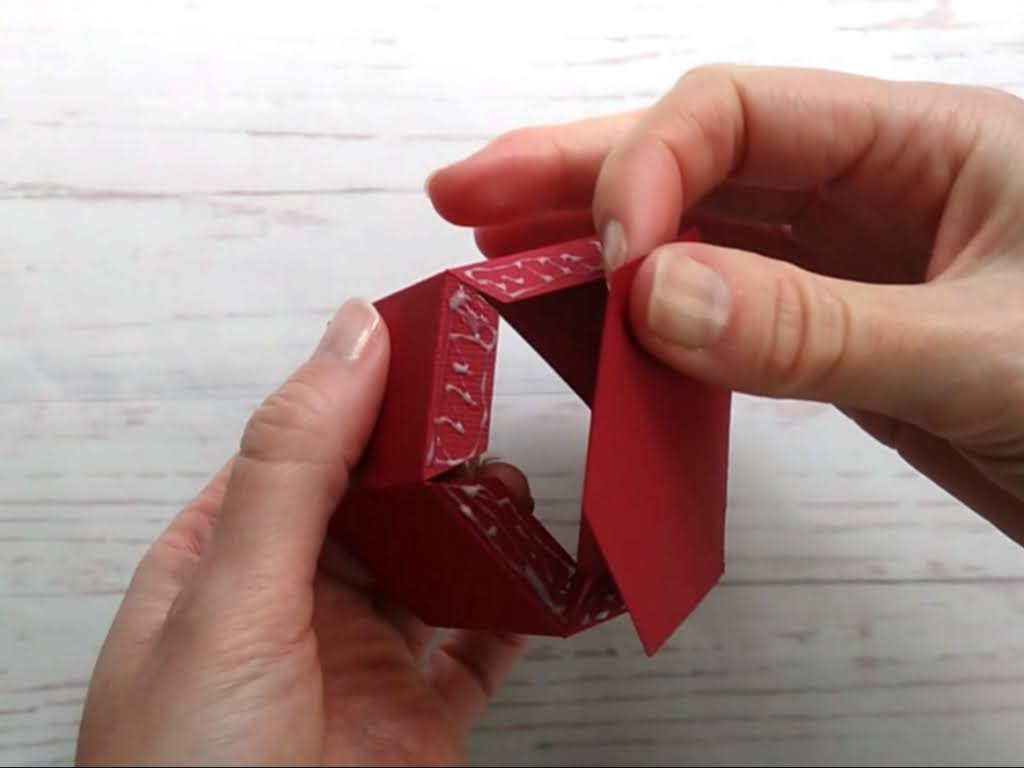
TIP 3 : When gluing the two long tabs, interlock them and use a long pencil or pen to press against the join from the inside.
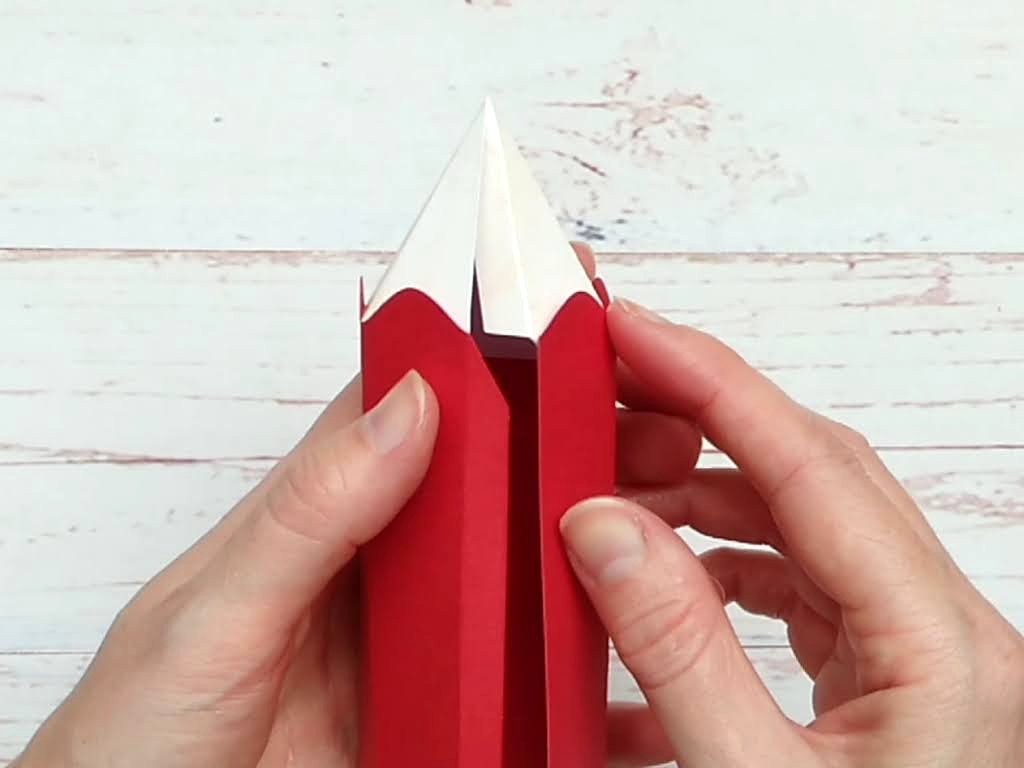
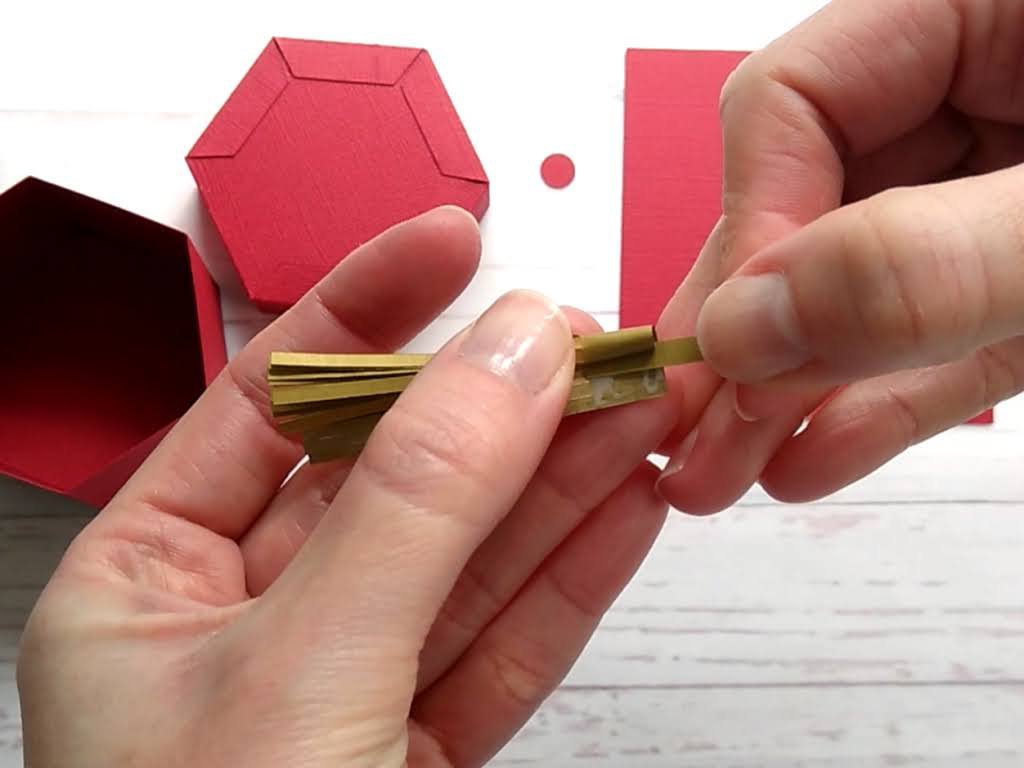
The pencil lead point and the lead circle on the end need to be cut out of thin card or paper. This will give it a nice smooth, flush finish. You can use a traditional pencil lead (dark grey) colour, or choose to make it a coloured pencil, matching the lead with the colour of the pencil box.
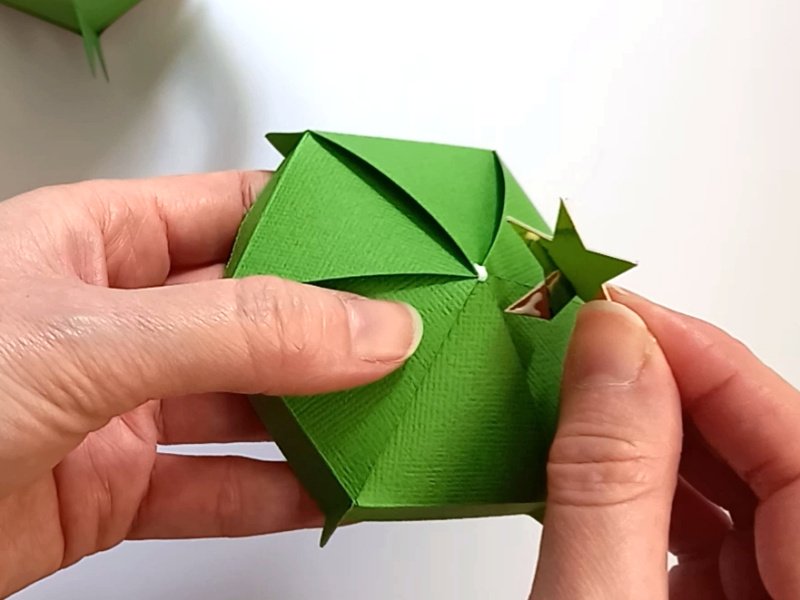
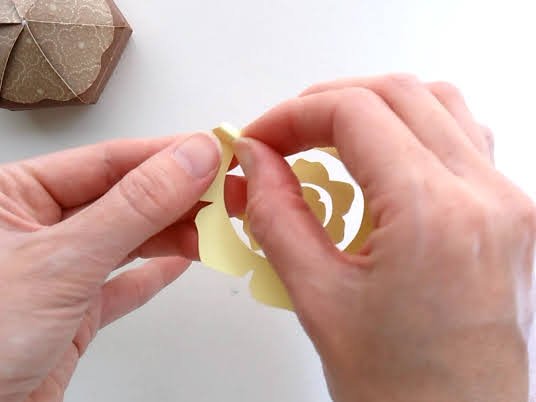
TIP 4 : Fold the lead point into shape before attaching it to the pencil, making sure the two edges join neatly without leaving a gap.

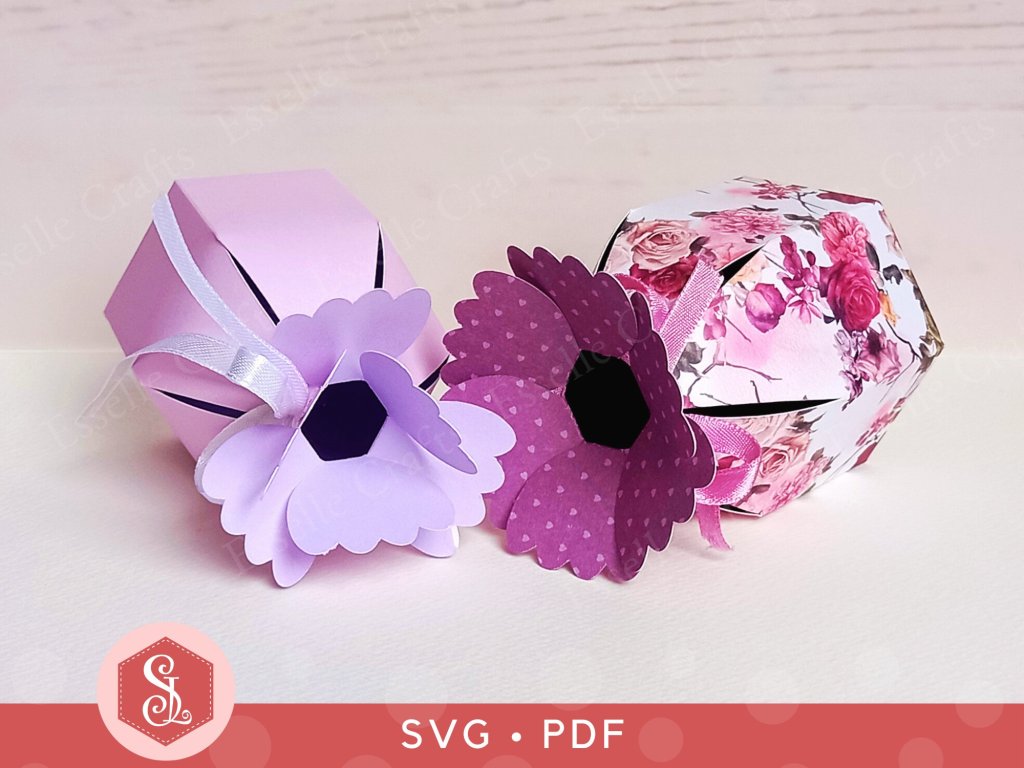
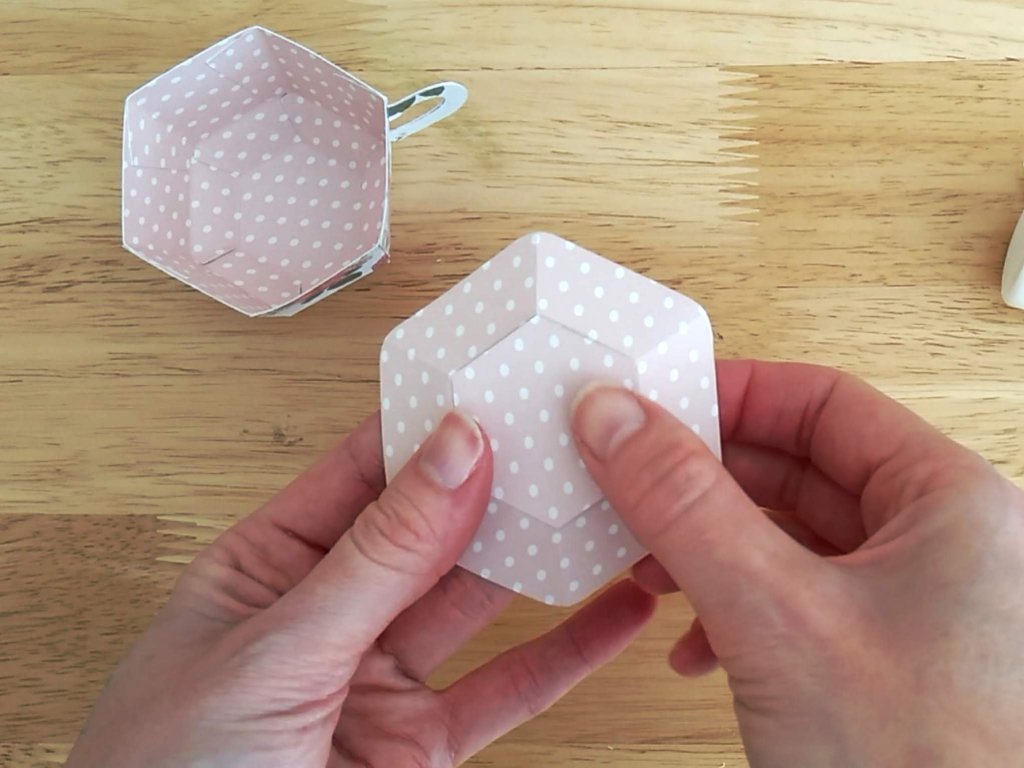
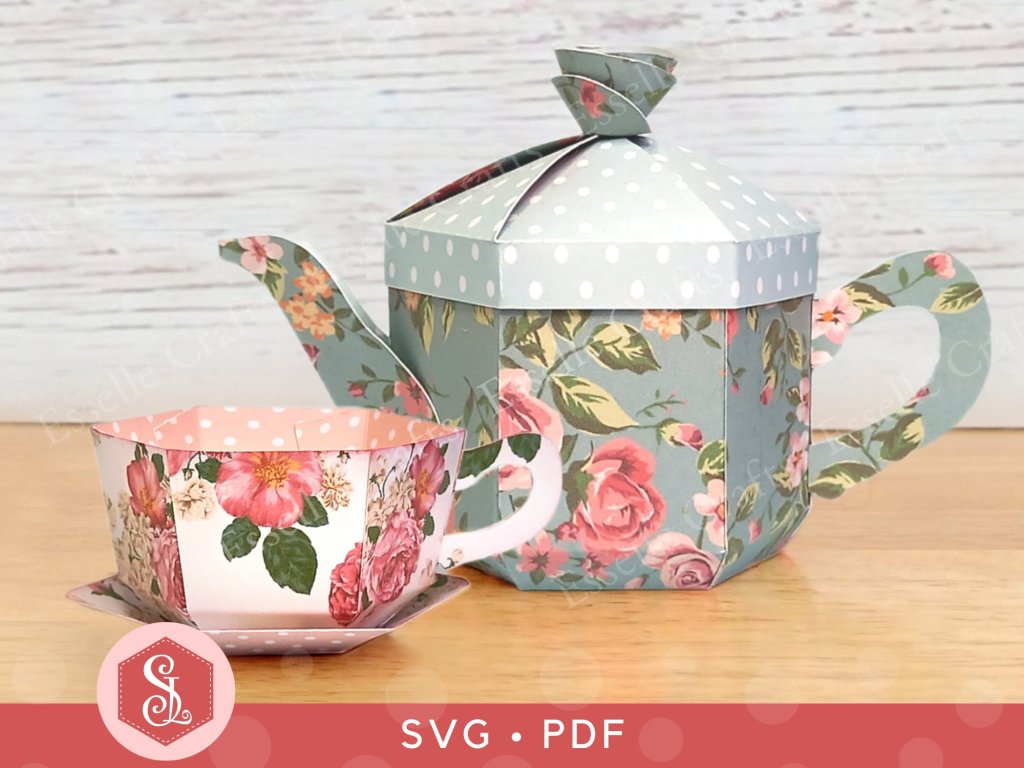
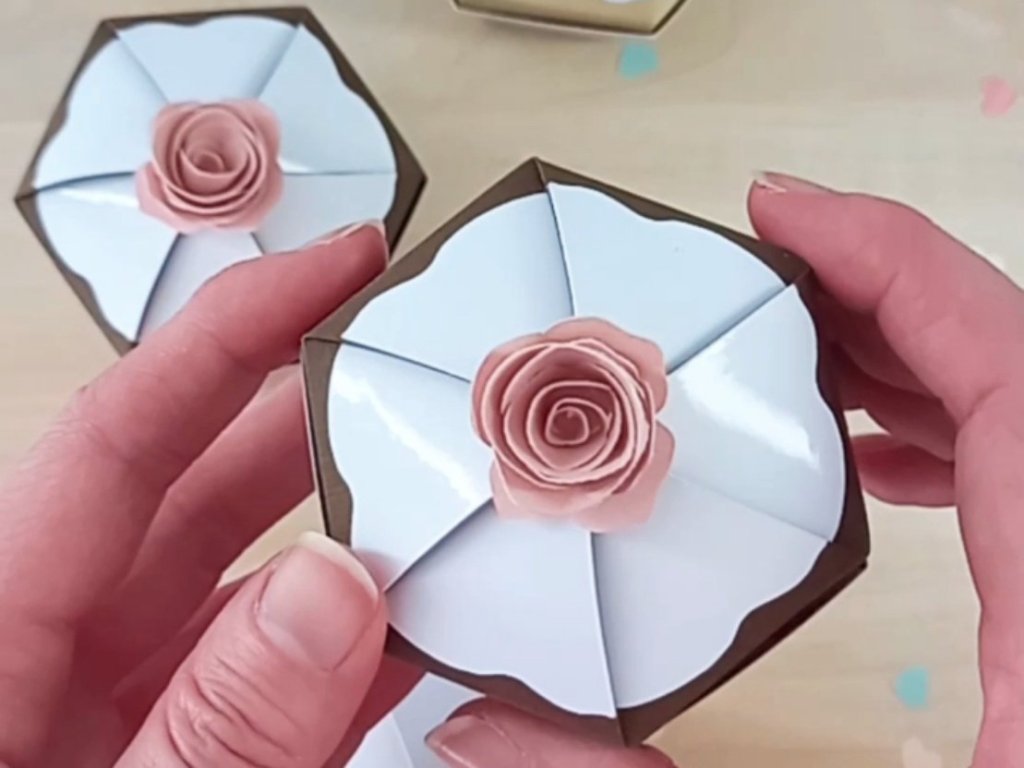
TIP 5 : Glue the lid insert to the underside of the lid, making sure that it is lined up centrally with an equal distance (approximately 1mm) around the outside.
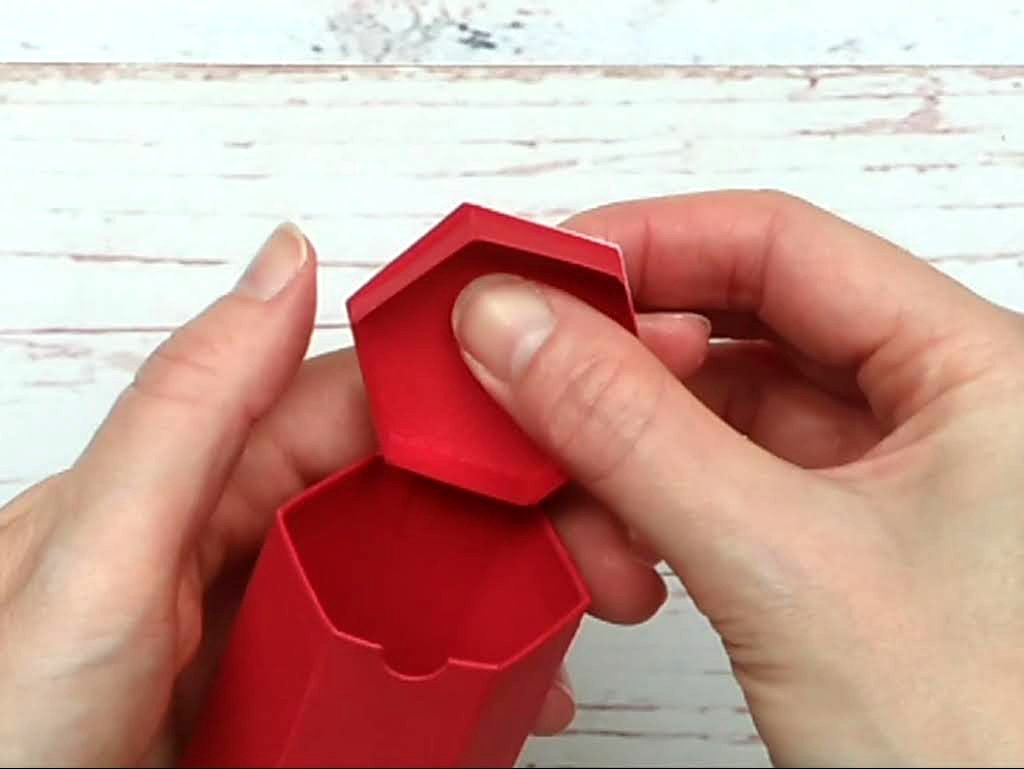
TIP 6 : If needed, glue one or two small tabs of matching cardstock to the front of the lid insert to help hold the lid closed. The need for this varies depending on the thickness of the cardstock used.

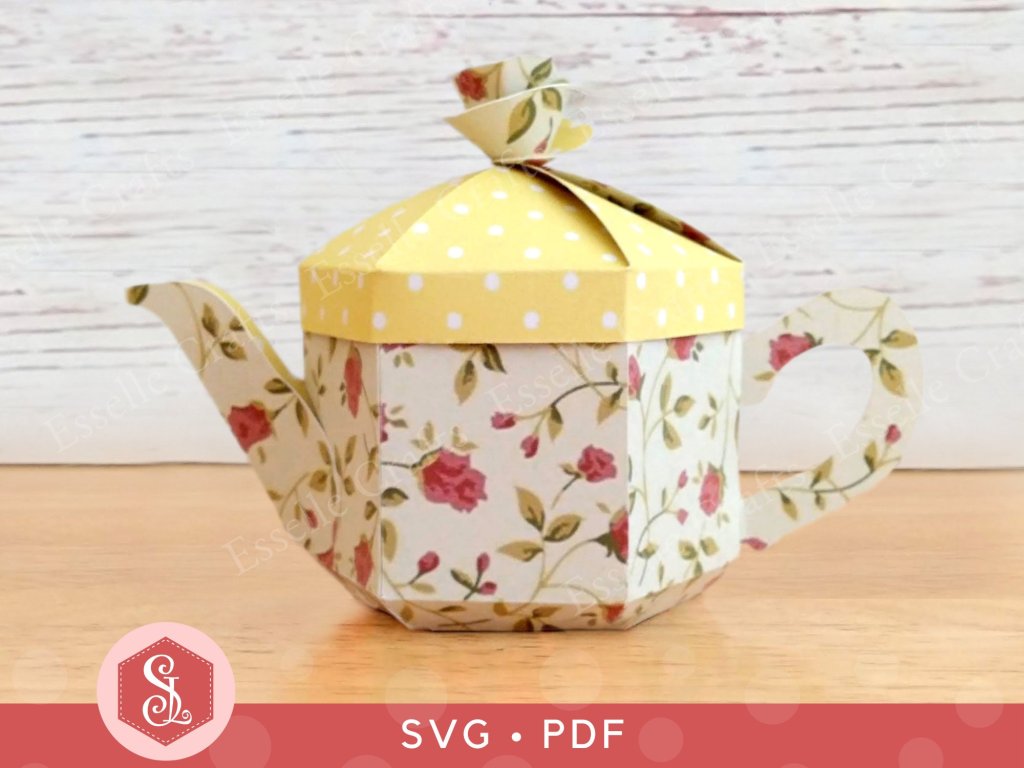
This really is a fabulous little favour box, and I love how mixing up the colours and patterns recreates how real pencils look when they are together in a pencil case or pencil pot!

Happy crafting!
Suzanne