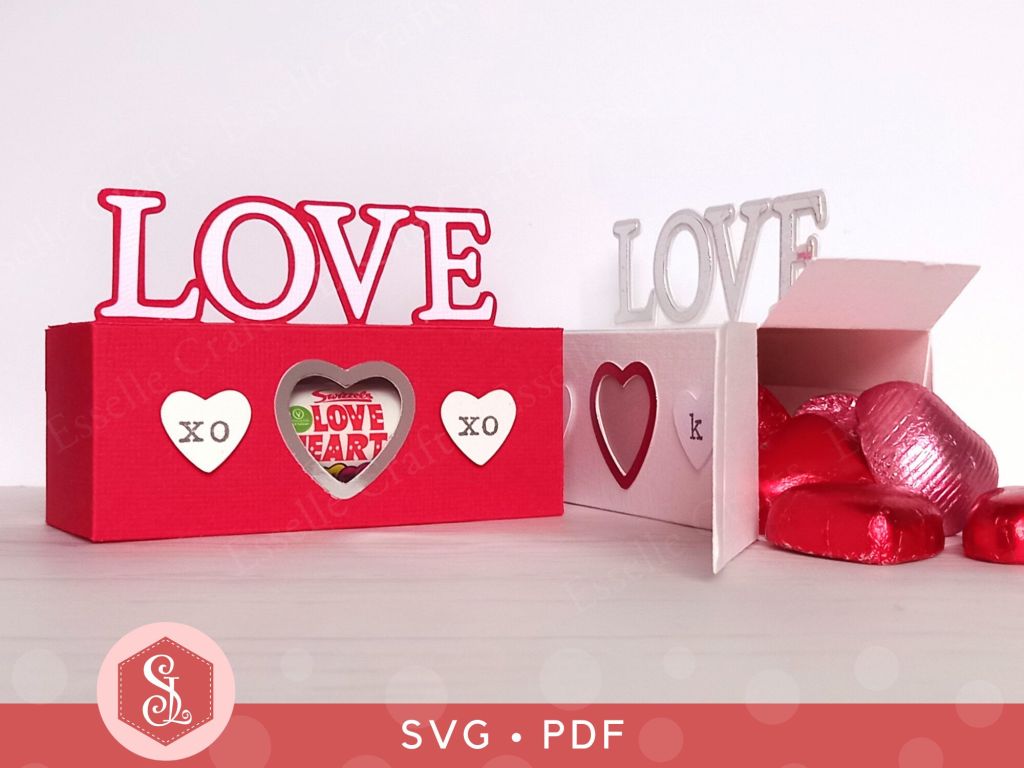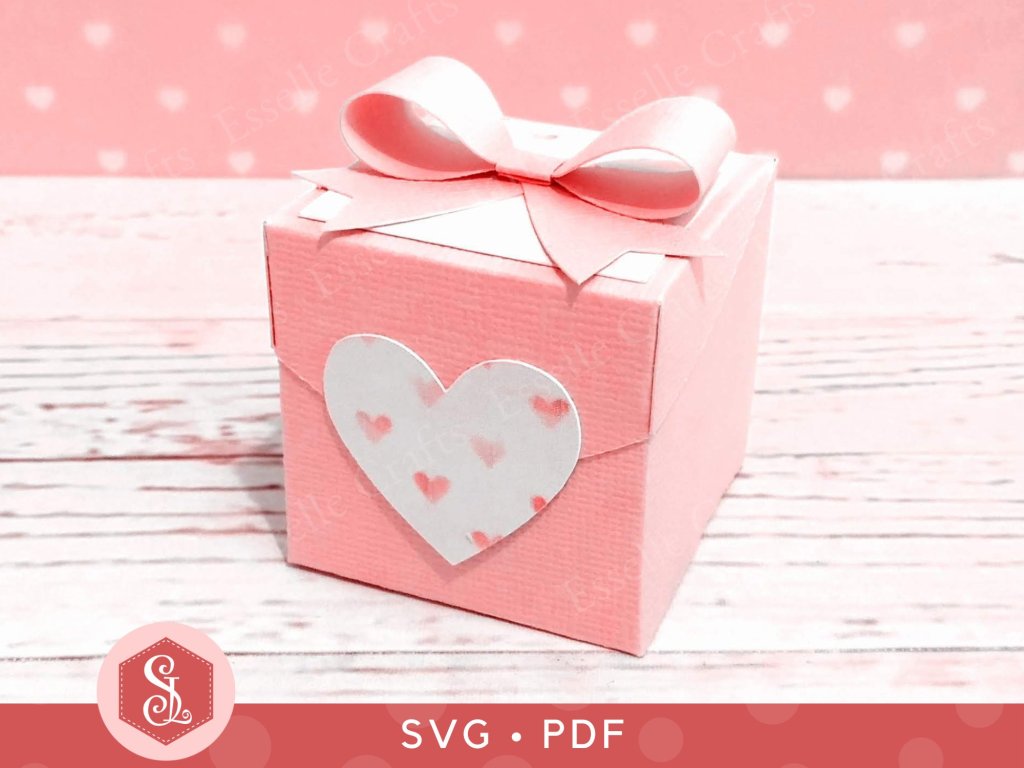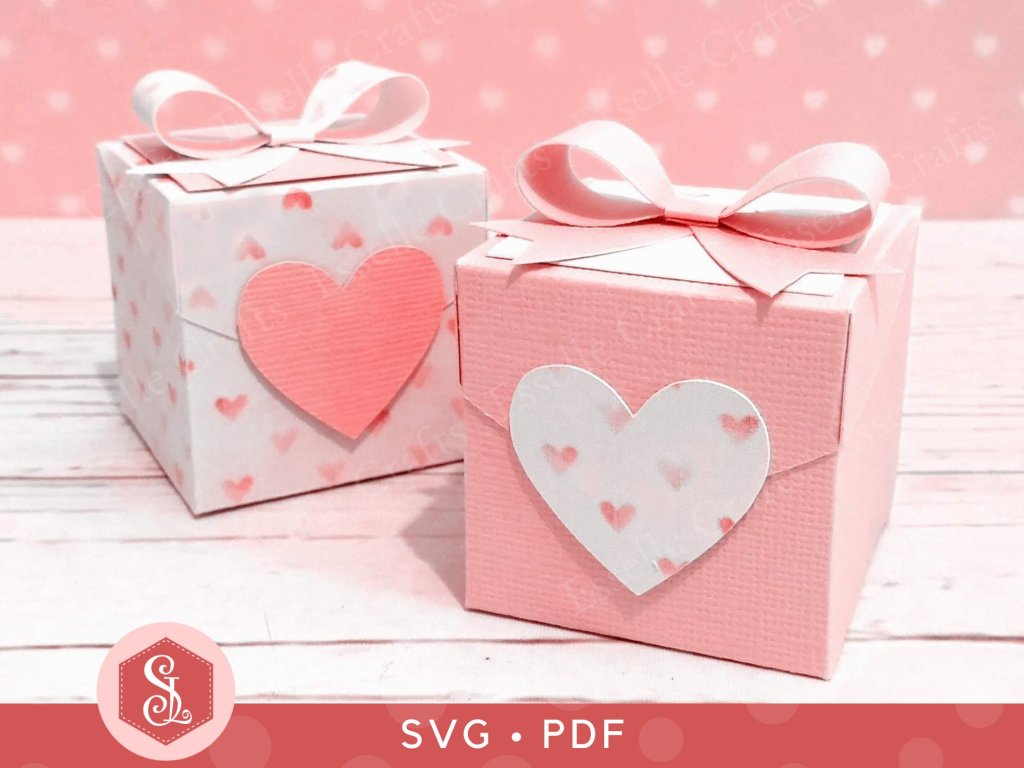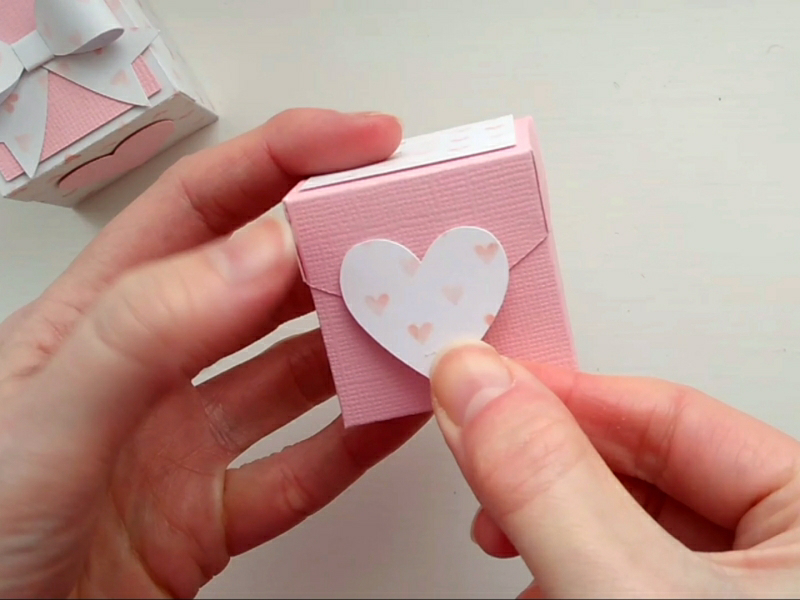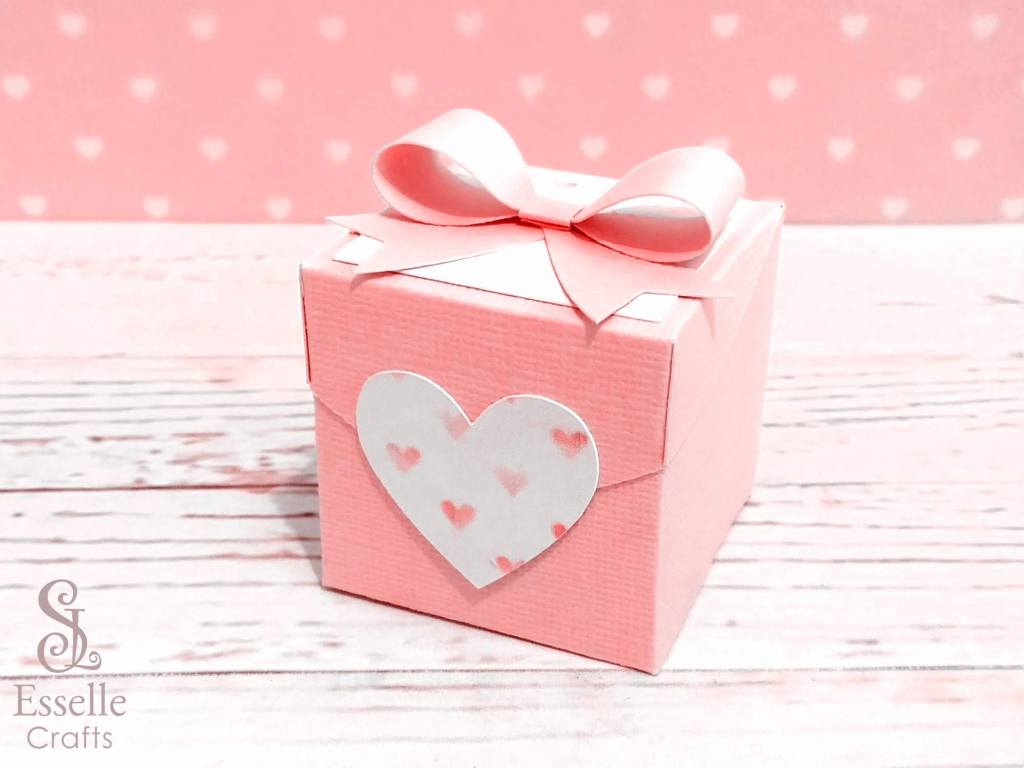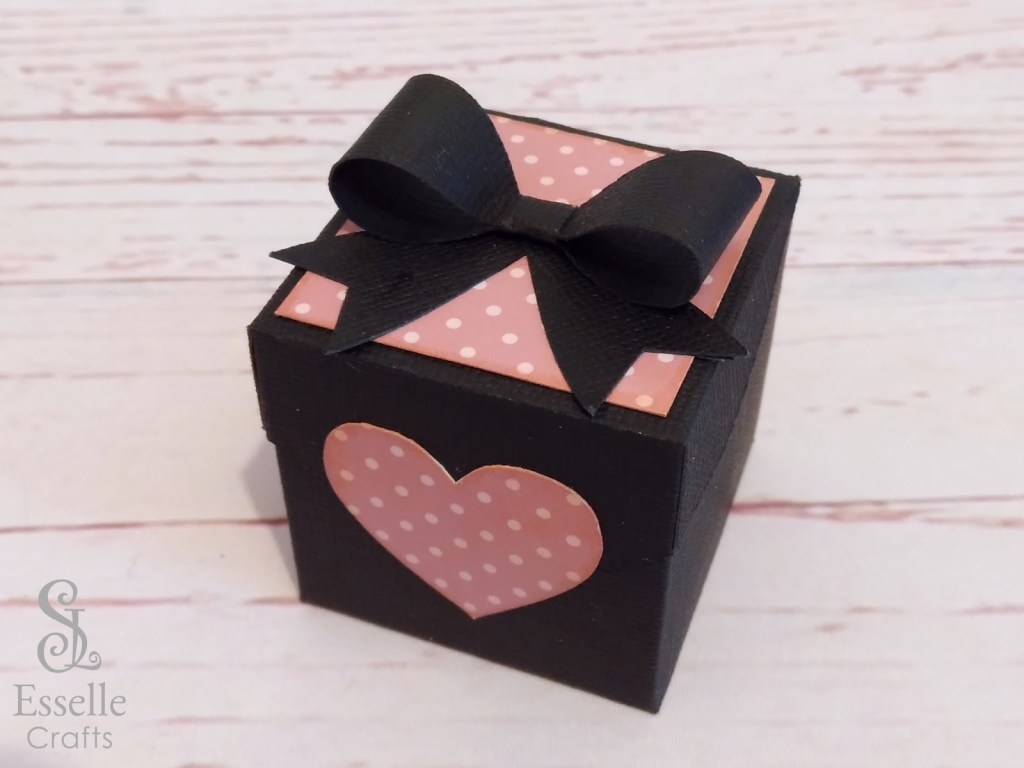
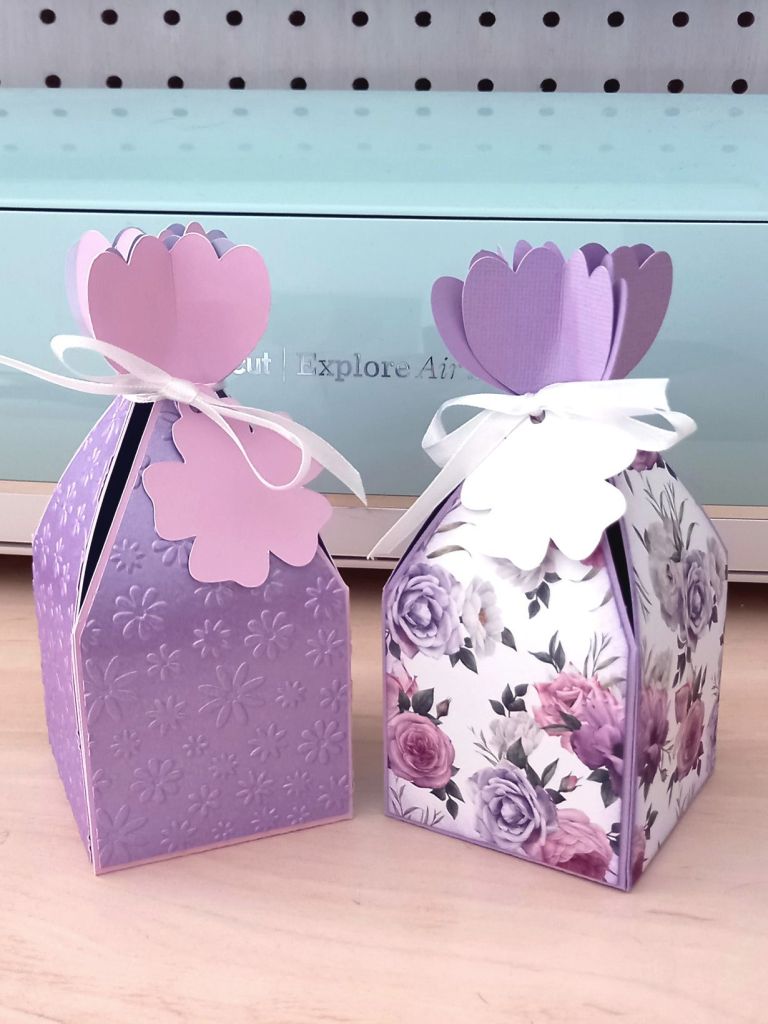
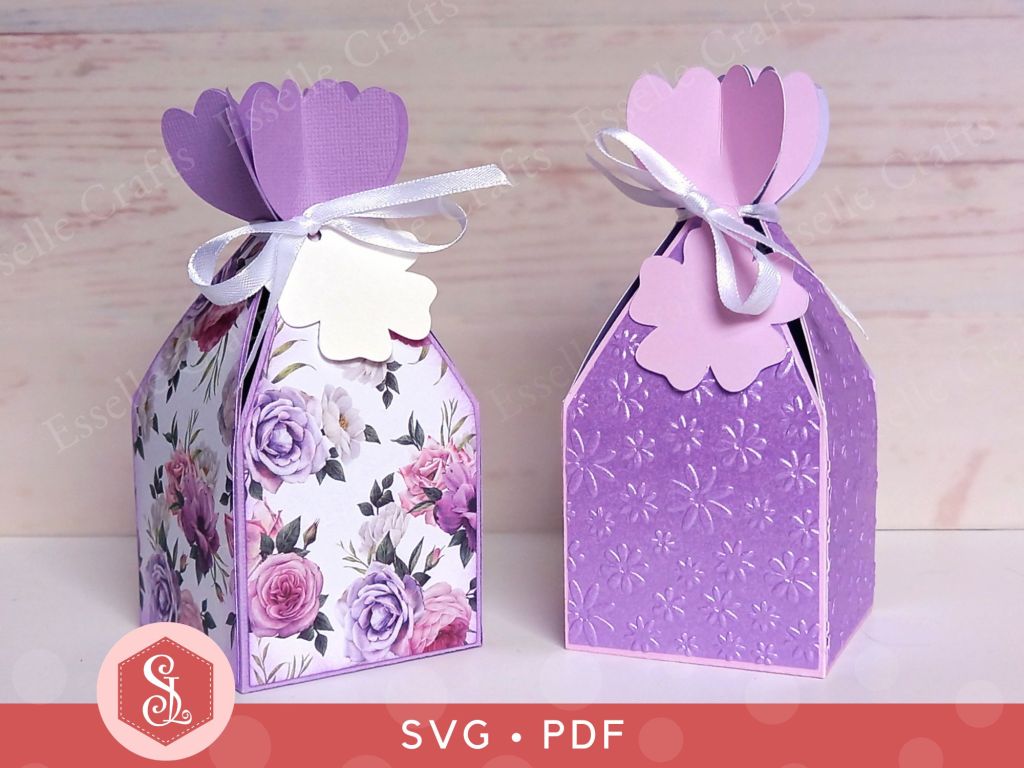
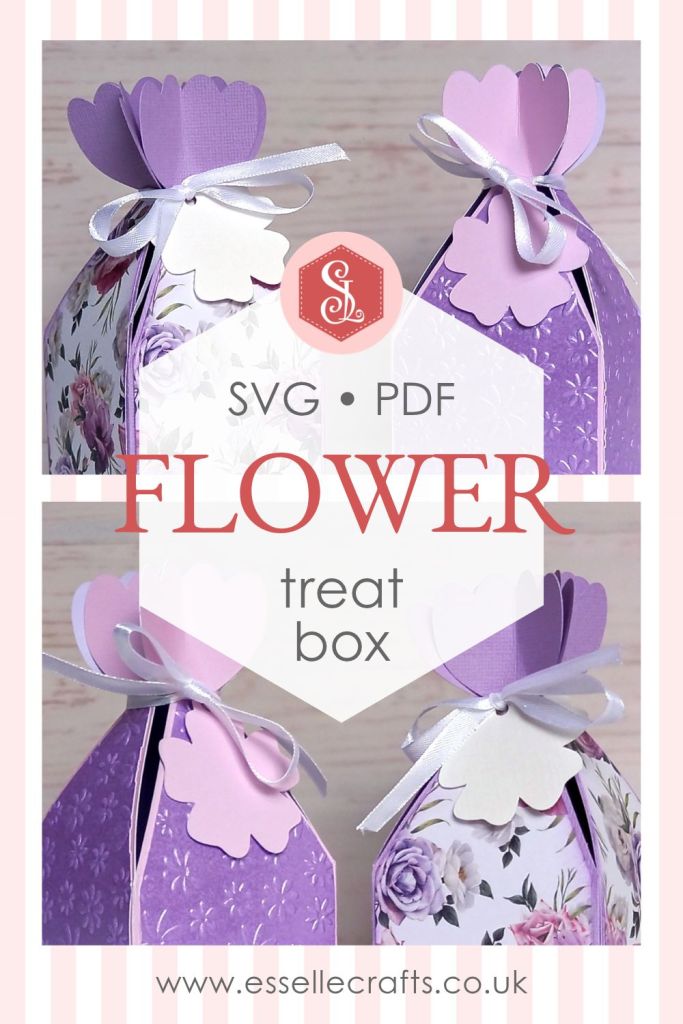
Similar in design to my hexagonal Flower Favour Box this pretty, square-based Flower Treat Box is super easy to make, and can be filled with sweets or small treats!
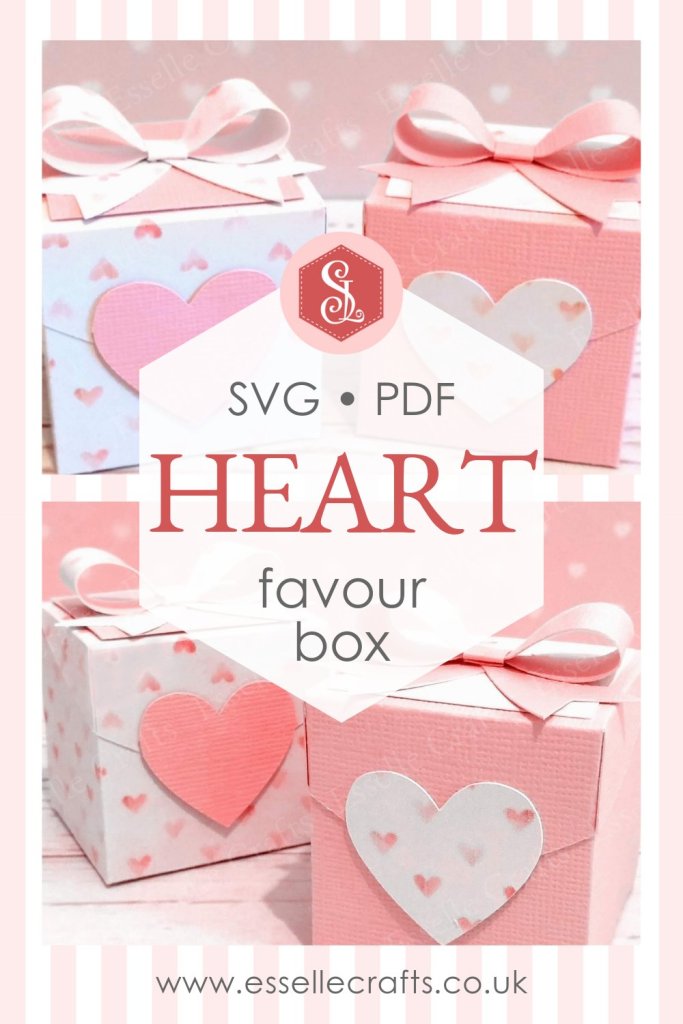
Perfect for birthday parties, Mother’s Day gifts, wedding favours and so much more, the template for this box is available through my Etsy shop as an SVG cut file, as well as a PDF if you prefer to cut out by hand.
To make one, you will need:
* Flower Treat Box template (SVG and PDF available)
* Computer and printer to print the PDF template and instructions
* Digital cutting machine
* Double sided, patterned cardstock (220-250gsm / 80-92lb recommended)
* Craft glue / double-sided tape
* Ribbon
If you are not using a cutting machine, you will also need:
* Craft knife / scissors
* Scoring tool
* Ruler
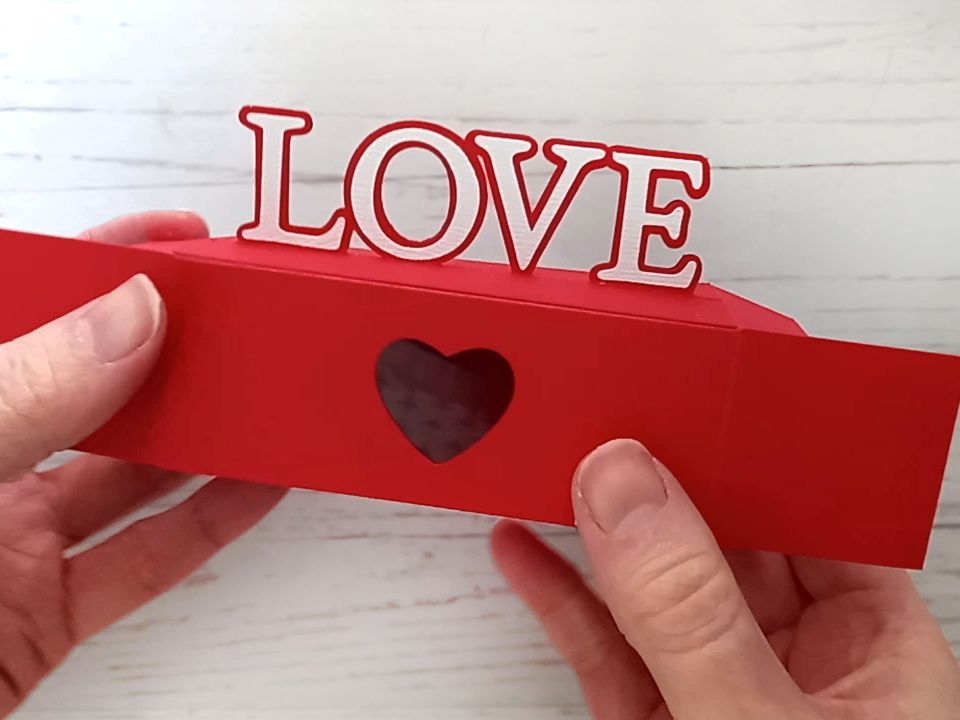
Watch my video tutorial showing how to assemble the box and be sure to follow the tips below:
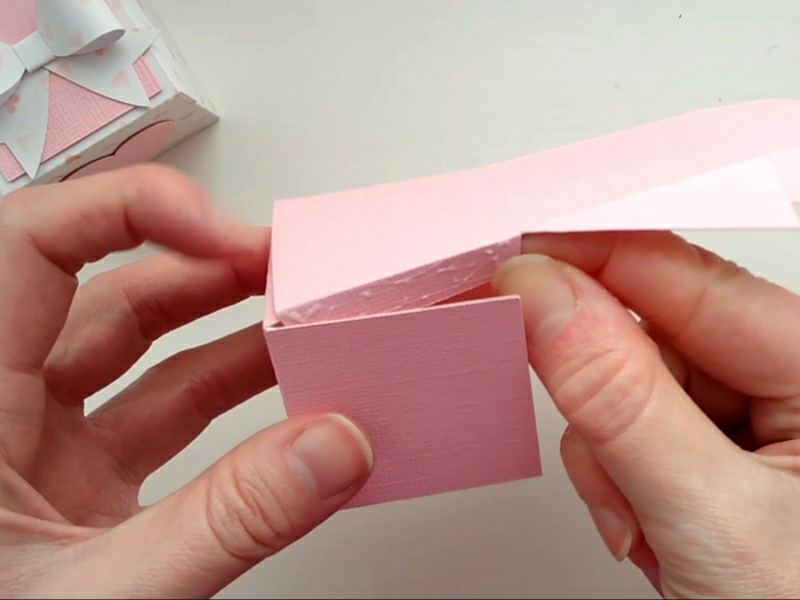
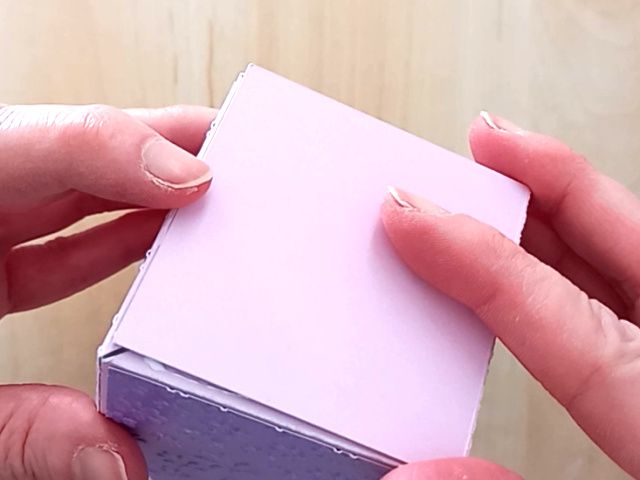
TIP 1 : Make sure that the base is lined up carefully against the score lines. Adding the extra square piece to the inside of the box will hide the tabs and strengthen the base.
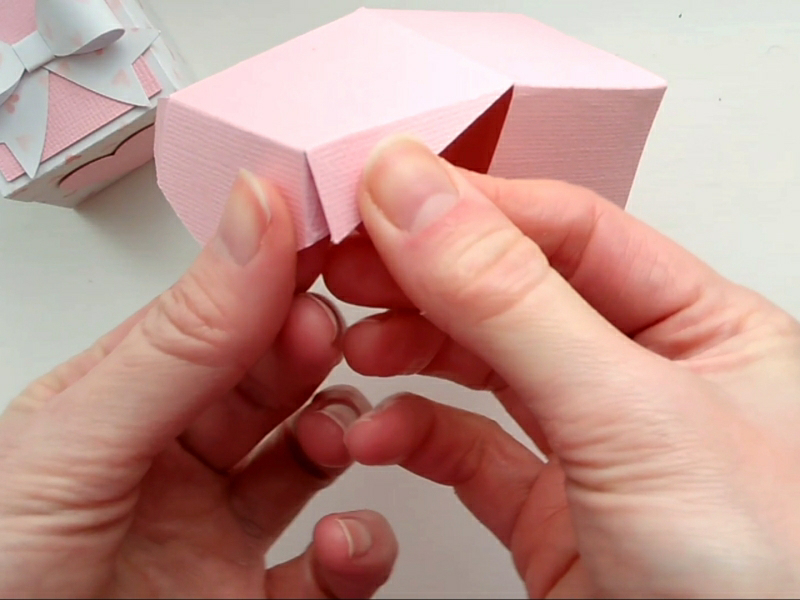
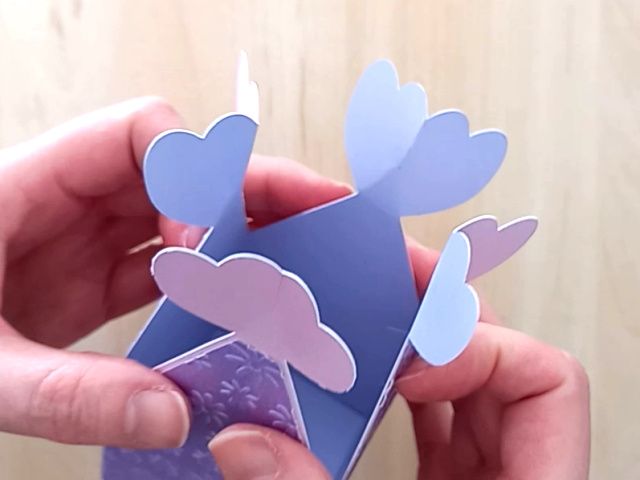
TIP 2 : The petals need to be pinched carefully at the top half only (following the score lines).
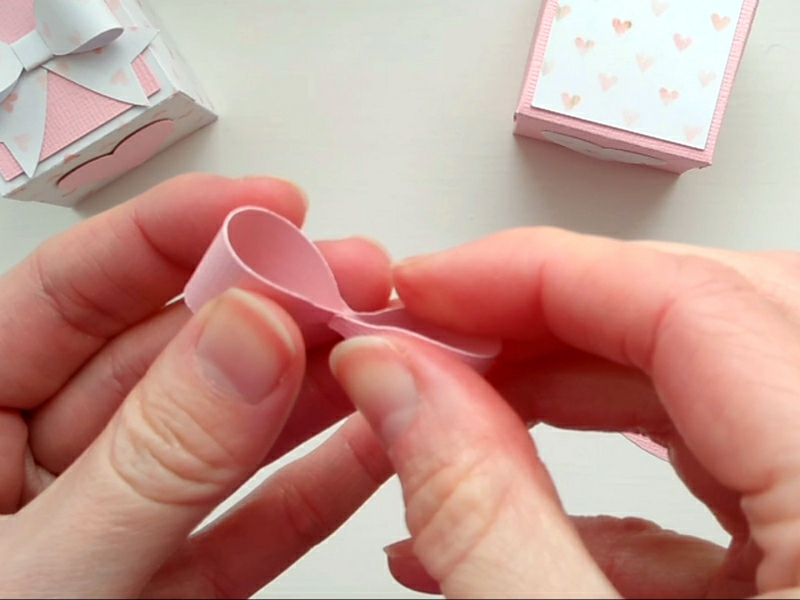
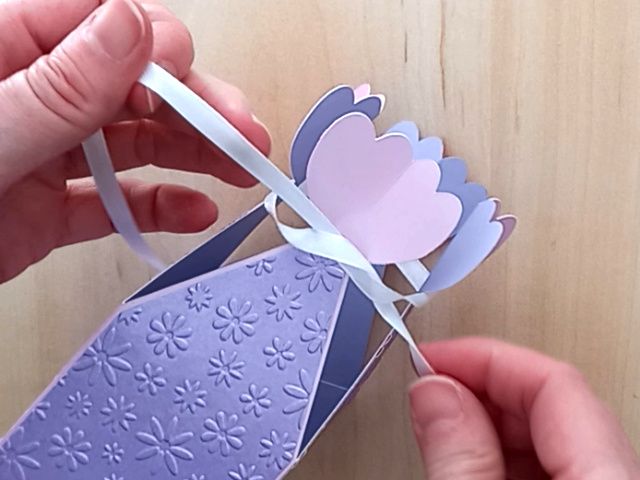
TIP 3 : When tying the box up for the first time, pull the ribbon gently to allow all of the petals to meet neatly in the centre
These are such useful little boxes for gifting small treats, so I hope that you are now inspired to create your own pretty flower treat boxes!
Happy crafting 🌸
Suzanne