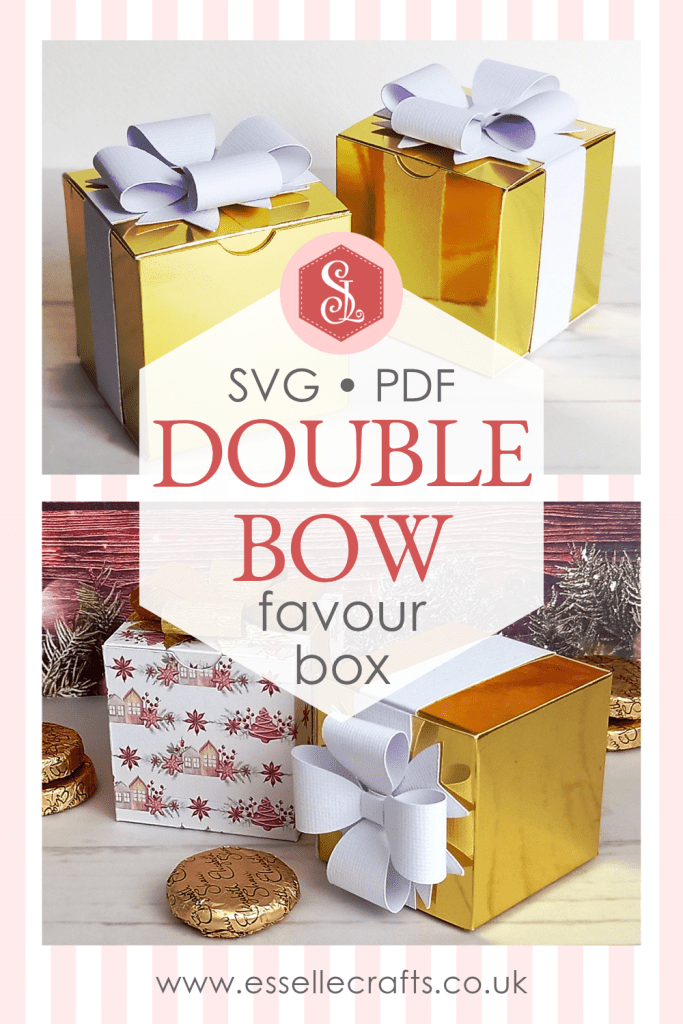
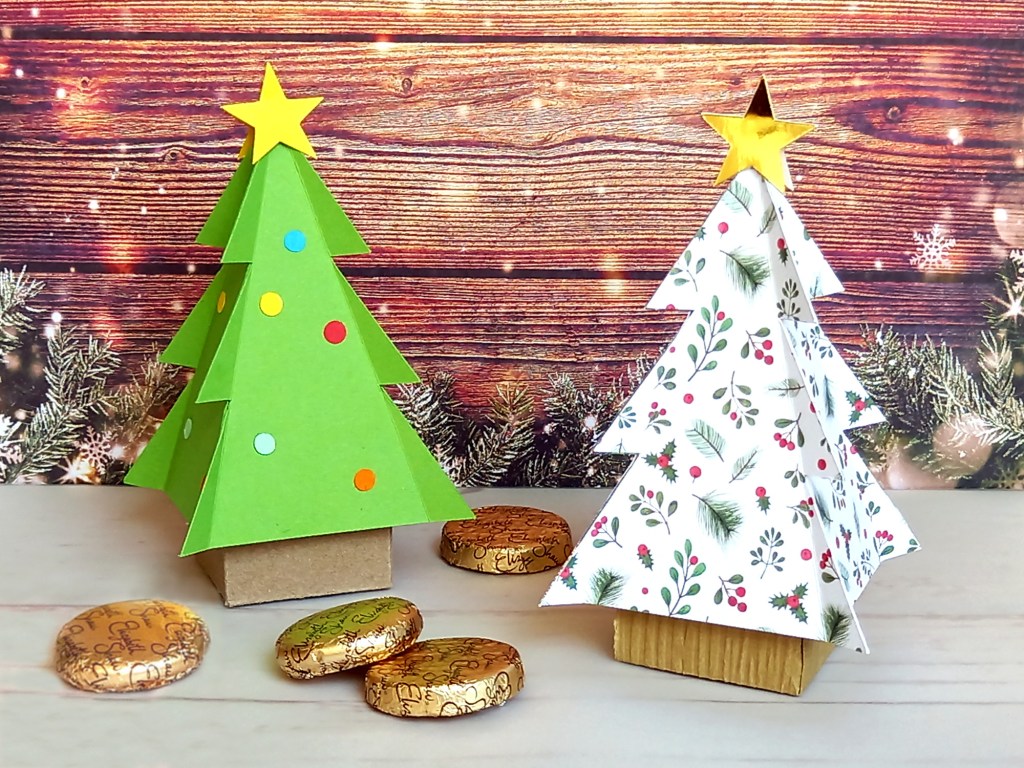
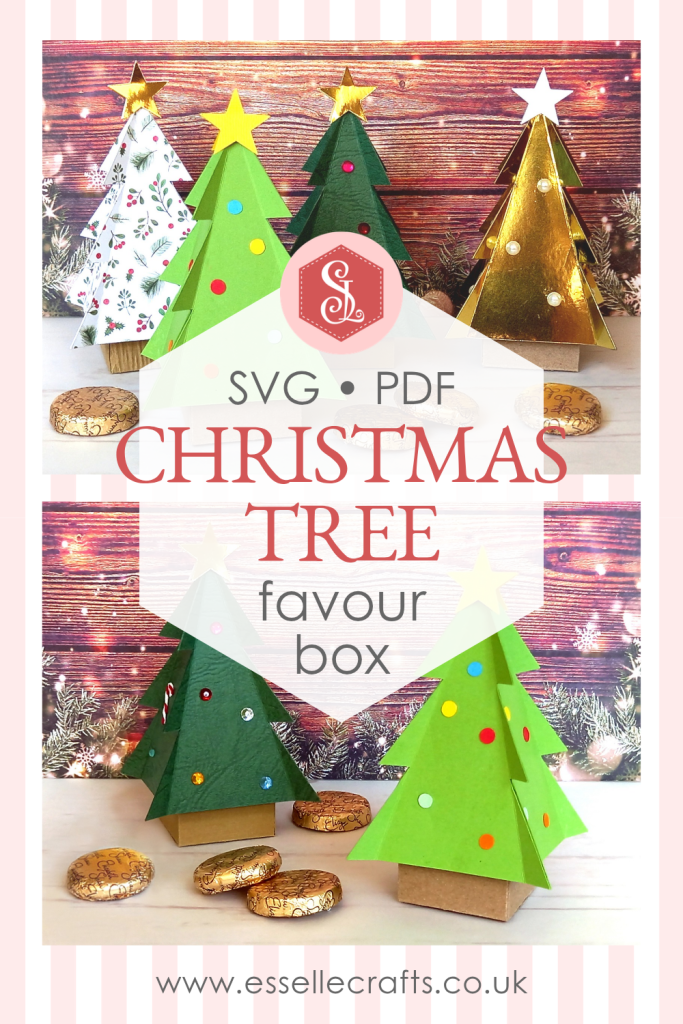
This stunning little Christmas tree favour box is so easy to assemble and will hold a surprising amount of sweets or small treats!🎄
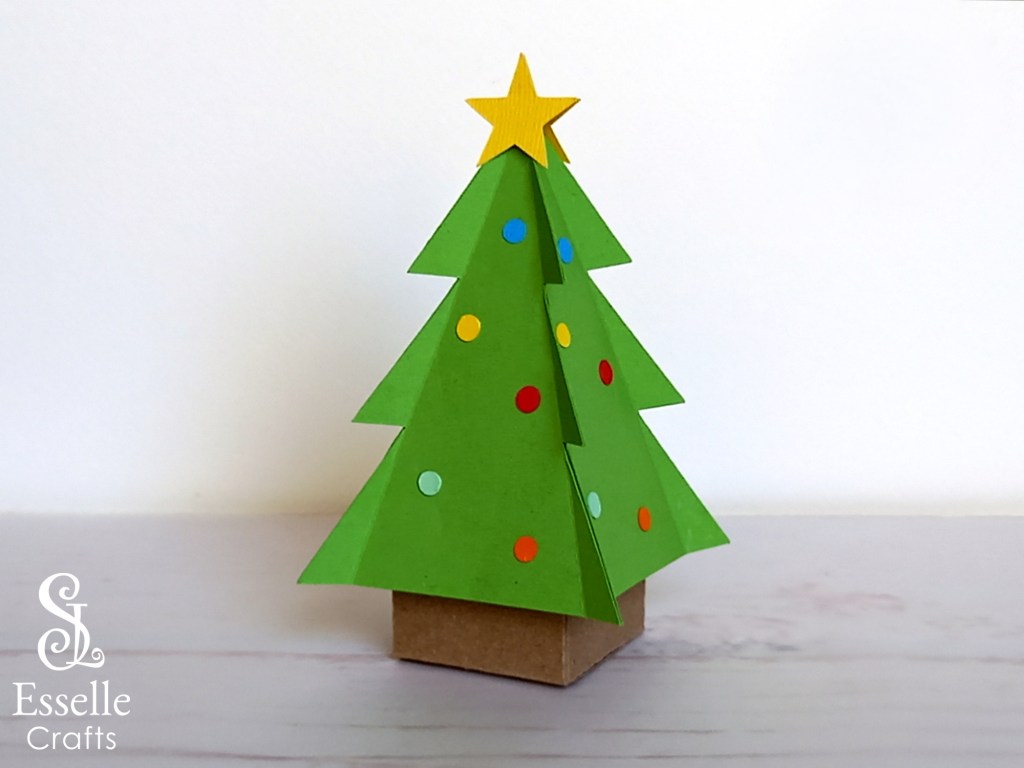
Perfect for Christmas parties and table favours, you can find the template for this box in my Etsy shop, available as both SVG and PDF.
To make one, you will need:
* Christmas Tree Box template (PDF and SVG available)
* Computer and printer to print the PDF templates and instructions
* Digital cutting machine
* Double-sided or patterned cardstock (220-250gsm / 80-92lb recommended)
* Thinner card for the star and baubles (160-200gsm 60-80lb recommended)
* Craft glue / double-sided tape
* Embellishments (optional)
If you are not using a cutting machine you will also need:
* Craft knife / scissors
* Scoring tool
* Ruler
Watch my video tutorial showing how to assemble the box, and be sure to follow the tips below:
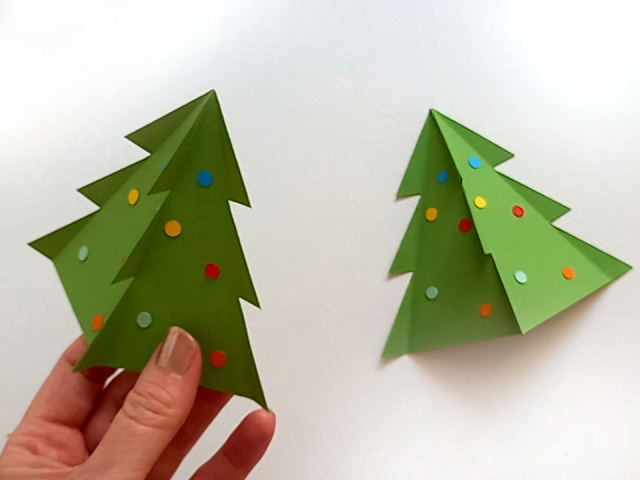
TIP 1 : Glue the tree pieces together in pairs first, then glue the two pairs together. This makes it easier to line them up.
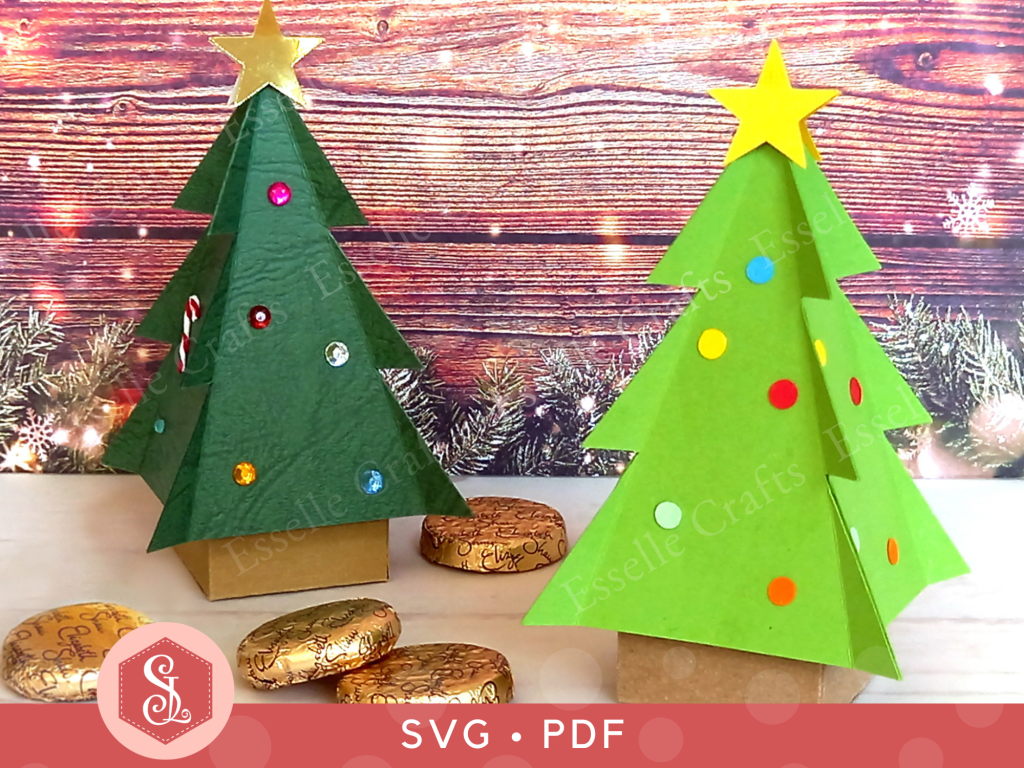
TIP 2 : Instead of adding separate decorations to plain cardstock, try using patterned cardstock for the tree and adding a shiny gold star on the top!
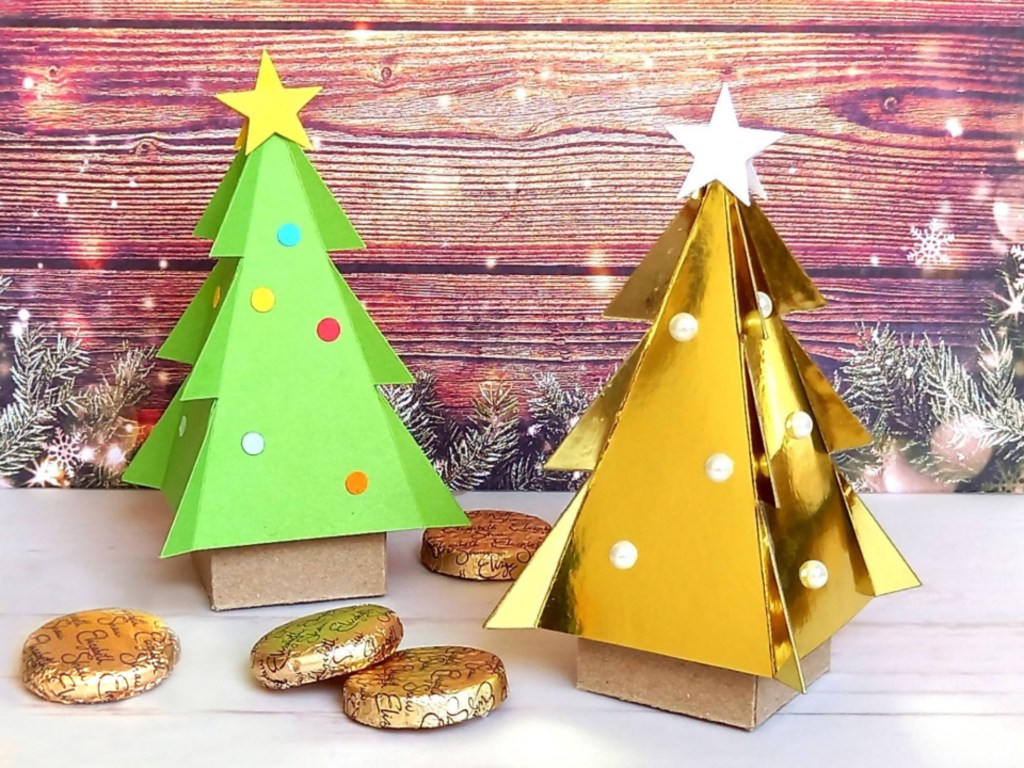
TIP 3 : Try adding some sparkly gems to the tree or some half pearls, like on this super shiny gold mirror card version!
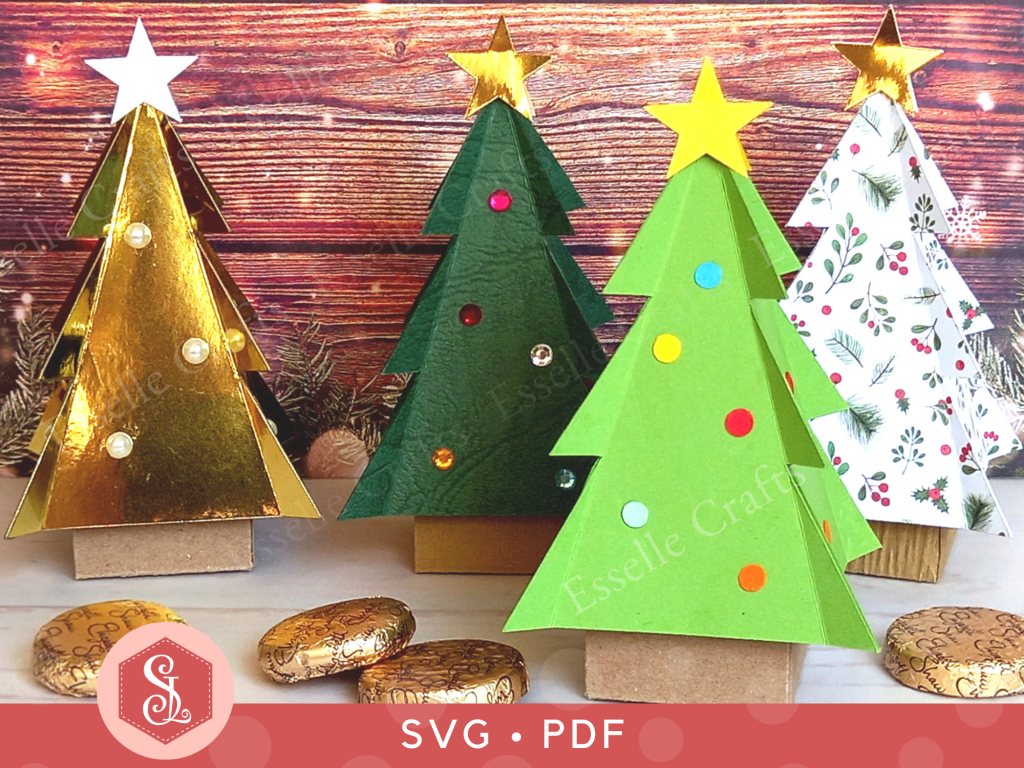
However you choose to decorate your little Christmas tree boxes, have fun with them and experiment with different materials. Just like I did with this miniature candy cane that I made from baker’s twine!

What will you fill your little Christmas tree boxes with? Let me know in the comments below!
Happy crafting!
Suzanne 🎄