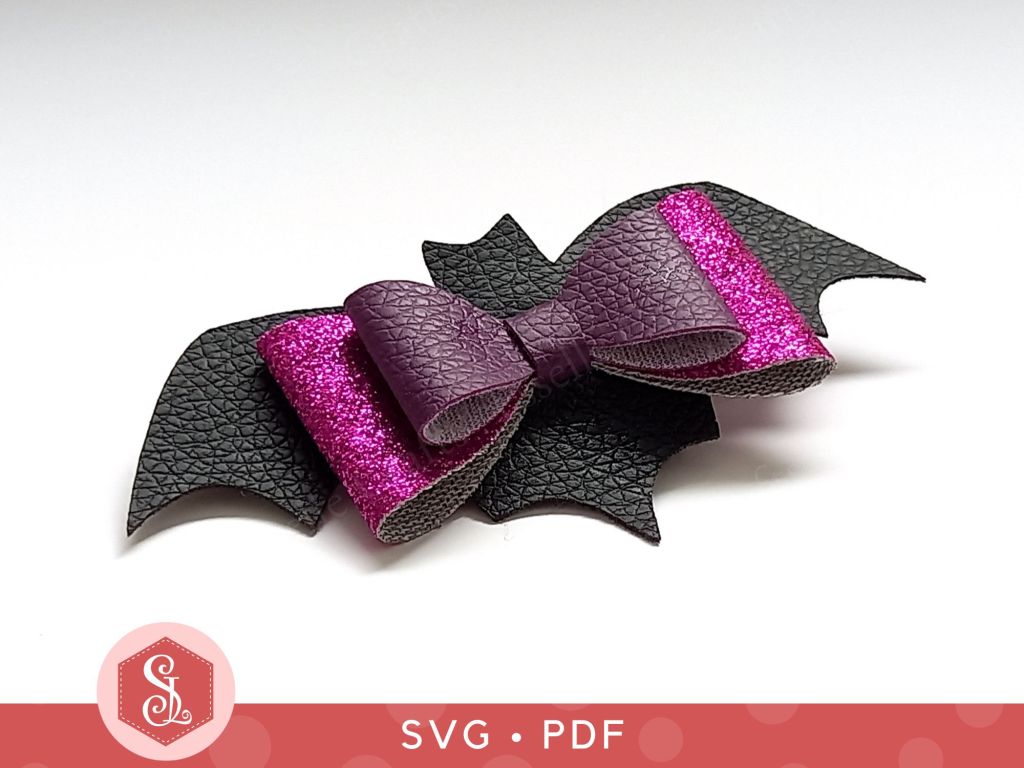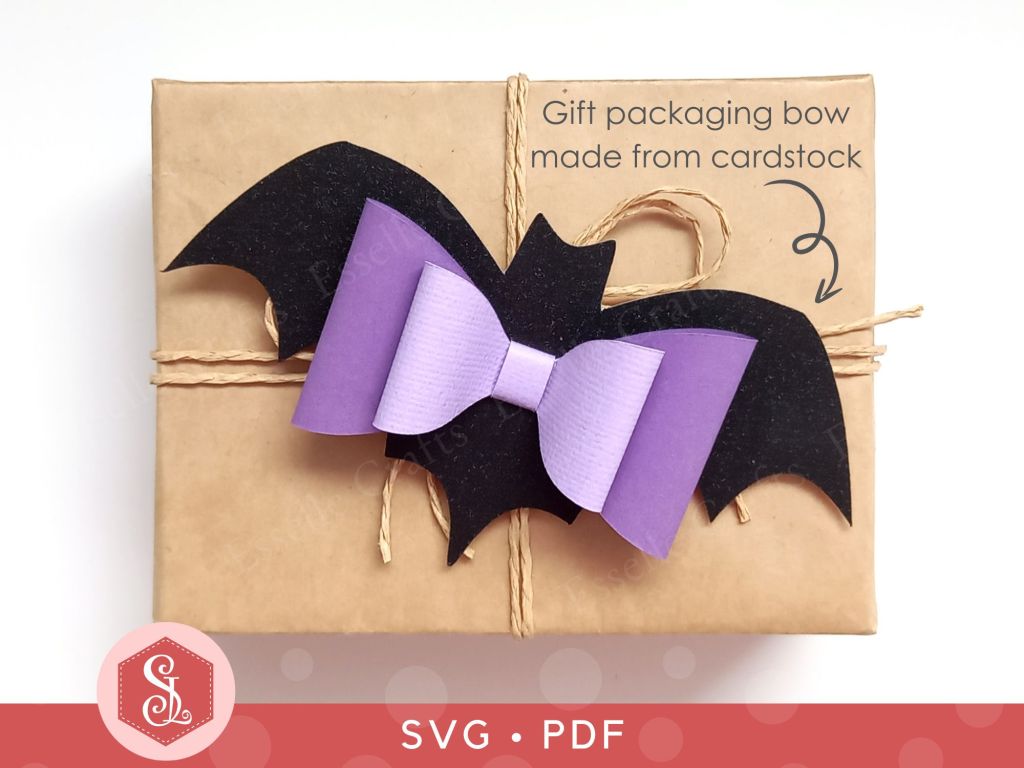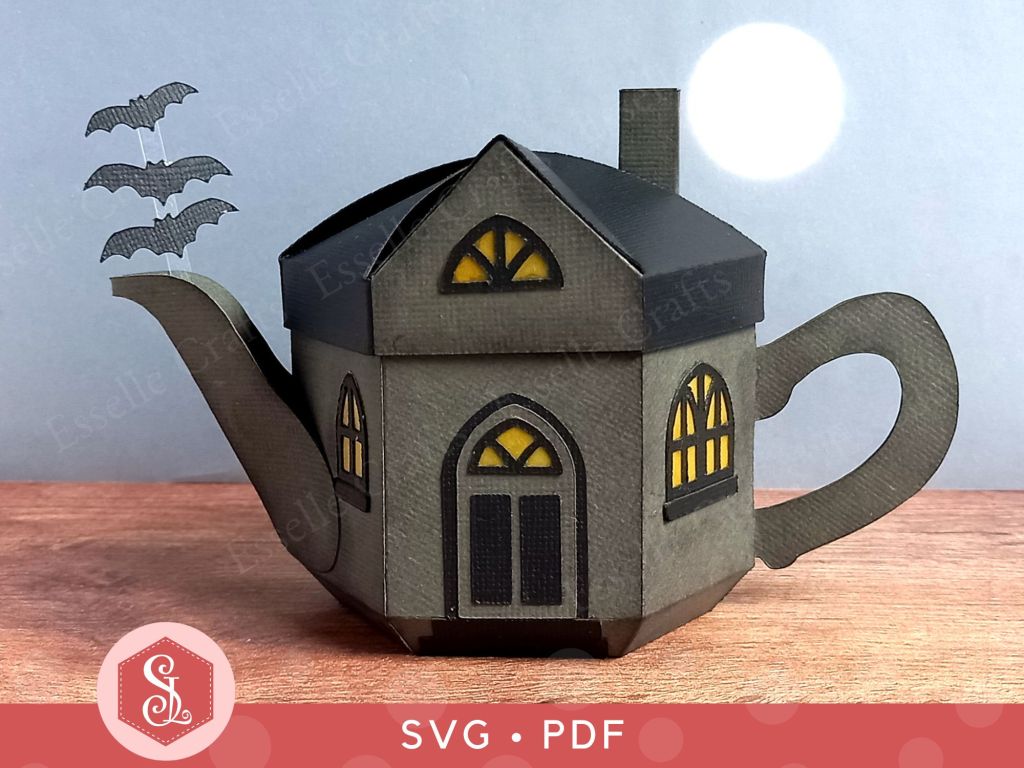
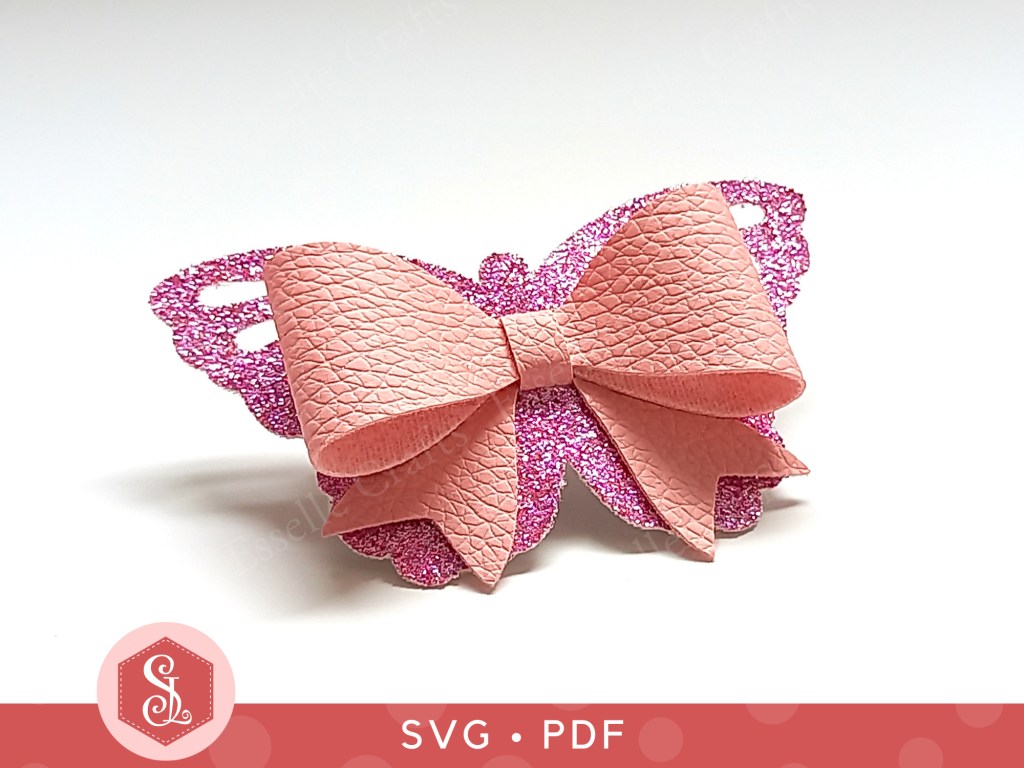
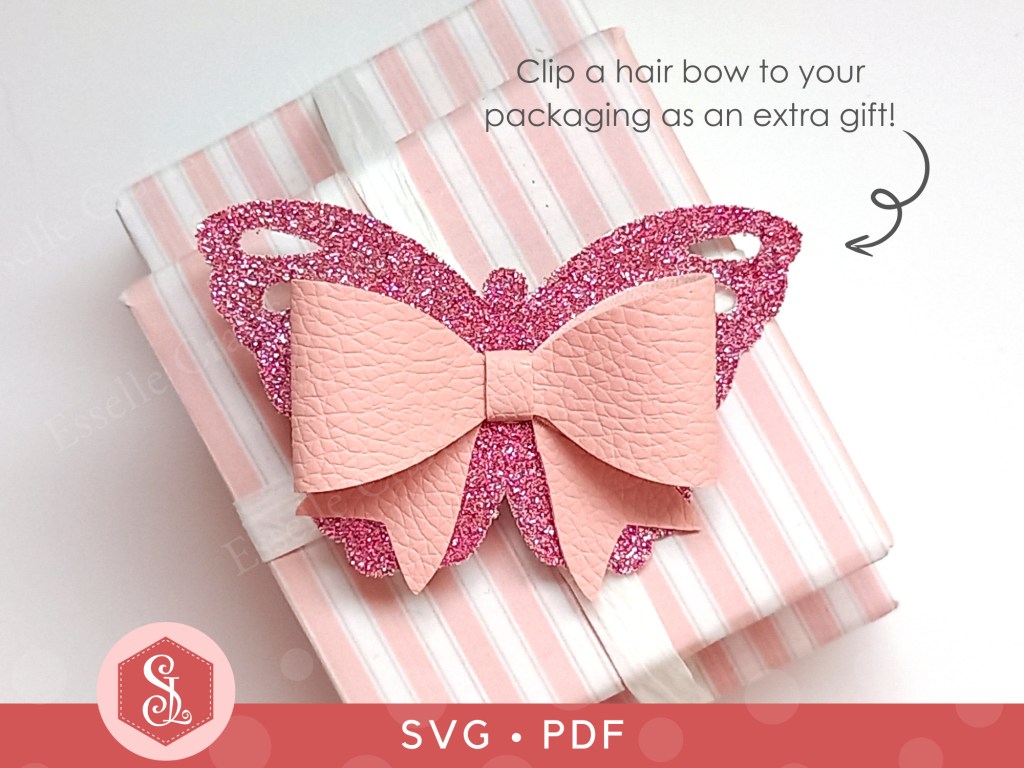
Following on from my last post, where I introduced you to my Halloween Bat Bow design, I now have this Butterfly Bow, which can be used in similar ways.

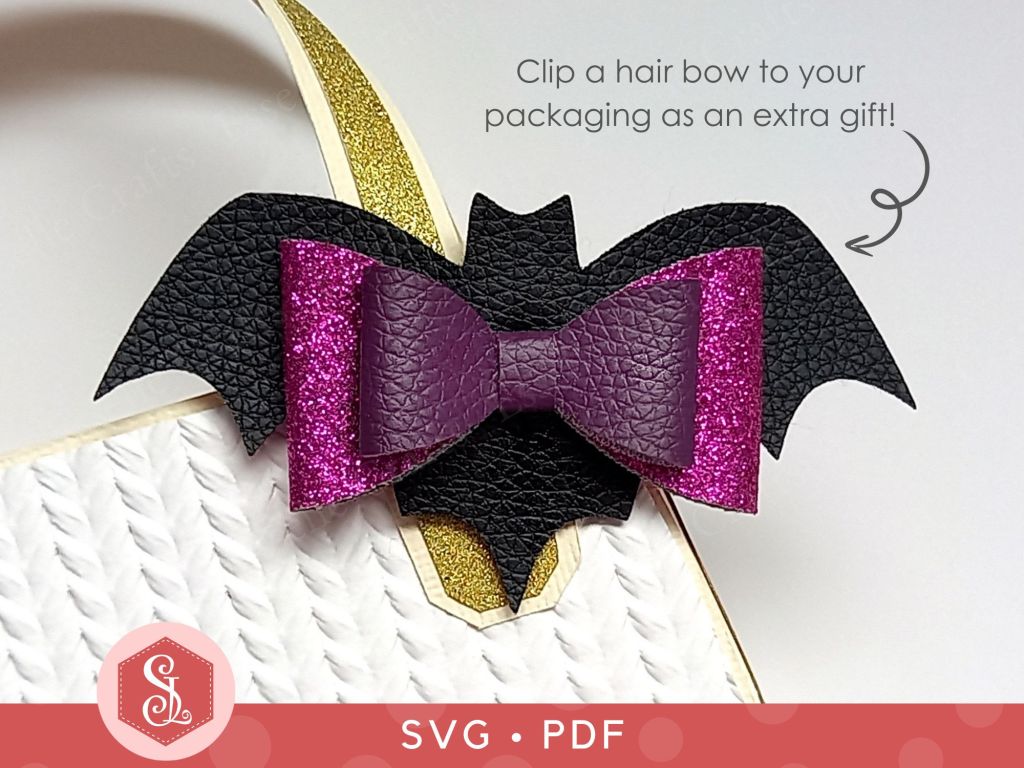
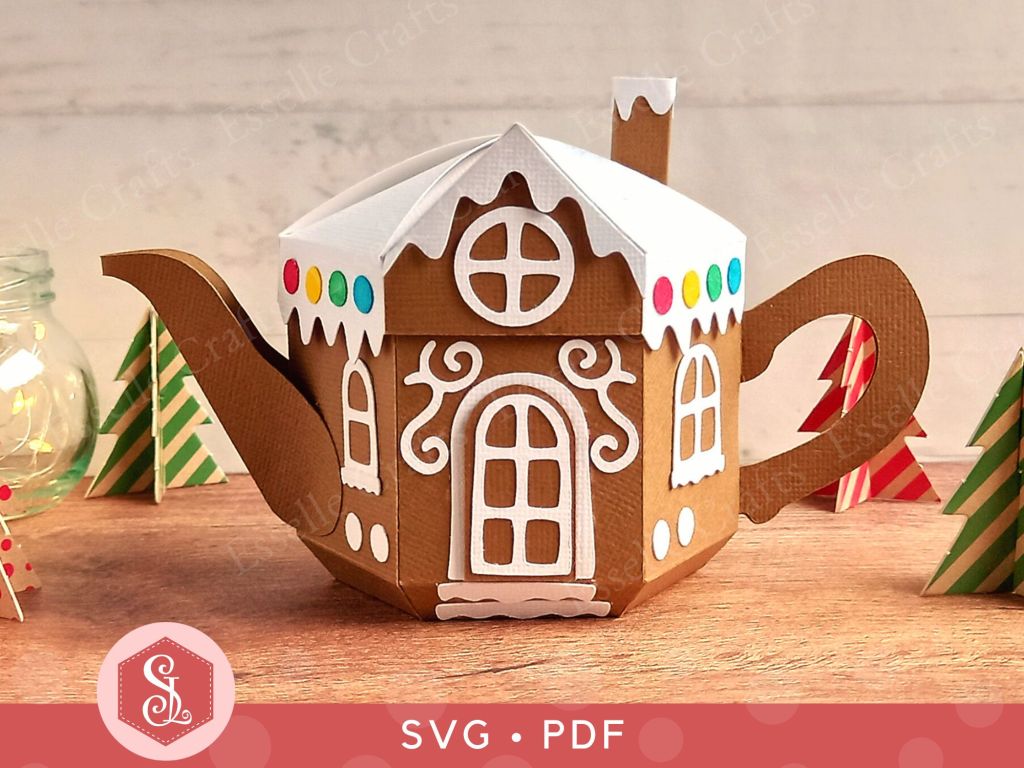
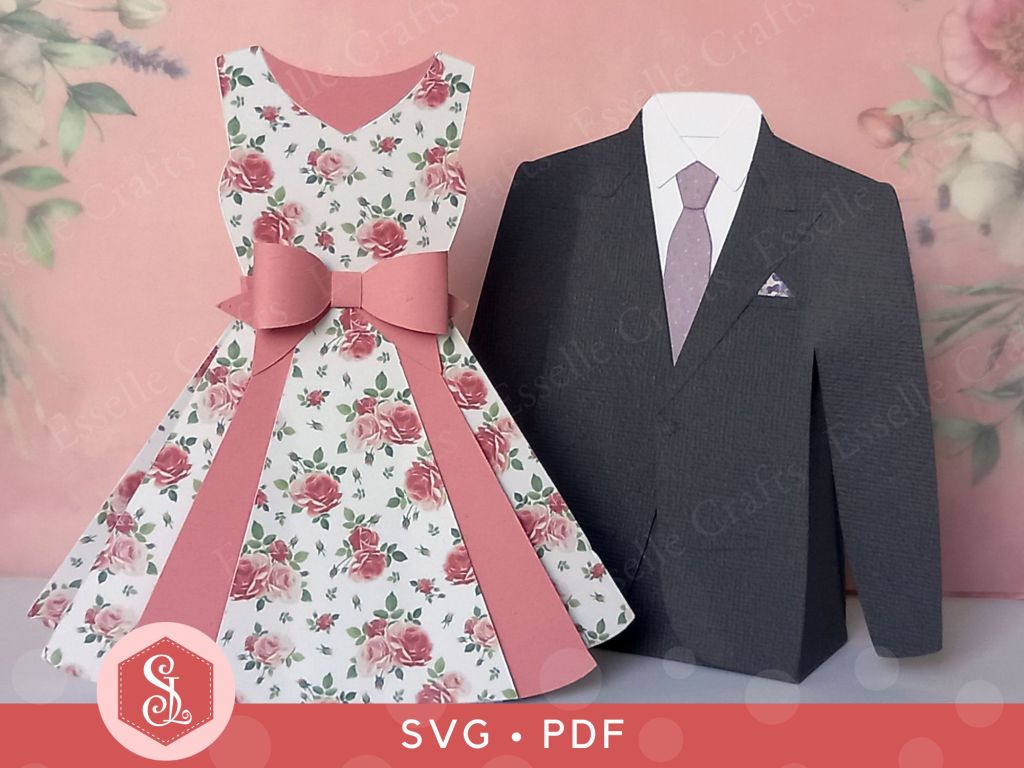
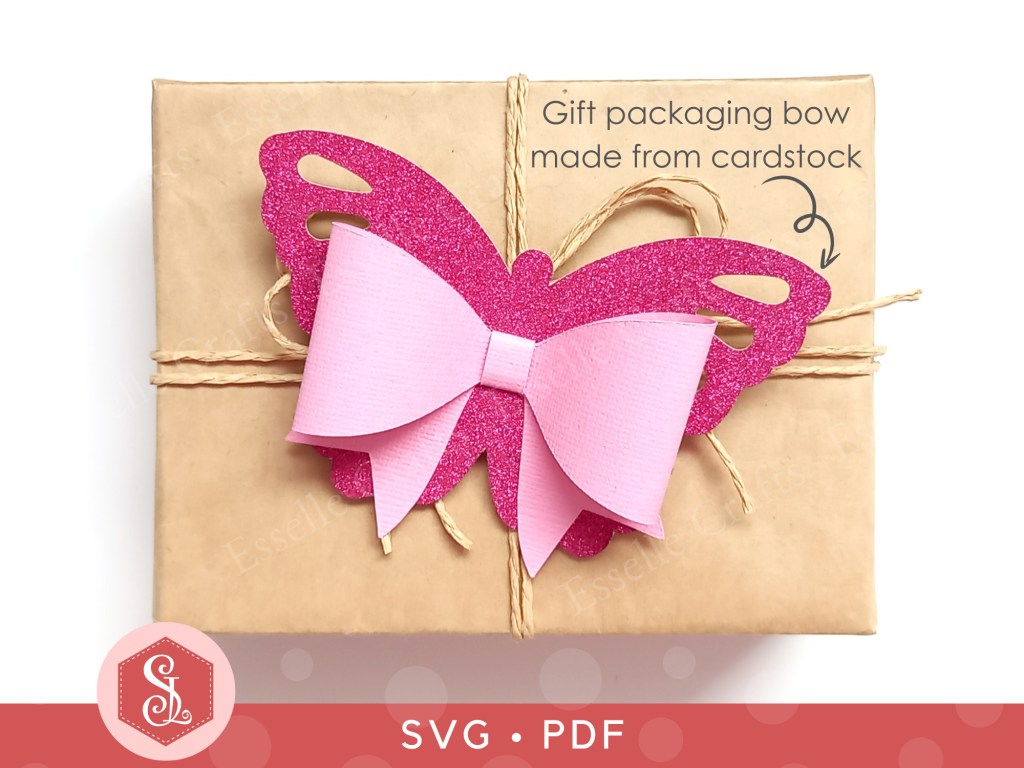
This is such a pretty bow for all occasions! If it was made from fabric, it could be clipped onto your hair or worn as a statement brooch! Alternatively, if it was made from cardstock, it could be added to a gift bag, a greeting card or used for home decor!
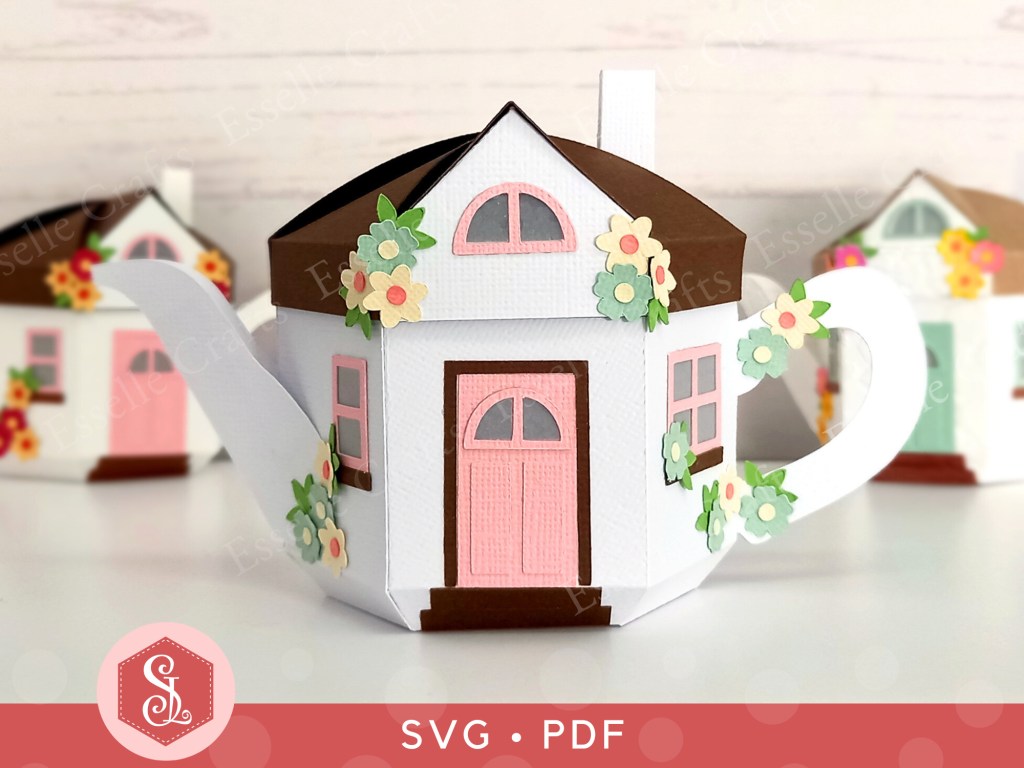
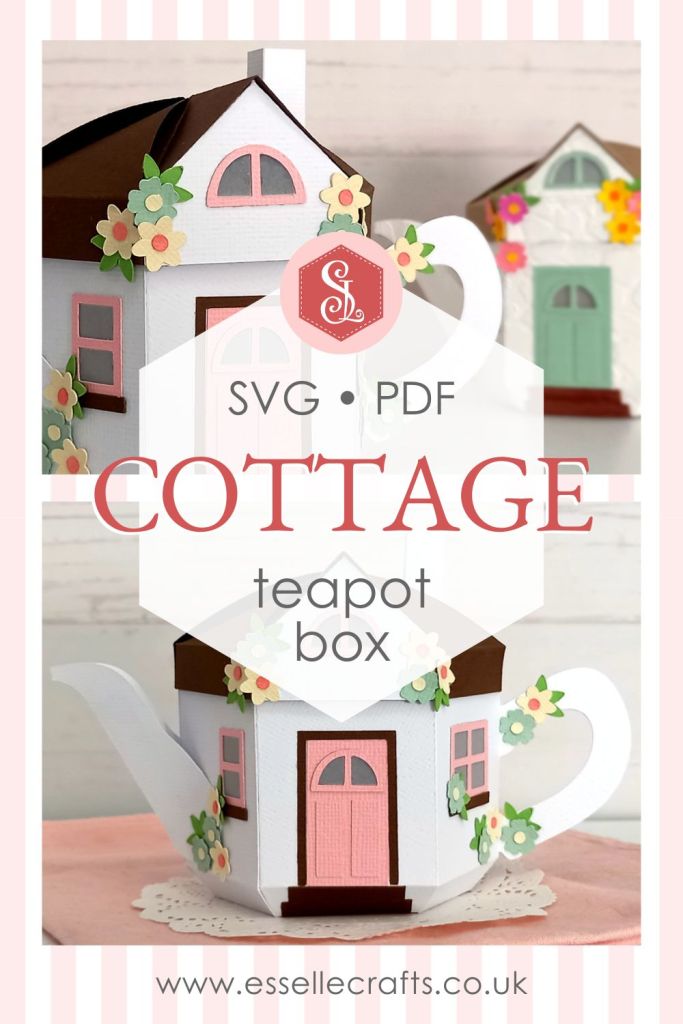
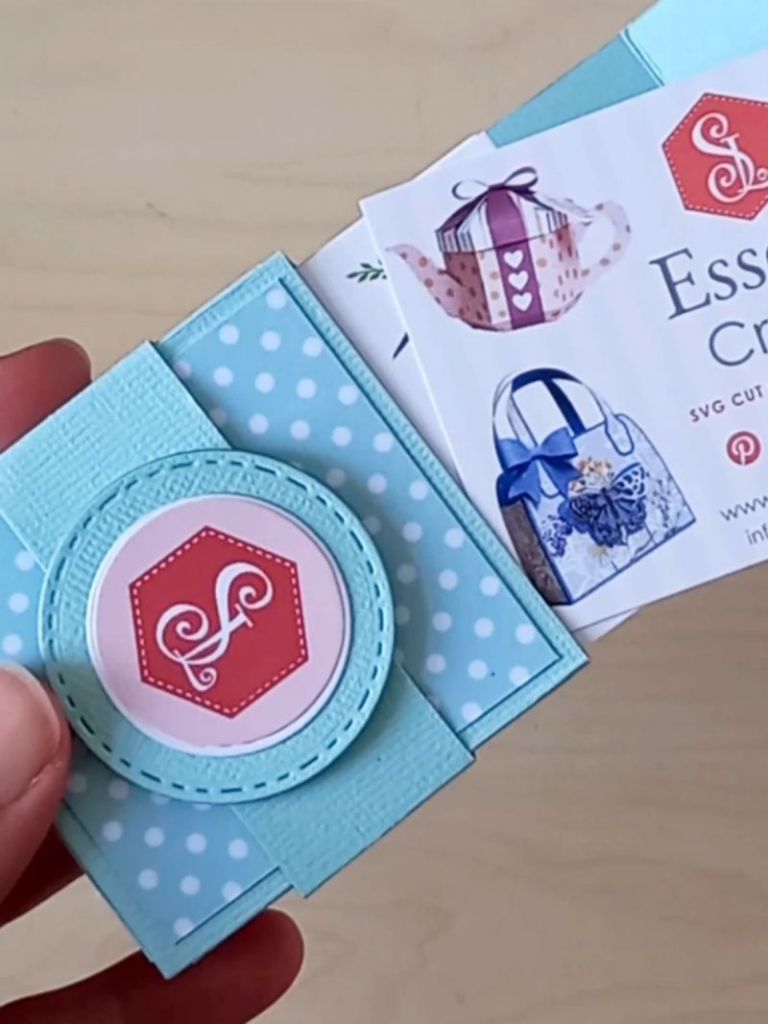
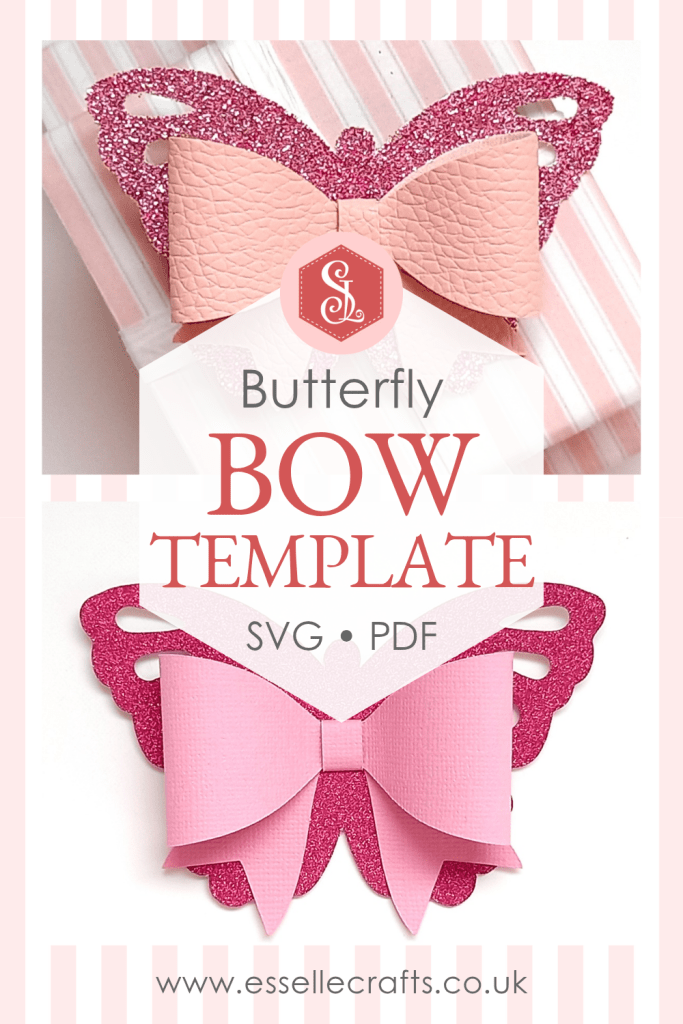
This multi-purpose bow is super easy to make, and the templates come in SVG and PDF format, making them accessible for a variety of crafting needs.
To make one, you will need:
* Butterfly Bow Template (SVG and PDF included)
* Computer and printer to print the PDF template and instructions
* Digital cutting machine
* Double-sided, solid core cardstock (220gsm / 80lb recommended) or faux leather / felt / fine glitter fabric
* Hot glue / E6000 glue
* Optional : Alligator clip
If you are not using a cutting machine you will also need:
* Craft knife / scissors
All of my templates come with step-by-step instructions, but you can also follow the tips below:
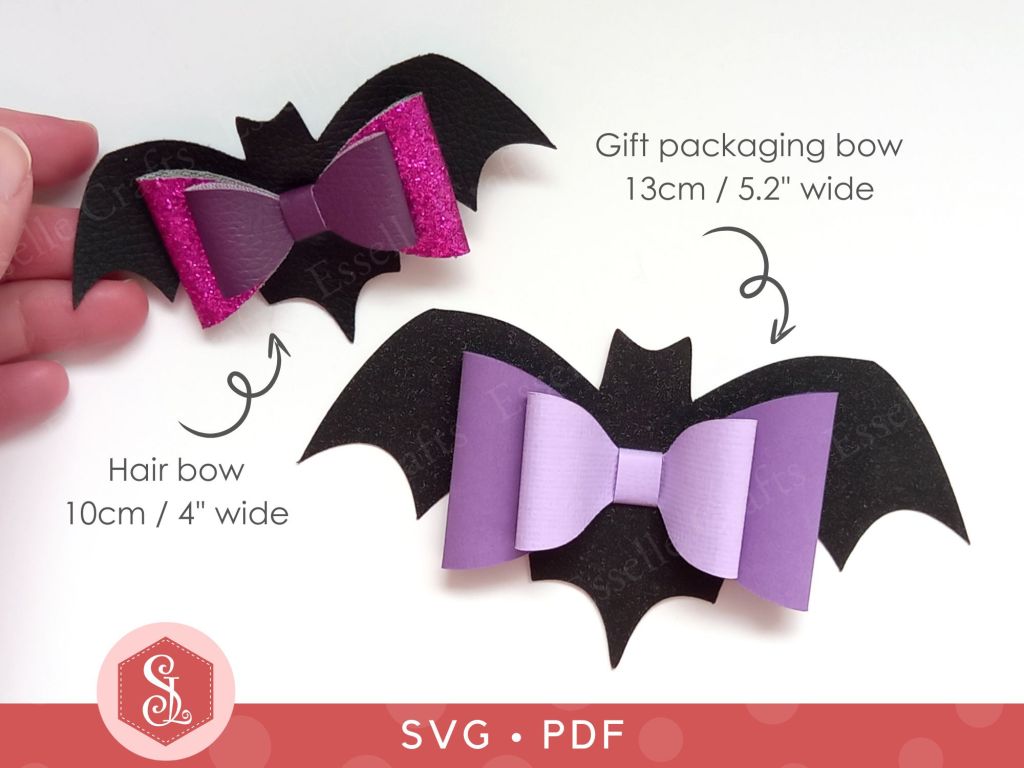
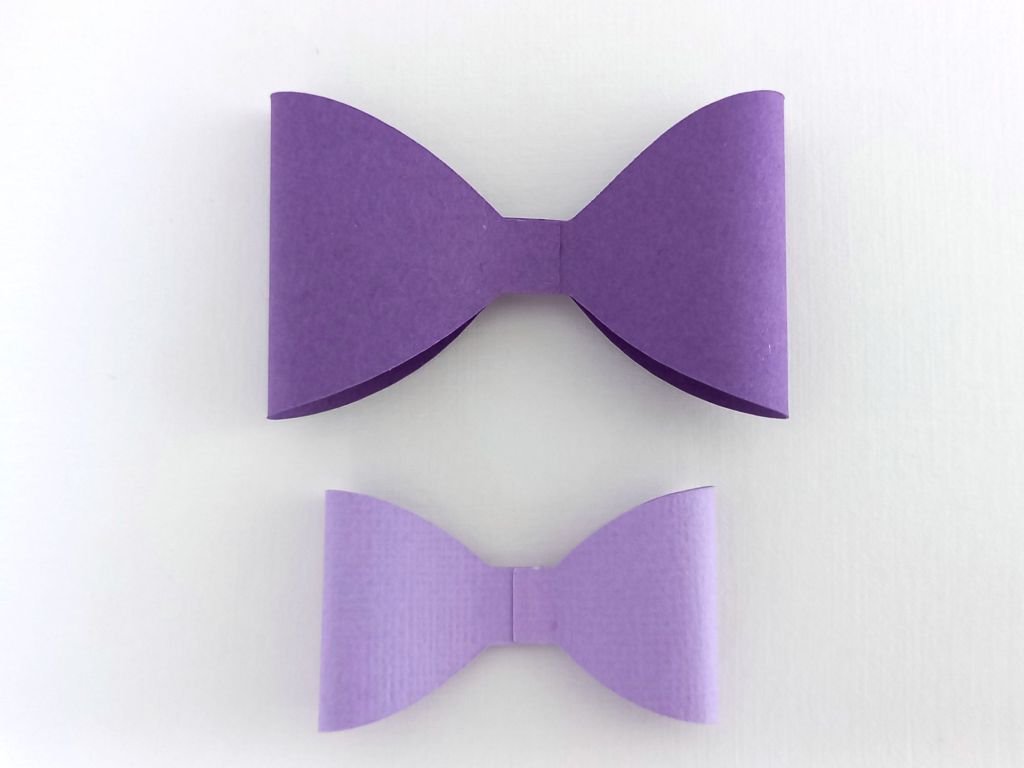
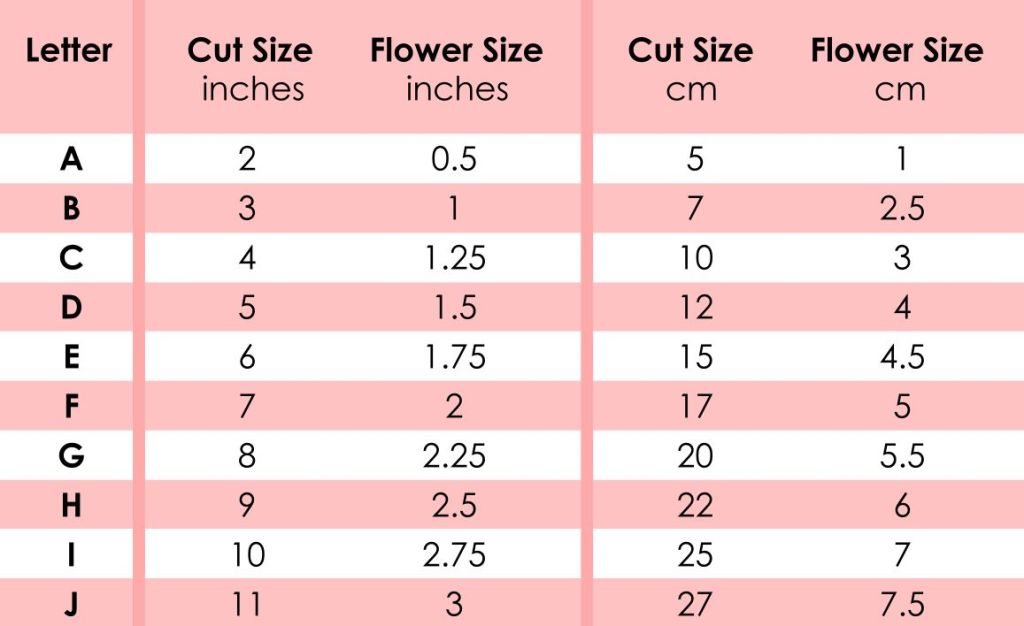
TIP 1 : If you want a 7.5cm / 3″ bow, size your template to 12cm / 4.7″ wide. For a larger, 10cm / 4″ bow, size your template to 16cm / 6.25″ wide.

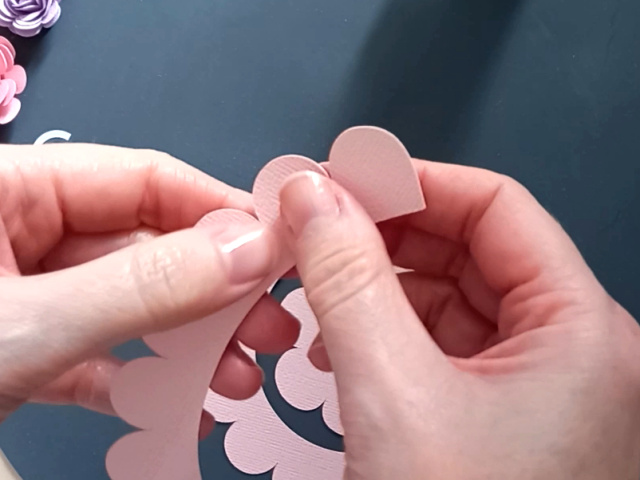
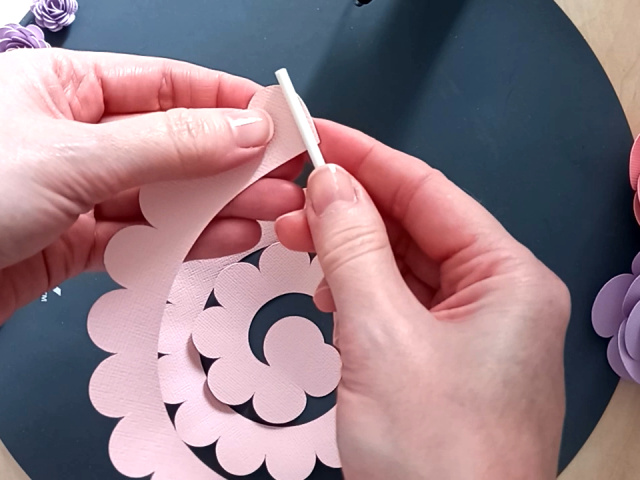
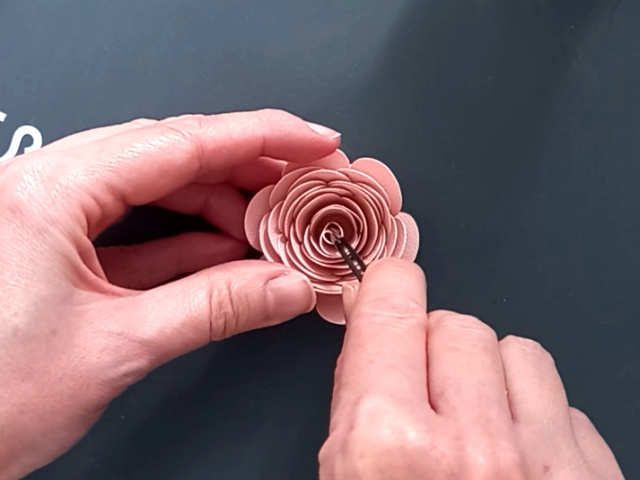
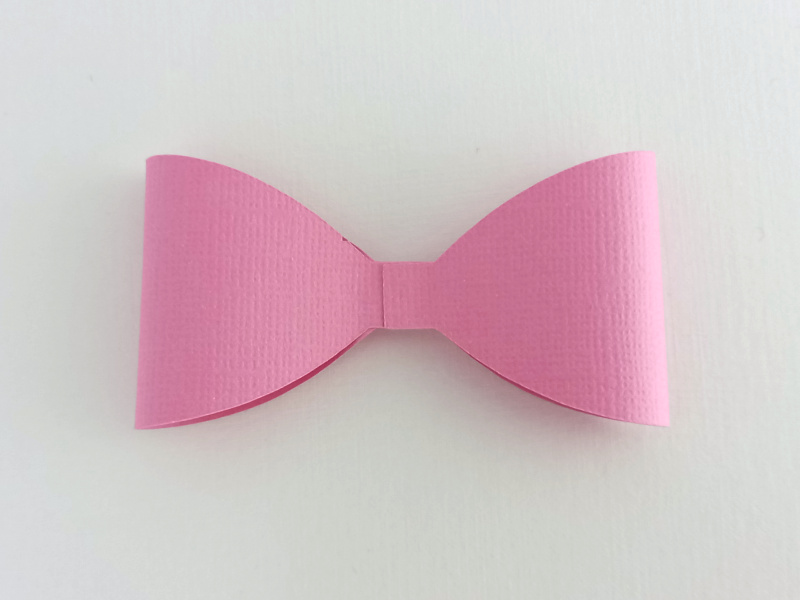
TIP 2 : When curling the ends of the bow piece to the centre, try not to crease it or fold it. This is especially important if you are making a paper bow.

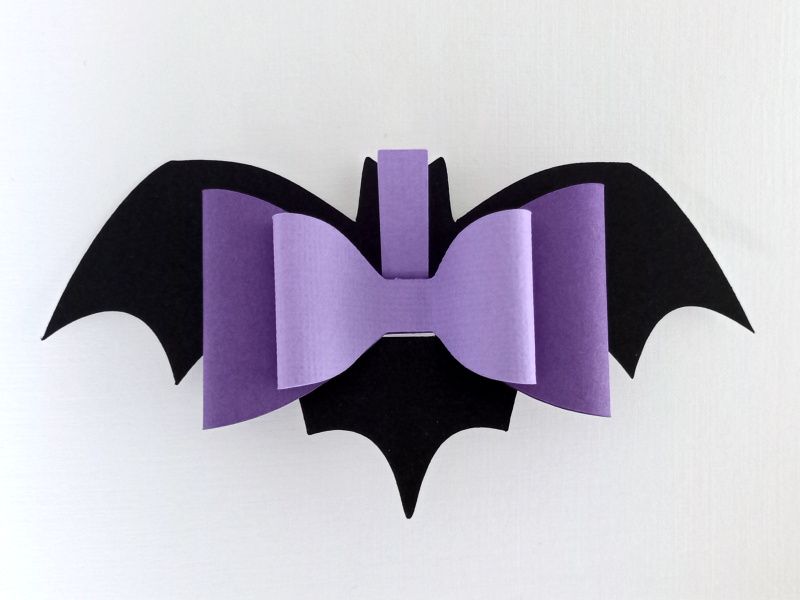
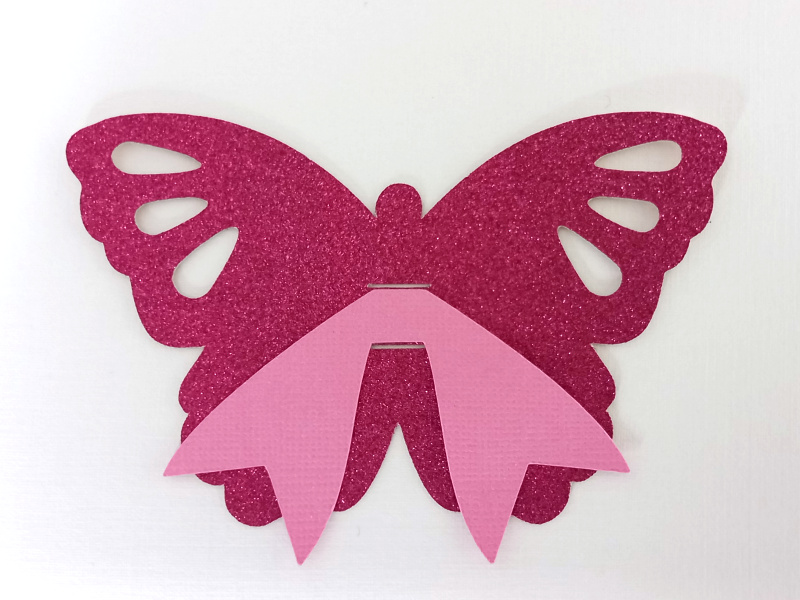
TIP 3 : Glue the centre of the bow tails and the bow to the centre of the butterfly (between the two cut lines) before attaching the centre strip.
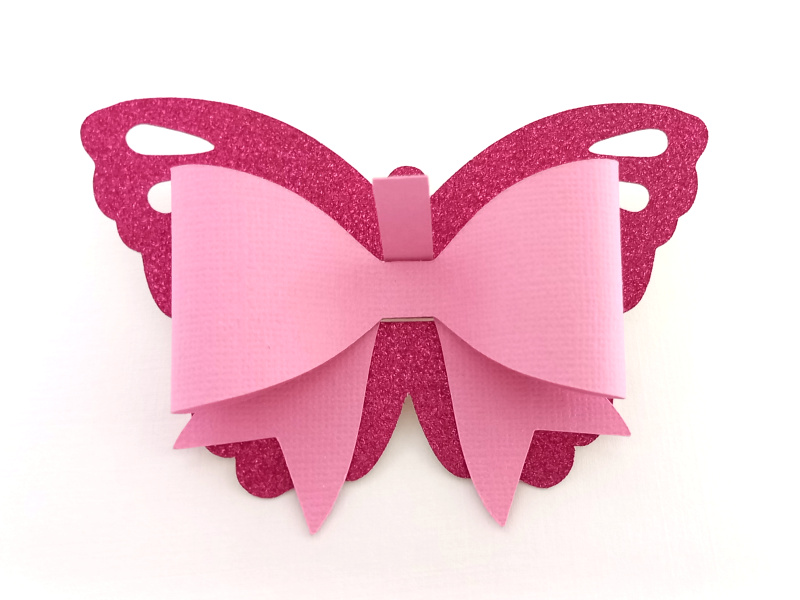
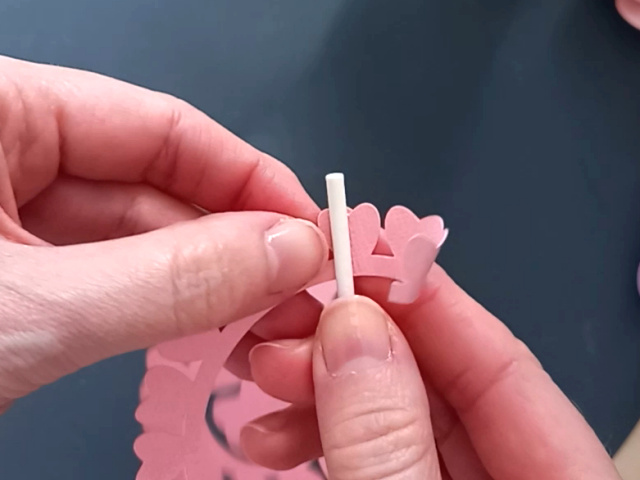
TIP 4 : Push one end of the centre strip in through the top cut line (from the front) and the other end through the bottom cut line (from the front). Pull the ends through the back (not too tight) until they are an equal length.

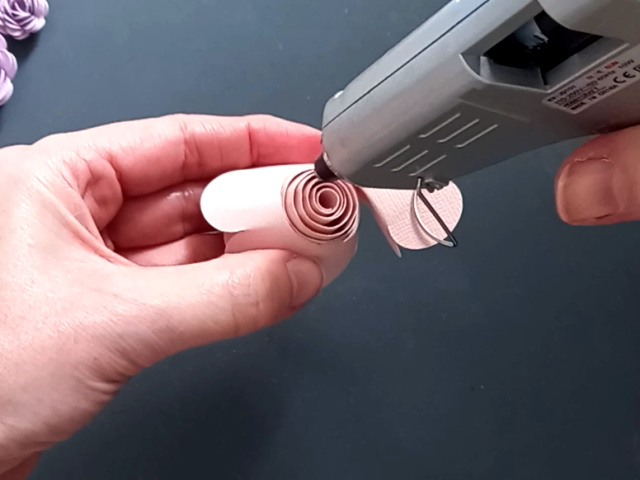
TIP 5 : Overlap the two ends and secure them in place with a dot of glue.

If your bow is made from paper, then you can glue it directly onto your gift packaging. Alternatively, glue it to a small, wooden peg so that it can be reused. If your bow is made from fabric, then you can glue it to an alligator clip or other hair accessory, like a headband 🎀
I can’t wait to see how you use your little butterfly bows !
Happy crafting
Suzanne