3D Papercraft Projects · Favour Boxes

Flower Favour Box

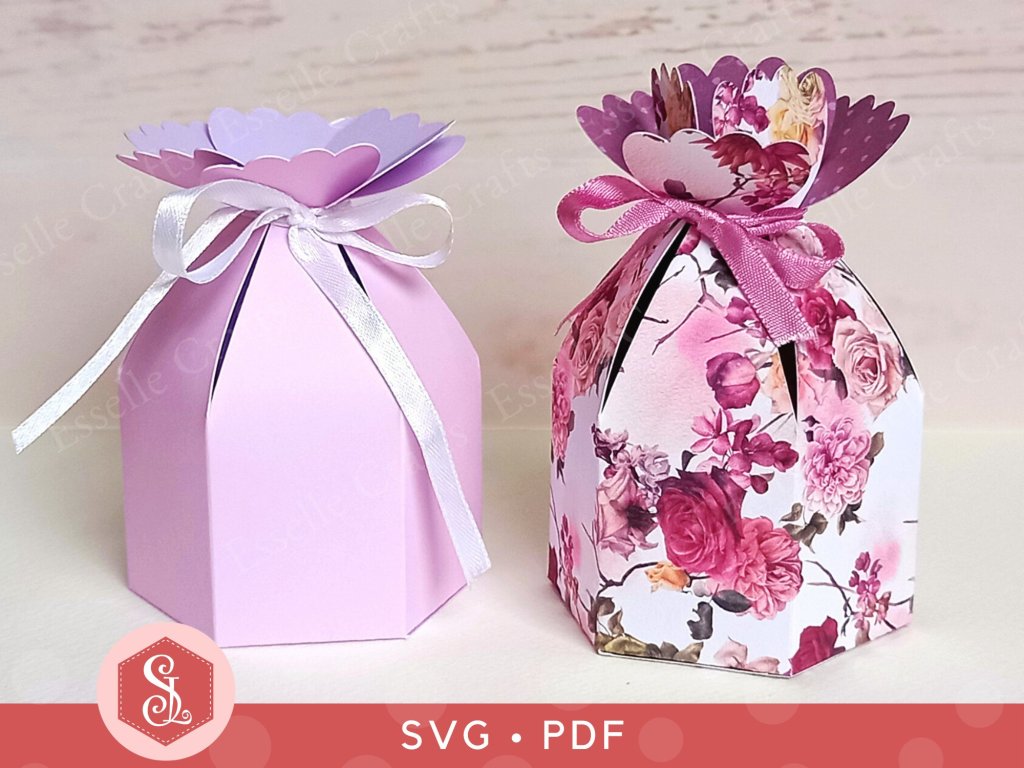
Similar in design to my Beehive Favour Box and my Graduation Star Box, this pretty Flower Favour Box is super easy to make, and can be filled with sweets or small treats!

Two Pink Flower Favour Boxes for special occasion treats

Perfect for birthday parties, Mother’s Day gifts, wedding favours and more, the template for this box is available through my Etsy shop as an SVG cut file, as well as a PDF if you prefer to cut out by hand.
Two Pink Flower Favour Boxes for special occasion treats

To make one, you will need:

* Flower Favour Box template (PDF and SVG available)
* Computer and printer to print the PDF template and instructions
* Digital cutting machine
* Double sided, patterned cardstock (220-250gsm / 80-92lb recommended)
* Craft glue / double-sided tape
* Ribbon

If you are not using a cutting machine, you will also need:

* Craft knife / scissors
* Scoring tool
* Ruler

Watch my video tutorial showing how to assemble the box and be sure to follow the tips below:

TIP 1 : Make sure that the base is lined up carefully against the score lines. Adding the extra hexagon piece to the inside of the box will hide the tabs and strengthen the base.
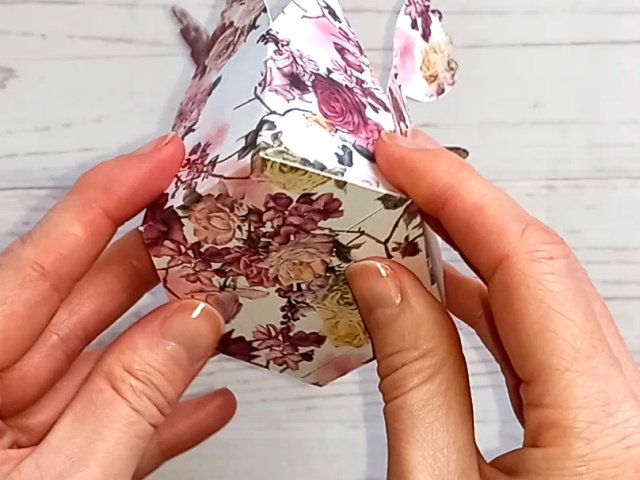
Pink Flower Favour Box for special occasion treats

TIP 2 : When tying the box up for the first time, pull the ribbon gently to allow all of the petals to join up equally in the centre.

Pink Flower Favour Box for special occasion treats

TIP 3 : The petals can be arranged in two different ways. They can either be overlapped to look like an open flower (as shown on the right) or spread out (as shown on the left):
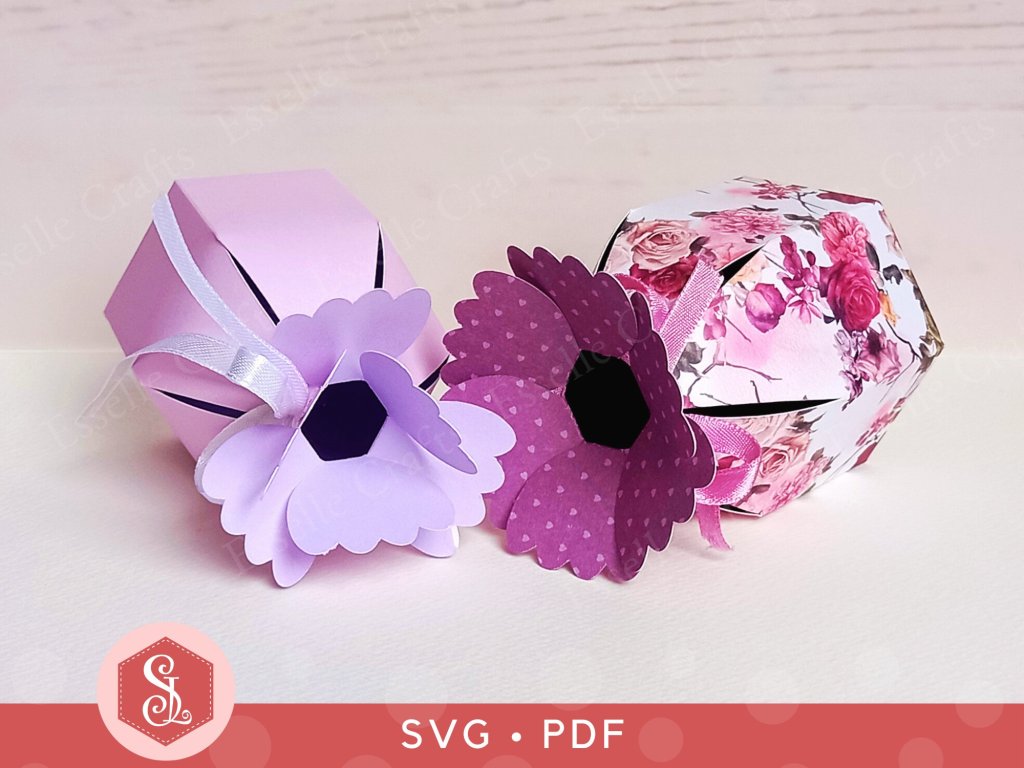
Two Pink Flower Favour Boxes for special occasion treats

These are such pretty little boxes for gifting small treats, so I hope that you are now inspired to create your own flower favour boxes!
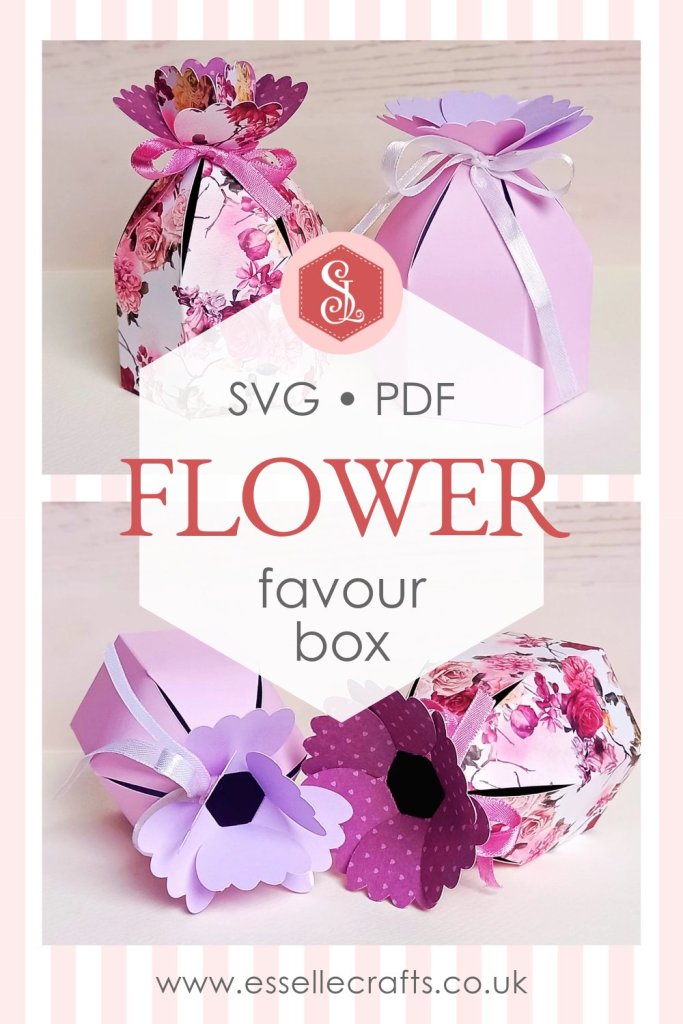
Pink Flower Favour Boxes for special occasion treats

Happy crafting!
Suzanne
3D Papercraft Projects · Favour Boxes · Teacup Favour Boxes

Teacup and Saucer Tutorial

My Teacup and Saucer Favour Box is one of my most popular templates, and perfectly complements my bestselling Teapot Favour Box.

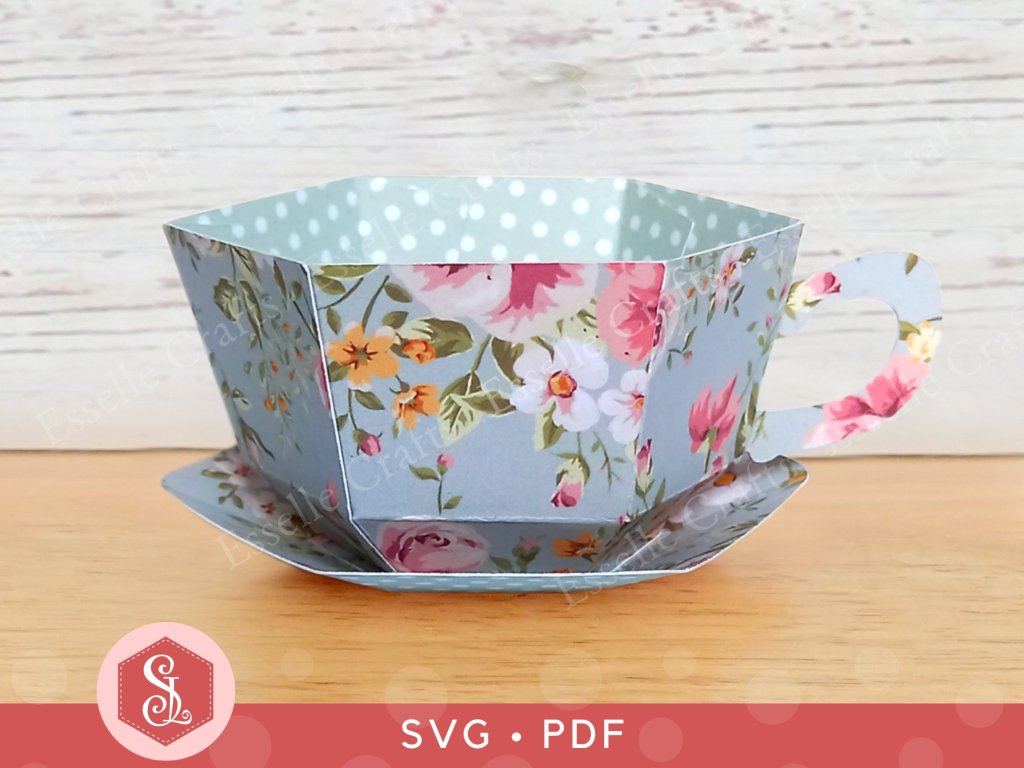
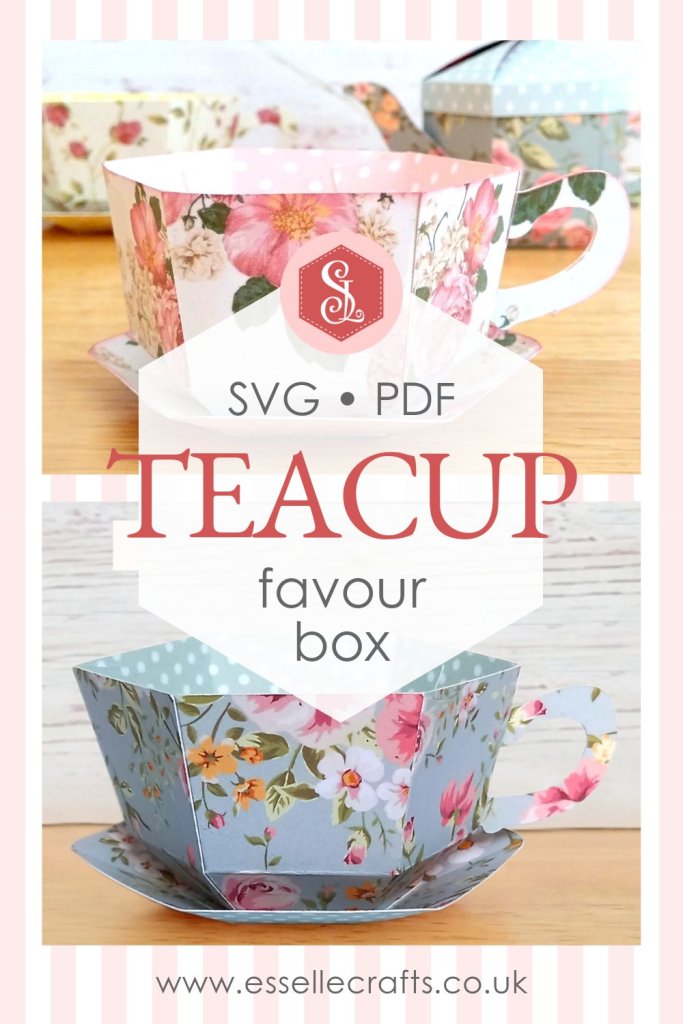
Blue Vintage Style Teacup and Saucer Favour Box by Esselle Crafts

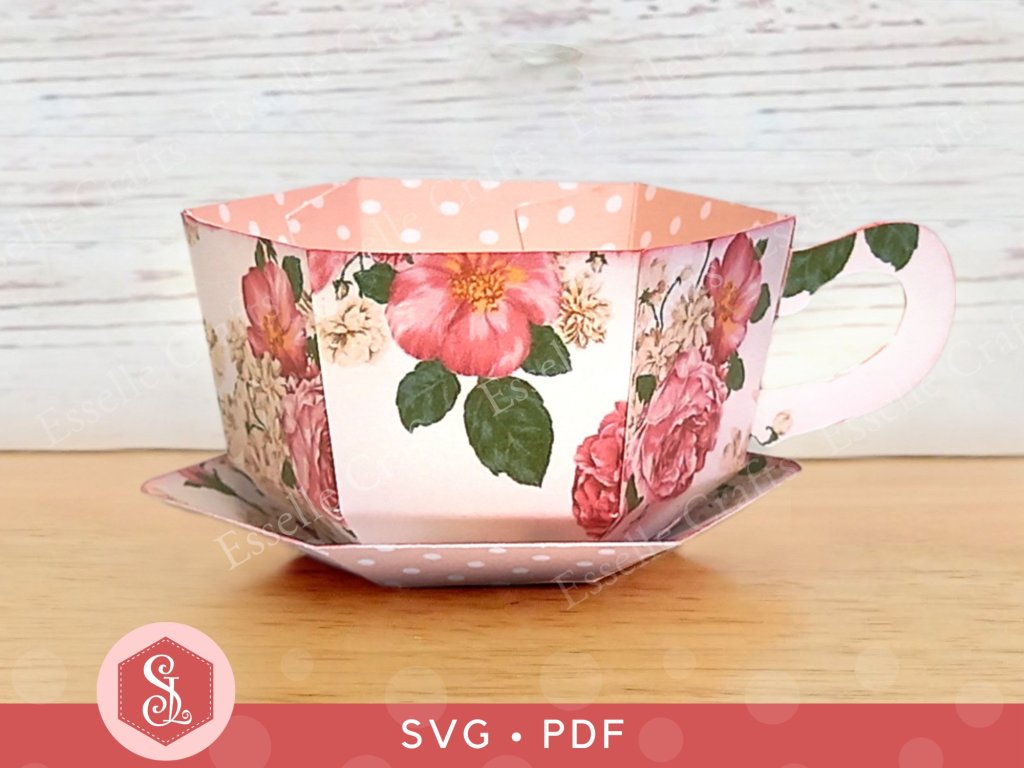
The little teacup can be filled with delicious treats and makes an ideal gift for any tea-lover! Perfect for birthday parties, wedding favours, Mother’s day gifts, tea parties and so much more!

Pink Vintage Style Teacup and Saucer Favour Box by Esselle Crafts

To make a teacup and saucer, you will need:

* Teacup Favour Box template (PDF and SVG available)
* Computer and printer to print the PDF template and instructions
* Digital cutting machine
* Double-sided, patterned cardstock (220-250gsm / 80-92lb recommended)
* Craft glue / double-sided tape

If you are not using a cutting machine you will also need:

* Craft knife / scissors
* Scoring tool
* Ruler

Watch my video tutorial showing how to assemble the teacup and saucer, and be sure to follow the tips below.

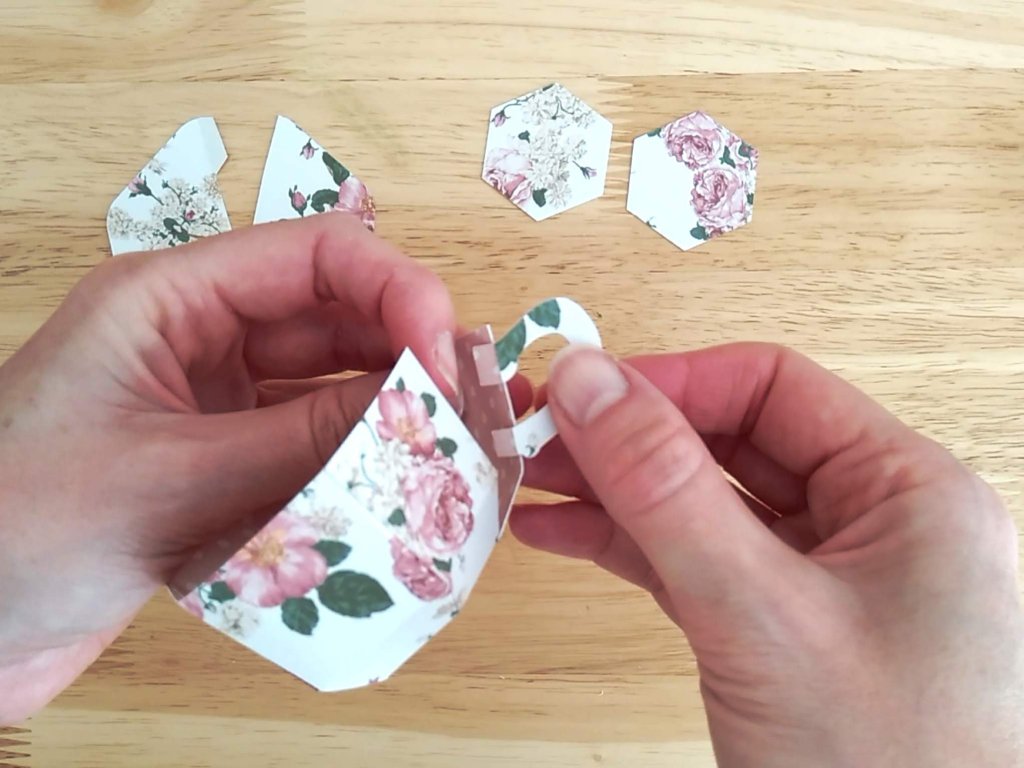
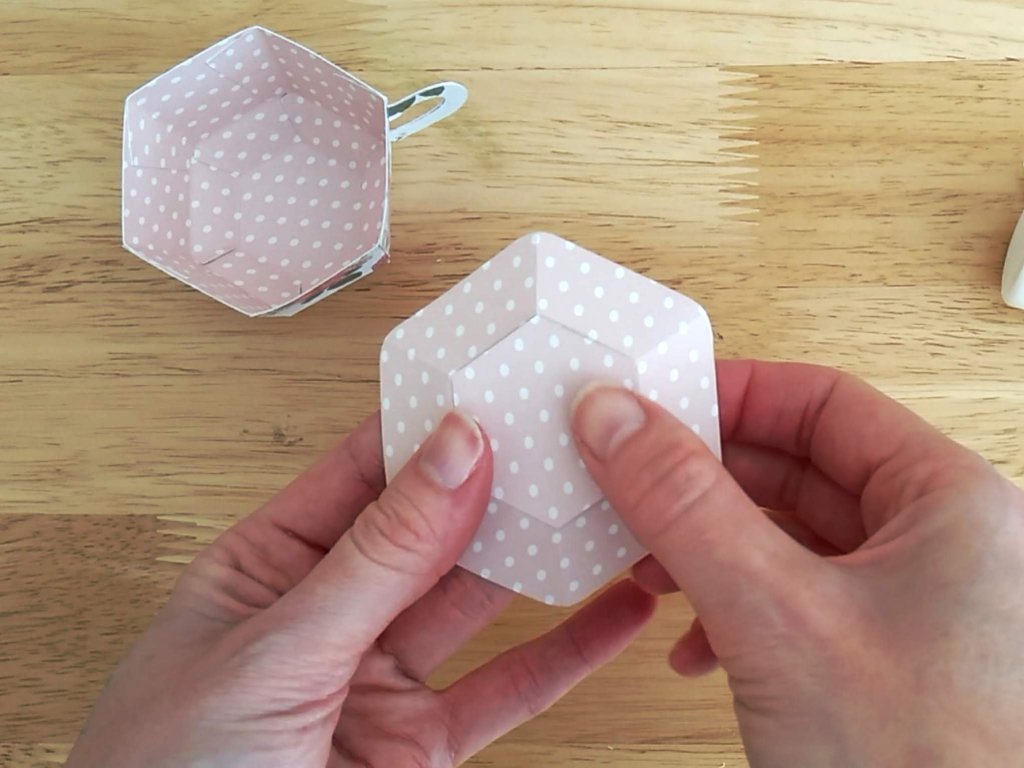
TIP 1: When attaching the handle, position it a couple of millimetres up from the second score line.

Pink Vintage Style Teacup and Saucer Favour Box by Esselle Crafts

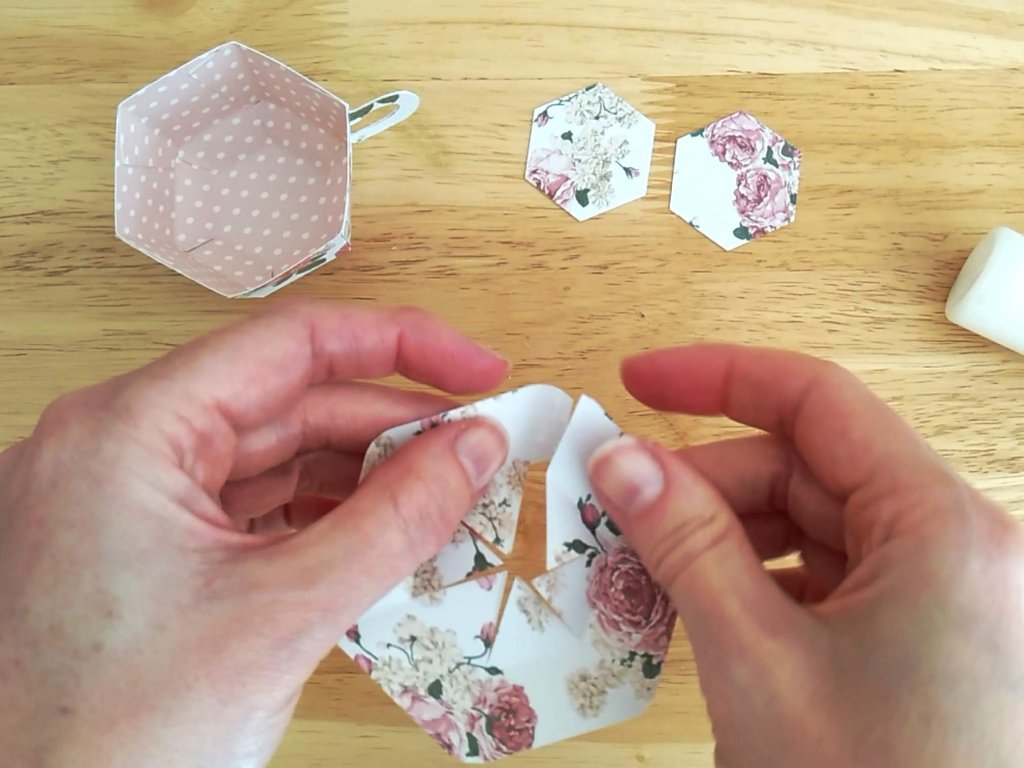
TIP 2: If you are using patterned cardstock, try turning the hexagon pieces until the pattern matches up or looks right with the rest of the saucer.

Pink Vintage Style Teacup and Saucer Favour Box by Esselle Crafts

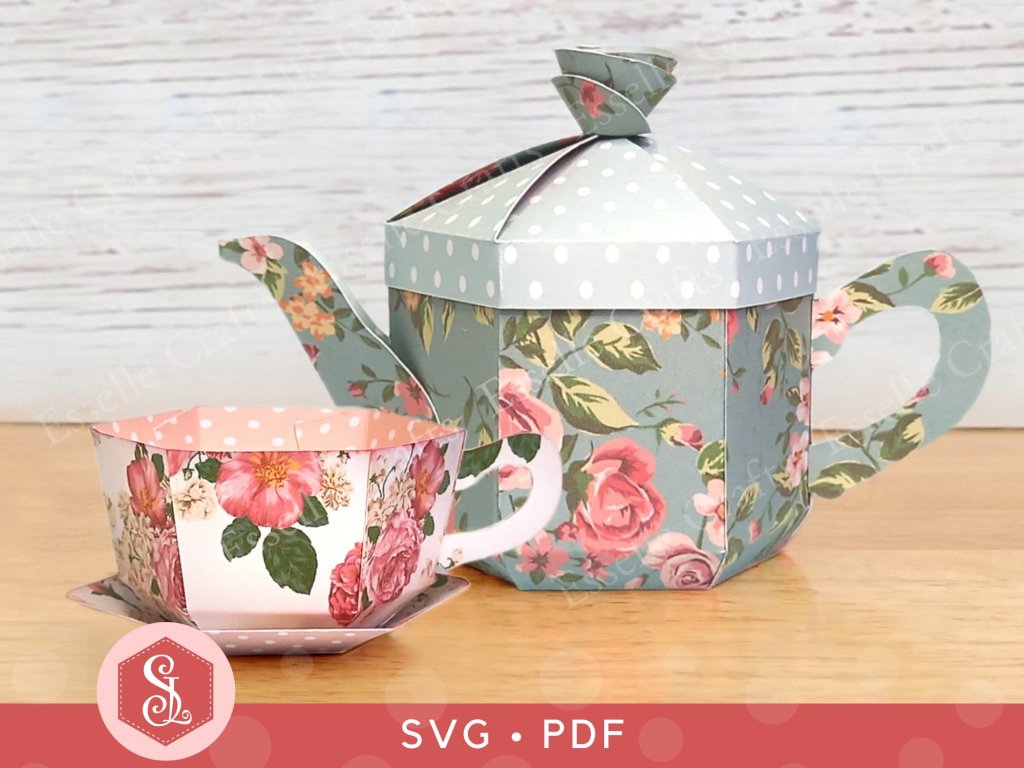
TIP 3: Team the teacup and saucer with my teapot favour box, then you can create your own fantastic little paper tea sets!

Vintage Style Paper Craft Teapot and Teacup Favour Boxes by Esselle Crafts

You can even buy the two templates as a BUNDLE from my Etsy shop!

Paper Craft Teacup and Saucer Favour Box Blog Post by Esselle Crafts

Happy crafting!
Suzanne
3D Papercraft Projects · Favour Boxes · Teapot Favour Boxes

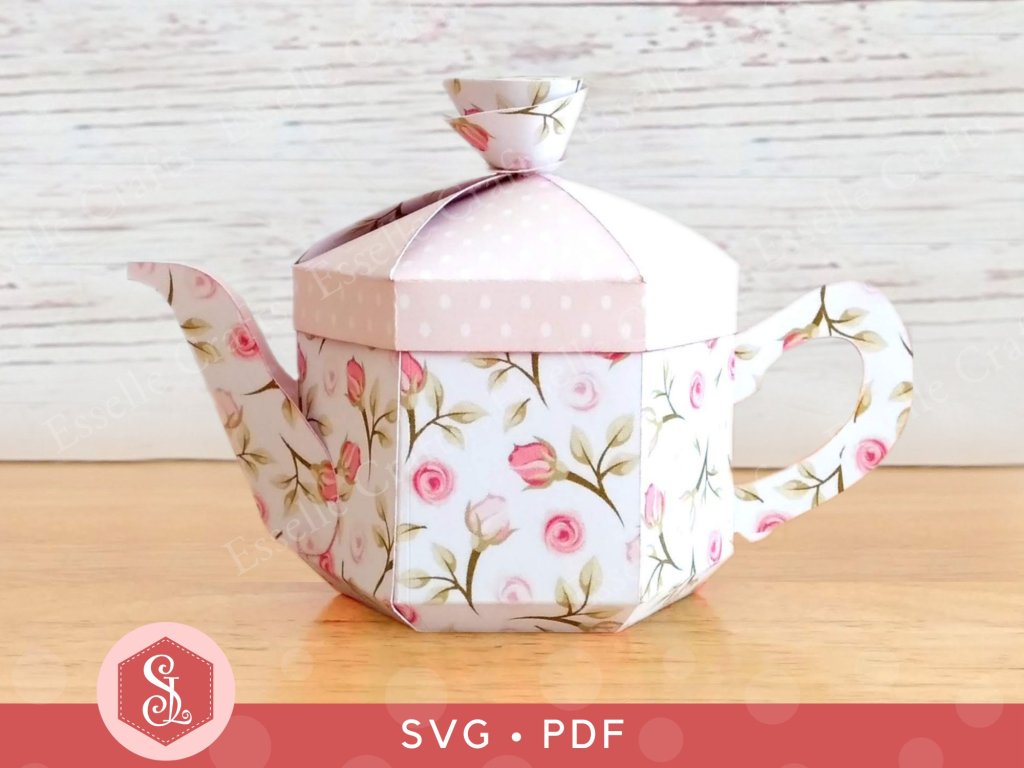
Teapot Favour Box

I recently updated my Teapot Favour Box template so that a larger sized box can be made on a 12″x  12″ cutting mat. To complement this, I have also updated my video assembly tutorial over on my YouTube channel.

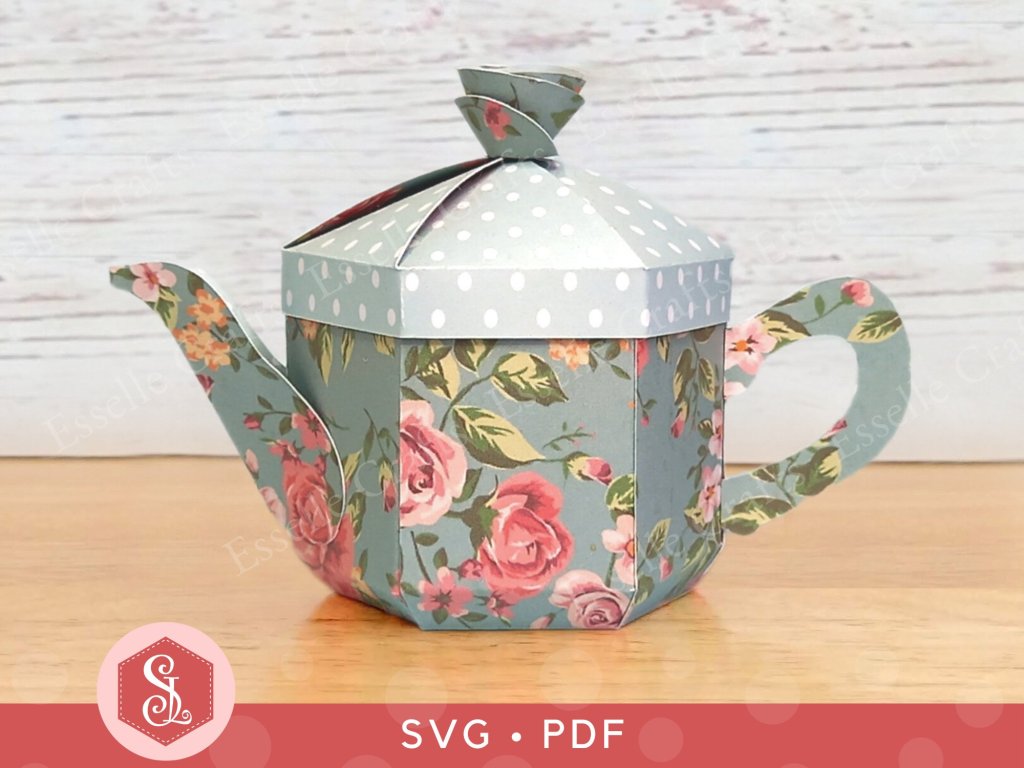
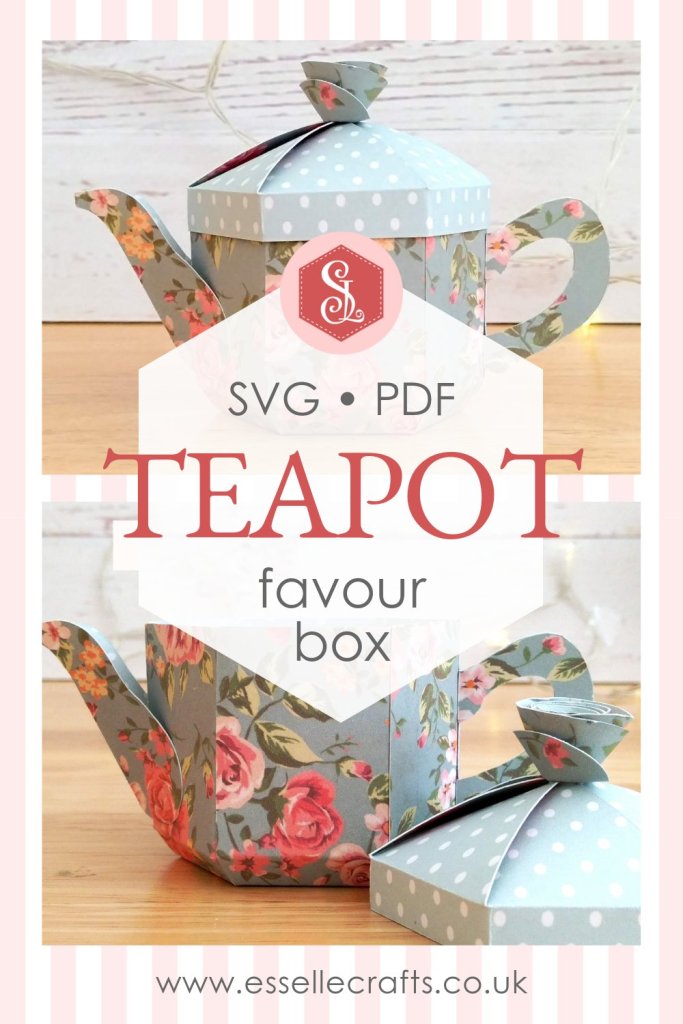
Blue, vintage style teapot favour box designed and made by Esselle Crafts

With a removable lid, this adorable little teapot box can be filled to the brim with sweets or small treats and makes an ideal gift for any tea-lover! Perfect for birthday parties, wedding favours, Mother’s day gifts, tea parties and so much more!

Pink, vintage style teapot favour box designed and made by Esselle Crafts

To make a teapot box, you will need:

* Teapot Favour Box template (PDF and SVG available)
* Computer and printer to print the PDF template and instructions
* Digital cutting machine
* Double-sided cardstock (220-250gsm / 80-92lb recommended)
* Craft glue / double-sided tape

If you are not using a cutting machine you will also need:

* Craft knife / scissors
* Scoring tool
* Ruler

Watch my new, updated video tutorial showing how to assemble the teapot box and be sure to follow the tips below.

TIP 1 : Glue the two base pieces together carefully so that the score lines match up.

3D Teapot Favour Box base assembly

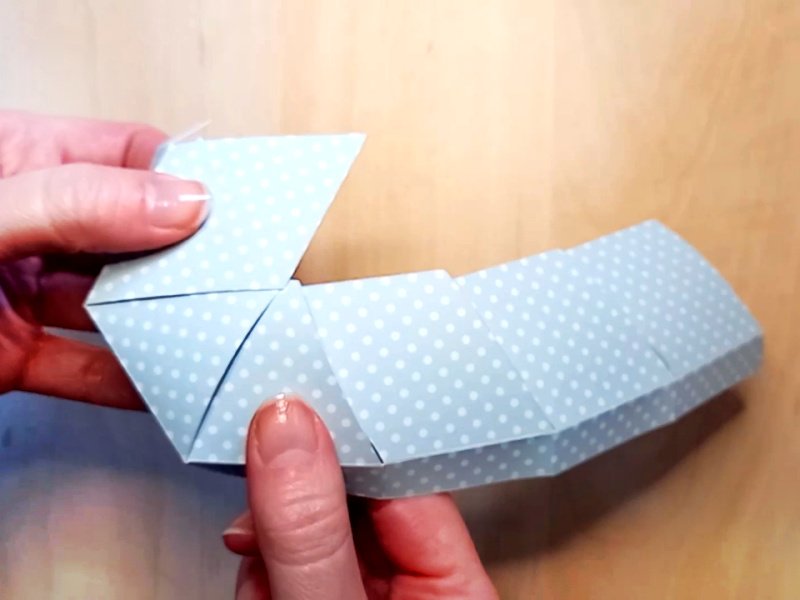
TIP 2 : Starting from the left side, tuck each of the six lid flaps into one another, then glue the small tab to the inside to secure. Make sure that all of the corners meet evenly in the centre, then apply a tiny dot of glue to the centre to hold it all in position.

3D Teapot Favour Box lid assembly

TIP 3 : After rolling the rose to the end, allow it to unroll slightly until you get the desired size. Then glue the end to the base of the rose and hold it in place until it dries. I find that using a pencil with a rubber on the end helps with this.

3D Teapot Favour Box rose assembly

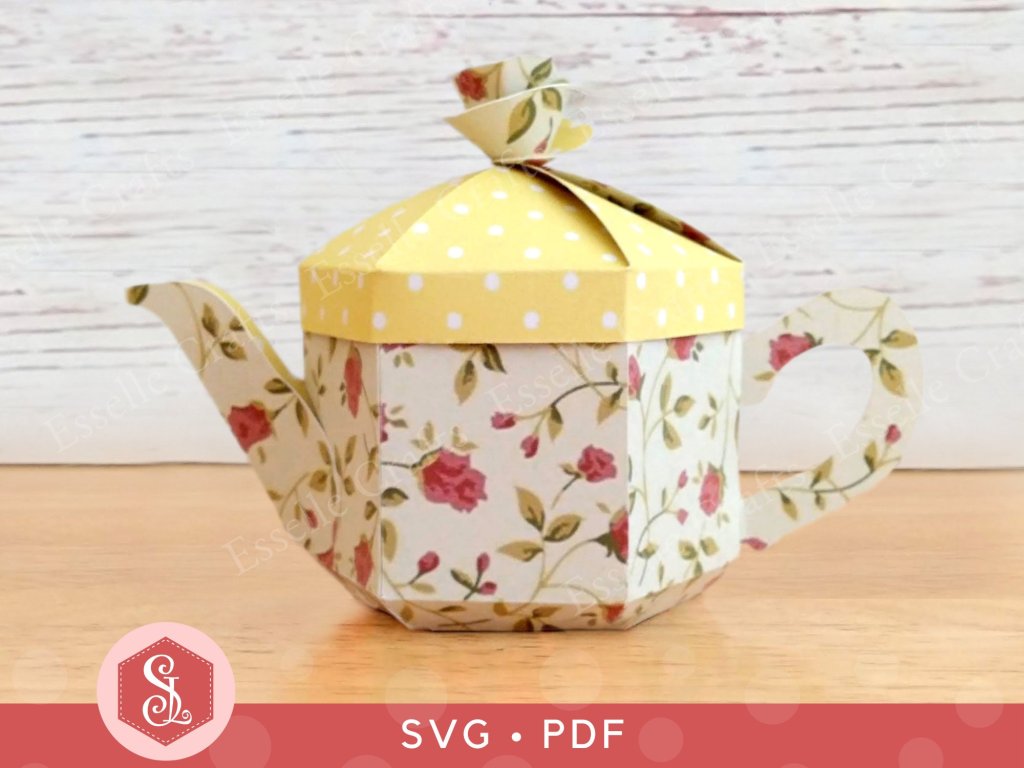
So, what will you fill your little teapot box with? Chocolates? Candies? Biscuits? Teabags? The choice is yours!

Yellow, vintage style teapot favour box designed and made by Esselle Crafts

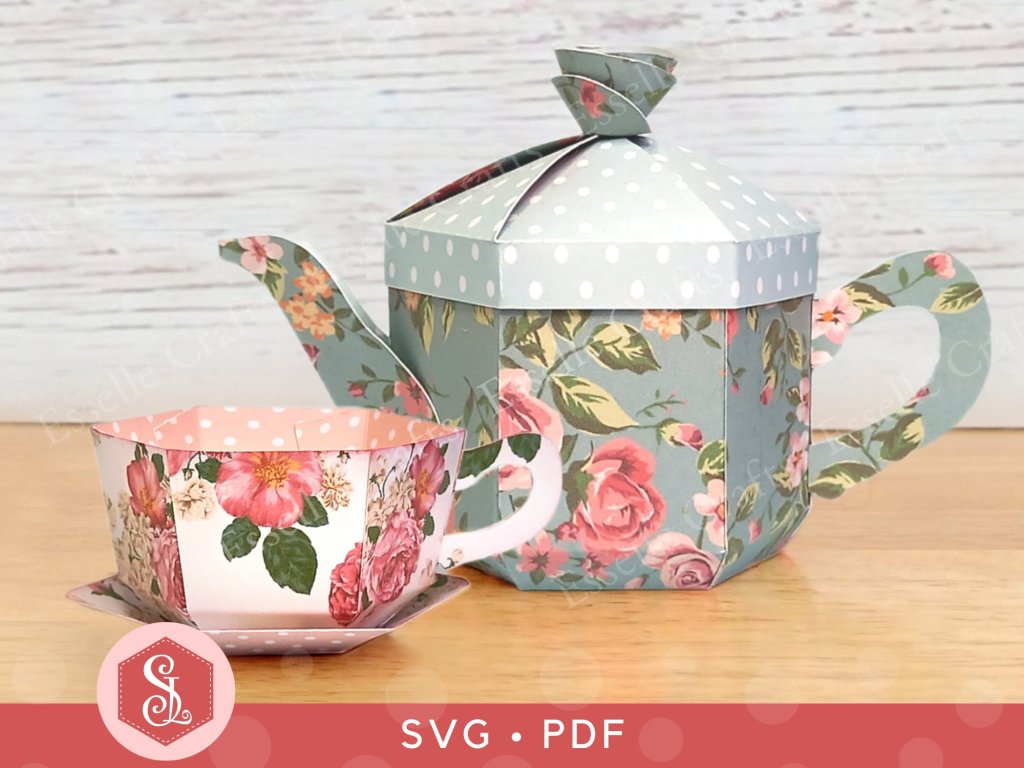
And don’t forget, if you team the teapot box with my teacup and saucer favour boxes, then you can create your own fantastic little paper tea sets!

Blue, vintage style teapot favour box and pink teacup and saucer designed and made by Esselle Crafts

You can even buy the two templates as a BUNDLE from my Etsy shop!

3D Teapot Favour Box Blog Post by Esselle Crafts

Happy crafting!
Suzanne
3D Papercraft Projects · Favour Boxes

Cupcake Favour Boxes

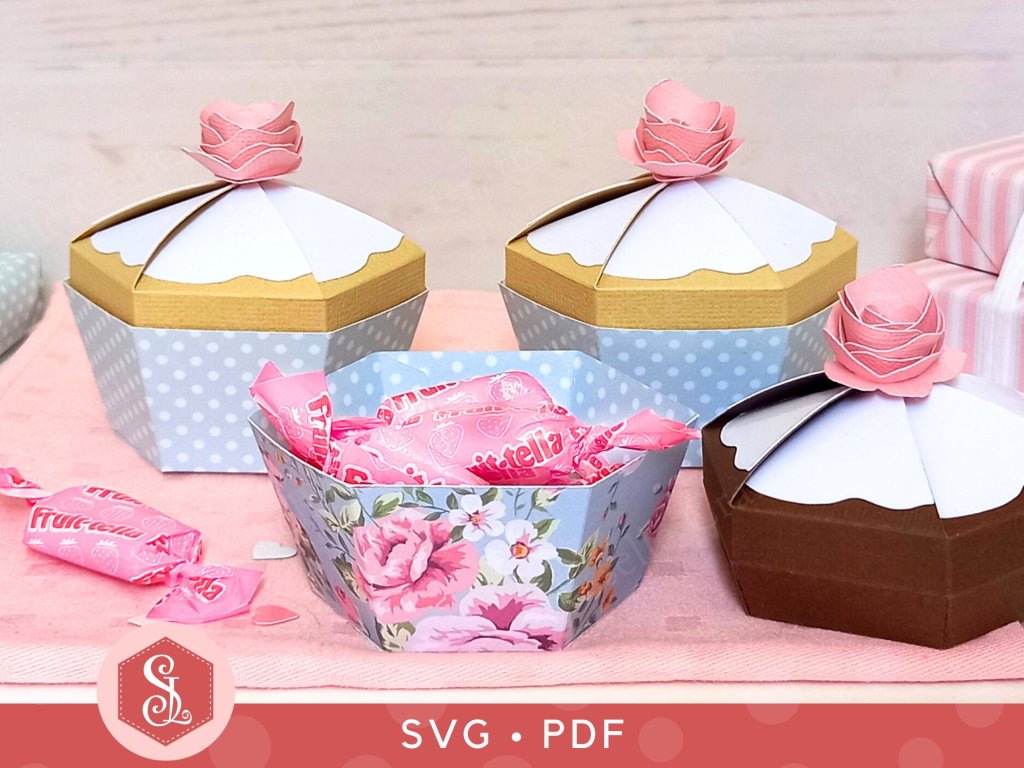
I’ve given my cupcake favour box photos a little makeover! I originally designed the box to complement my teapot favour box and my teacup and saucer but felt that the photos didn’t match. So, here they are!

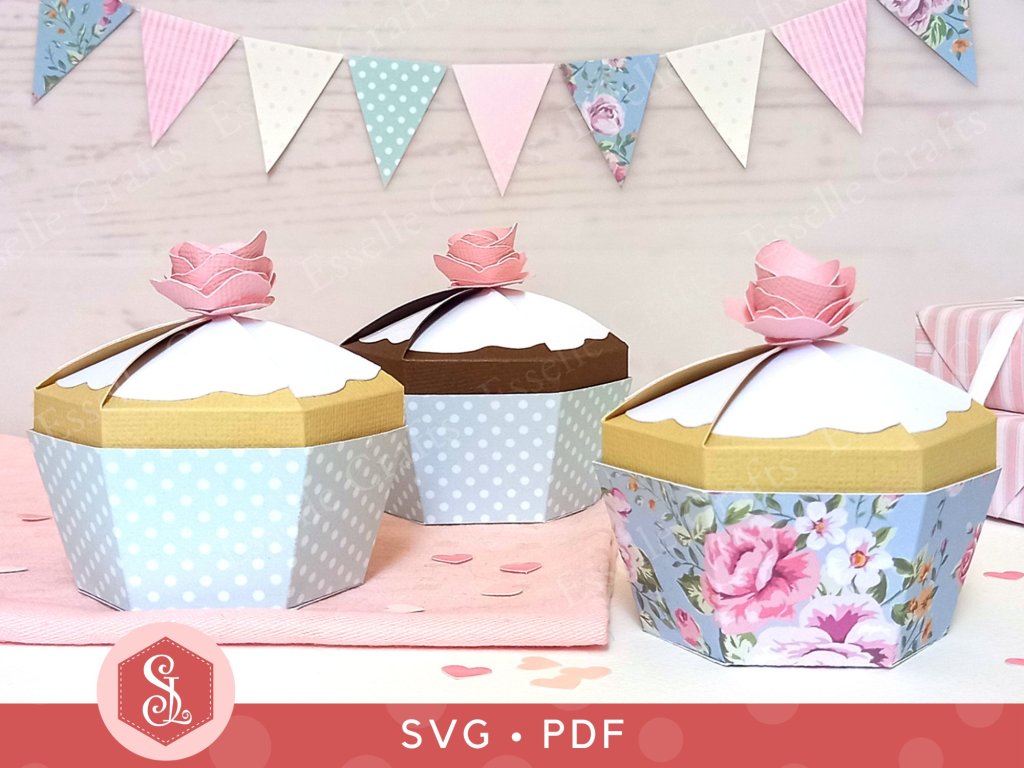
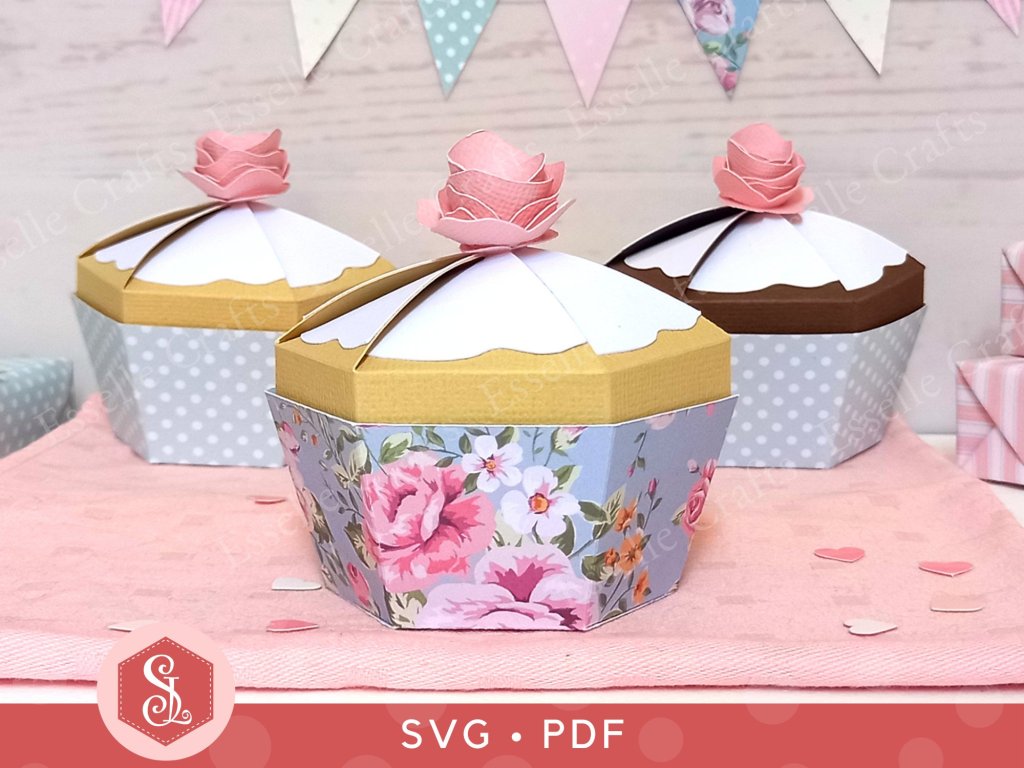
Three pastel cupcake favour boxes designed and made by Esselle Crafts

The boxes are super cute and the template is easy to assemble and, once they are filled with delicious treats or small gifts, they make the perfect addition to any tea party or celebration! 🧁

Three pastel cupcake favour boxes designed and made by Esselle Crafts

To make a cupcake box, you will need:

* Cupcake Favour Box template (SVG and PDF available)
* Computer and printer to print the PDF templates and instructions
* Double-sided / patterned cardstock (220-250gsm / 80-92lb recommended)
* Thinner card for the icing panels (160gsm / 60lb recommended)
* Craft glue / double-sided tape

If you are not using a digital cutting machine, you will also need:

* Craft knife / scissors
* Scoring tool
* Ruler

Watch my video tutorial showing how to assemble the box and be sure to follow the tips below:

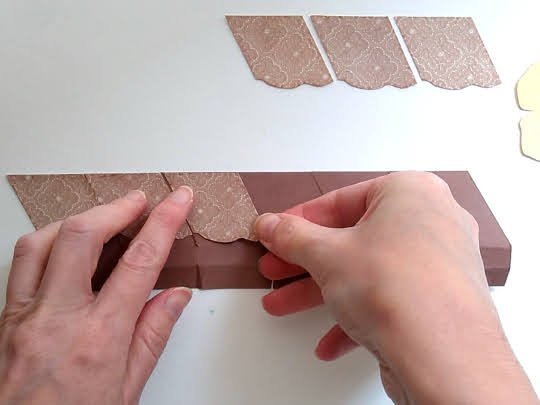
TIP 1 : I recommend using thinner card for the icing panels (approx 160gsm / 60lb) as the lid may not close properly if it’s too thick. Patterned or embossed papers work really well for these panels to create texture and interest.

Adding textured icing panels to a cupcake favour box

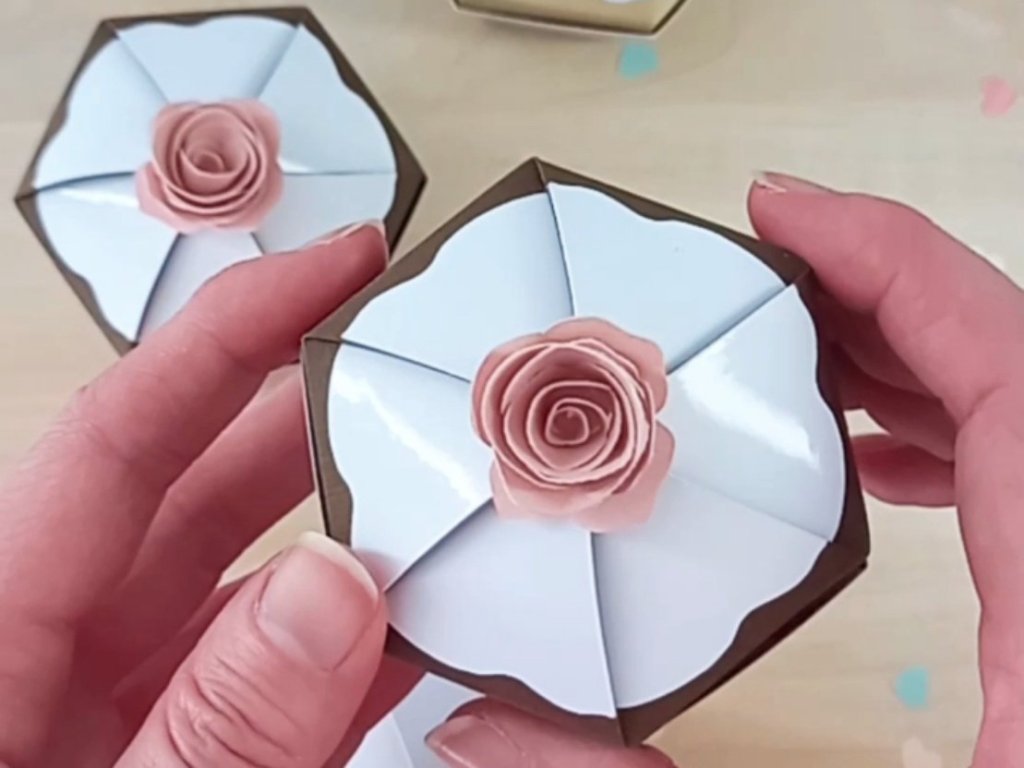
TIP 2 : Try inking the edges of the icing panels before gluing them into place to give them added definition. You could also use glossy card (as I’ve done here) or apply a thin layer of acrylic gloss varnish to really make the icing sparkle! ✨

White, glossy card icing on a cupcake favour box

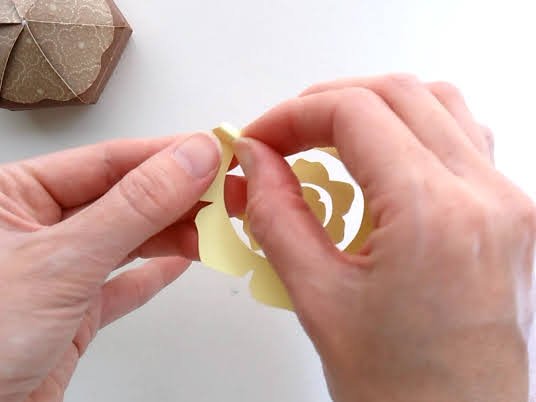
TIP 3 : Allow the rose to unroll slightly before gluing it. You could also apply a little acrylic gloss varnish to the edges of the finished rose to look like a glaze.

Making a paper rose for a cupcake favour box

Choosing your own colour scheme means you can match your little cupcake favour boxes to any occasion or celebration. I really love these vintage pastel coloured boxes. They would look great as wedding favours, or you could make a really big one as a centerpiece for a birthday or for Mother’s Day.

Three pastel cupcake favour boxes designed and made by Esselle Crafts

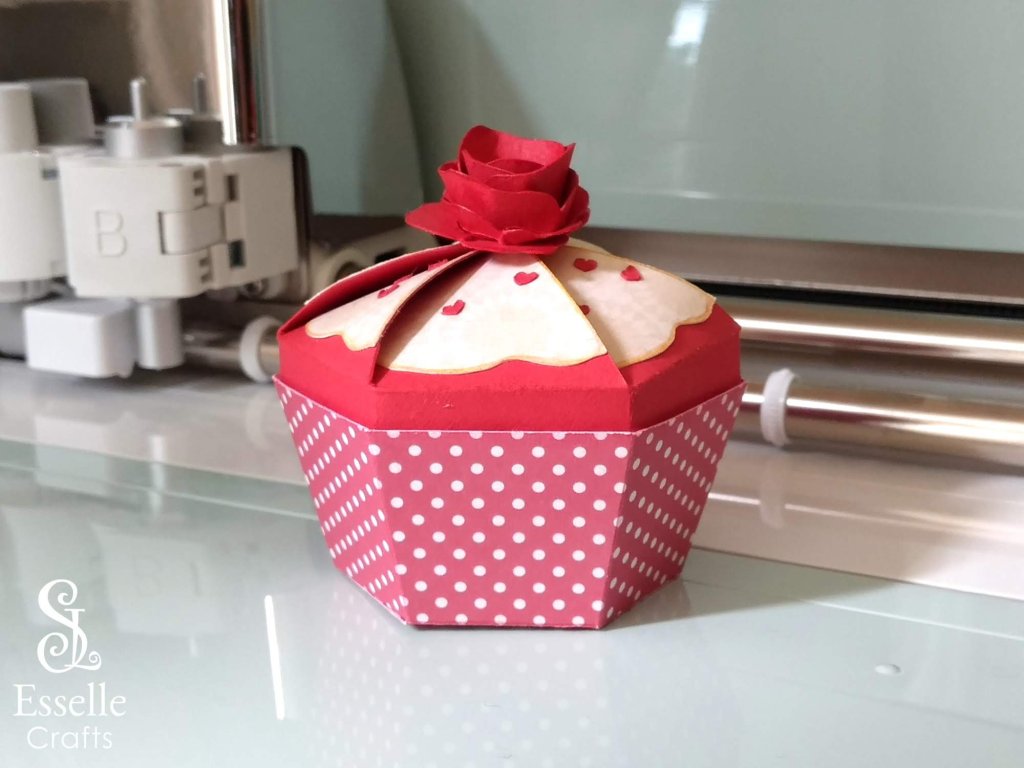
This little red velvet cupcake box (that I made previously) is still my favourite! 🧁 I had so much fun choosing the colours and patterns for it, but it would not have been possible without my fabulous Cricut cutting machine! ❤️ Those teeny tiny hearts that I added on for extra detail are about 3mm wide! Imagine cutting those out by hand!

A small, red velvet inspired cupcake favour box designed and made by Esselle Crafts

Whether you’re using the SVG cut files or the PDF file, resizing the templates is super easy. Imagine giving a tiny one to someone with a surprise gift inside!💍

Cupcake Favour Box Blog Post by Esselle Crafts

I would really love to see the little cupcake boxes you create using this template and what you put inside them. Maybe you could make one a little bit bigger and put a real cupcake inside it – then you truly could have your cake and eat it! 🧁

Happy crafting!
Suzanne
3D Papercraft Projects · Favour Boxes

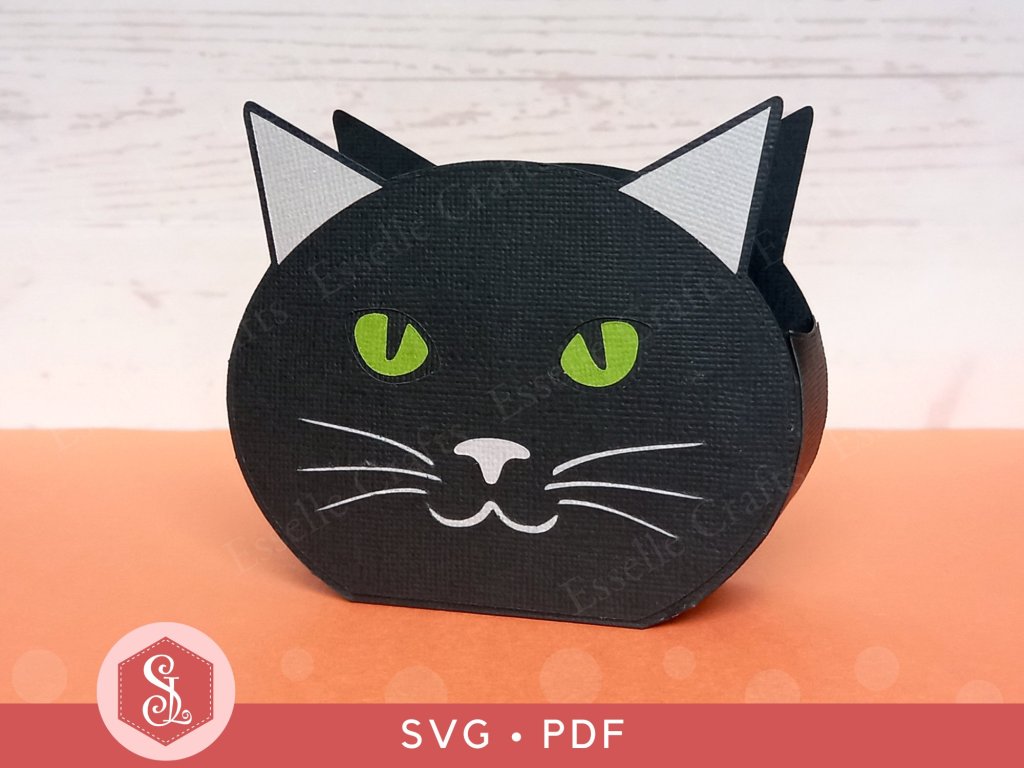
Black Cat Favour Box

Following on from my previous post, where I introduced you to my Tabby Cat Favour Boxes, I have now made a Black Cat version – perfect for Halloween treats!

Black Cat Favour Box by Esselle Crafts

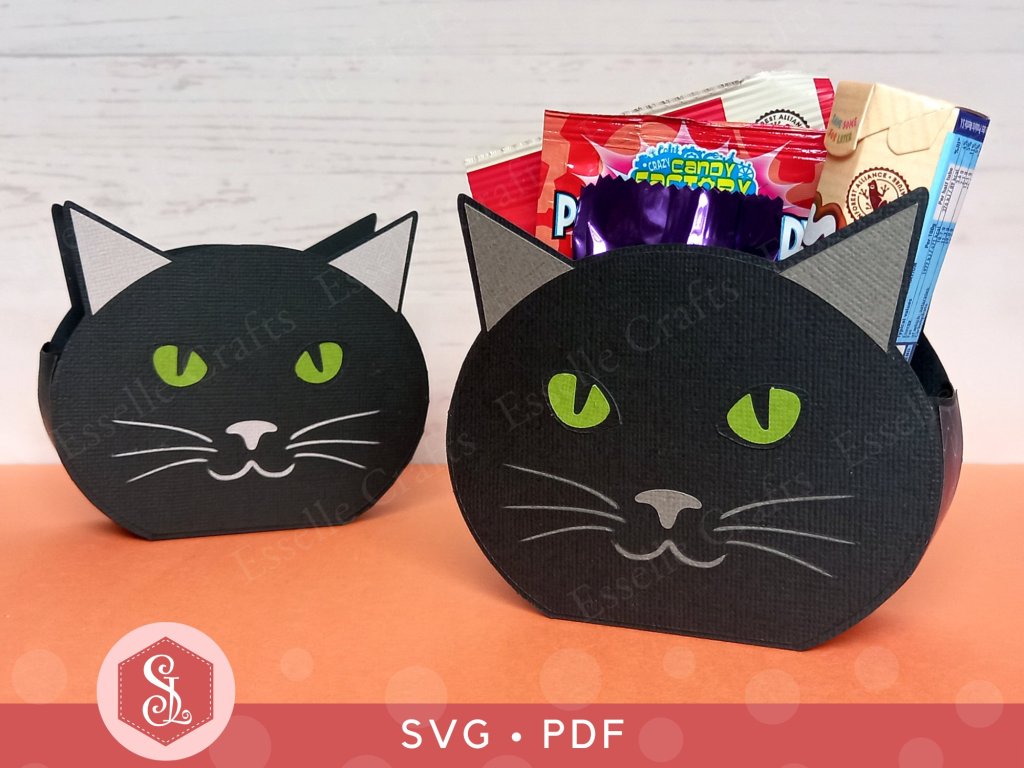
Easy to assemble, you can make the cat head box in any colour you wish (it doesn’t have to be black) and adapt the colour of the eyes, nose and whiskers to match! Ideal as little table favours or for a cat-themed party, you can fill them with sweets, chocolates or small gifts.

Black Cat Favour Boxes filled with Halloween Candy

Available from my Etsy shop, the template comes as an SVG cut file, as well as a PDF if you prefer to cut out by hand.

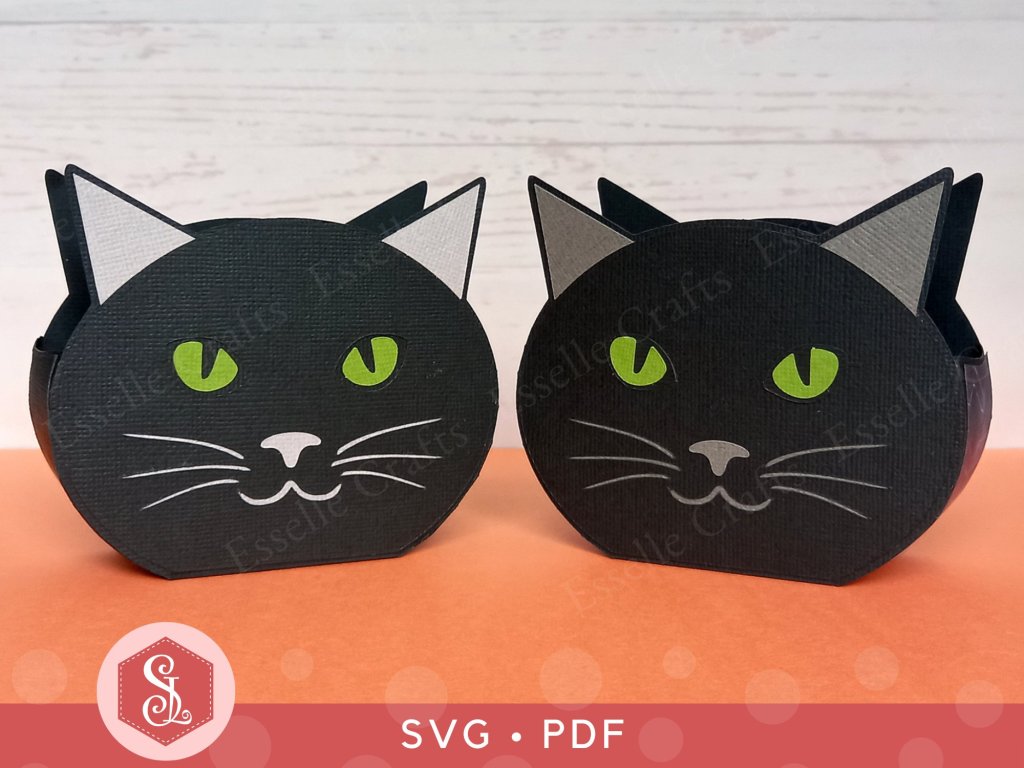
Two Black Cat Favour Boxes

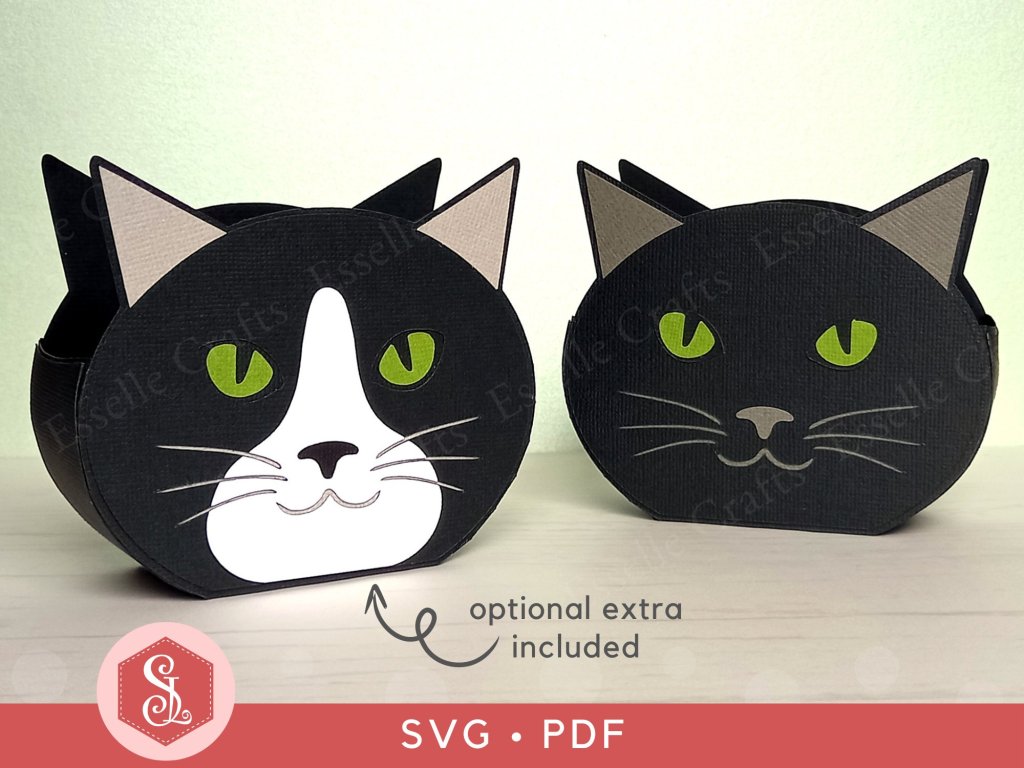
PLUS you get an optional extra white face patch to create a bi-colour cat face, like a tuxedo cat!

Two Black Cat Favour Boxes

To make one of these cat boxes, you will need:

* Black Cat Favour Box template (SVG and PDF available)
* Computer and printer to print the PDF templates and instructions
* Double-sided, textured cardstock (220-250gsm / 80-92lb recommended)
* Craft glue / double-sided tape

If you are not using a digital cutting machine, you will also need:

* Craft knife / scissors
* Scoring tool
* Ruler

Watch my video tutorial showing how to assemble the box and be sure to follow the tips below:

TIP 1 : After gluing the side panels on, gently curve the sides using your fingers or a bone folder before the glue dries. This will make assembling the box much easier and give it a neater finish.

Assembling the black cat favour box side

TIP 2 : Instead of using plain black cardstock on the side panels, why not use a spooky halloween patterned paper! Here I’ve used a spider web design on the box on the left.

Black Cat Favour Boxes by Esselle Crafts

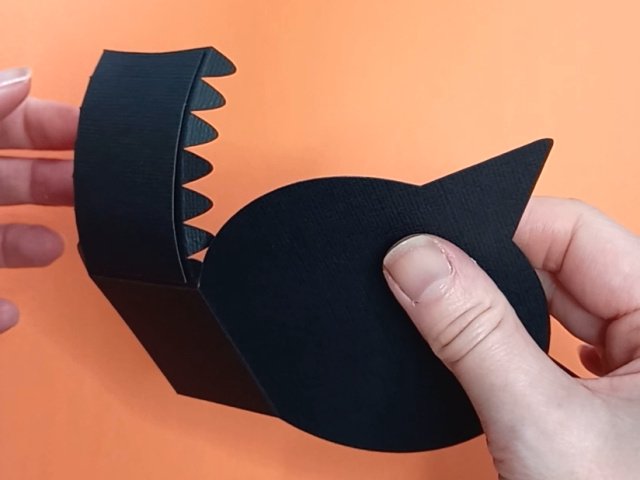
TIP 3 : Make sure that the (grey) whiskers / mouth panel and the (black) eyes panel completely cover the cut out sections. They should line up like this:

Assembling the black cat favour box face

The cat box measures approximately 11cm (W ) x 9.5cm (H) x 4cm (D)  /  4.3″ (W ) x 3.74″ (H) x 1.6″ (D), however, this is only meant as a guide, as the templates can easily be re-sized to suit your needs.

Black Cat Favour Boxes Blog by Esselle Crafts

I hope that I have now inspired you to create your own little cat favour boxes (whether black or tabby) and I can’t wait to see what you fill them with!

Suzanne

3D Papercraft Projects · Favour Boxes

Tabby Cat Favour Boxes

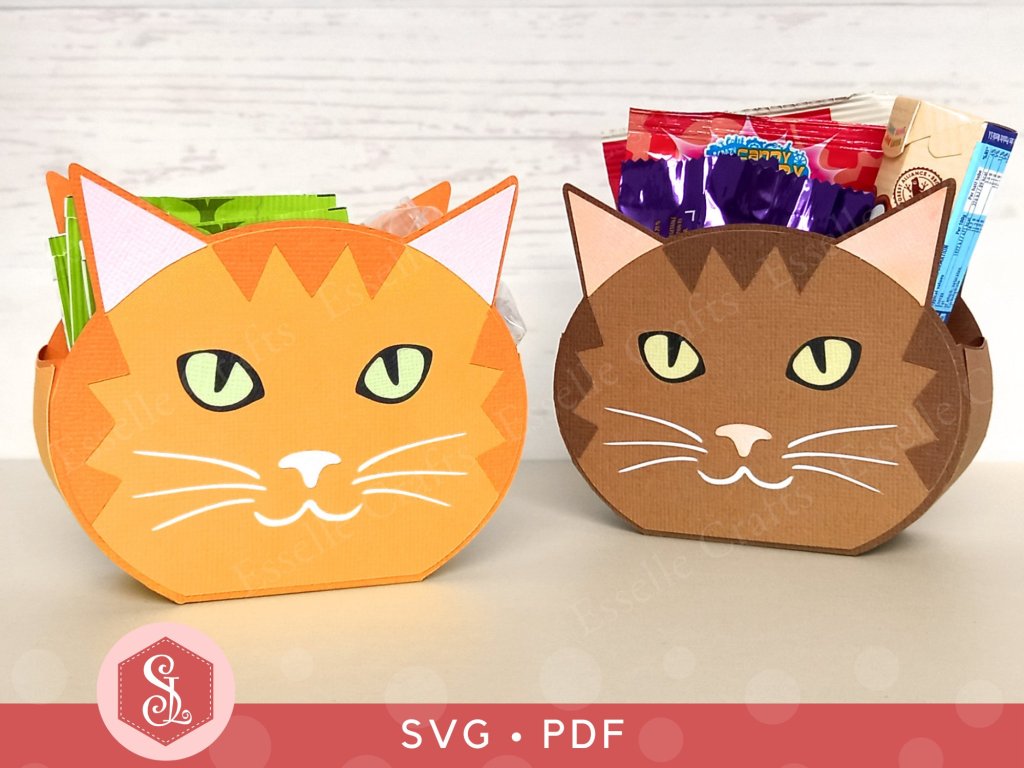
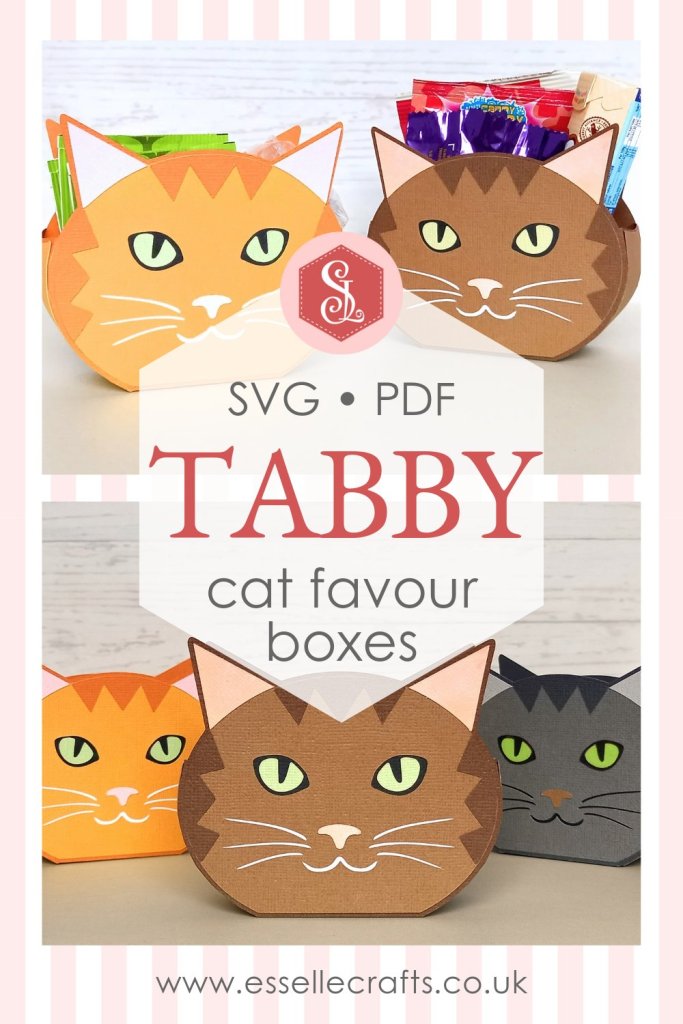
These little Tabby Cat Favour Boxes make the perfect gift box for any cat lover! Easy to assemble, you can make the tabby cat head in any colour you wish and adapt the colour of the eyes, nose, whiskers and stripes to match!

Three Tabby Cat Favour Boxes by Esselle Crafts

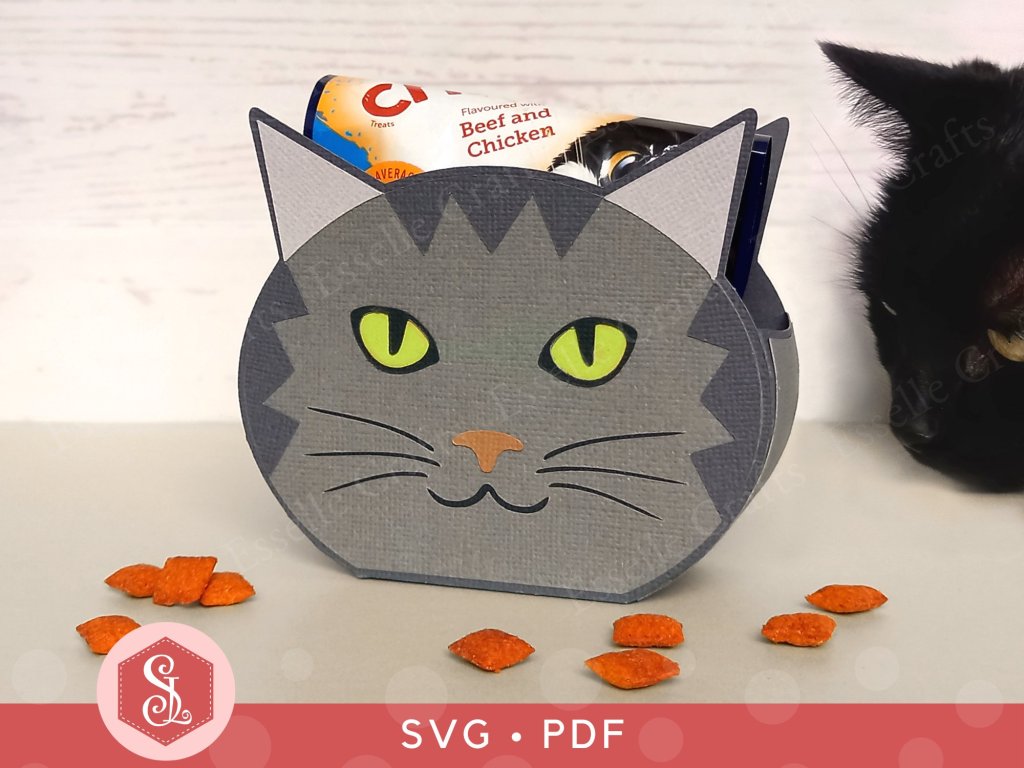
Ideal as little table favours or for a cat-themed party, you can fill them with sweets, chocolates or small gifts. You could even put some cat treats in them like I did – much to Prince’s delight! 🐈‍⬛

Silver Grey Tabby Cat Favour Box with cat treats by Esselle Crafts

Available from my Etsy shop, the template comes as an SVG cut file, as well as a PDF if you prefer to cut out by hand. 

Two Tabby Cat Favour Boxes filled with treats by Esselle Crafts

PLUS you get an optional extra white face patch to create a bi-colour cat face!

Two Tabby Cat Favour Boxes by Esselle Crafts

To make one of these cat boxes, you will need:

* Tabby Cat Favour Box template (SVG and PDF available)
* Computer and printer to print the PDF templates and instructions
* Double-sided, textured cardstock (220-250gsm / 80-92lb recommended)* Craft glue / double-sided tapeIf you are not using a digital cutting machine, you will also need:

* Craft knife / scissors
* Scoring tool
* Ruler

Watch my video tutorial showing how to assemble the box and be sure to follow the tips below:

TIP 1 : After gluing the side panels on, gently curve the sides using your fingers or a bone folder before the glue dries. This will make assembling the box much easier and give it a neater finish.

Brown Tabby Cat Favour Box Assembly by Esselle Crafts

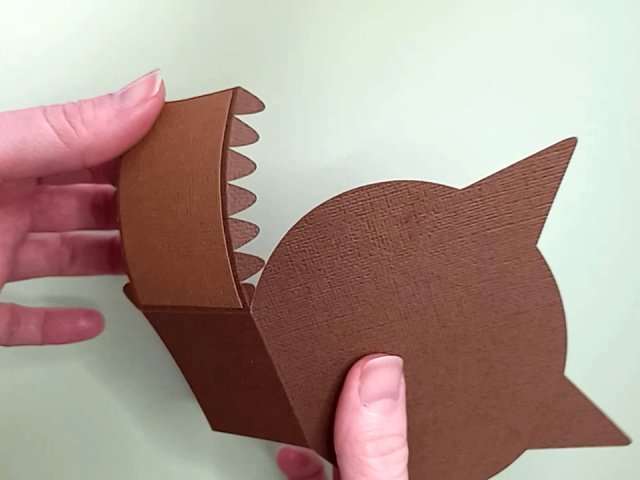
TIP 2 : Make sure that the (white) whiskers / mouth panel and the (black) eyes panel completely cover the cut out sections. They should line up like this:

Brown Tabby Cat Favour Box assembly by Esselle Crafts

The cat boxes measure approximately 11cm (W ) x 9.5cm (H) x 4cm (D)  /  4.3″ (W ) x 3.74″ (H) x 1.6″ (D), however, this is only meant as a guide, as the templates can easily be re-sized to suit your needs.

Tabby Cat Favour Boxes by Esselle Crafts

I hope that I have inspired you to create your own little Tabby Cat favour boxes using my template and I can’t wait to see what you fill them with!

Suzanne

Favour Boxes · Teapot Favour Boxes

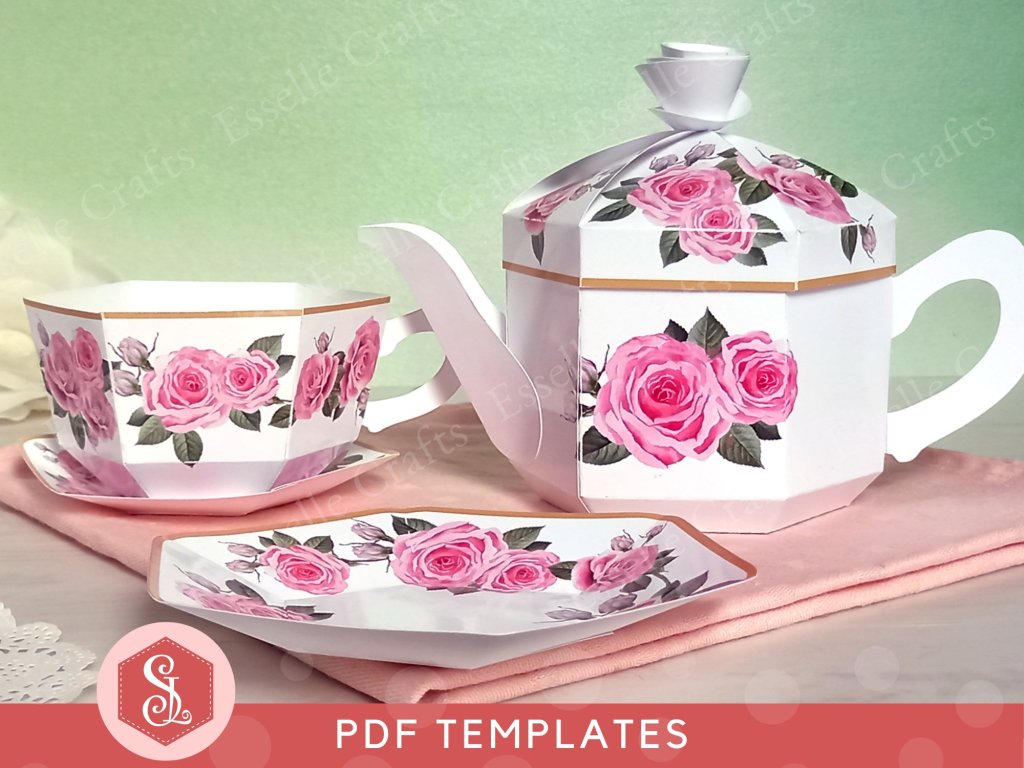
PDF Rose Tea Party Set

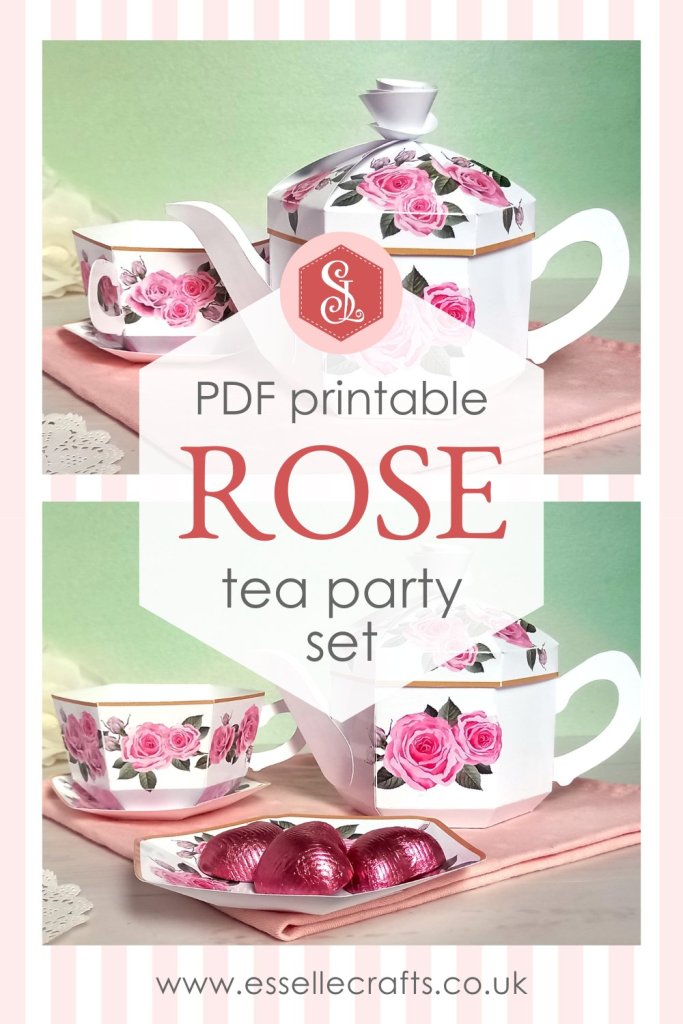
In anticipation of warmer, sunny days and with Mother’s Day on the horizon, I have created this pretty printable rose tea party set!

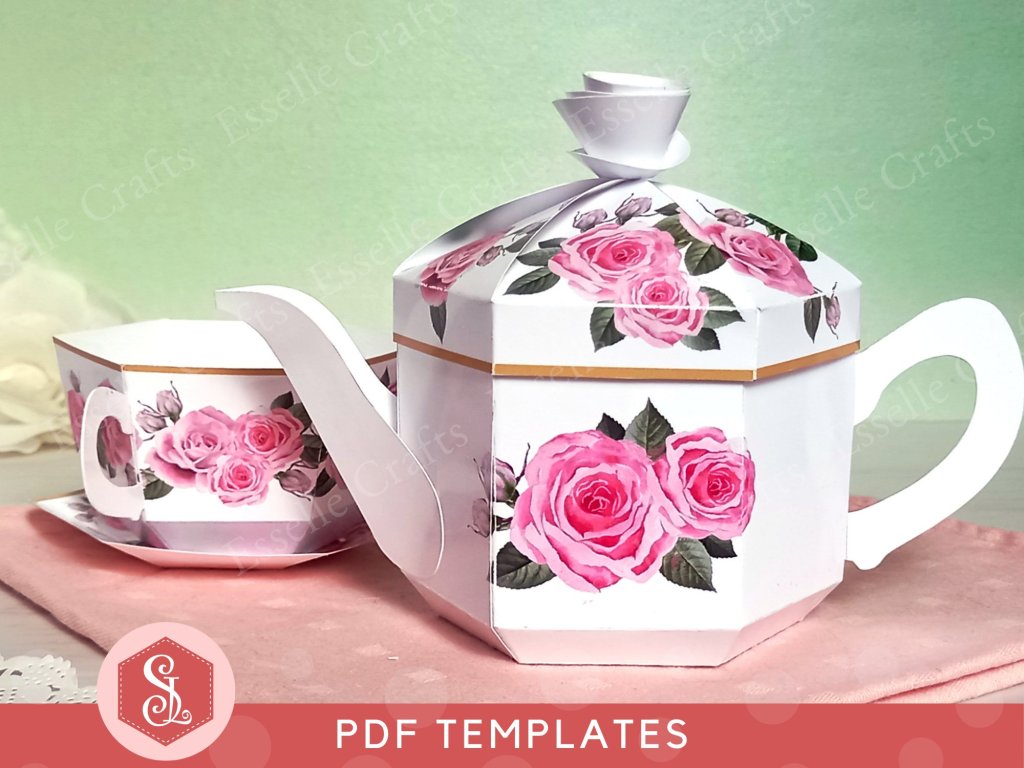
PDF Rose Tea Party Set by Esselle Crafts

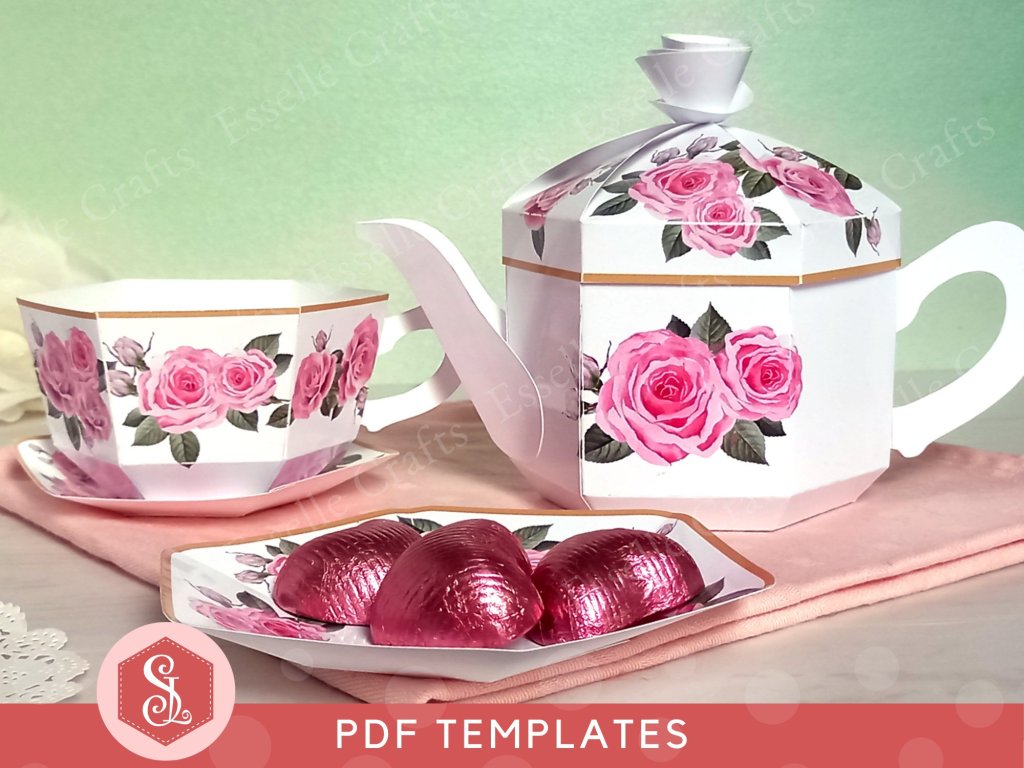
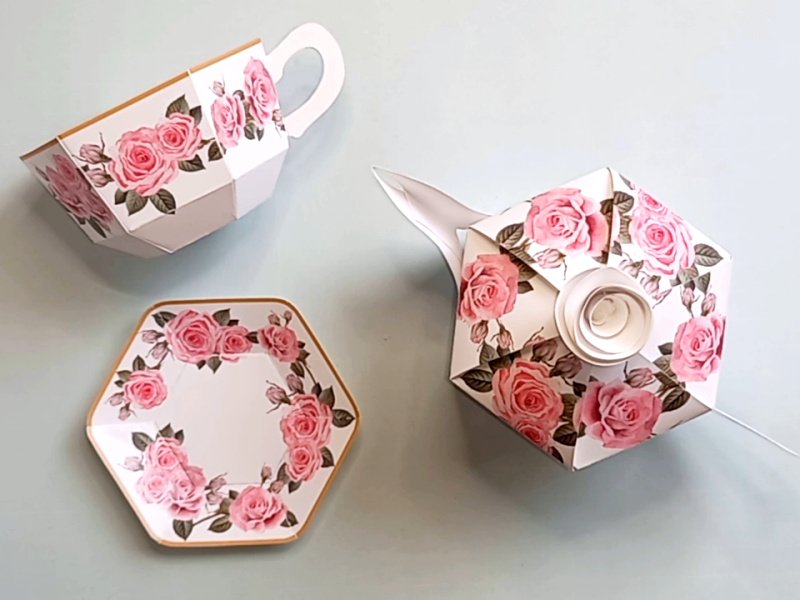
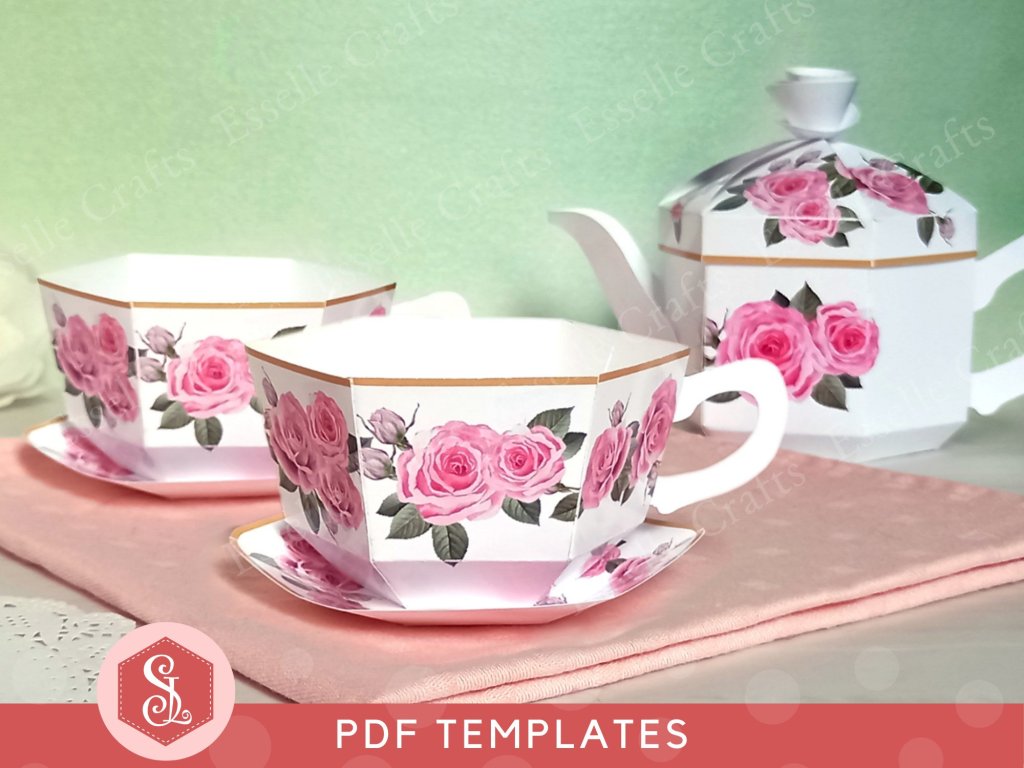
Consisting of a beautiful teapot box with removable lid and a matching teacup and saucer these easy to assemble favour boxes are certain to delight and will be the talk of the party!

PDF Rose Tea Party Set by Esselle Crafts

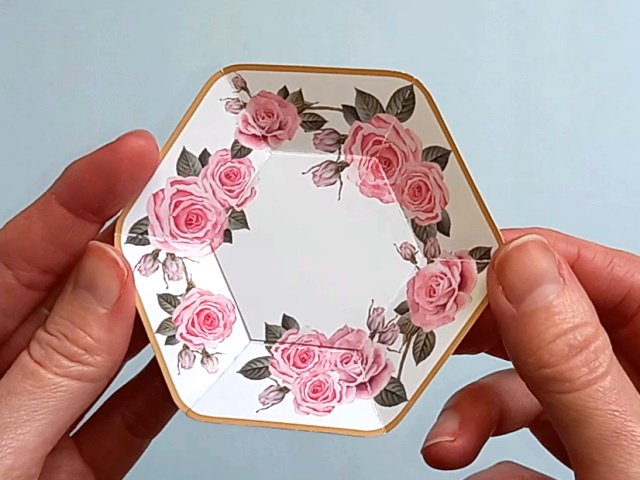
I’ve also included a larger version of the saucer, which will make a perfectly matching tea plate / side plate, just right for holding wrapped chocolates or biscuits!

PDF Rose Tea Party Set by Esselle Crafts

The templates are available as full colour PDFs and are designed for use on A4 photo quality paper (white, glossy 220-250gsm / 80-90lb recommended), however they can be re-sized before printing. All of the instructions are written clearly in English.

PDF Rose Tea Party Set Blog Post by Esselle Crafts

To make your very own rose favour box tea set, you will need:

* Rose Tea Party Set templates (PDF)
* Computer and printer to print the PDF templates
* Plain white cardstock or photo quality paper (glossy 220-250gsm / 80-92lb recommended)
* Craft glue / double-sided tape
* Craft knife / scissors
* Scoring tool
* Ruler

Approximate dimensions of teapot box: 16cm (W ) x 10.2cm (H) x 7.8cm (D) / 6.3″ (W ) x 4″ (H) x 3.1″ (D).

Approximate dimensions of teacup: 11cm (W ) x 4.7cm (H) x 8cm (D) / 4.3″ (W ) x 1.85″ (H) x 3.15″ (D).

Approximate dimensions of tea plate: 12cm (W ) x 1.2cm (H) x 11cm (D)  /  4.7″ (W ) x 0.5″ (H) x 4.3″ (D). 

Watch my video tutorial showing how to assemble the boxes and be sure to follow the tips below:

TIP 1 : Printing the PDF templates onto glossy photo paper will give the boxes a realistic, shiny finish.

PDF Rose Tea Party Set by Esselle Crafts

TIP 2 : Match the patterned hexagon with the pattern on the saucer (and the tea plate) to give it a seamless look.

PDF Rose Tea Party Set by Esselle Crafts

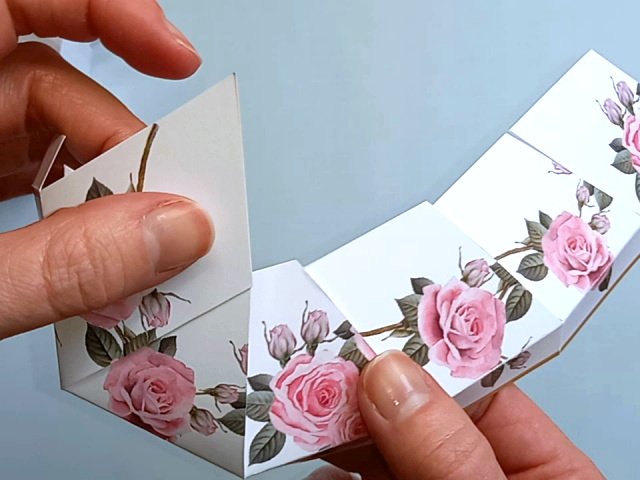
TIP 3 : For the teapot lid, start at the left side and tuck the six flaps into each other so that they all meet in the centre.

PDF Rose Tea Party Set by Esselle Crafts

You can print and make as many of these items as you wish and fill them with lots of little treats! Perfect for Mother’s Day celebrations, wedding favours, afternoon tea parties and so much more!

PDF Rose Tea Party Set by Esselle Crafts

I really hope you like this pretty tea set and will feel inspired to create your very own! 

Suzanne
Favour Boxes

Handbag Favour Boxes

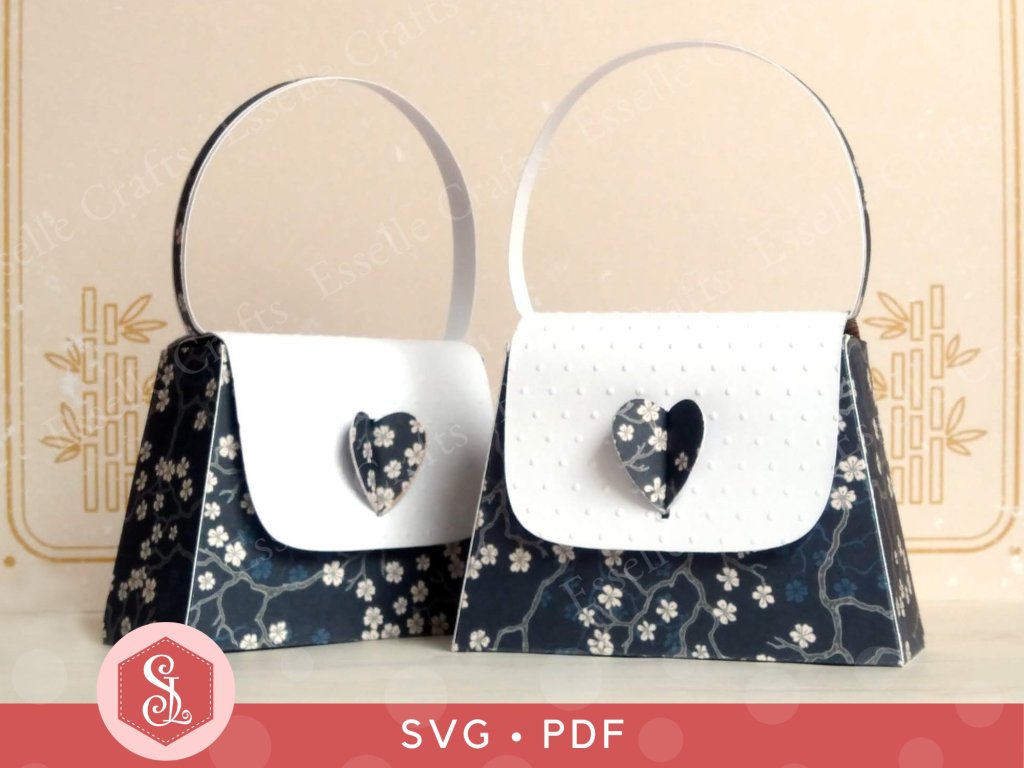
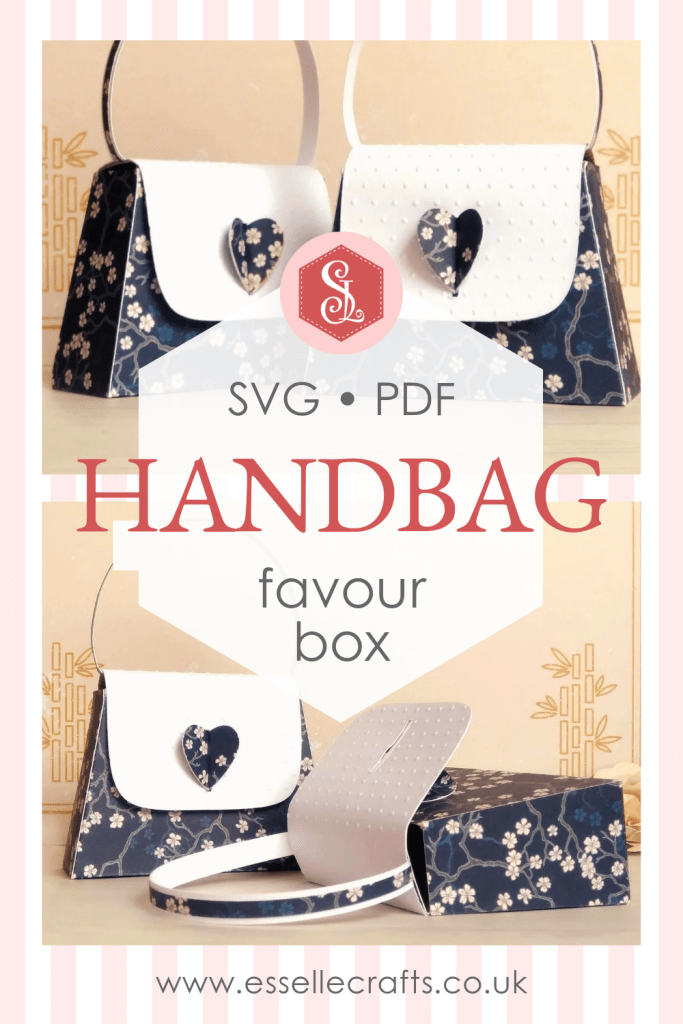
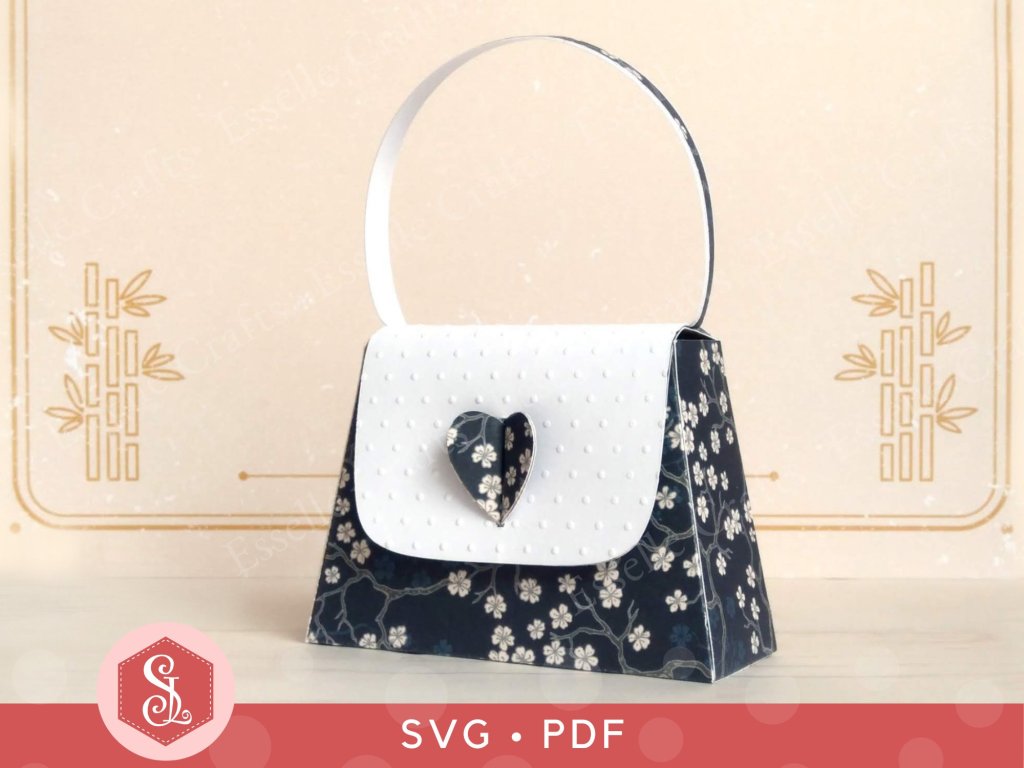
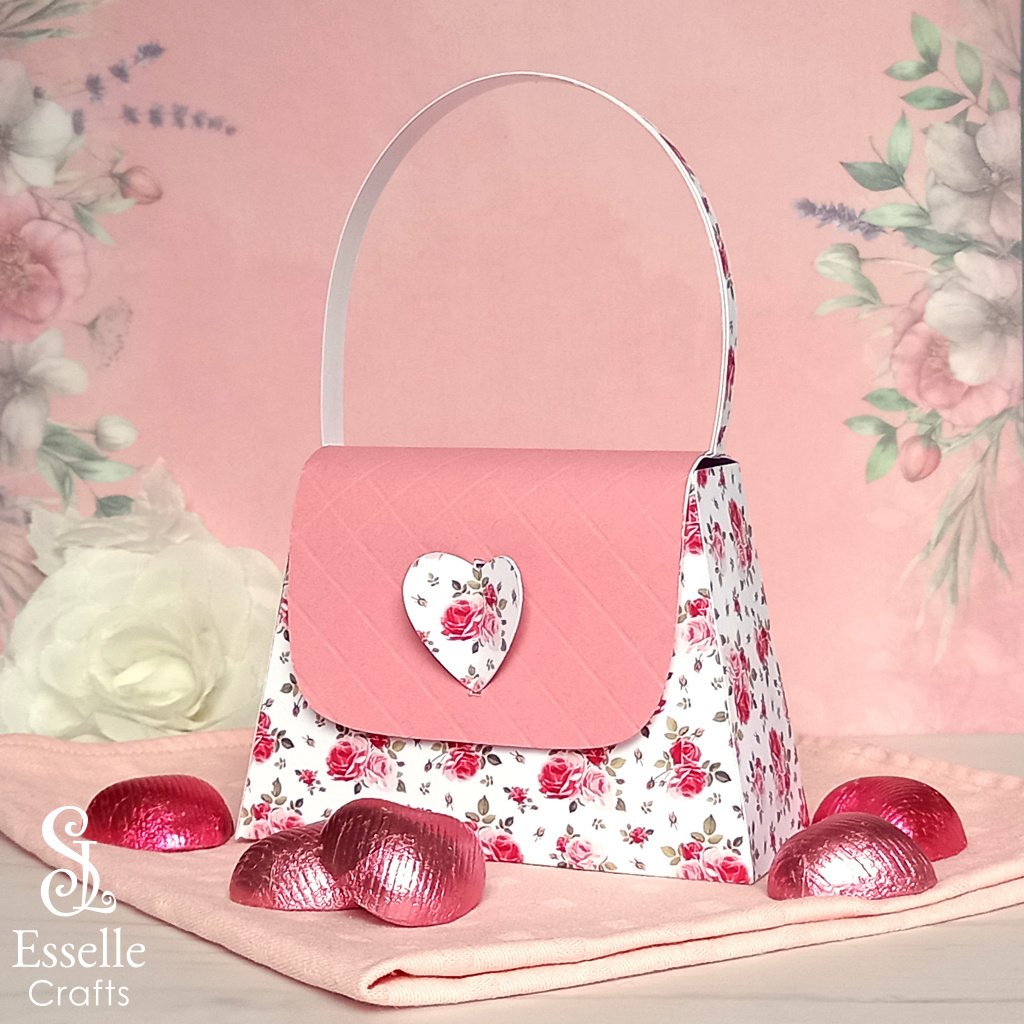
I wasn’t sure whether to call this a favour box or a bag, but it certainly has plenty of room inside to carry some tasty treats!

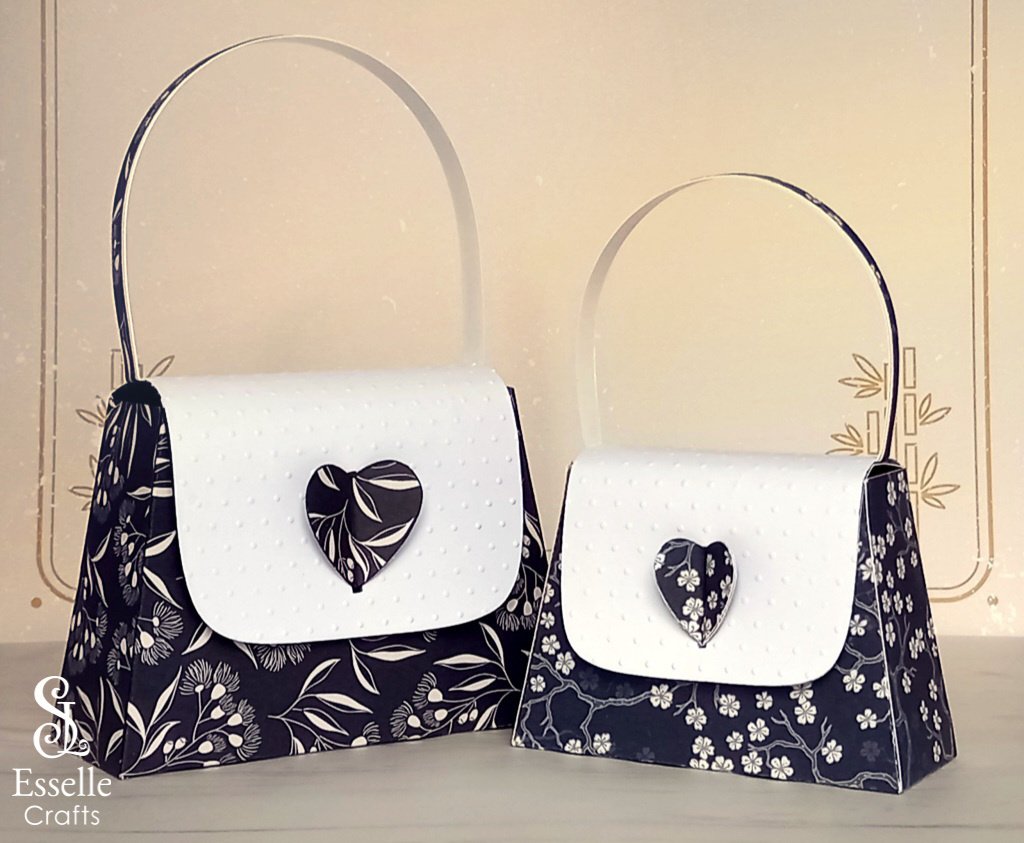
Handbag Favour Boxes for Gifting Small Treats and a Gift Card

Perfect for wedding favours, bridal showers, birthdays and Mother’s Day, you can find the template for this cute, little handbag in my Etsy shop.

Handbag Favour Box Blog Post by Esselle Crafts

❤️ UPDATED January 2024 ❤️

I have now split the template up so that a larger sized bag can be made on a 12″x12″ cutting mat. This means that it can now hold a standard sized gift card, as well as a lot more goodies!

Handbag Favour Boxes for Gifting Small Treats and a Gift Card

To make one, you will need:

* Handbag Favour Box template (PDF and SVG available)
* Computer and printer to print the PDF template and instructions
* Digital cutting machine
* Double-sided cardstock (220-250gsm / 80-90lb recommended)
* Thinner card or paper for the lid panel (90-160gsm / 60-80lb recommended)
* Craft glue / double-sided tape
* Optional: Embossing folder

If you are not using a cutting machine you will also need:

* Craft knife / scissors
* Scoring tool
* Ruler

Watch my new and updated video tutorial showing how to assemble the handbag, and be sure to follow the tips below.

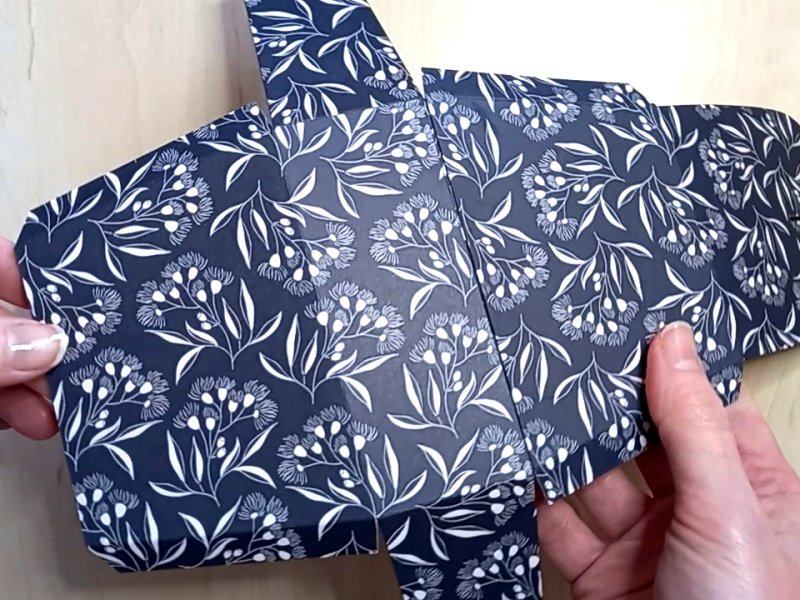
TIP 1: Make sure to glue the front base piece on top of the back base piece, so that it gives a neater finish at the front.

Handbag Favour Box by Esselle Crafts

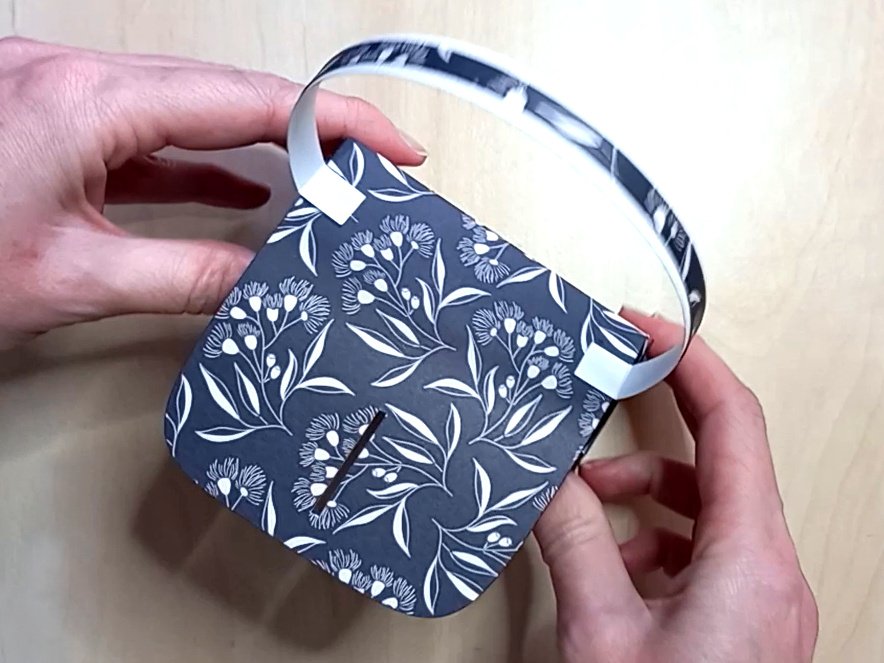
TIP 2: After gluing the handle panel on top of the handle, curl the handle into shape before the glue dries. Then, once it is glued in place, push the handle sides inwards slightly to give it a more defined shape.

Handbag Favour Box by Esselle Crafts

TIP 3: If you are using plain paper or card for the lid panel, try embossing it first to give it some texture. I embossed mine with small polka dots.

Handbag Favour Boxes for Gifting Small Treats and a Gift Card

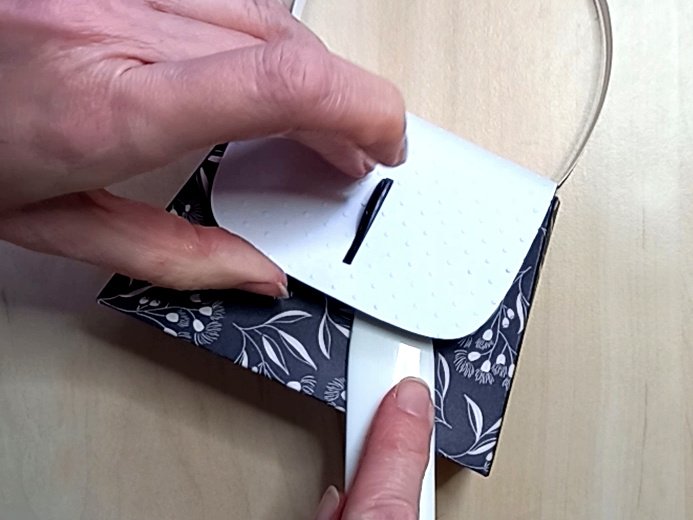
TIP 4: After gluing the heart lock in place, pinch the heart at the front, then carefully slide a bone folder or a ruler in underneath the lid to allow the lid to open up. You can then press the heart lock into place more easily.

Handbag Favour Box by Esselle Crafts

TIP 5: If you want to make a larger (or smaller) sized handbag, then you can easily resize the template. The base is very sturdy with its double layer, but if the contents are too heavy, then you may need to strengthen the handle by adding on another layer or two.

Pink Handbag Favour Box for Gifting Small Treats and a Gift Card

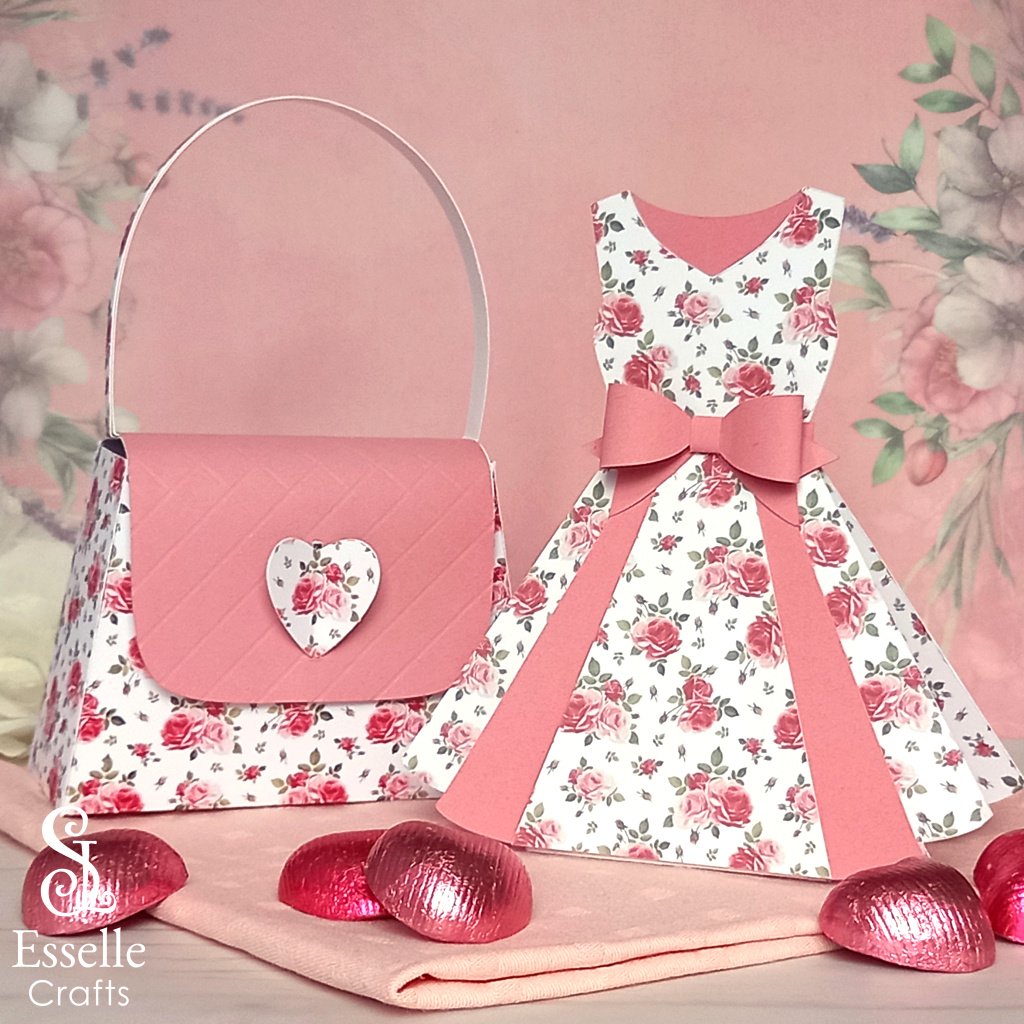
This beautiful pink version perfectly matches my dress favour box and would make wonderfully unique wedding favours!

Matching Dress and Handbag Favour Boxes by Esselle Crafts

I hope you are inspired to make some of these favour boxes for a special occasion, and I would love to see your beautiful creations. Feel free to share your photos of them with me on Instagram or Facebook.

Happy Crafting
Suzanne
Favour Boxes

Diamond Gem Favour Boxes

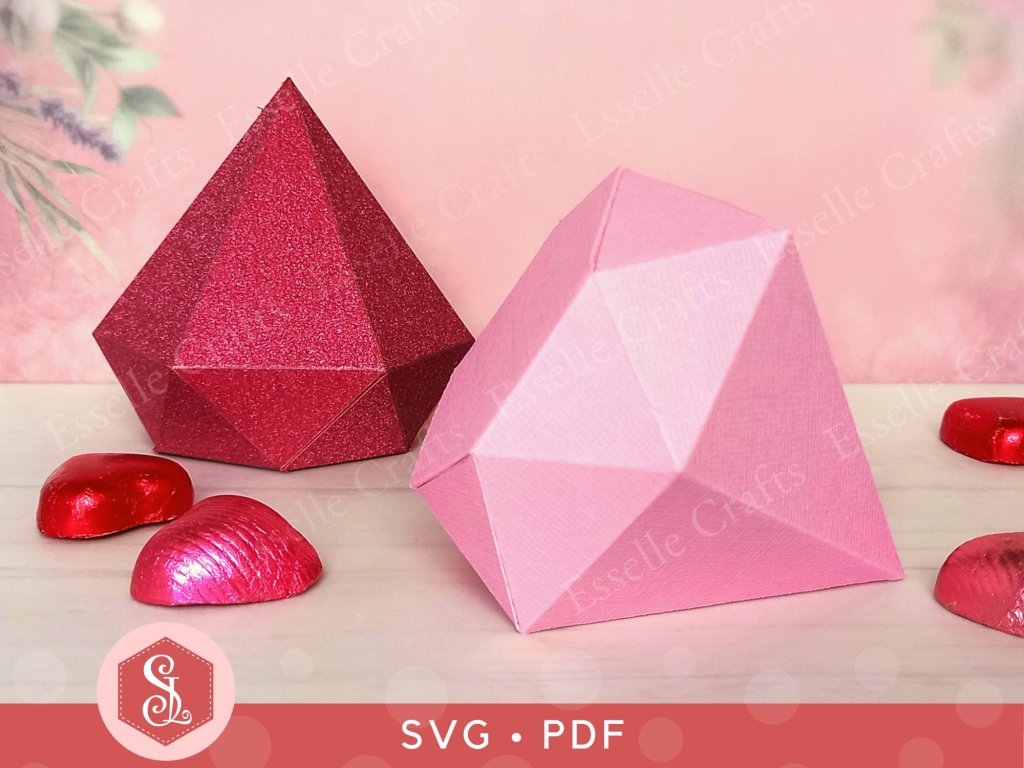
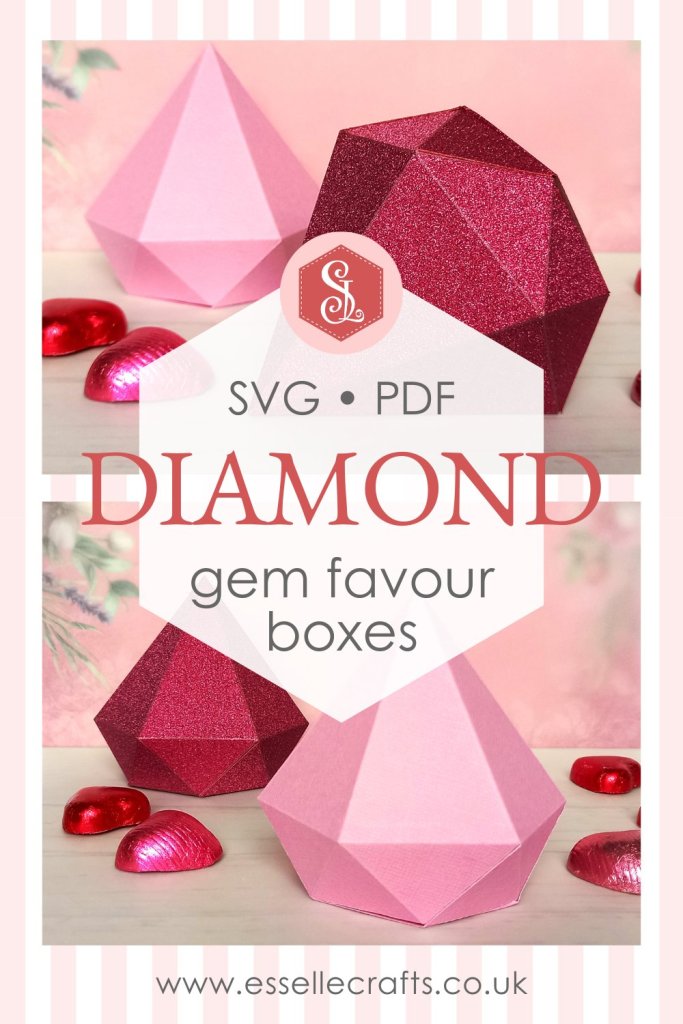
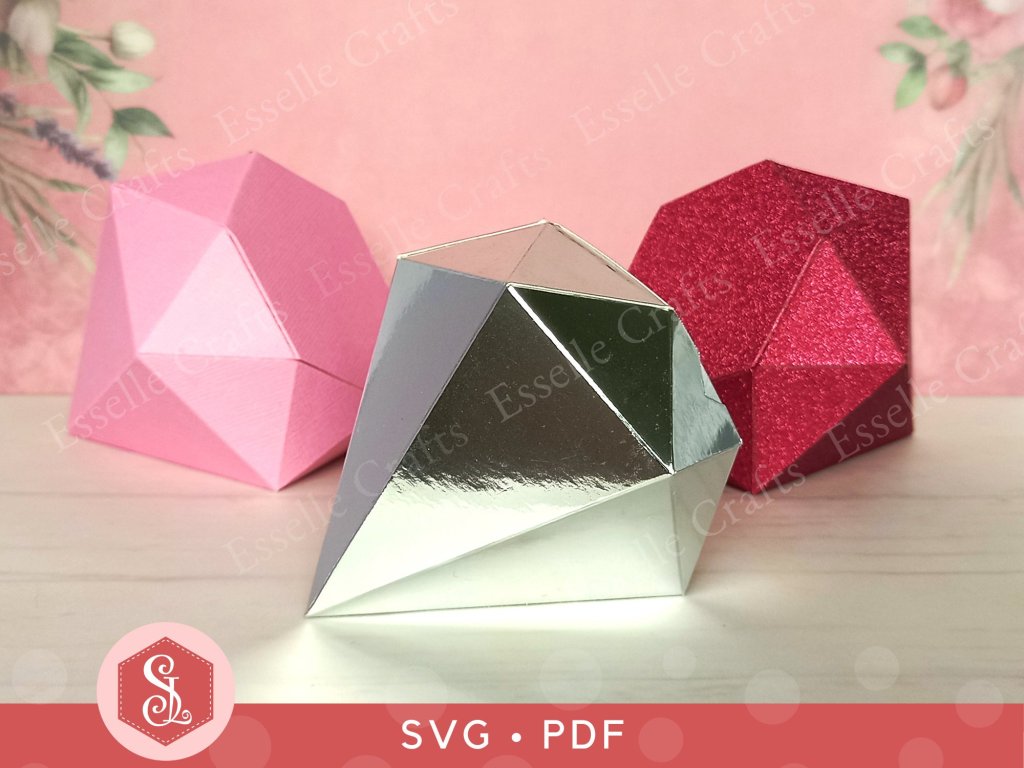
I was recently asked whether I could design a little favour box in the shape of a diamond 💎 and this is what I came up with!

Diamond Gem Favour Boxes by Esselle Crafts

I’m so pleased with how it’s turned out! I’ve made it easy to open and there’s plenty of room inside for some sweet treats! It would work perfectly for wedding favours or as a cute gift box for Valentine’s day!

Diamond Gem Favour Boxes blog post by Esselle Crafts

You can find the template for this box in my Etsy shop, available as an SVG cut file as well as a printable PDF if you prefer to cut out by hand.

To make one, you will need:

* Diamond Gem Box template (SVG and PDF available)
* Computer and printer to print the PDF template and instructions
* Digital cutting machine
* Cardstock (220-250gsm / 80-92lb recommended)
* Craft glue / double-sided tape
If you are not using a cutting machine you will also need:

* Craft knife / scissors
* Scoring tool
* Ruler

Watch my video tutorial below, showing how to assemble the diamond box.

TIP: try experimenting with different types and textures of cardstock to see which works best for you. This smooth mirror card one is stunning, but the ruby glitter card one is definitely my favourite!

Diamond Gem Favour Boxes by Esselle Crafts

I hope that I have inspired you to create your own little diamond boxes using my template and I can’t wait to see what you use them for! 💎

Suzanne