
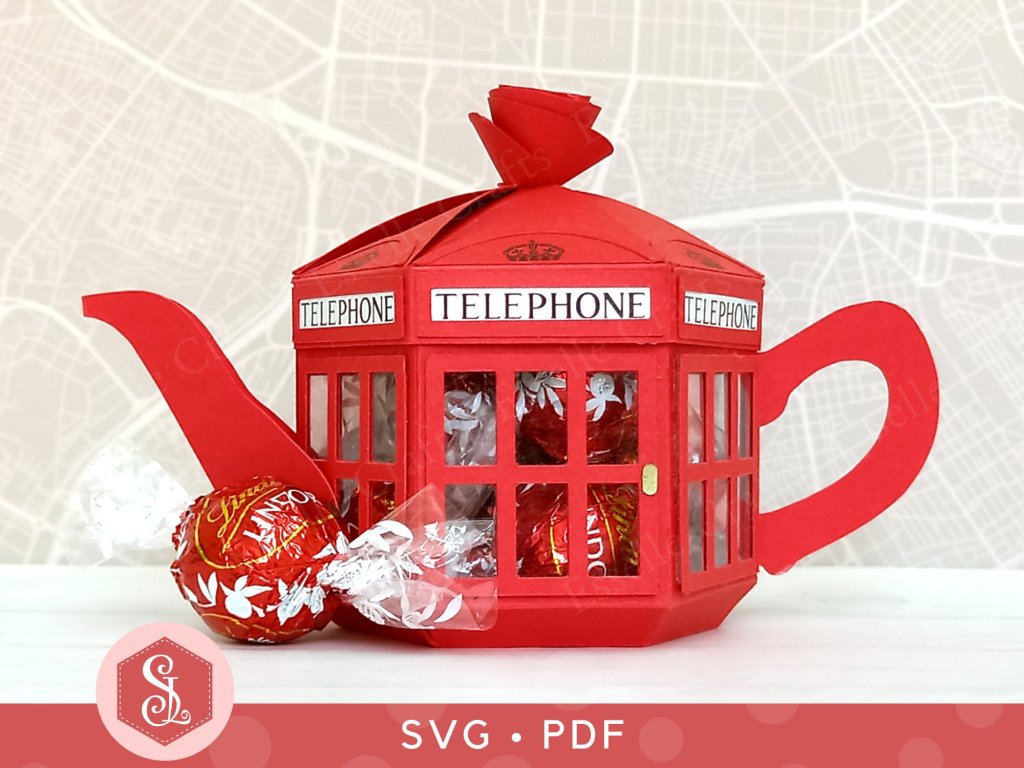
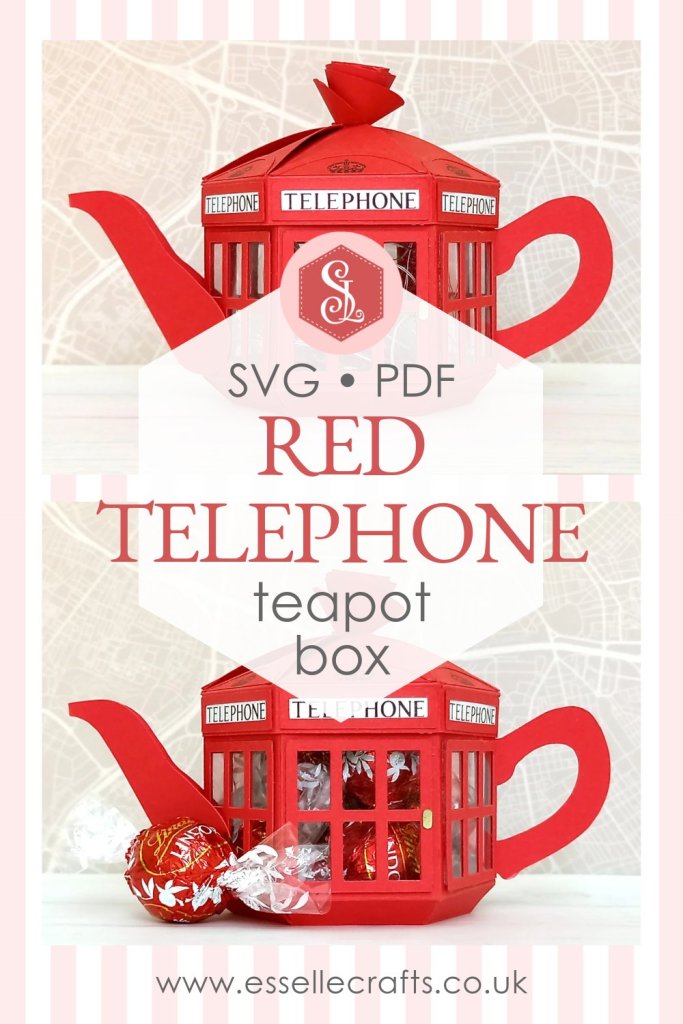
This amazing Red Telephone Teapot Box took a bit of trial and error (and a whole lot of determination) to work out how the design would fit together, but I am absolutely thrilled with the results!
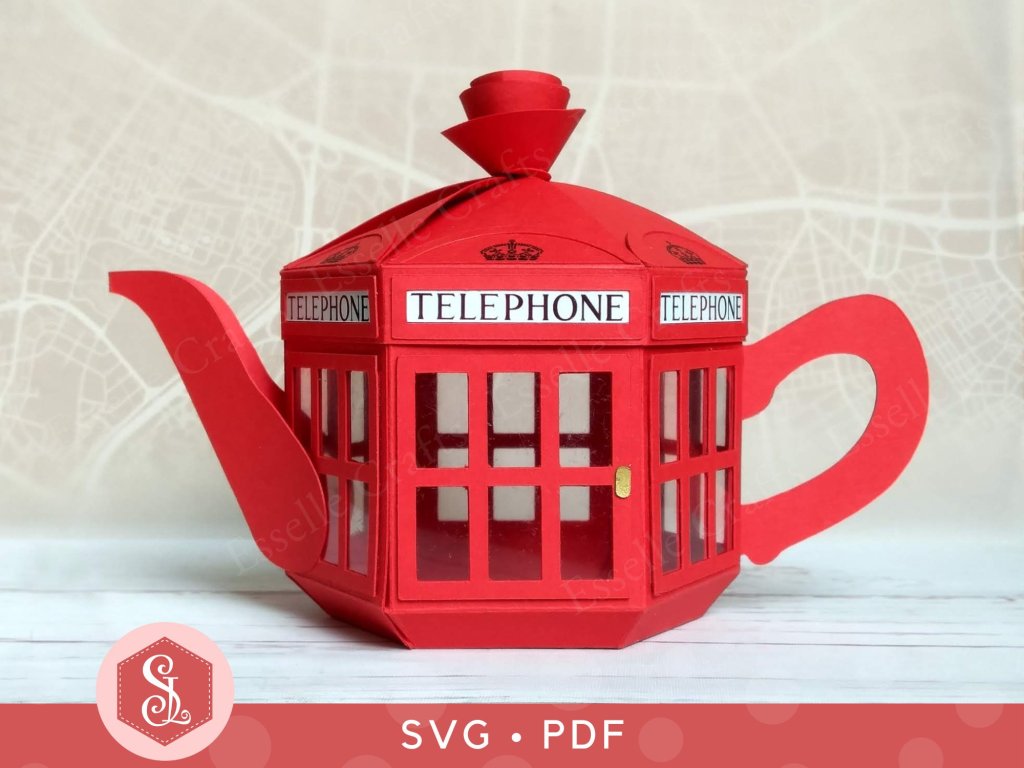
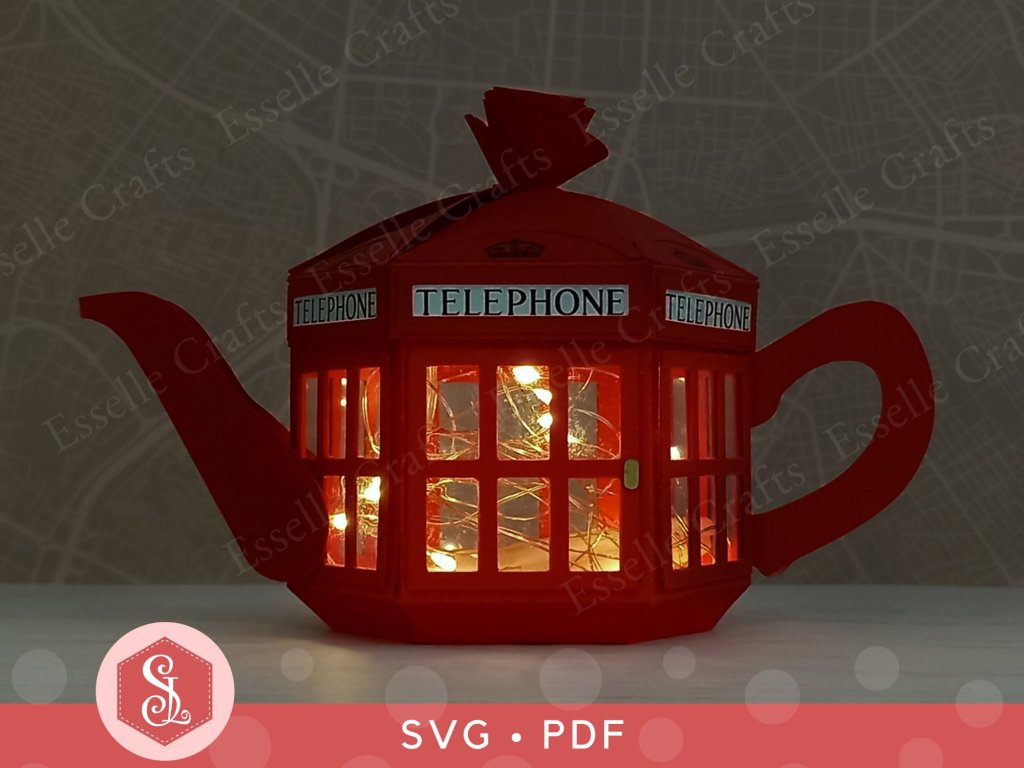
There are two different versions of the template included in the download. The one pictured above, with the OPEN windows, is designed for using acetate windows so that you can see through it, like a real telephone box. You might want to use this version with little lights inside and display it on a shelf or a windowsill.
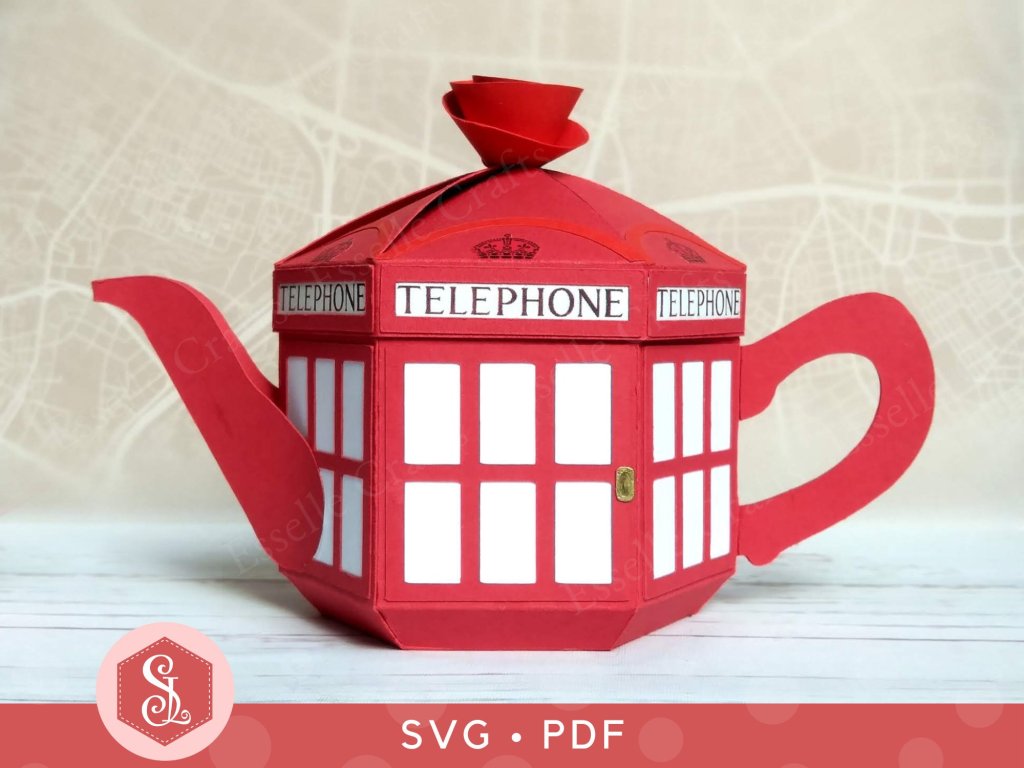
The one pictured below, with the BLANK or filled in windows, is designed for using paper or card windows. You might want to use this version if you are intending it to be a gift box, and you don’t want the gift inside to be seen!
To make one, you will need:
* Red Telephone Teapot Box template (PDF and SVG available)
* Computer and printer to print the PDF templates and instructions
* Digital cutting machine
* Double-sided cardstock (220-250gsm / 80-92lb recommended)
* Acetate
* White photo paper
* Craft glue
* Double-sided tape / red liner tape
If you are not using a cutting machine you will also need:
* Craft knife / scissors
* Scoring tool
* Ruler
Watch my video tutorial showing how to assemble the teapot box, and be sure to follow the tips below:
TIP 1: When printing the six TELEPHONE signs, try using glossy white photo paper. It really makes the signs shine like on real telephone boxes.
TIP 2: I find it’s easier to attach the TELEPHONE signs to the backs of the frames using a little glue first, before gluing them to the lid.

TIP 3: In Cricut Design Space, try to match the semicircular piece with the colour cardstock that you are using BEFORE you flatten the crown on it and print it out. Alternatively, print the crowns onto the coloured cardstock and cut the semicircles out by hand, like I did here.

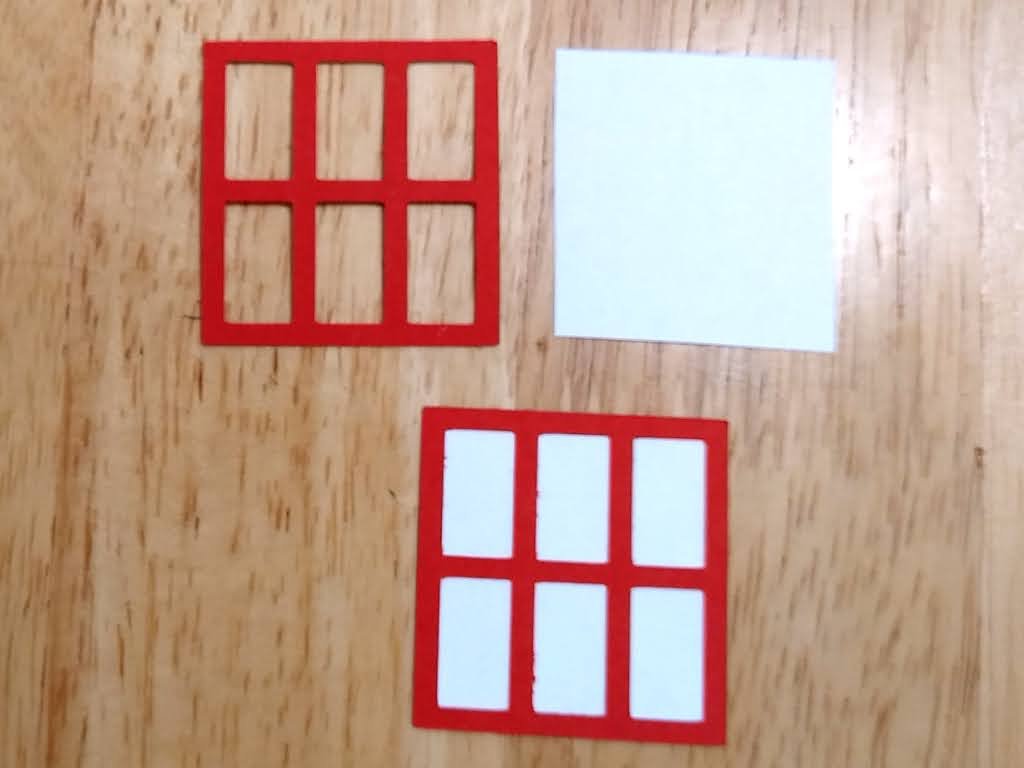
TIP 4: If you are using the BLANK (or filled in) windows template, experiment with different coloured paper or card for the windows to see what looks best.
TIP 5: If you are using acetate with the OPEN windows template, try using a wider double-sided tape or red liner tape (I used 6mm tape) and overlapping it at the edges so that you can fold it over and use it on both sides of the acetate.

TIP 6: Use tweezers when attaching the tiny, gold door handle to the front panel. It really is so small!
Doesn’t it look amazing! I am so pleased with how it’s turned out, and hope that I have now inspired you to create one of your own ☎️
Happy crafting!
Suzanne

