3D Papercraft Projects · Gift Card Holders · Papercraft Projects

Vintage Dress Gift Card Holder

Over the last few months, I’ve been focusing on designing a range of papercraft gift card holders. They are so much fun to create, and make gift giving so much easier, especially if you are having to post it. My latest design is this beautiful, vintage dress!
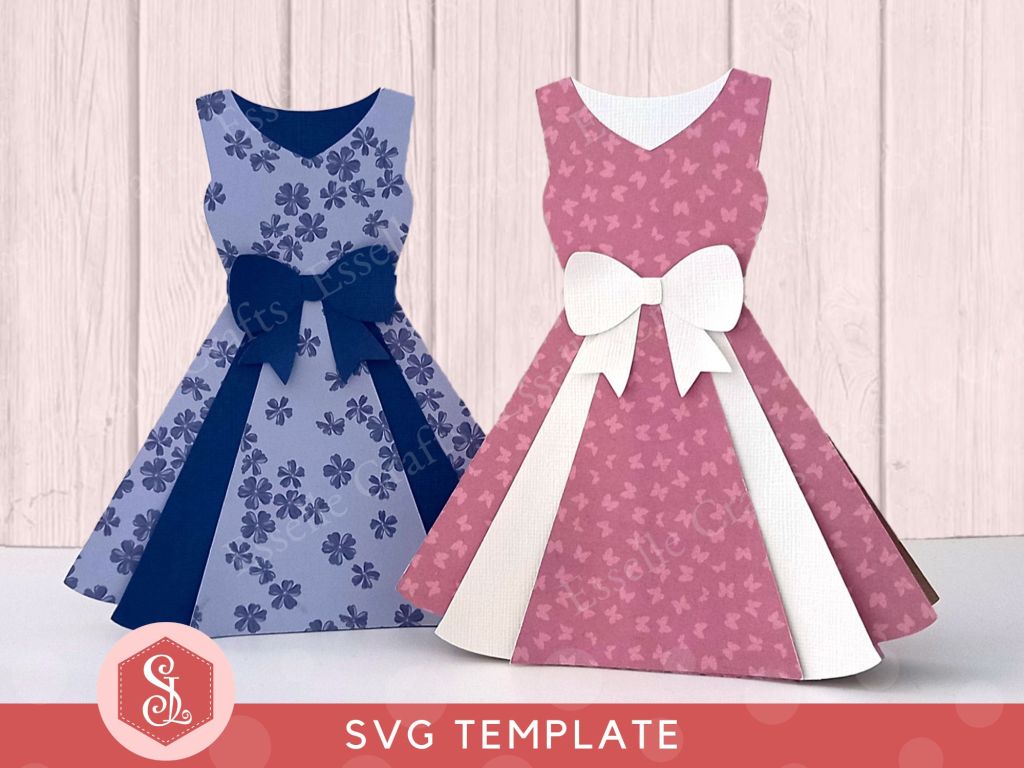
A papercraft gift card holder in the style of a vintage pink dress. It is decorated with a white paper bow round the waist and white paper panels on the front.

Designed to compliment my dress favour box, this stunning dress gift card holder will hold a standard credit card sized gift card, and can also be used as a greeting card!
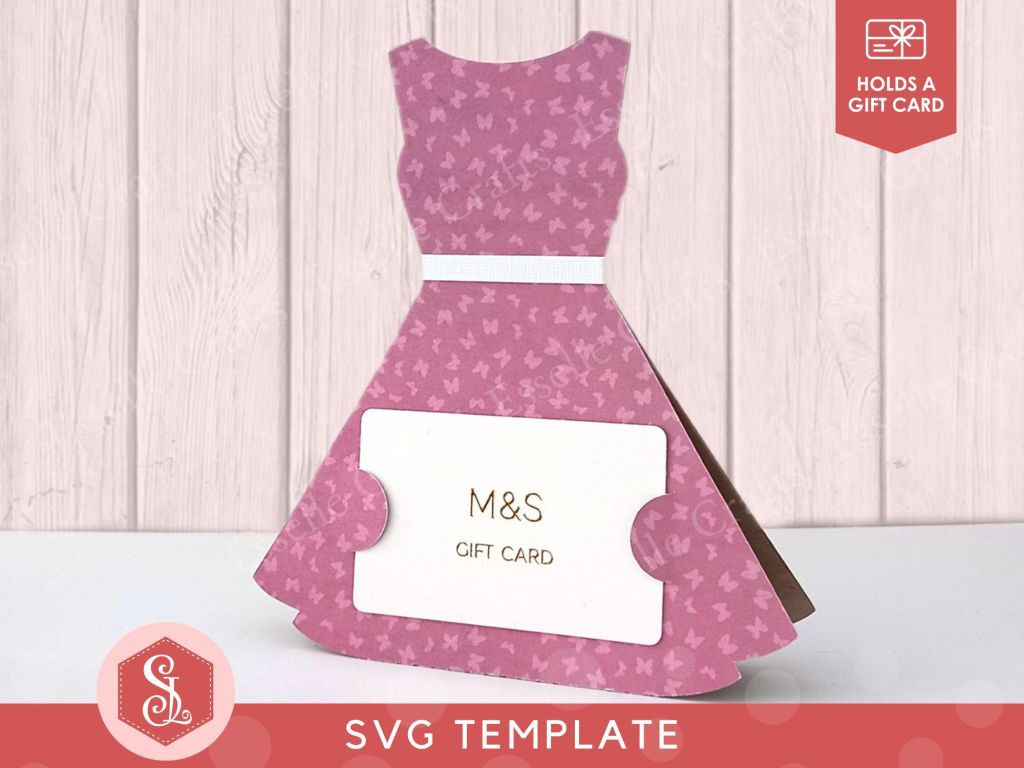
A papercraft gift card holder in the style of a vintage pink dress. It is holding a white gift card in the back.

The template for this gift card holder comes as a single SVG cut file, and can be found in my Etsy shop.

To make one, you will need:

* Dress Gift Card Holder template (available as an SVG cut file)
* Computer and printer to print the PDF instructions
* Digital cutting machine
* Patterned cardstock and solid colour cardstock (220-250gsm / 80-92lb recommended)
* Craft glue

Watch my video tutorial showing how to assemble the gift card holder, and be sure to follow the tips below:

TIP 1 : Gently curl the sides of the dress panels upwards, then apply glue to the centre part only. Once the glue is dry, you can gently raise the edges up to create more dimension.
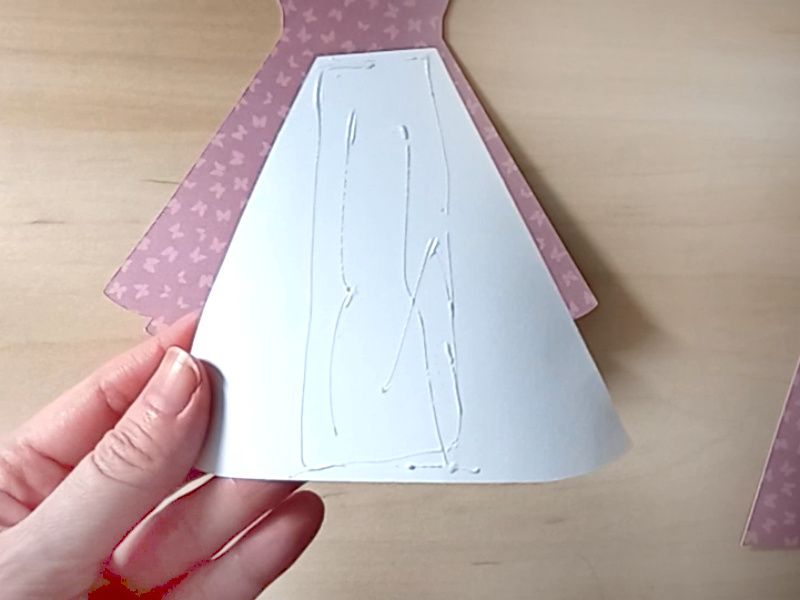
A papercraft gift card holder in the style of a vintage pink dress.
A papercraft gift card holder in the style of a vintage pink dress. It is decorated with white paper panels on the front.

TIP 2 : Apply glue to ¾ of the belt only. Attach the glued end to the centre of the front, wrap it around the back and allow it to line back up where it started.
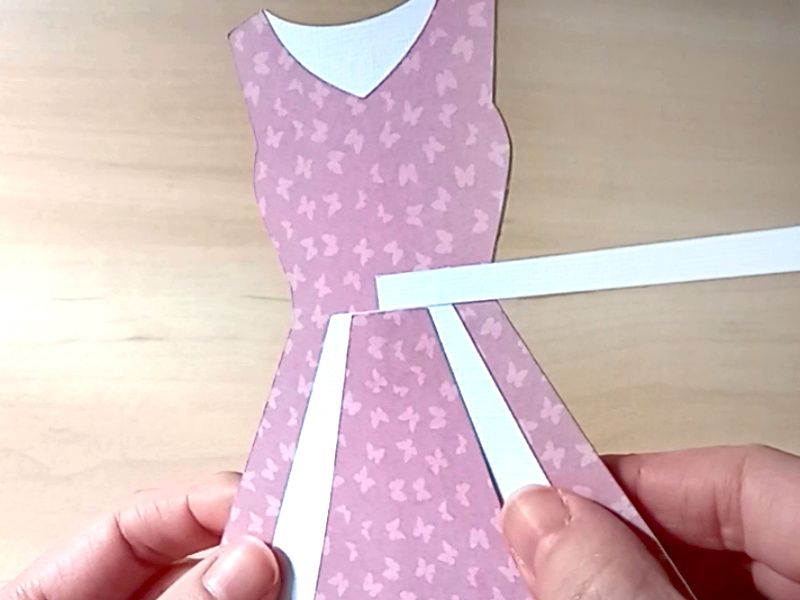
A papercraft gift card holder in the style of a vintage pink dress. It is decorated with white paper panels on the front.

TIP 3 : You can glue the buckle on here if you wish, or trim the remainder of the belt and glue the bow on.
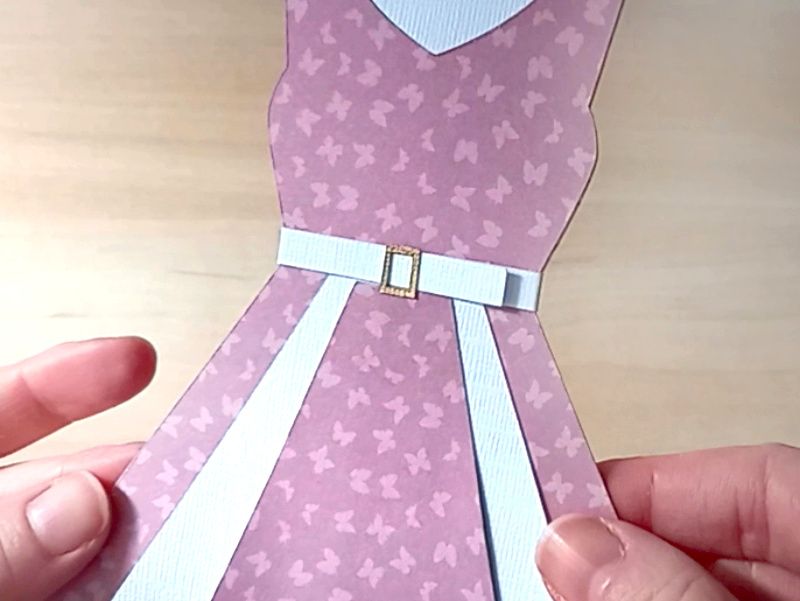
A papercraft gift card holder in the style of a vintage pink dress. It is decorated with a gold paper buckle at the waist and white paper panels on the front.

TIP 4 : Slide the gift card into the back, or use a piece of plain white card to turn it into a greeting card and add your own handwritten message.
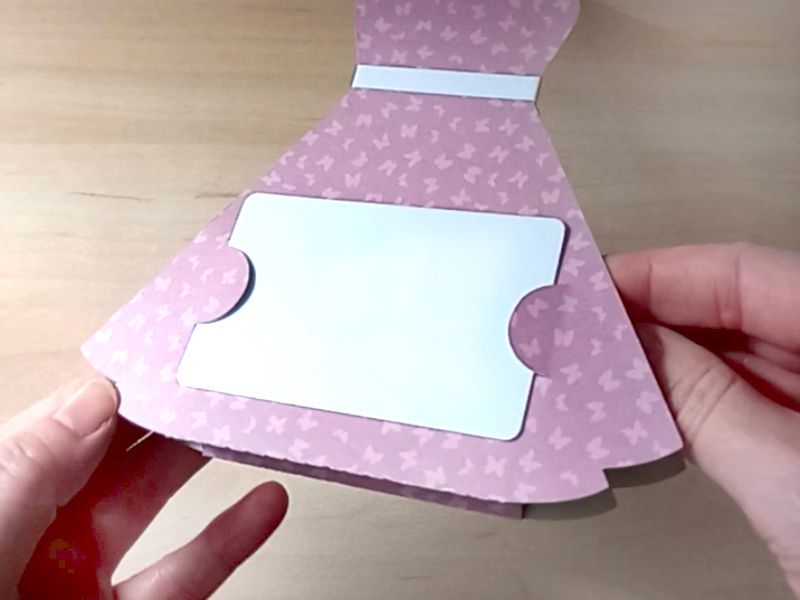
A papercraft gift card holder in the style of a vintage pink dress.

Once assembled, your pretty dress gift card holder is ready to go and, because it folds flat, it can easily be popped into a 7″ x 7″ envelope for posting!
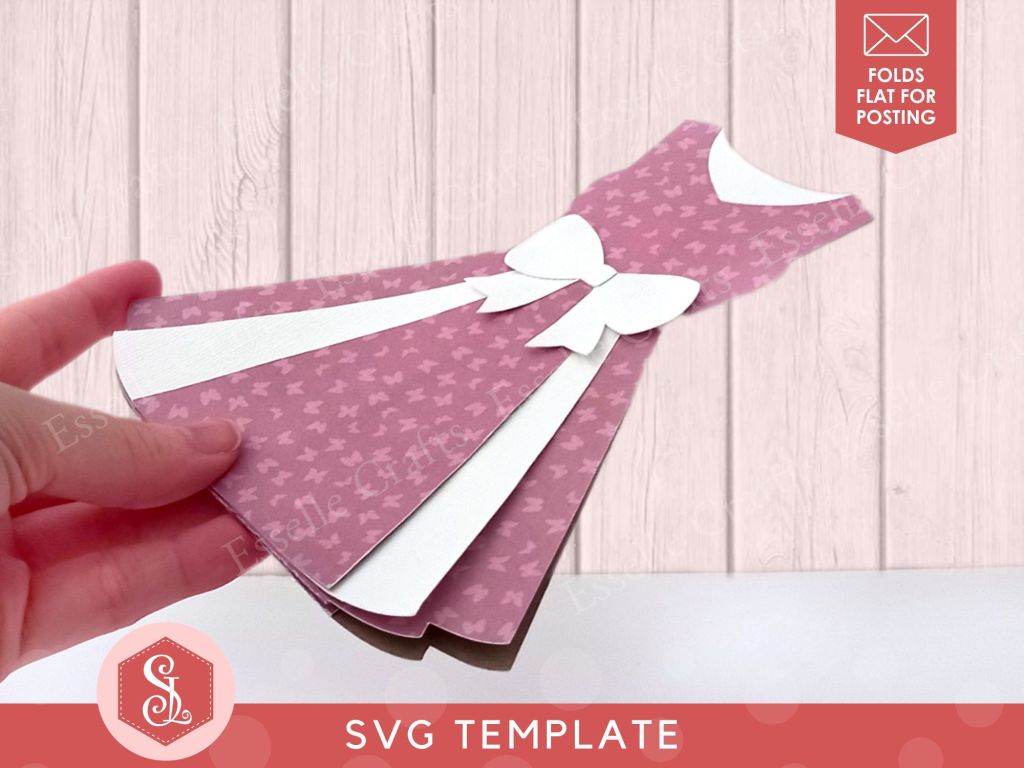
A papercraft gift card holder in the style of a vintage pink dress. It is decorated with a white paper bow round the waist and white paper panels on the front.

When opened up, it becomes freestanding, and is perfect for birthday cards, Mother’s day, teacher gifts or as a unique wedding day gift!

A papercraft gift card holder in the style of a vintage pink dress. It is decorated with a white paper bow round the waist and white paper panels on the front.

Happy crafting!
Suzanne
3D Papercraft Projects · Gift Card Holders · Papercraft Projects

Sunflower Teapot Gift Card Holder

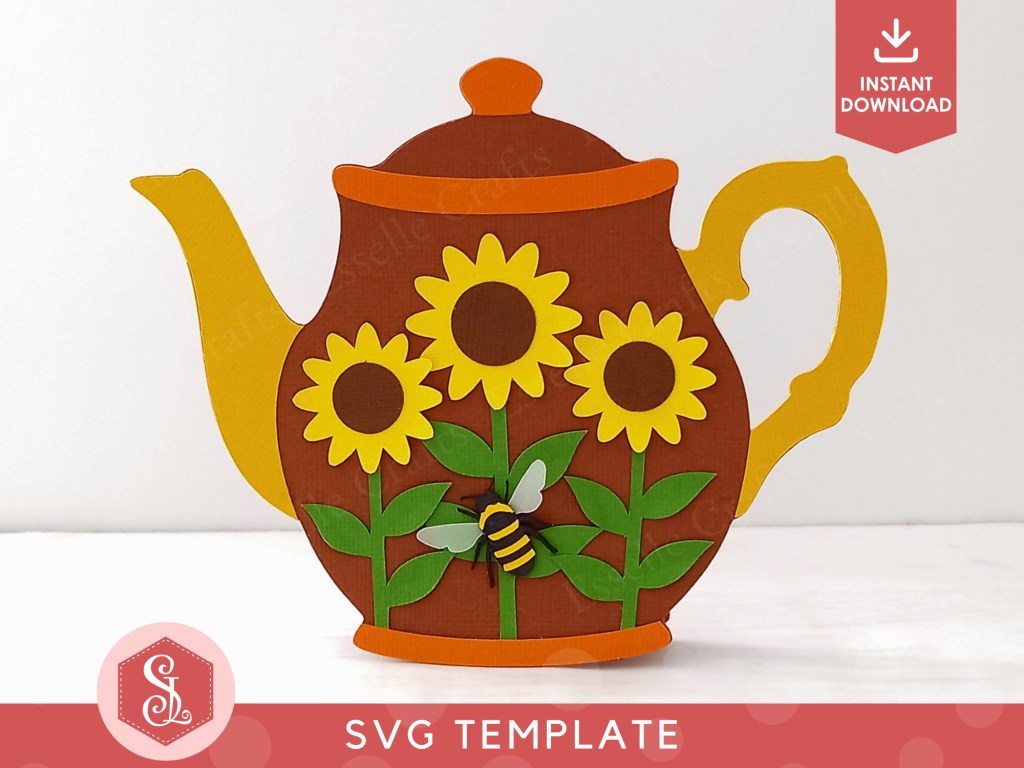
Following on from my poinsettia gift card holder, my forget-me-not gift card holder and my cornfield gift card holder, I have now published the fourth design in the series, which features a row of bright sunflowers!

A papercraft gift card holder in the style of a vintage brown teapot with a yellow handle and spout. It is decorated with three paper sunflowers and a paper bee on the front.

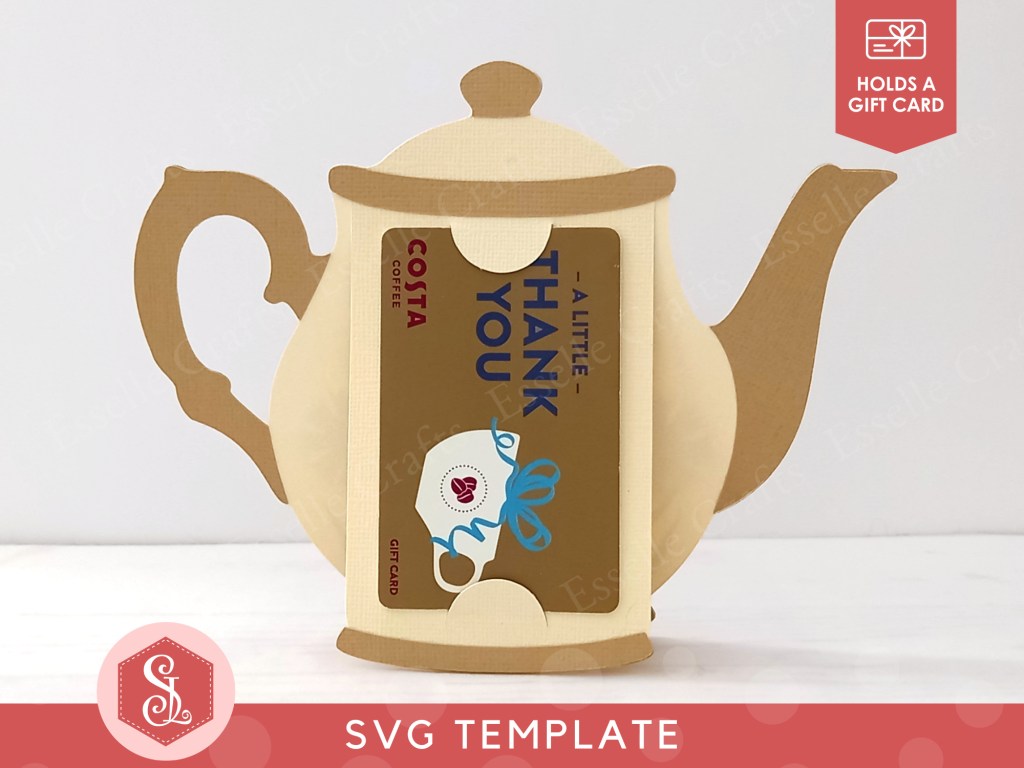
Disguised as a vintage teapot, this stunning sunflower gift card holder is designed to hold a standard credit card sized gift card, and can also be used for home decor!

A papercraft gift card holder in the style of a vintage brown teapot with a yellow handle and spout. It is holding a gift card in the back.

The template for this gift card holder comes as a single SVG cut file, and can be found in my Etsy shop.

To make one, you will need:

* Sunflower Teapot Gift Card Holder template (available as an SVG cut file)
* Computer and printer to print the PDF instructions
* Digital cutting machine
* Double-sided cardstock (220-250gsm / 80-92lb recommended)
* Small piece of vellum
* Craft glue

Watch my video tutorial showing how to assemble the gift card holder, and be sure to follow the tips below:

TIP 1 : When attaching the green leaf pieces, carefully line up the base so that it’s just up from the teapot base.

A papercraft gift card holder in the style of a vintage brown teapot with a yellow handle and spout.

TIP 2 : Glue the brown centres onto the yellow sunflowers, then gently curl the petals upwards to give them added dimension.

A papercraft gift card holder in the style of a vintage brown teapot with a yellow handle and spout. It is decorated with three paper sunflowers and a paper bee on the front.

TIP 3 : When attaching the back piece, only apply glue to the top part (the lid and rim section).

A papercraft gift card holder in the style of a vintage brown teapot with a yellow handle and spout.

TIP 4 : Fold the base tab in half and apply glue to the last part only so that it attaches to the base of the teapot piece.

A papercraft gift card holder in the style of a vintage brown teapot with a yellow handle and spout. It is decorated with three paper sunflowers and a paper bee on the front.

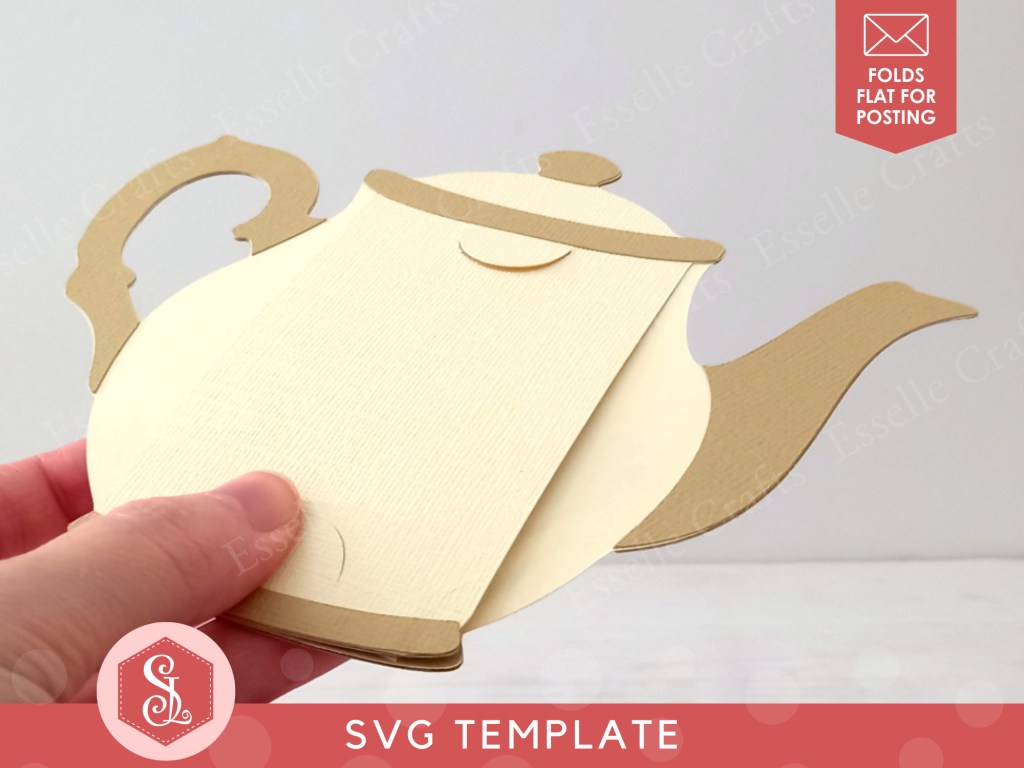
Once assembled, your little sunflower teapot gift card holder is ready to go and, because it folds flat, it can easily be popped into an envelope for posting!

A papercraft gift card holder in the style of a vintage brown teapot with a yellow handle and spout. It is folded flat for easy posting.

When opened up, it becomes freestanding, and will even rock, making it perfect for birthday cards, Mother’s day, teacher gifts or as a unique housewarming gift!

A papercraft gift card holder in the style of a vintage brown teapot with a yellow handle and spout. It is decorated with three paper sunflowers and a paper bee on the front.

Happy crafting!
Suzanne

3D Papercraft Projects · Gift Card Holders · Papercraft Projects

Cornfield Teapot Gift Card Holder

Following on from my poinsettia gift card holder and my forget-me-not gift card holder, I have now published the third design in the series, which features a lovely array of cornfield flowers!

A papercraft gift card holder in the style of a vintage cream teapot with a pale brown handle and spout. It is decorated with a paper poppy,  two paper cornflowers, three paper daisies and a paper bee on the front.

Disguised as a vintage teapot, this stunning cornfield gift card holder is designed to hold a standard credit card sized gift card, and can also be used for home decor!

A papercraft gift card holder in the style of a vintage cream teapot with a pale brown handle and spout.

The template for this gift card holder comes as a single SVG cut file, and can be found in my Etsy shop.

To make one, you will need:

* Cornfield Teapot Gift Card Holder template (available as an SVG cut file)
* Computer and printer to print the PDF instructions
* Digital cutting machine
* Double-sided cardstock (220-250gsm / 80-92lb recommended)
* Small piece of vellum
* Craft glue

Watch my video tutorial showing how to assemble the gift card holder, and be sure to follow the tips below:

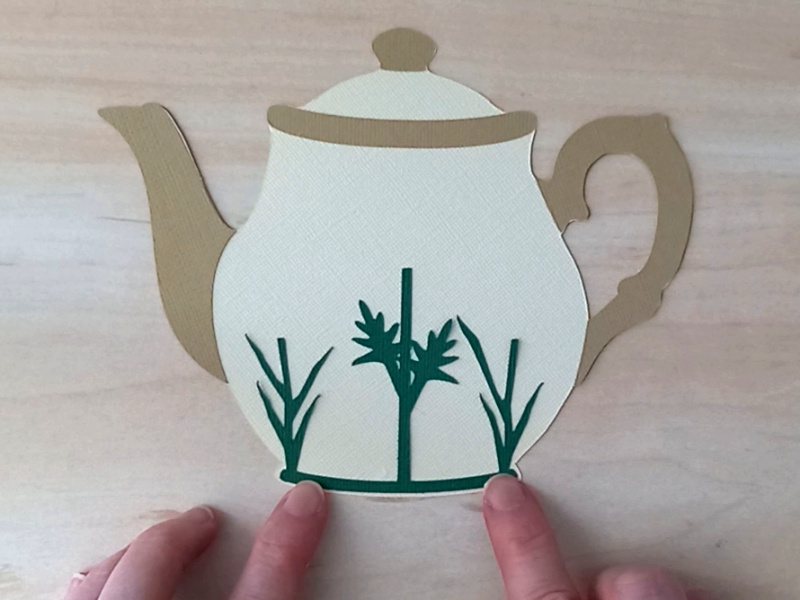
TIP 1 : When attaching the green leaf pieces, carefully line up the base so that it’s just up from the teapot base.

A papercraft gift card holder in the style of a vintage cream teapot with a pale brown handle and spout. It is decorated with a paper poppy,  two paper cornflowers, three paper daisies and a paper bee on the front.

TIP 2 : Gently curl the petals of each flower upwards to give them added dimension. Then glue the layers on as shown here.

A papercraft gift card holder in the style of a vintage cream teapot with a pale brown handle and spout. It is decorated with a paper poppy,  two paper cornflowers, three paper daisies and a paper bee on the front.

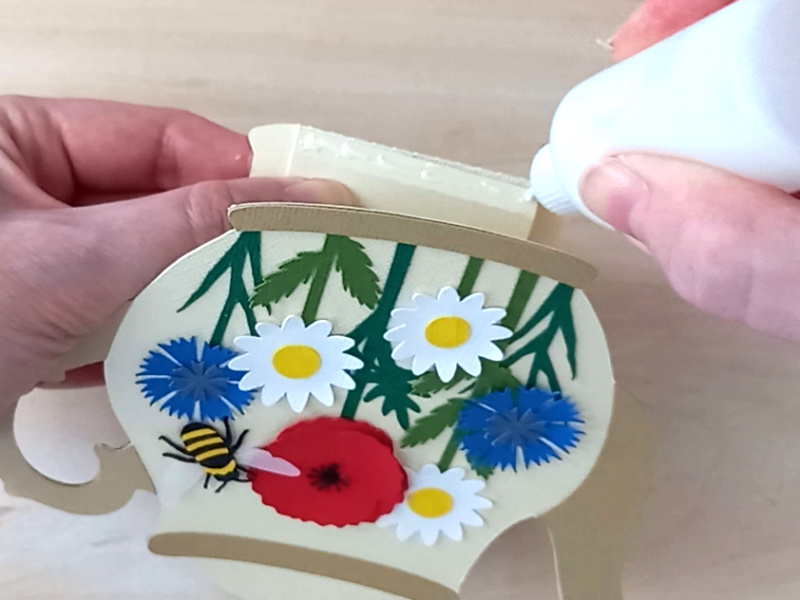
TIP 3 : When attaching the back piece, only apply glue to the top part (the lid and rim section).

A papercraft gift card holder in the style of a vintage cream teapot with a pale brown handle and spout. It is decorated with a paper poppy,  two paper cornflowers, three paper daisies and a paper bee on the front.

TIP 4 : Fold the base tab in half and apply glue to the last part only so that it attaches to the base of the teapot piece.

A papercraft gift card holder in the style of a vintage cream teapot with a pale brown handle and spout. It is decorated with a paper poppy,  two paper cornflowers, three paper daisies and a paper bee on the front.

Once assembled, your little cornfield teapot gift card holder is ready to go and, because it folds flat, it can easily be popped into an envelope for posting!

A papercraft gift card holder in the style of a vintage cream teapot with a pale brown handle and spout.

When opened up, it becomes freestanding, and will even rock, making it perfect for birthday cards, Mother’s day, teacher gifts or as a unique housewarming gift!

A papercraft gift card holder in the style of a vintage cream teapot with a pale brown handle and spout. It is decorated with a paper poppy,  two paper cornflowers, three paper daisies and a paper bee on the front.

Happy crafting!
Suzanne
3D Papercraft Projects · Gift Card Holders · Papercraft Projects

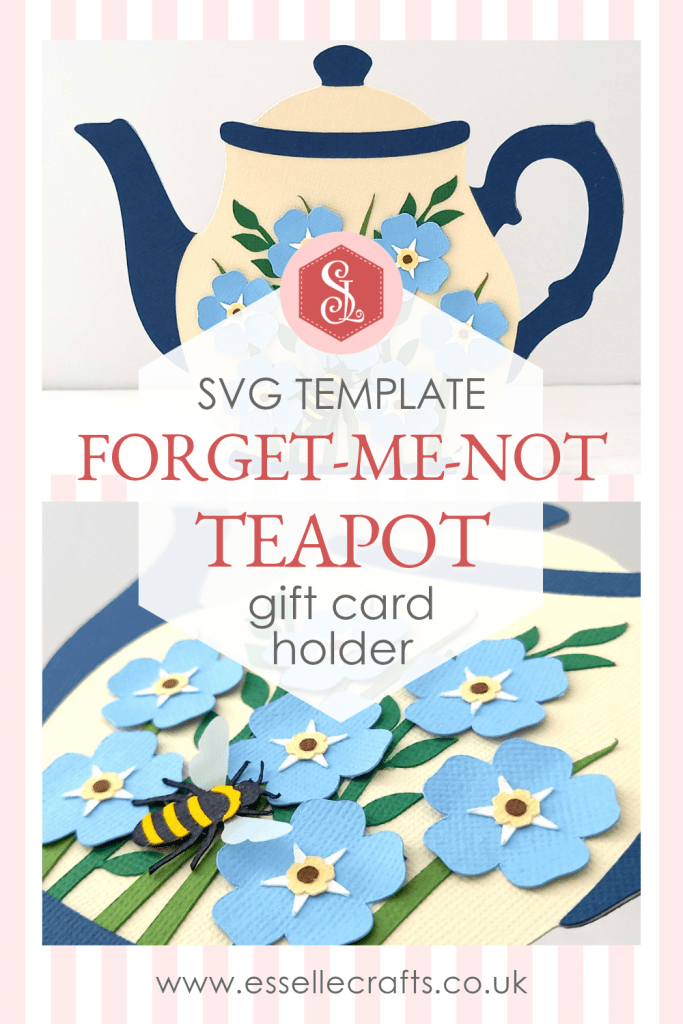
Forget-me-not Teapot Gift Card Holder

You may remember reading about my poinsettia gift card holder, which has proved to be very popular already! Well, now I am working on several other designs in this series, and I am super excited to share my second design featuring forget-me-nots!

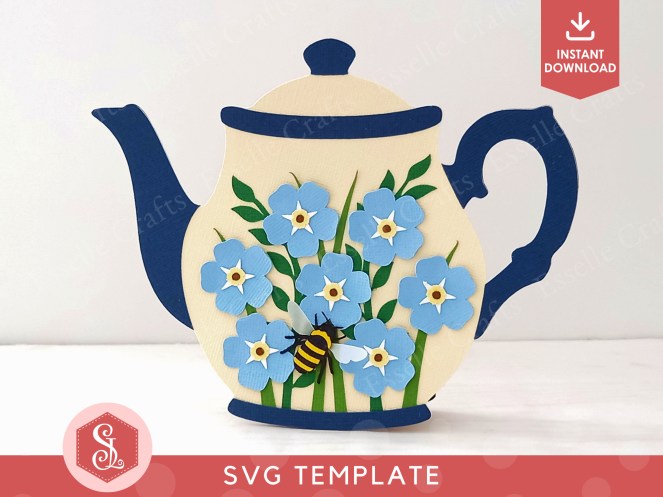
A papercraft gift card holder in the style of a vintage cream teapot with a dark blue handle and spout. It is decorated with light blue paper forget-me-not flowers on the front.

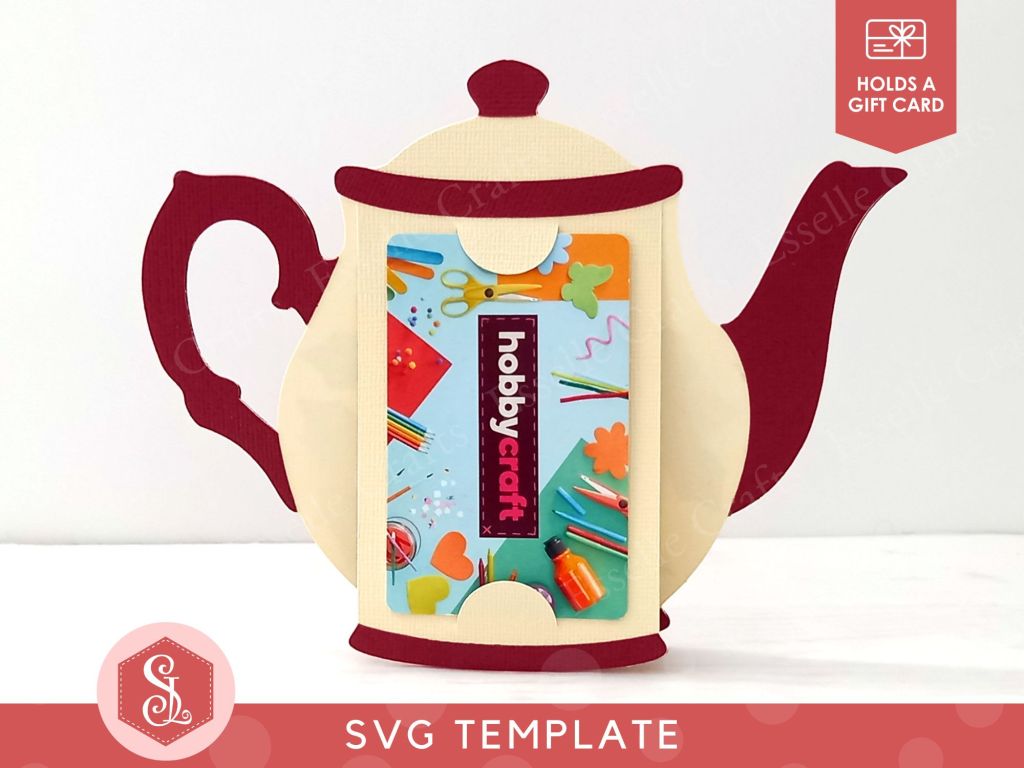
Disguised as a vintage teapot, this stunning forget-me-not gift card holder is designed to hold a standard credit card sized gift card, and can also be used for home decor!

A papercraft gift card holder in the style of a vintage cream teapot with a dark blue handle and spout. It is holding a Hobbycraft gift card in the back.

The template for this gift card holder comes as a single SVG cut file, and can be found in my Etsy shop.

To make one, you will need:

* Forget-Me-Not Teapot Gift Card Holder template (available as an SVG cut file)
* Computer and printer to print the PDF instructions
* Digital cutting machine
* Double-sided cardstock (220-250gsm / 80-92lb recommended)
* Small piece of vellum
* Craft glue

Watch my video tutorial showing how to assemble the gift card holder, and be sure to follow the tips below:

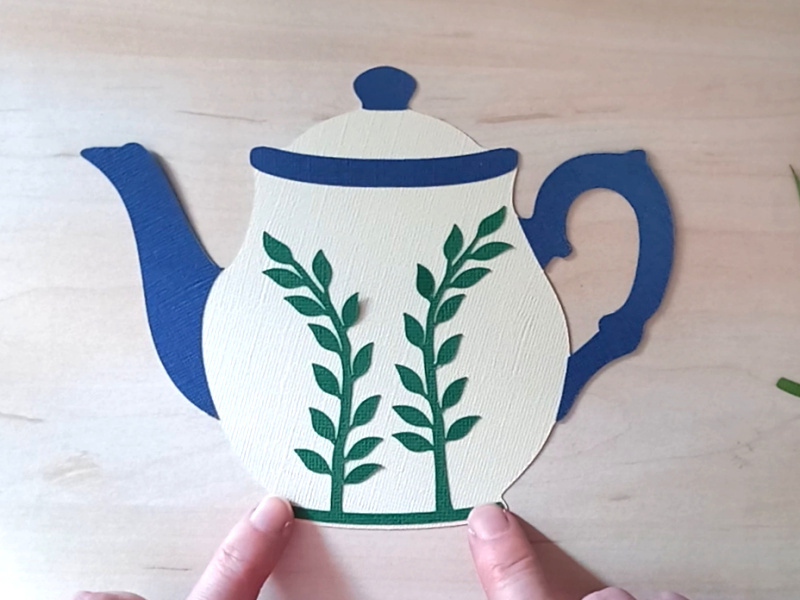
TIP 1 : When attaching the green leaf pieces, carefully line up the base so that it’s just up from the teapot base.

A papercraft gift card holder in the style of a vintage cream teapot with a dark blue handle and spout. It is decorated with light blue paper forget-me-not flowers on the front.

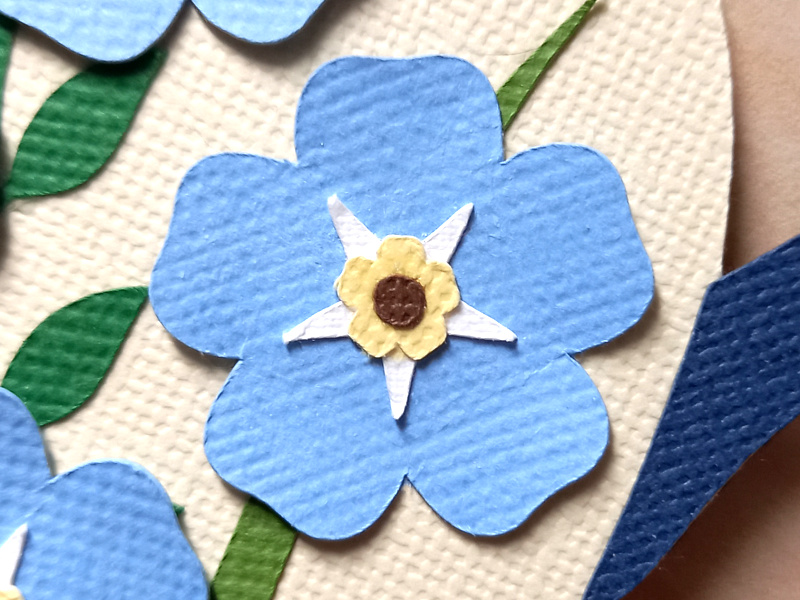
TIP 2 : Gently curl the blue forget-me-not petals upwards to give them added dimension. Then add the other three layers as shown here.

A papercraft forget-me-not flower on a cream background.

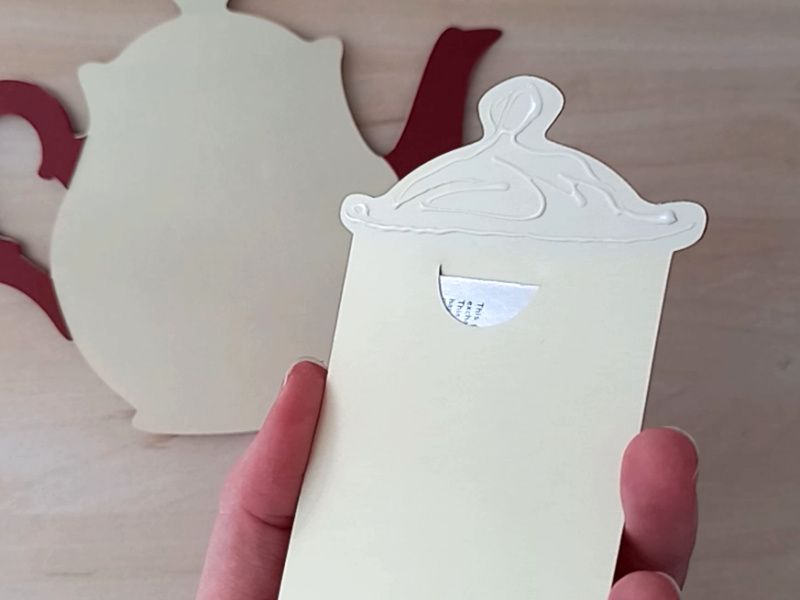
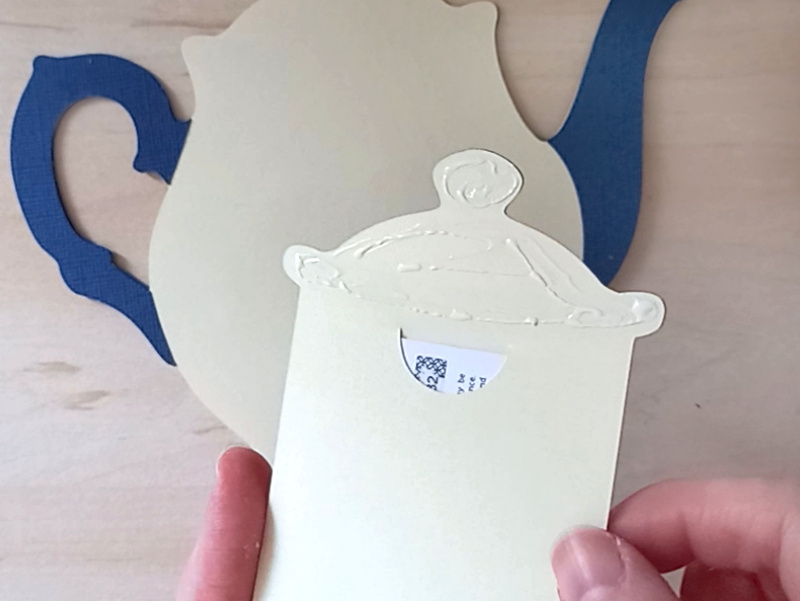
TIP 3 : When attaching the back piece, only apply glue to the top part (the lid and rim section).

A papercraft gift card holder in the style of a vintage cream teapot with a dark blue handle and spout.

TIP 4 : Fold the base tab in half and apply glue to the last part only so that it attaches to the base of the teapot piece.

A papercraft gift card holder in the style of a vintage cream teapot with a dark blue handle and spout. It is decorated with light blue paper forget-me-not flowers on the front.

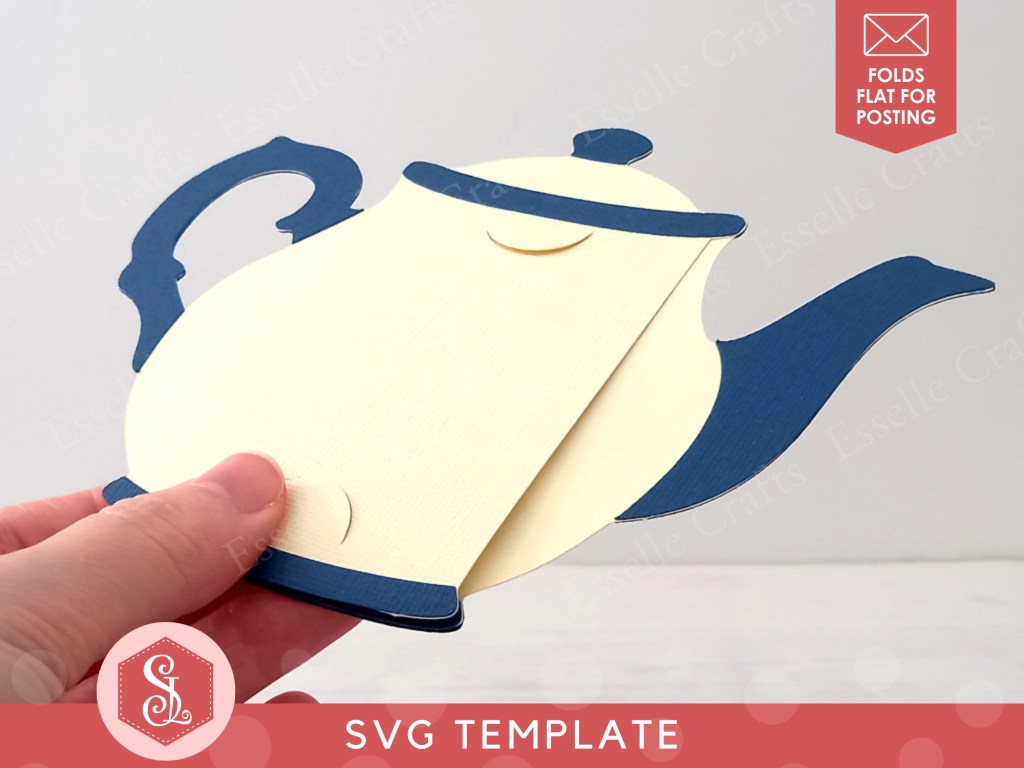
Once assembled, your little forget-me-not teapot gift card holder is ready to go and, because it folds flat, it can easily be popped into an envelope for posting!

A papercraft gift card holder in the style of a vintage cream teapot with a dark blue handle and spout.

When opened up, it becomes freestanding, and will even rock, making it perfect for birthday cards, Mother’s day, teacher gifts or as a unique housewarming gift!

A papercraft gift card holder in the style of a vintage cream teapot with a dark blue handle and spout. It is decorated with light blue paper forget-me-not flowers on the front.

Happy crafting!
Suzanne

Christmas Papercraft · Gift Card Holders · Papercraft Projects

Poinsettia Teapot Gift Card Holder

If you’ve ever struggled to know what to buy someone as a gift, you will have undoubtedly opted for a gift card at some point. But how can you turn that gift into something fun and memorable? By making your very own unique gift card holder, of course!

A papercraft gift card holder in the style of a vintage cream teapot with a dark red handle and spout. It is decorated with red and green paper poinsettias on the front.

Disguised as a vintage teapot, this stunning poinsettia gift card holder is designed to hold a standard credit card sized gift card, and can also be used for home decor!

A papercraft gift card holder in the style of a vintage cream teapot with a dark red handle and spout. It is holding a Hobbycraft gift card in the back.

The template for this gift card holder comes as a single SVG cut file, and can be found in my Etsy shop.

To make one, you will need:

* Poinsettia Teapot Gift Card Holder template (available as an SVG cut file)
* Computer and printer to print the PDF instructions
* Digital cutting machine
* Double-sided cardstock (220-250gsm / 80-92lb recommended)
* Craft glue

Watch my video tutorial showing how to assemble the gift card holder, and be sure to follow the tips below:

TIP 1 : When attaching the green leaf pieces, carefully line up the base so that it’s just up from the teapot base.

A papercraft gift card holder in the style of a vintage cream teapot with a dark red handle and spout. It is decorated with red and green paper poinsettias on the front.

TIP 2 : Gently curl the red poinsettia leaves upwards, then offset the layers like this to give them added dimension.

A papercraft gift card holder in the style of a vintage cream teapot with a dark red handle and spout. It is decorated with red and green paper poinsettias on the front.

TIP 3 : When attaching the back piece, only apply glue to the top part (the lid and rim section).

A papercraft gift card holder in the style of a vintage cream teapot with a dark red handle and spout. It is decorated with red and green paper poinsettias on the front.

TIP 4 : Fold the base tab in half and apply glue to the last part only so that it attaches to the base of the teapot piece.

A papercraft gift card holder in the style of a vintage cream teapot with a dark red handle and spout. It is decorated with red and green paper poinsettias on the front.

Once assembled, your little poinsettia teapot gift card holder is ready to go and, because it folds flat, it can easily be popped into an envelope for posting!

A papercraft gift card holder in the style of a vintage cream teapot with a dark red handle and spout. It is decorated with red and green paper poinsettias on the front.

When opened up, it becomes freestanding, and will even rock, making it perfect for Christmas cards, Mother’s day, birthday greetings or as a unique housewarming gift!

A papercraft gift card holder in the style of a vintage cream teapot with a dark red handle and spout. It is decorated with red and green paper poinsettias on the front.

Happy crafting!
Suzanne
3D Papercraft Projects · Christmas Papercraft · Favour Boxes

Papercraft Christmas Tree Favour Box

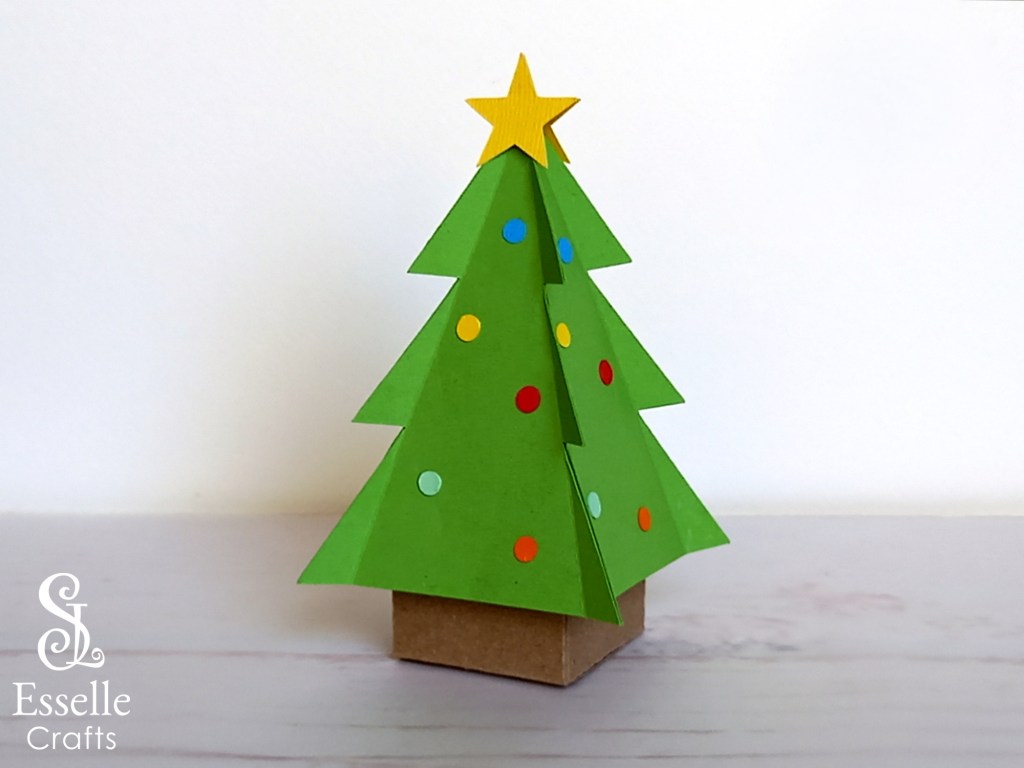
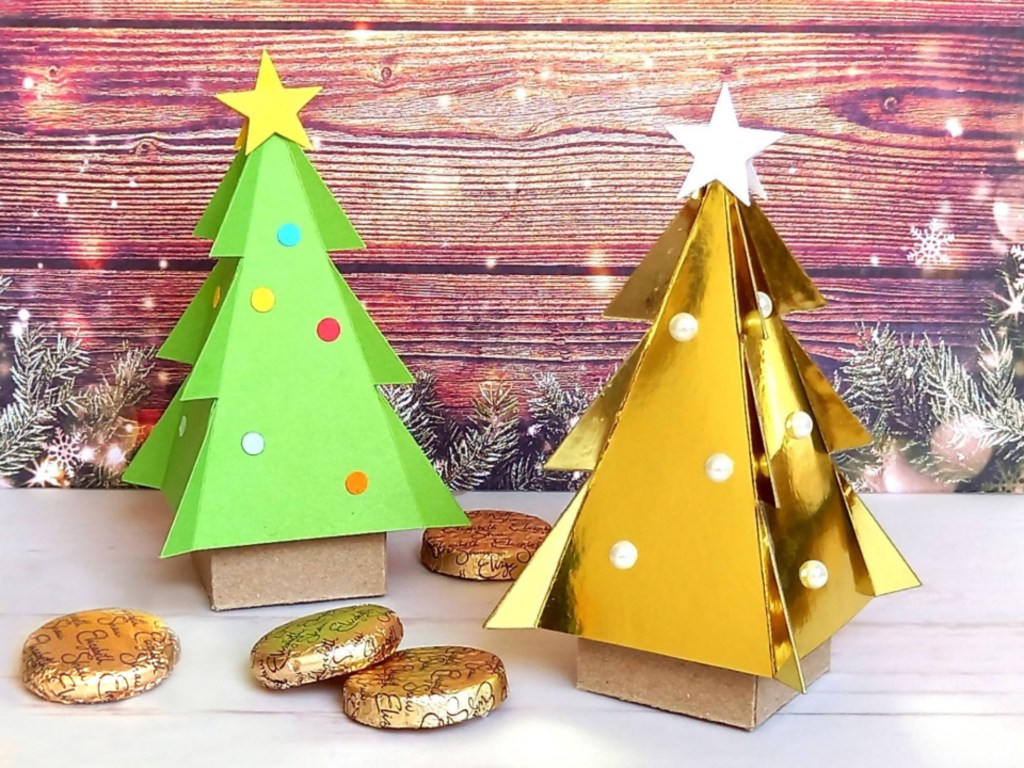
This stunning little Christmas tree favour box is so easy to assemble and will hold a surprising amount of sweets or small treats!🎄

A papercraft Christmas tree favour box with a gold star topper. Perfect for filling with sweets or small treats.

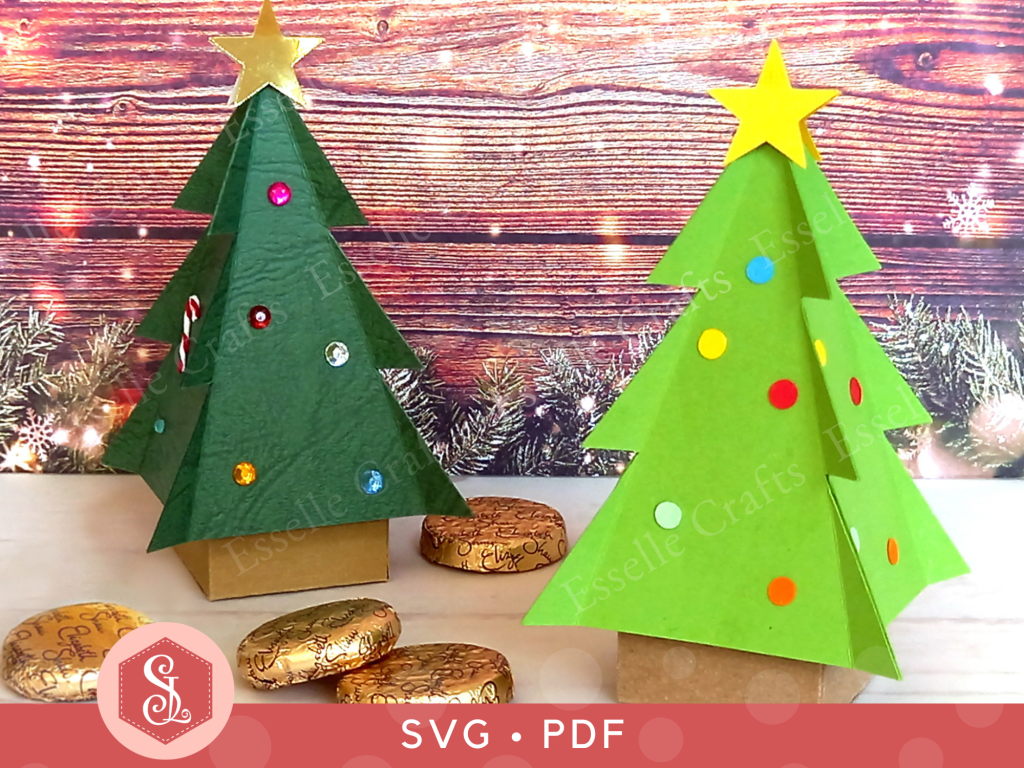
Perfect for Christmas parties and table favours, you can find the template for this box in my Etsy shop, available as both SVG and PDF.

Two papercraft Christmas tree favour boxes, one light green and one dark green, with gold star toppers. Perfect for filling with sweets or small treats.

To make one, you will need:

* Christmas Tree Box template (PDF and SVG available)
* Computer and printer to print the PDF templates and instructions
* Digital cutting machine
* Double-sided or patterned cardstock (220-250gsm / 80-92lb recommended)
* Thinner card for the star and baubles (160-200gsm 60-80lb recommended)
* Craft glue / double-sided tape
* Embellishments (optional)

If you are not using a cutting machine you will also need:

* Craft knife / scissors
* Scoring tool
* Ruler

Watch my video tutorial showing how to assemble the box, and be sure to follow the tips below:

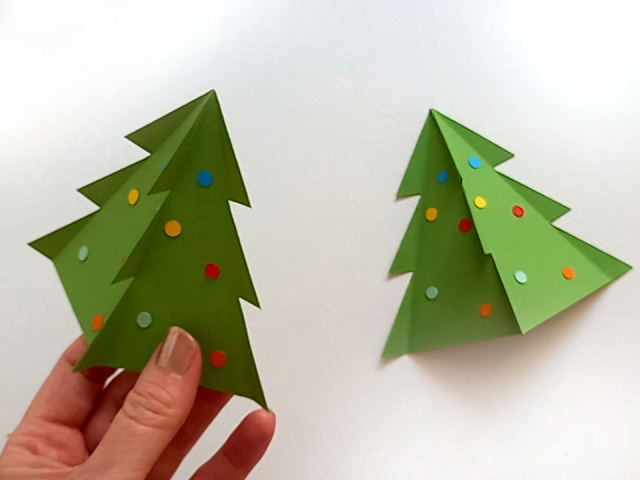
TIP 1 : Glue the tree pieces together in pairs first, then glue the two pairs together. This makes it easier to line them up.

Two papercraft Christmas tree favour boxes. Perfect for filling with sweets or small treats.

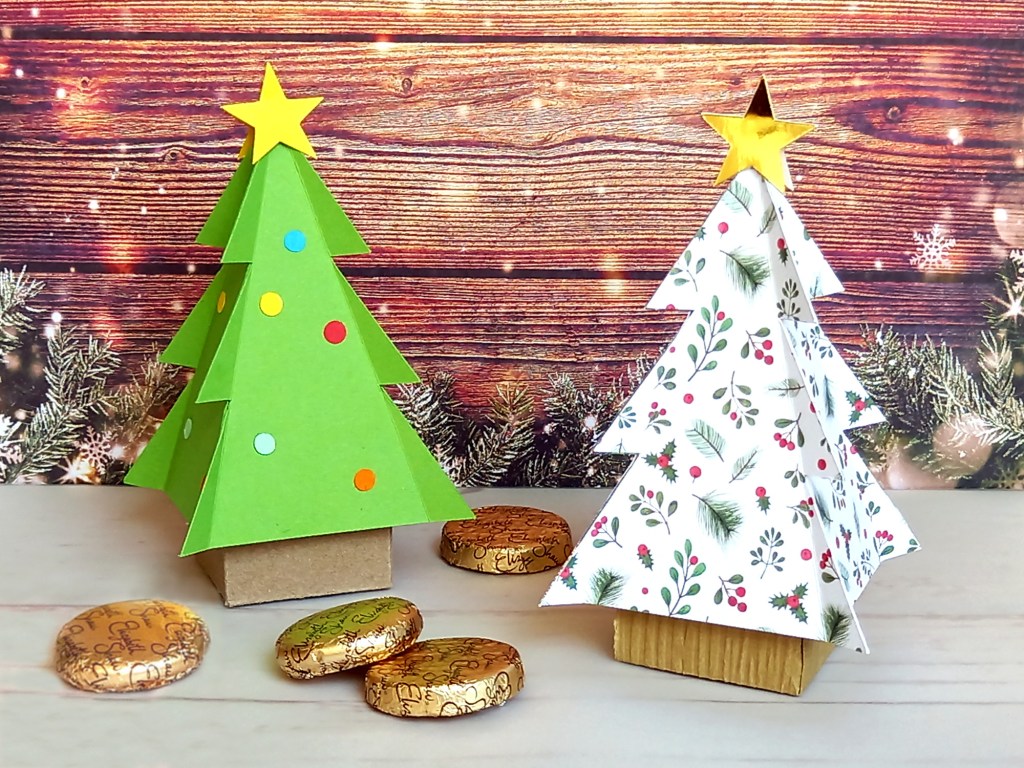
TIP 2 : Instead of adding separate decorations to plain cardstock, try using patterned cardstock for the tree and adding a shiny gold star on the top!

Two papercraft Christmas tree favour boxes. Perfect for filling with sweets or small treats.

TIP 3 : Try adding some sparkly gems to the tree or some half pearls, like on this super shiny gold mirror card version!

Two papercraft Christmas tree favour boxes. Perfect for filling with sweets or small treats.

However you choose to decorate your little Christmas tree boxes, have fun with them and experiment with different materials. Just like I did with this miniature candy cane that I made from baker’s twine! 

Two papercraft Christmas tree favour boxes. Perfect for filling with sweets or small treats.
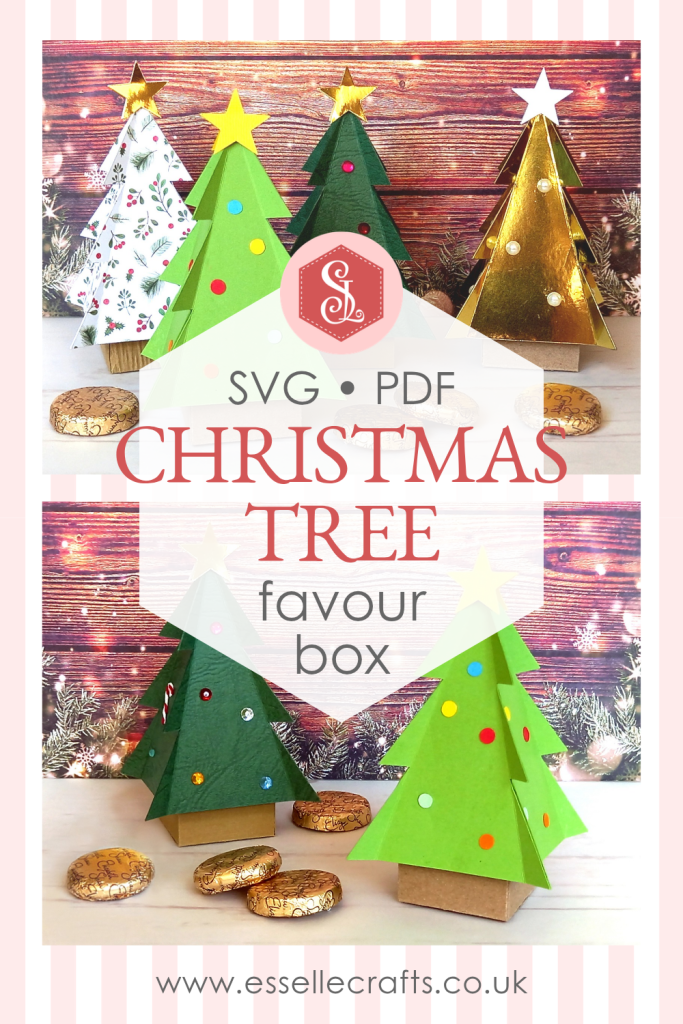
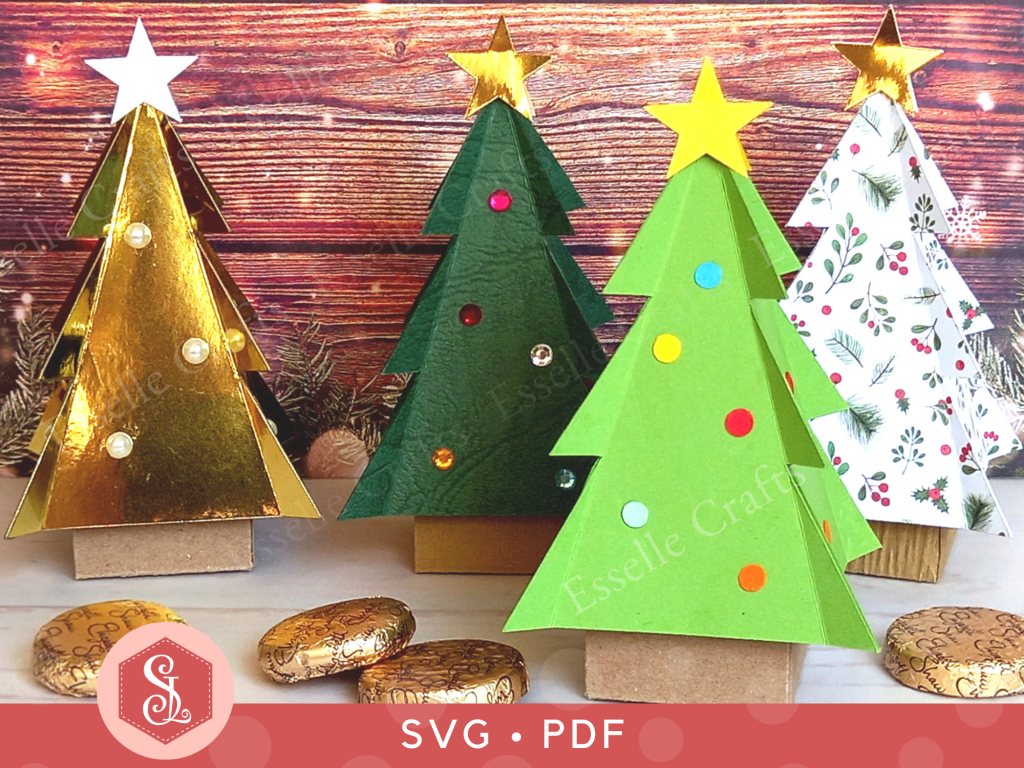
Four papercraft Christmas tree favour boxes, one light green, one dark green, one white and one gold, all with gold star toppers. Perfect for filling with sweets or small treats.

What will you fill your little Christmas tree boxes with? Let me know in the comments below!

Four papercraft Christmas tree favour boxes, one light green, one dark green, one white and one gold, all with gold star toppers. Perfect for filling with sweets or small treats.

Happy crafting!
Suzanne 🎄
3D Papercraft Projects · Christmas Papercraft · Favour Boxes · Papercraft Projects · wedding favour boxes

Double Bow Favour Box Template

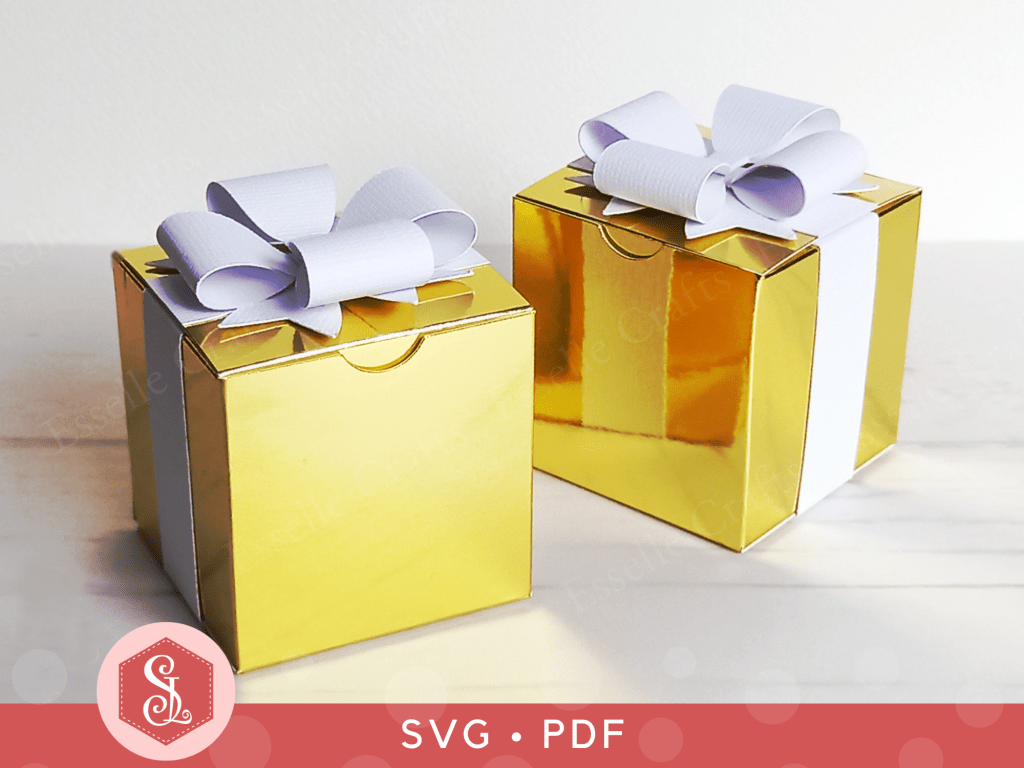
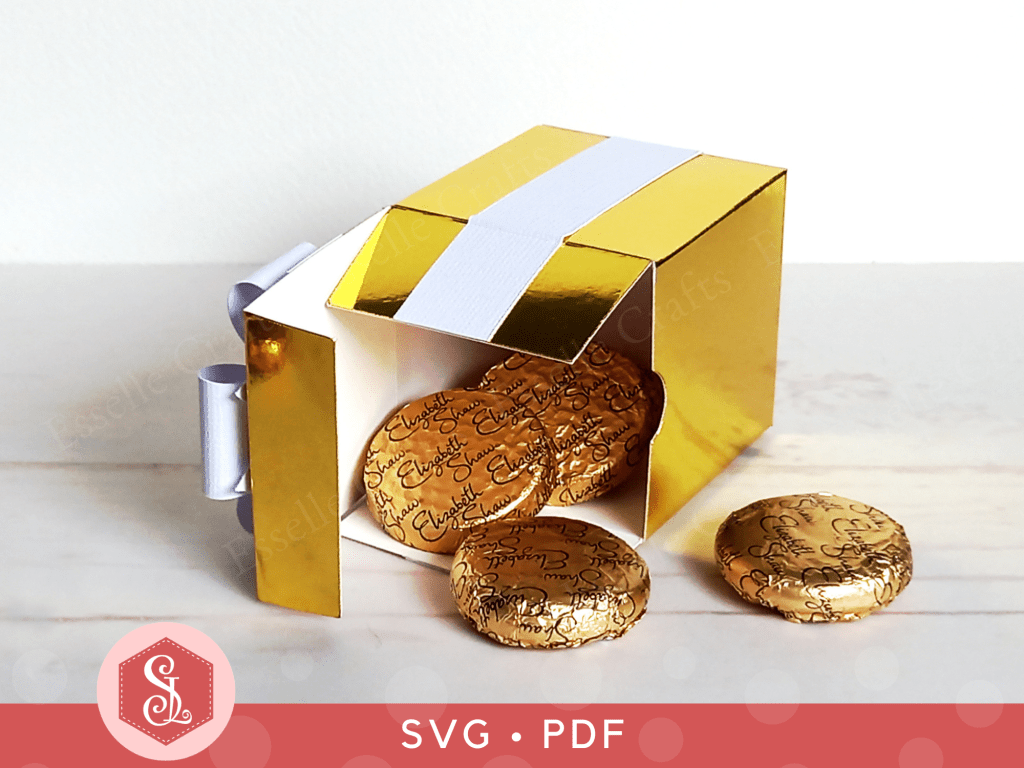
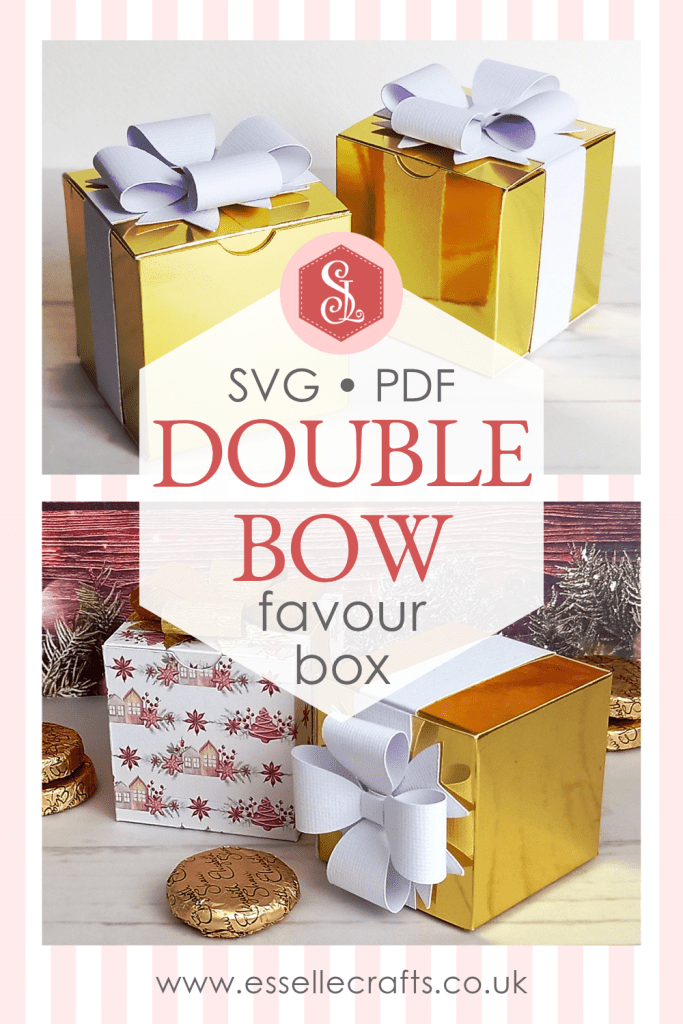
This adorable cube favour box has a double bow detail on the lid, and is perfect for wedding favours, bridal showers, Christmas gifts and so much more!

Two cube favour boxes made from shiny gold card, finished with a white paper ribbon and a white double bow on top.

Easy to assemble, the template for this box is available through my Etsy shop as an SVG cut file, as well as a PDF if you prefer to cut out by hand.

A cube favour box made from shiny gold card, finished with a white paper ribbon and a white double bow on top.

To make one, you will need:

* Double Bow Box template (PDF and SVG available)
* Computer and printer to print the PDF templates and instructions
* Digital cutting machine
* Patterned or coloured cardstock (220-250gsm / 80-92lb recommended)
* Thinner card for the ribbon and bows (160-200gsm / 60-80lb recommended)
* Craft glue / double-sided tape

If you are not using a cutting machine you will also need:

* Craft knife / scissors
* Scoring tool
* Ruler

Watch my video tutorial showing how to assemble the box:

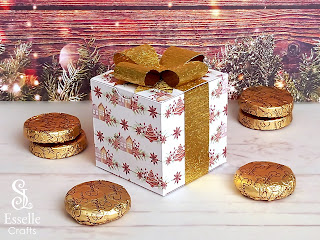
These boxes can be made for any occasion, and here is a super cute Christmas version, which I made using sparkly gold paper for the ribbon and bows.

A cube favour box made from patterned card, finished with a gold paper ribbon and a gold double bow on top.

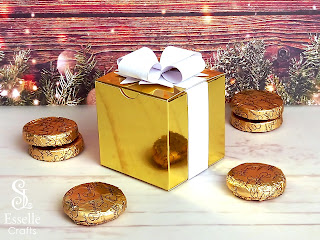
The gold mirror card on this one looks so elegant teamed with its white textured ribbon and bows.

A cube favour box made from shiny gold card, finished with a white paper ribbon and a white double bow on top.
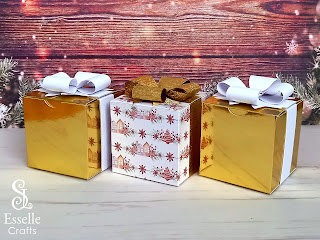
Three cube favour boxes made from shiny gold card, finished with a white paper ribbon and a white double bow on top.

A set of these cube favour boxes would look amazing on any Christmas table, filled with little treats!

Three cube favour boxes made from shiny gold card, finished with a white paper ribbon and a white double bow on top.

Happy crafting
Suzanne

3D Papercraft Projects · Gift Card Holders · Papercraft Projects

Beach Hut Gift Card Holder

If you’ve ever struggled to know what to buy someone as a gift, you will have undoubtedly opted for a gift card at some point. But how can you turn that gift into something fun and memorable? By making your very own personalised gift card holder, of course! 🎁

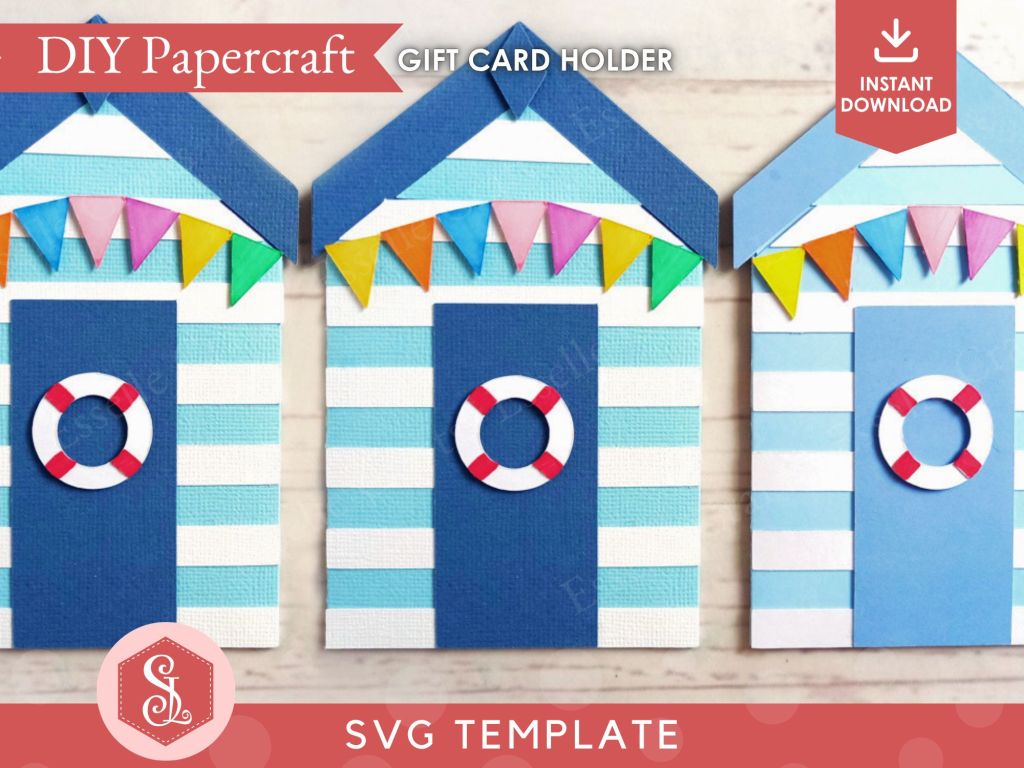
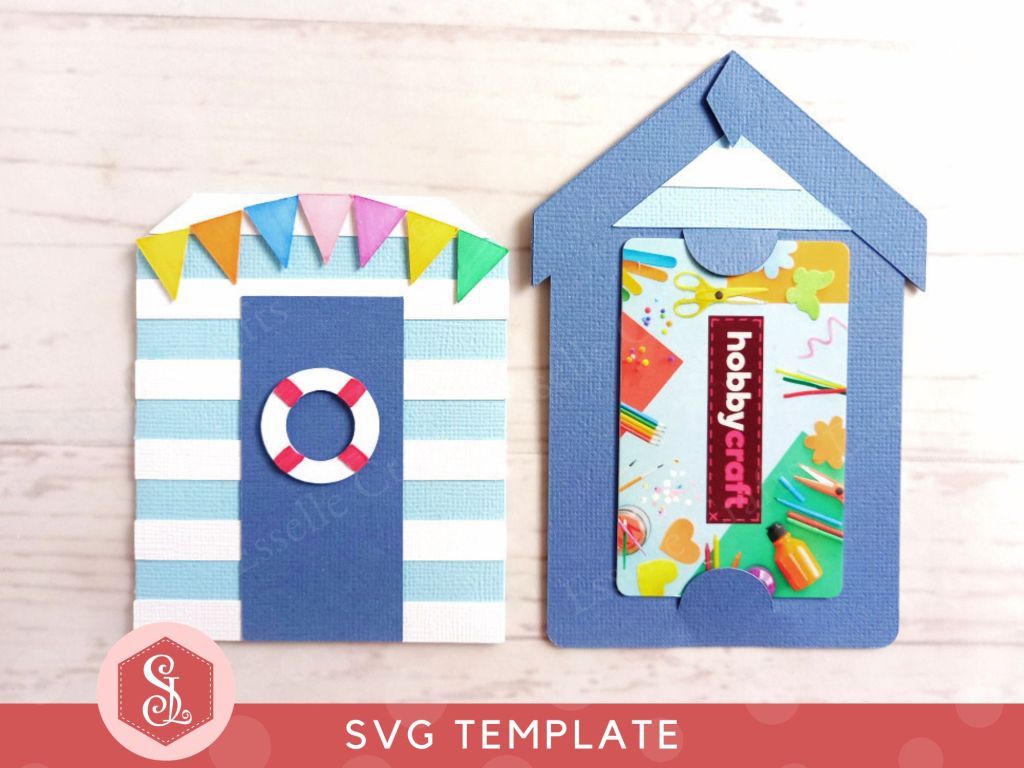
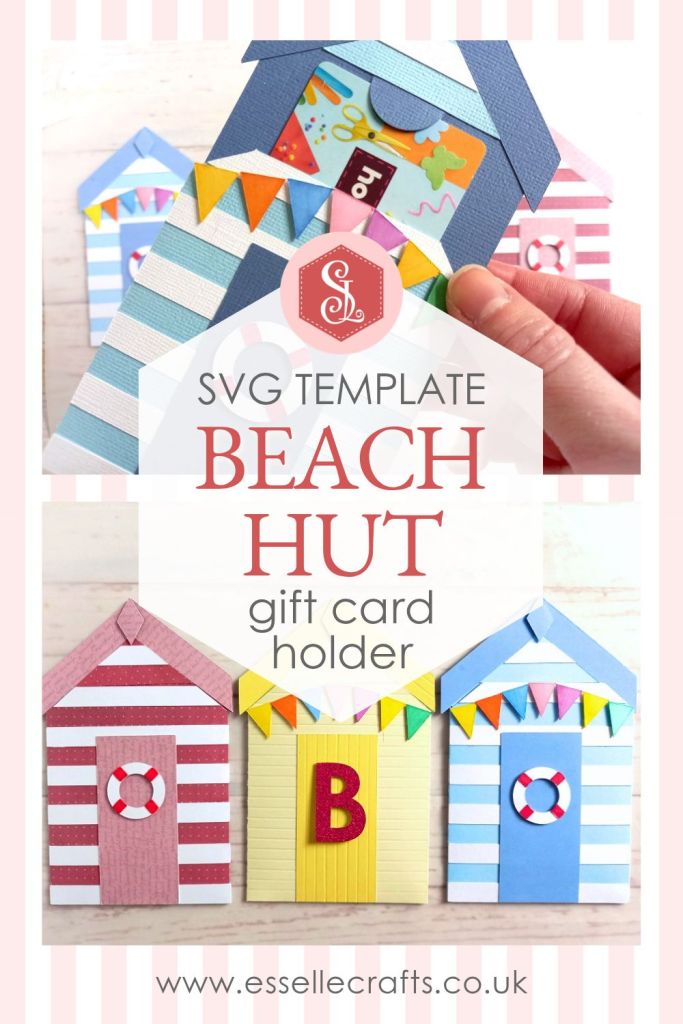
Three papercraft gift card holders in the style of beach huts, each decorated with blue and white stripes, a red and white lifebuoy and colourful paper bunting.

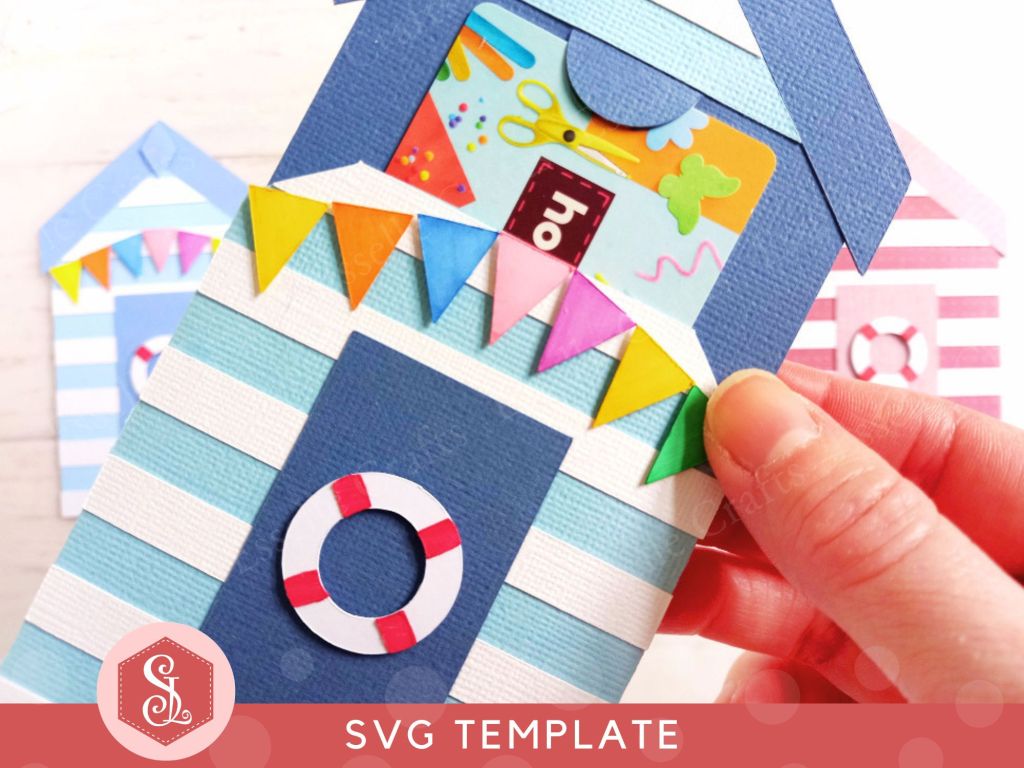
Disguised as a classic beach hut, this interactive gift card holder is super easy to assemble, and will bring an element of surprise to your gift recipient! 🎁

A papercraft gift card holder in the style of a beach hut, decorated with blue and white stripes, a red and white lifebuoy and colourful paper bunting.

The templates for this gift card holder come as SVG cut files, and can be found in my Etsy shop.

Three papercraft gift card holders in the style of beach huts, each decorated with blue and white stripes, a red and white lifebuoy and colourful paper bunting.

To make one, you will need:

* Beach Hut Gift Card Holder template (available as an SVG cut file)
* Computer and printer to print the PDF instructions
* Digital cutting machine
* Double-sided cardstock (220-250gsm / 80-92lb recommended)
* Craft glue / double-sided tape

Watch my video tutorial showing how to assemble the gift card holder, and be sure to follow the tips below:

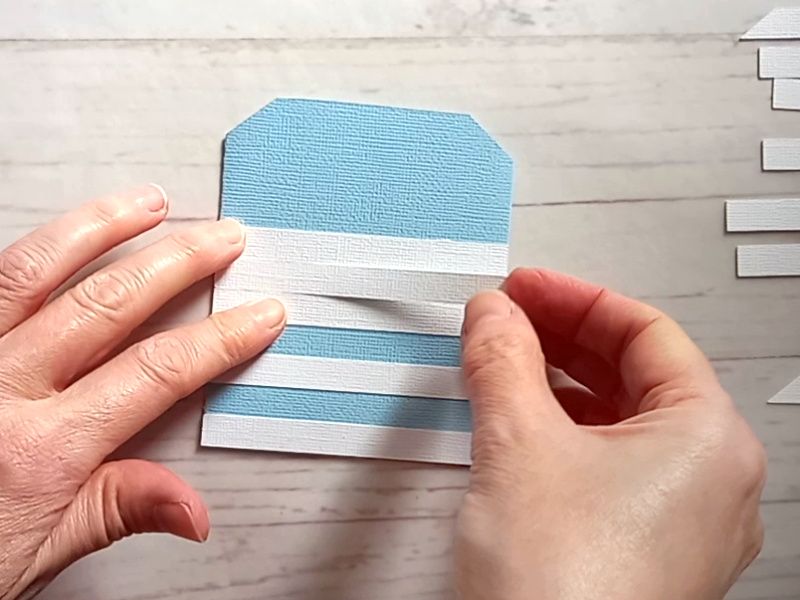
TIP 1 : To make sure the white stripes are evenly spaced, use a spare stripe in between.

A papercraft gift card holder in the style of a beach hut, decorated with blue and white stripes.

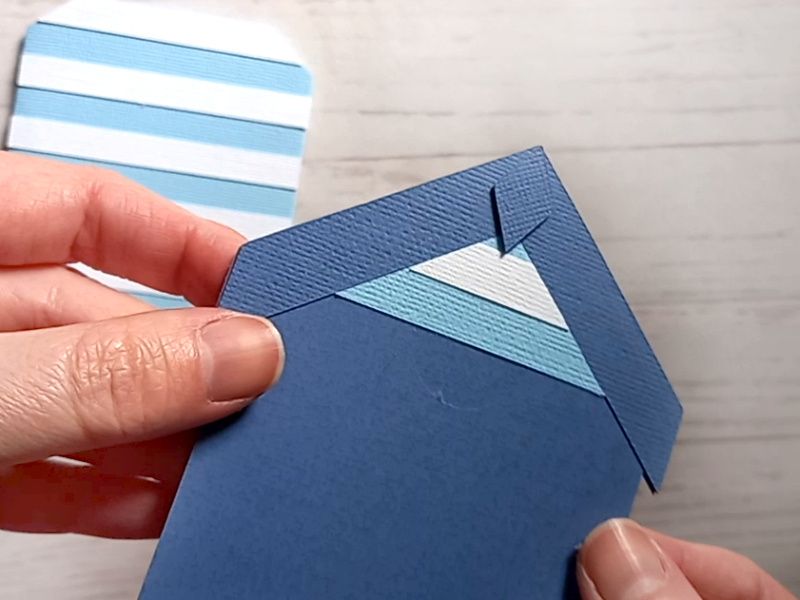
TIP 2 : When attaching the two roof pieces to the insert, make sure they are lined up neatly along the top edges (front and back).

A papercraft gift card holder in the style of a beach hut, decorated with blue and white stripes.

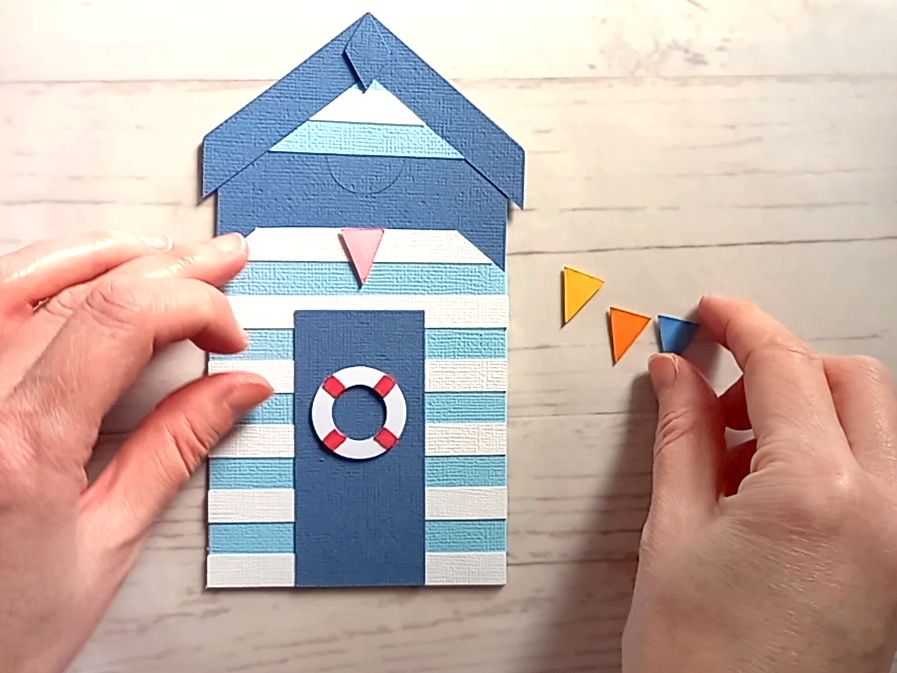
TIP 3 : If you wish to decorate your beach hut with bunting, start with one in the centre (just below the top of the main piece), then arrange the others, three on each side. Use some small scraps of cardstock or foam pads to give added dimension.

A papercraft gift card holder in the style of a beach hut, decorated with blue and white stripes, a red and white lifebuoy and colourful paper bunting.

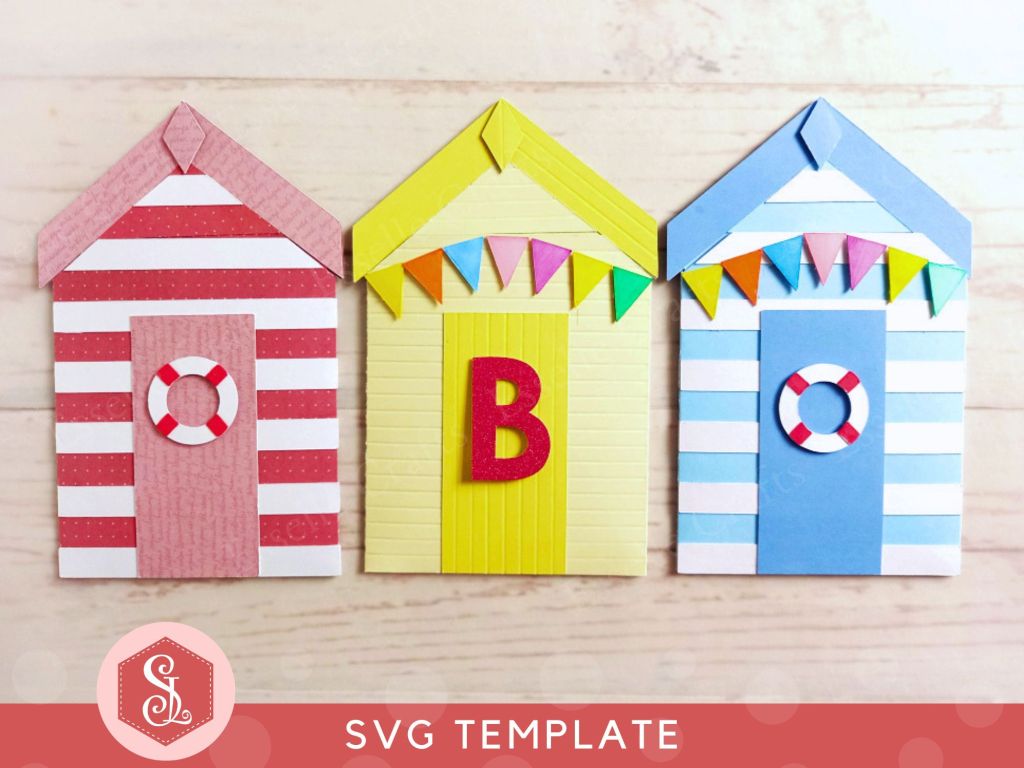
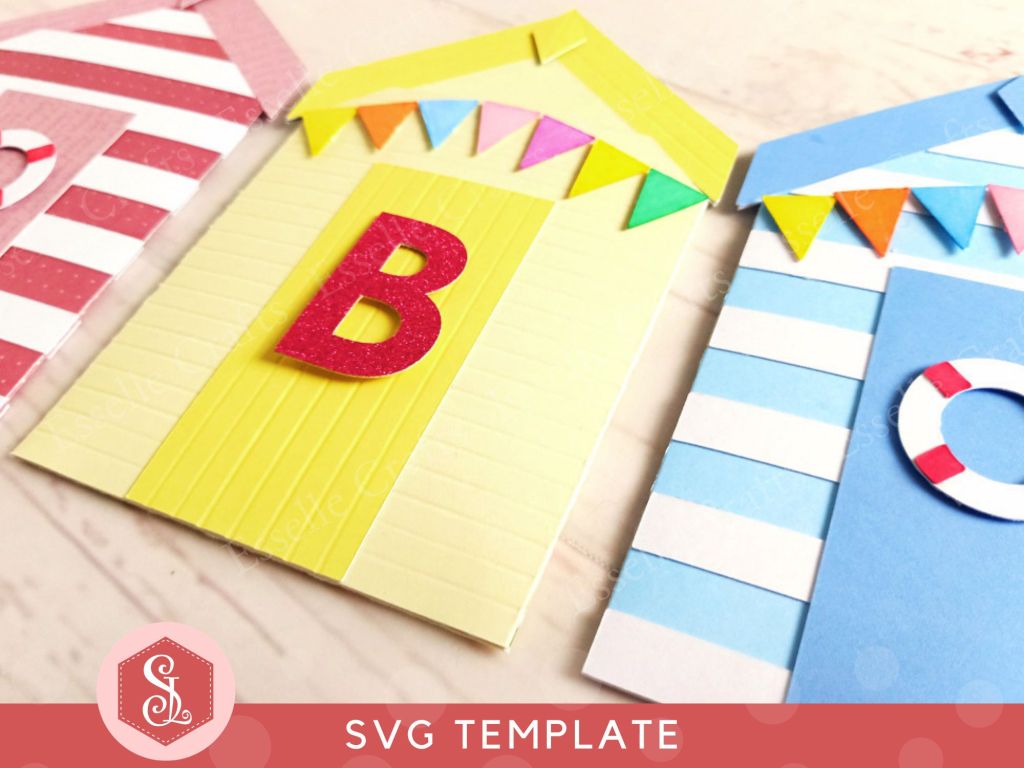
TIP 4 : If you wish to personalise your beach hut with a letter, there is a BONUS set of capital letters included in the download!

A papercraft gift card holder in the style of a beach hut, decorated with a red and white lifebuoy, colourful paper bunting and personalised with a letter B on the door.

Once assembled, your little beach hut gift card holder is ready to go and, because it’s fairly flat, it can easily be popped into an envelope for posting! ✉️📮

A papercraft gift card holder in the style of a beach hut, decorated with blue and white stripes, a red and white lifebuoy and colourful paper bunting.

You might also like to team it up with some printable beach hut favour boxes for a cool coordinating gift 💙

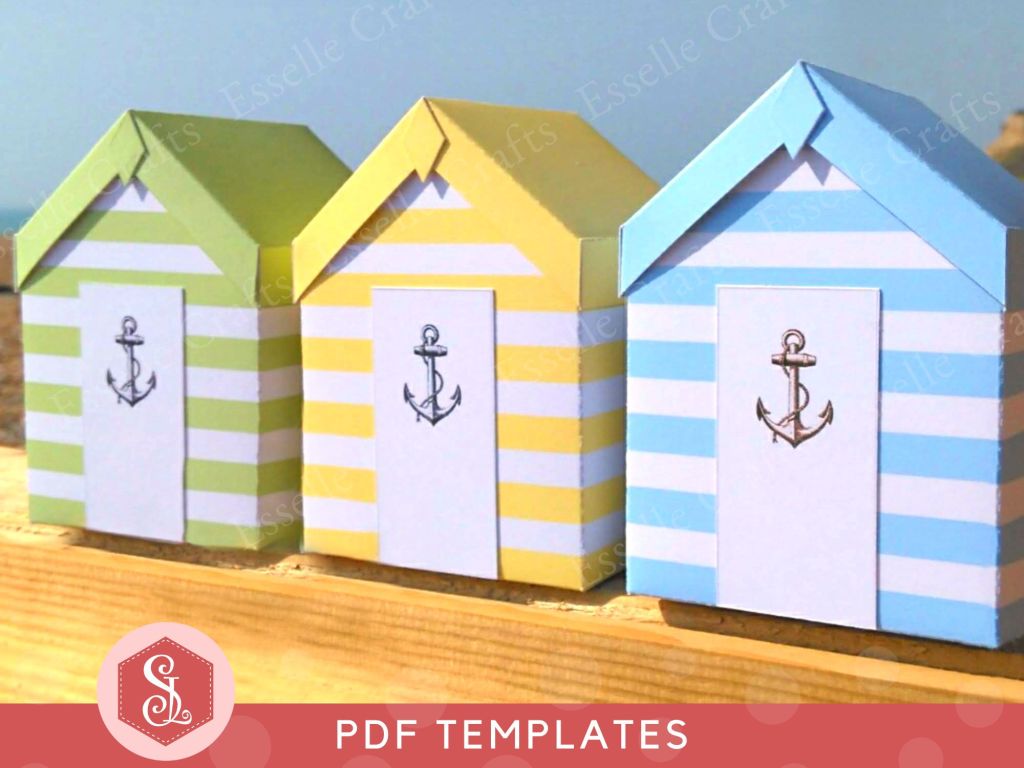
Three colourful papercraft gift boxes in the style of beach huts, each decorated with white stripes and a grey anchor on the door.

Perfect for beach-themed parties or summer holiday gifts! 💙🎁

A papercraft gift card holder in the style of a beach hut, decorated with blue and white stripes, a red and white lifebuoy and colourful paper bunting.

Happy crafting!
Suzanne
3D Papercraft Projects · Favour Boxes · Papercraft Projects · wedding favour boxes

Flower Treat Box Papercraft Template

Similar in design to my hexagonal Flower Favour Box this pretty, square-based Flower Treat Box is super easy to make, and can be filled with sweets or small treats!

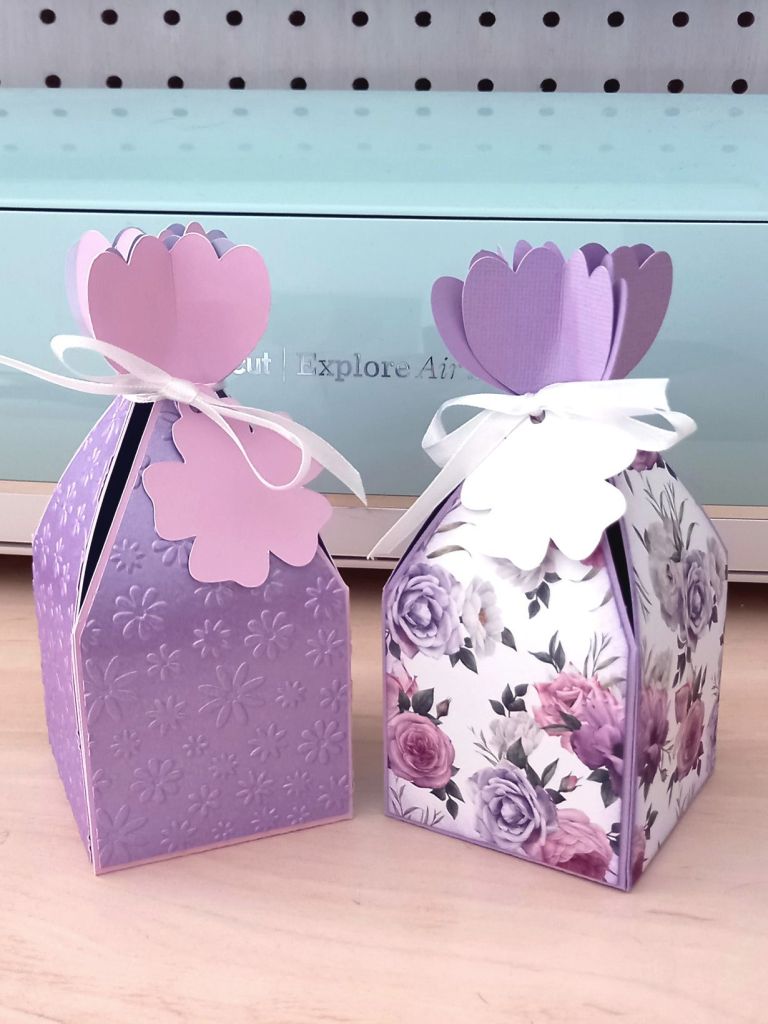
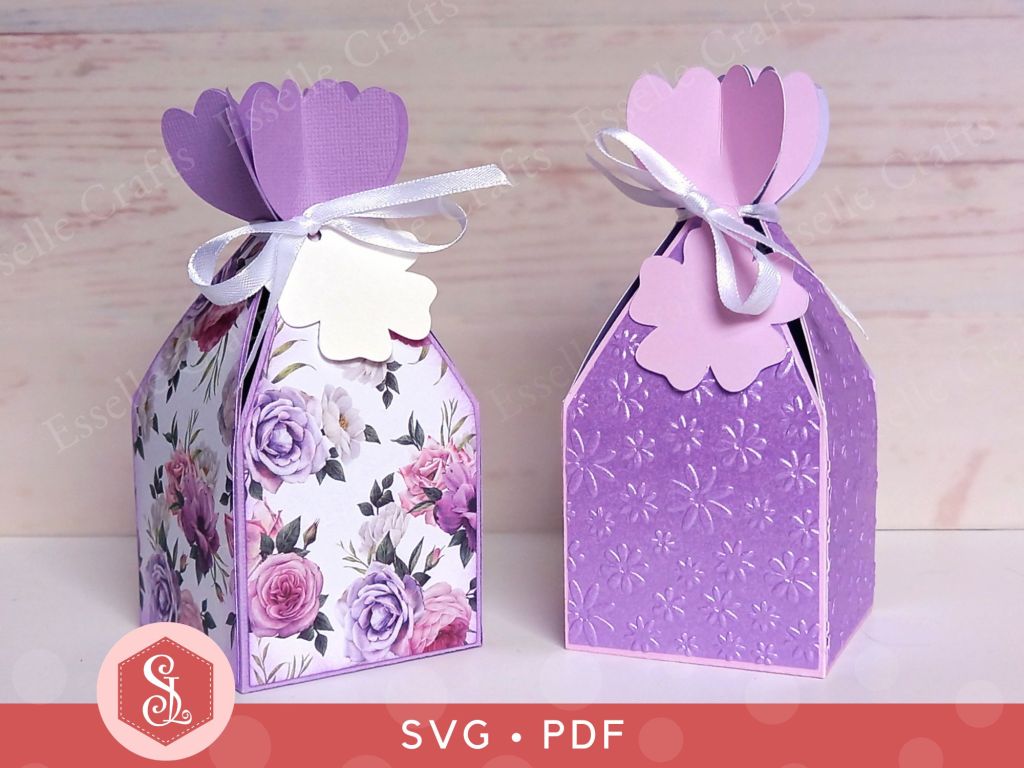
Two papercraft favour boxes in the style of a flower made from lavender paper and closed with a satin ribbon

Perfect for birthday parties, Mother’s Day gifts, wedding favours and so much more, the template for this box is available through my Etsy shop as an SVG cut file, as well as a PDF if you prefer to cut out by hand.

Two papercraft favour boxes in the style of a flower made from lavender paper and closed with a satin ribbon

To make one, you will need:

* Flower Treat Box template (SVG and PDF available)
* Computer and printer to print the PDF template and instructions
* Digital cutting machine
* Double sided, patterned cardstock (220-250gsm / 80-92lb recommended)
* Craft glue / double-sided tape
* Ribbon

If you are not using a cutting machine, you will also need:

* Craft knife / scissors
* Scoring tool
* Ruler

Watch my video tutorial showing how to assemble the box and be sure to follow the tips below:

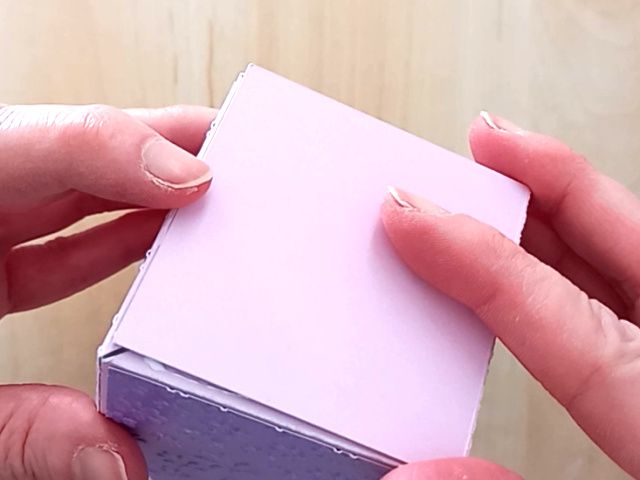
TIP 1 : Make sure that the base is lined up carefully against the score lines. Adding the extra square piece to the inside of the box will hide the tabs and strengthen the base.

A papercraft favour box in the style of a flower made from lavender paper and closed with a satin ribbon

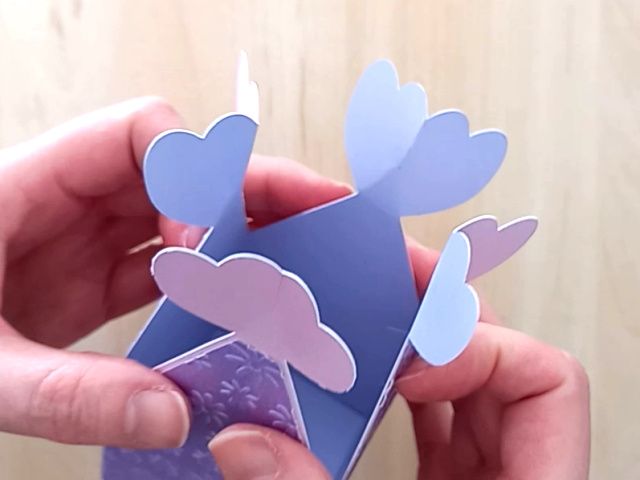
TIP 2 : The petals need to be pinched carefully at the top half only (following the score lines).

A papercraft favour box in the style of a flower made from lavender paper and closed with a satin ribbon

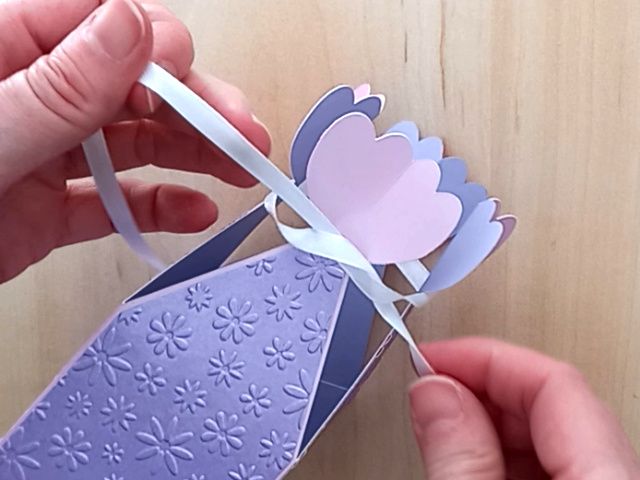
TIP 3 : When tying the box up for the first time, pull the ribbon gently to allow all of the petals to meet neatly in the centre

A papercraft favour box in the style of a flower made from lavender paper and closed with a satin ribbon

These are such useful little boxes for gifting small treats, so I hope that you are now inspired to create your own pretty flower treat boxes!

Two papercraft favour boxes in the style of a flower made from lavender paper and closed with a satin ribbon

Happy crafting 🌸
Suzanne

3D Papercraft Projects · Favour Boxes · Papercraft Projects · wedding favour boxes

Mr & Mrs Wedding Treat Box

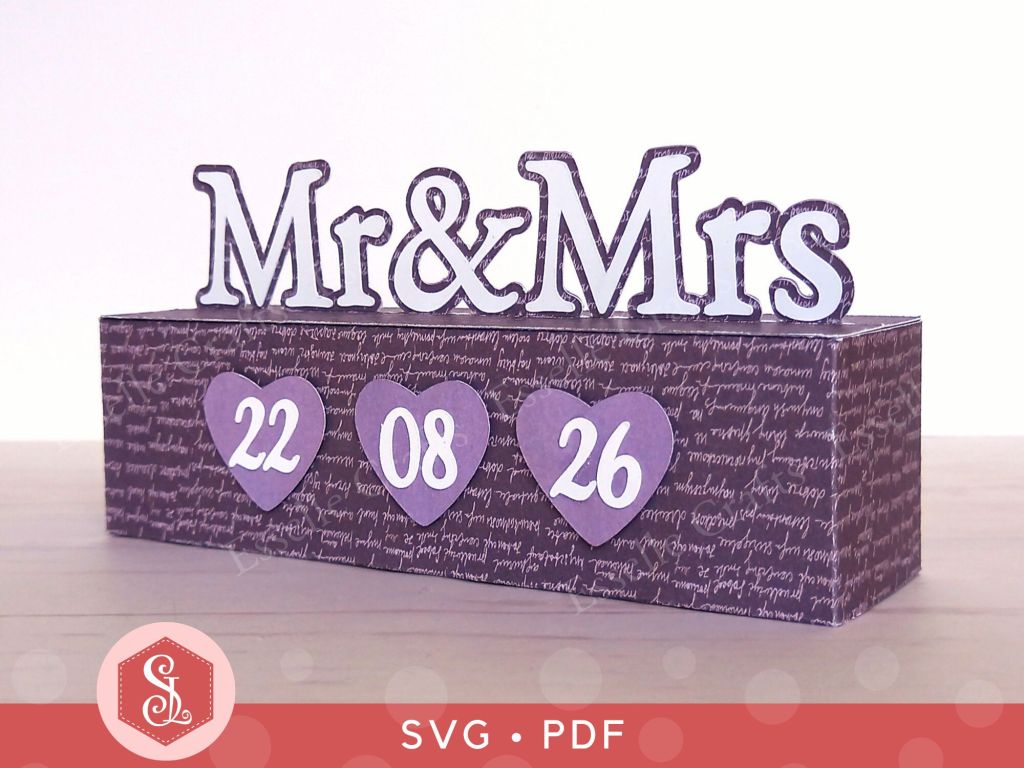
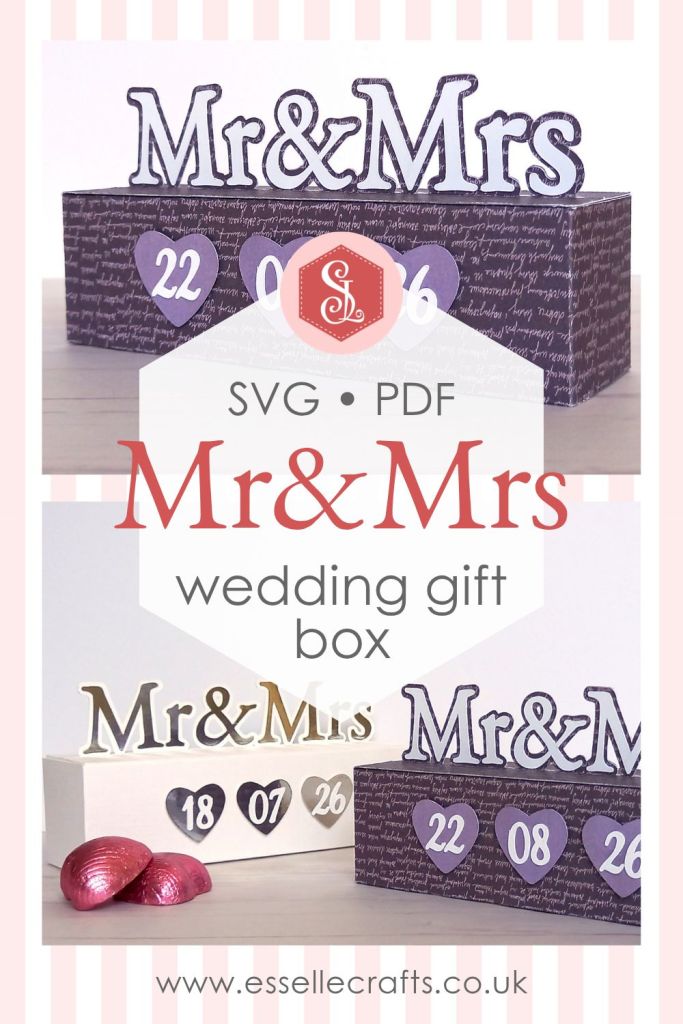
This impressive Mr & Mrs treat box is the perfect way to add a little handmade happiness to your wedding gift giving.

Mr and Mrs papercraft treat box svg template for wedding gift giving

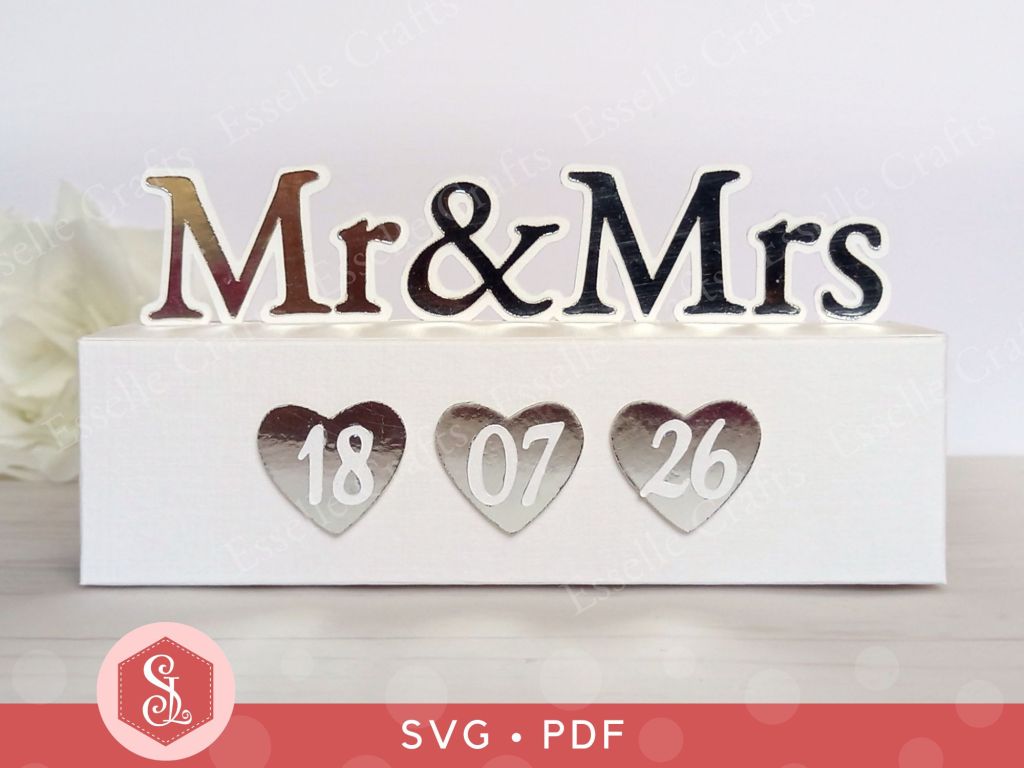
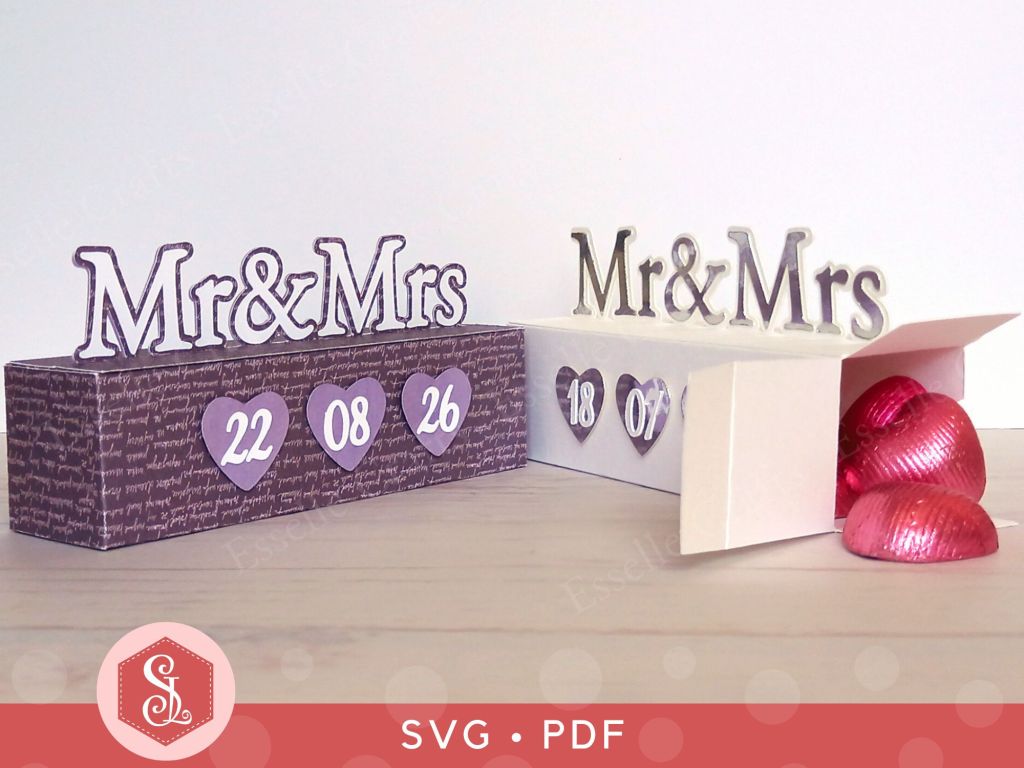
Designed with simplicity and creativity in mind, it can be filled with chocolate hearts, sweets, small gifts or thoughtful surprises for the bride and groom, and can even be personalised with the date of the wedding!

Mr and Mrs papercraft treat box svg template for wedding gift giving

The templates for this heartfelt box come as SVG cut files, as well as printable PDFs if you prefer to cut out by hand.

Mr and Mrs papercraft treat box svg template for wedding gift giving

To make one, you will need:

* Mr & Mrs Treat Box template (available as SVG cut files and printable PDFs)
* Computer and printer to print the PDF templates and instructions
* Digital cutting machine
* Double-sided cardstock (220-250gsm / 80-92lb recommended)
* Craft glue / double-sided tape
Watch my video tutorial showing how to assemble the treat box, and be sure to follow the tips below:

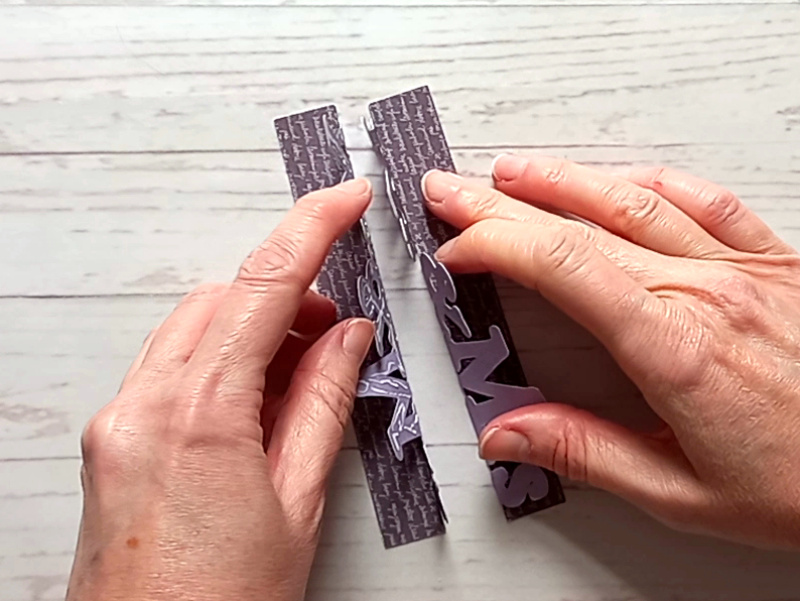
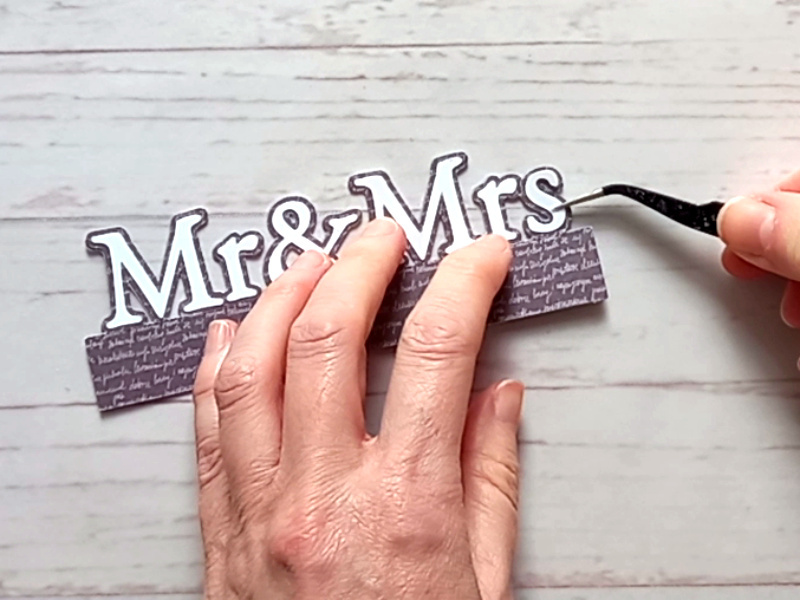
TIP 1 : After gluing the backs of the letters, slide the two top pieces together, so that the words Mr & Mrs line up perfectly.

Mr and Mrs papercraft treat box svg template for wedding gift giving

TIP 2 : Glue the individual letters on before gluing the finished top piece to the top of the box, so that you can lay it flat.

Mr and Mrs papercraft treat box svg template for wedding gift giving

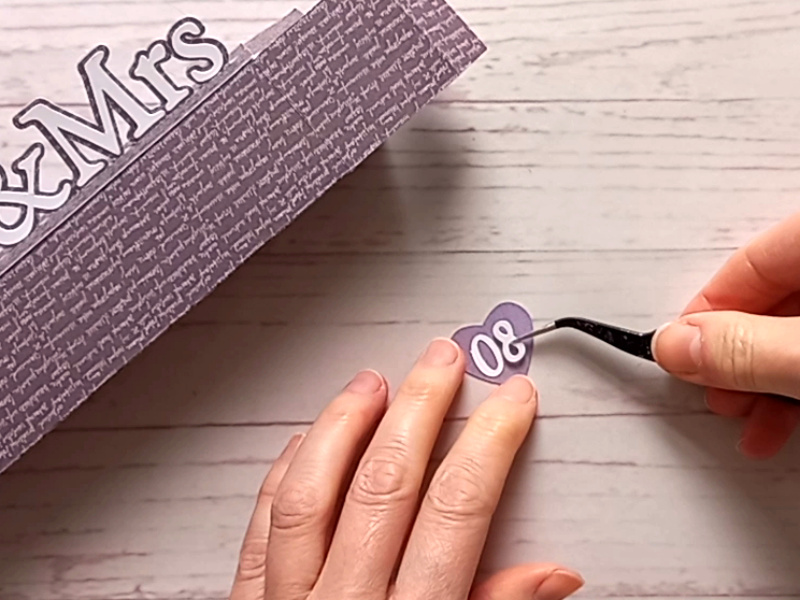
TIP 3 : Personalise the box with the date of the wedding using the three little hearts and the numbers supplied. Alternatively, you could keep the hearts plain, or stamp initials / numbers onto them.

Mr and Mrs papercraft treat box svg template for wedding gift giving

Whether you’re crafting for family or friends, this little treat box comes together quickly and easily – perfect for wedding favours or an anniversary keepsake!

Mr and Mrs papercraft treat box svg template for wedding gift giving

Happy crafting!
Suzanne