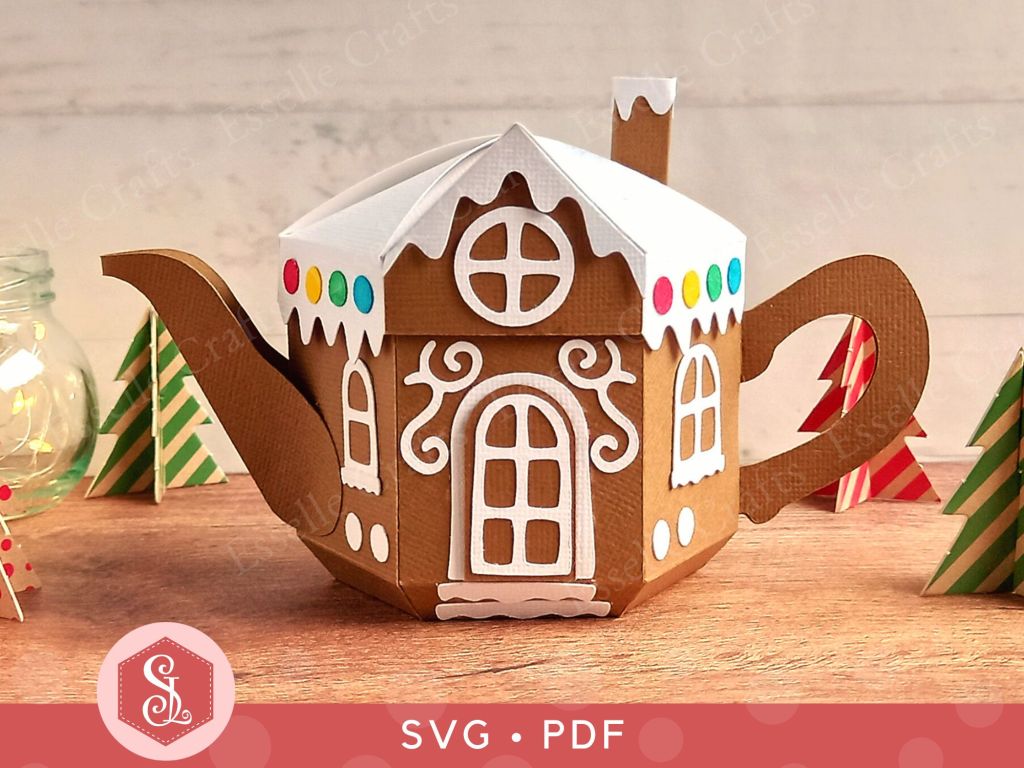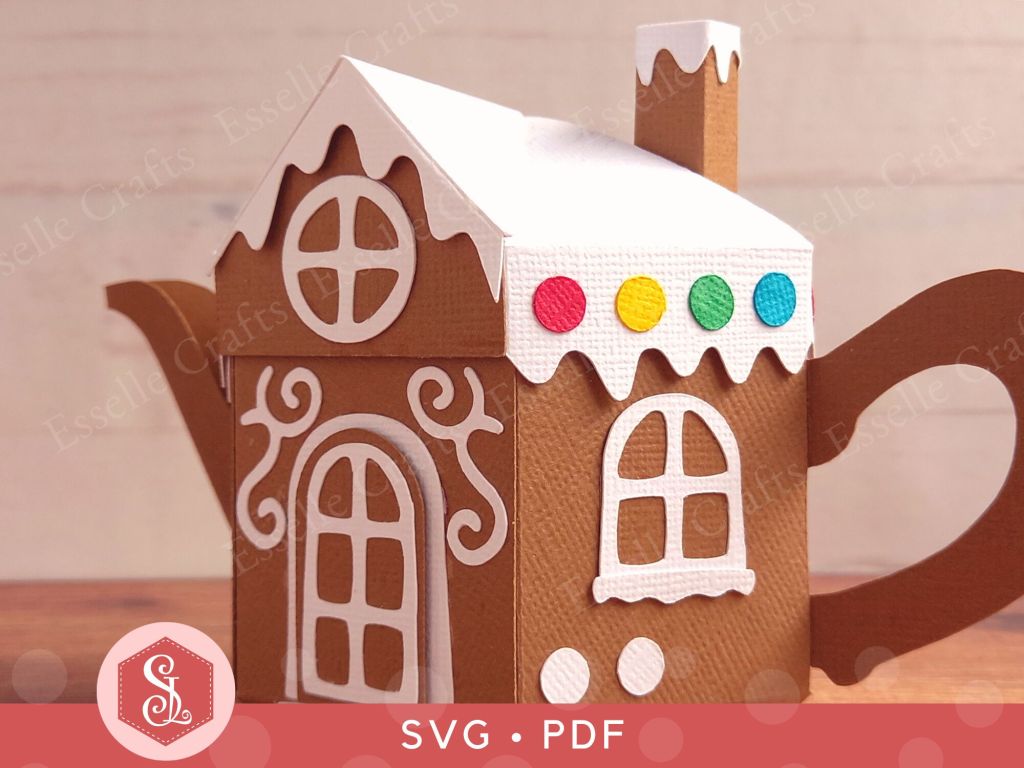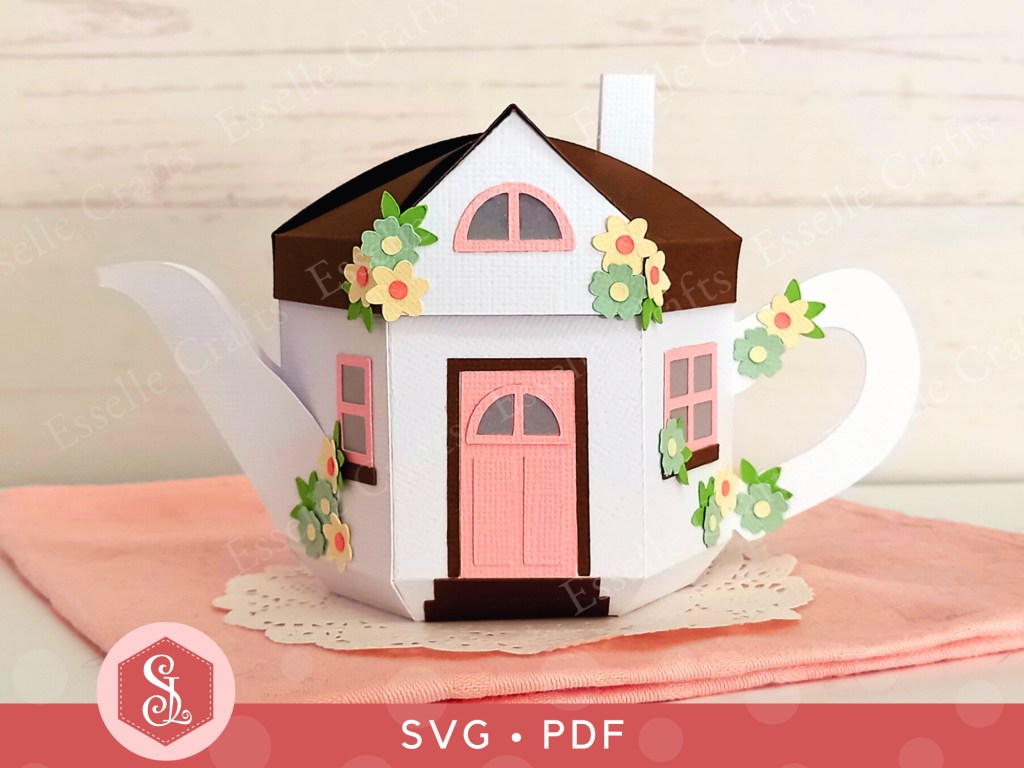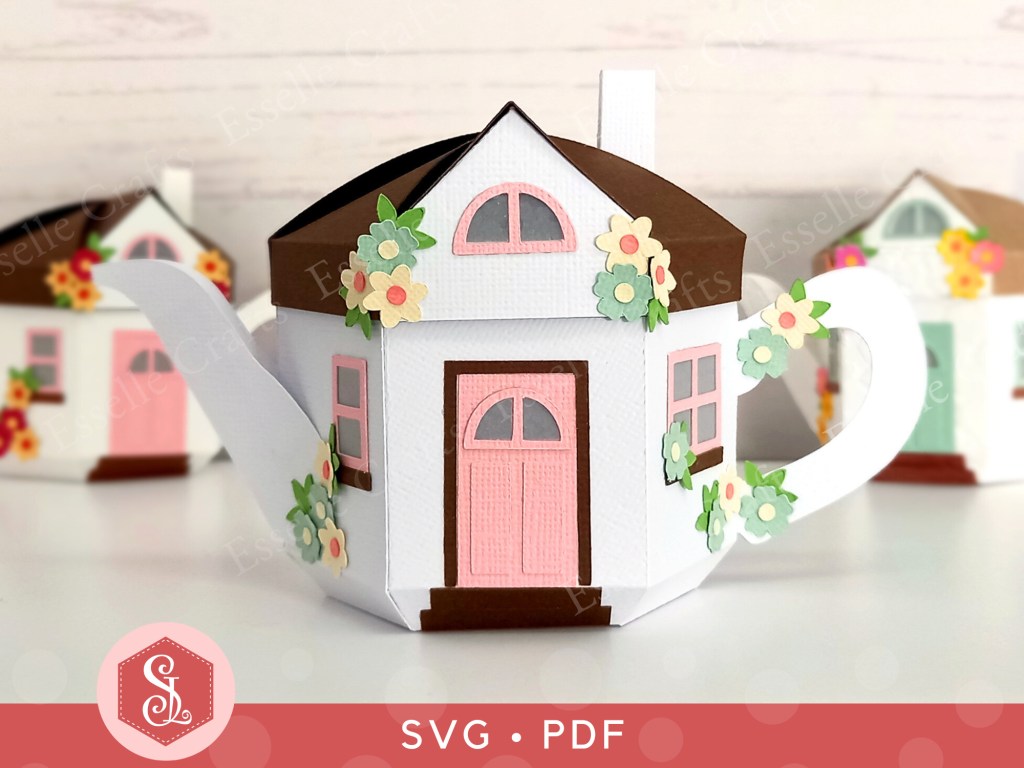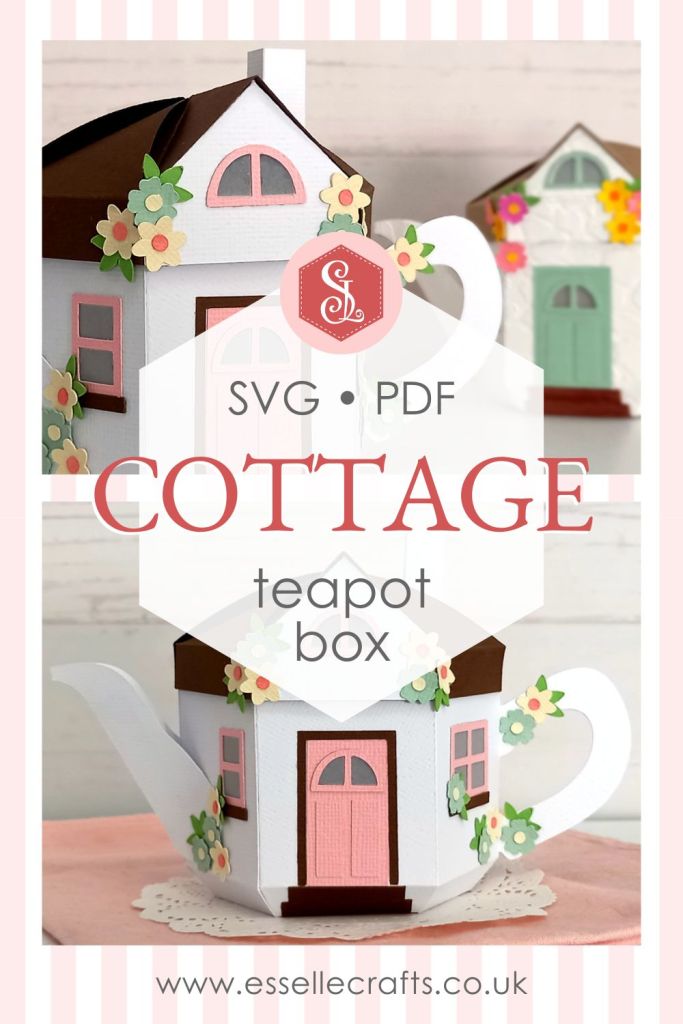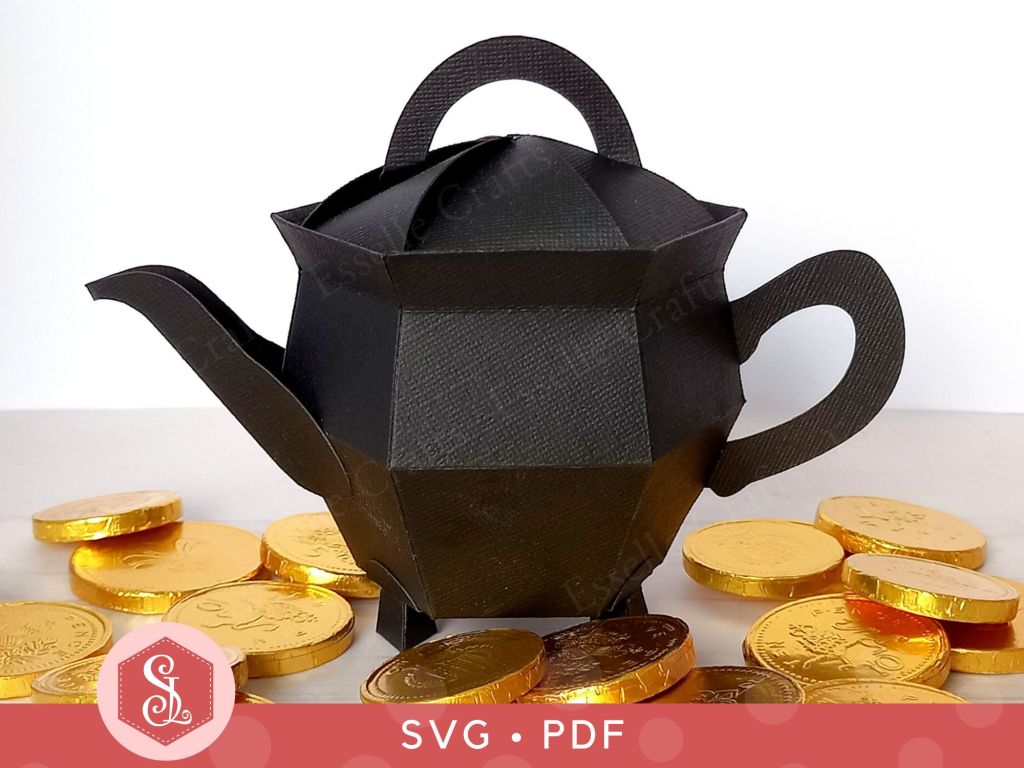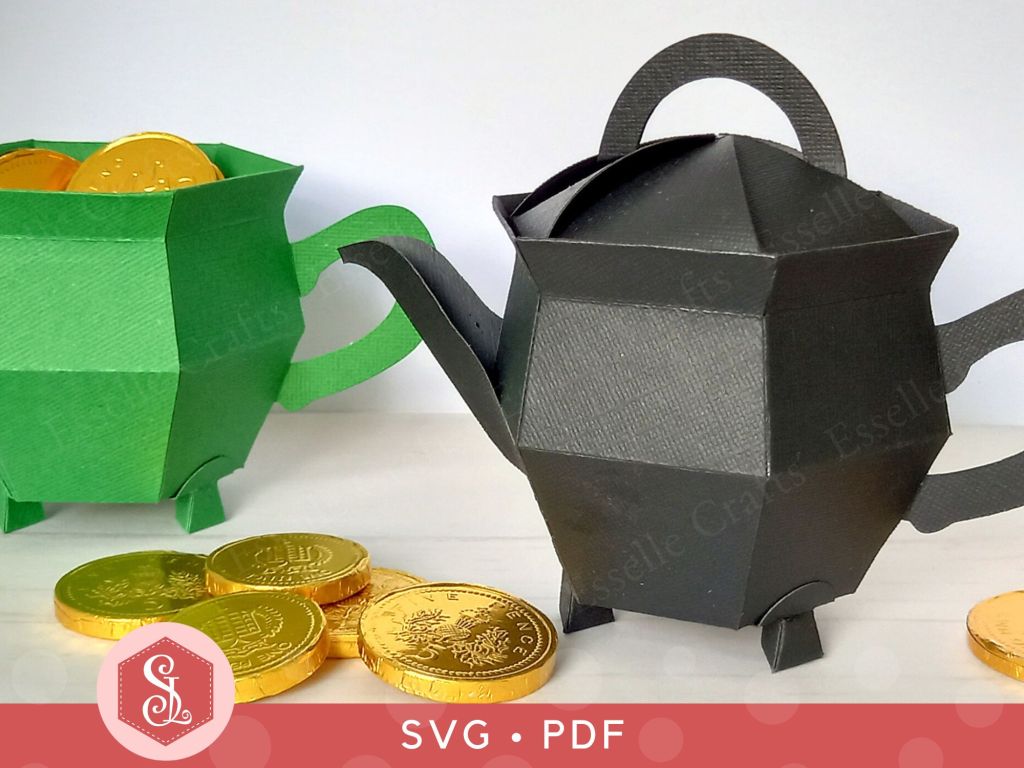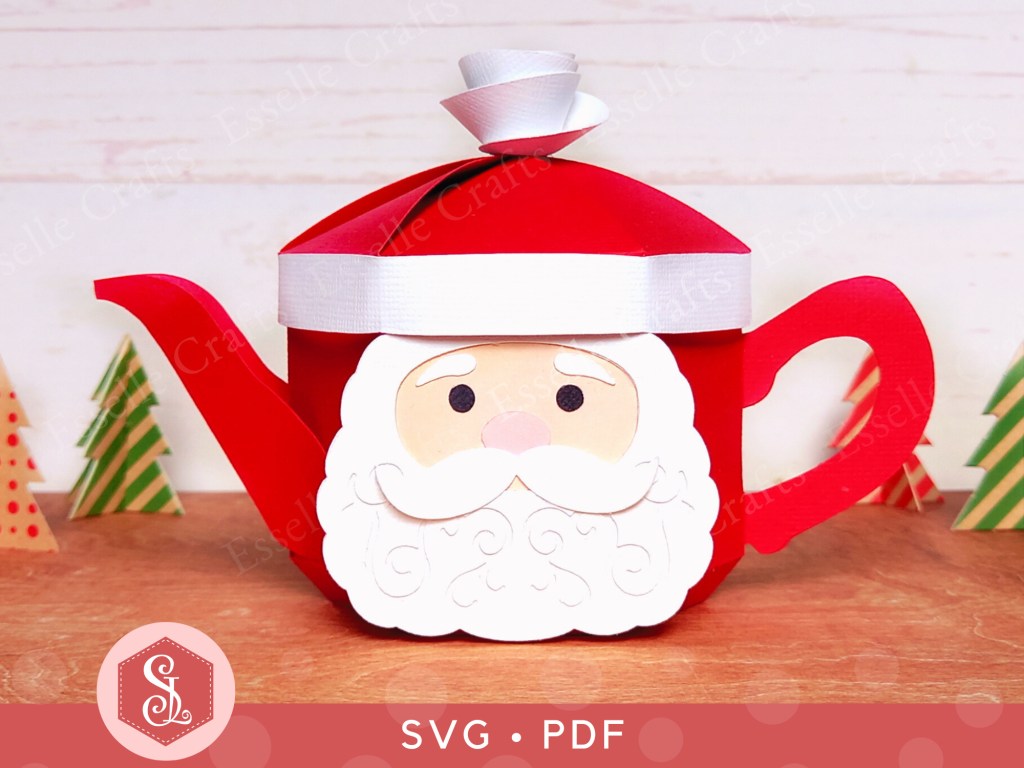
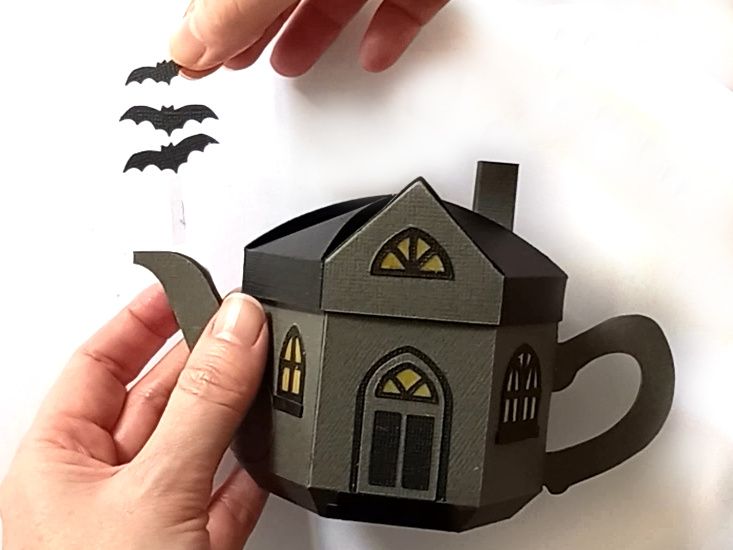
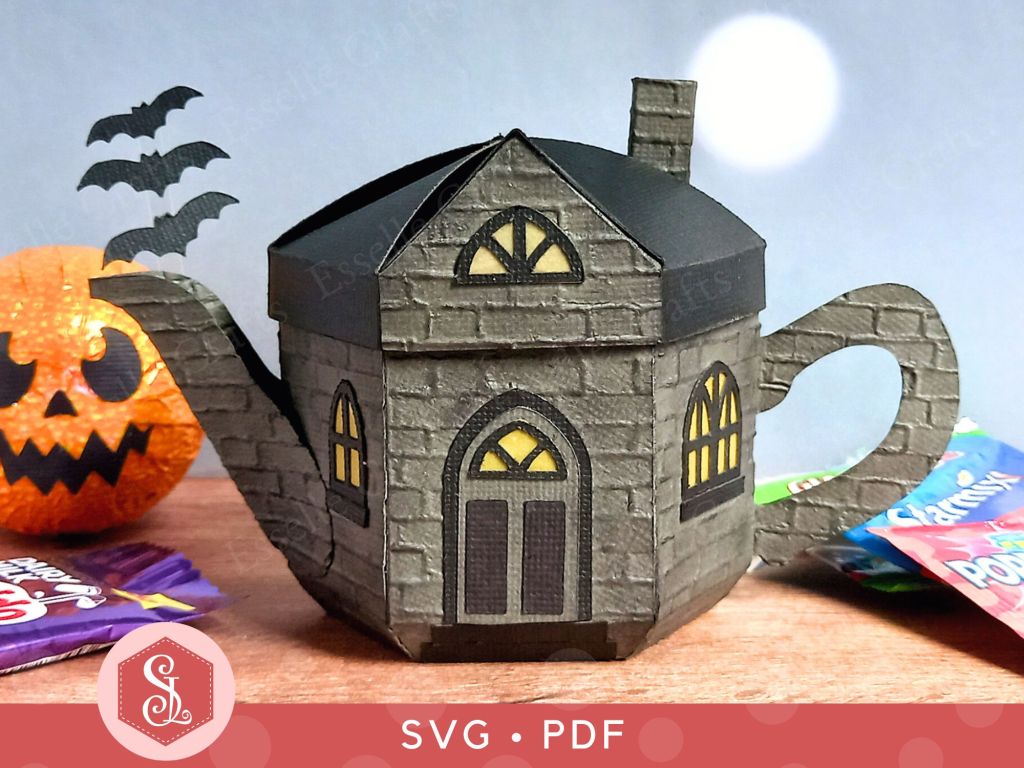
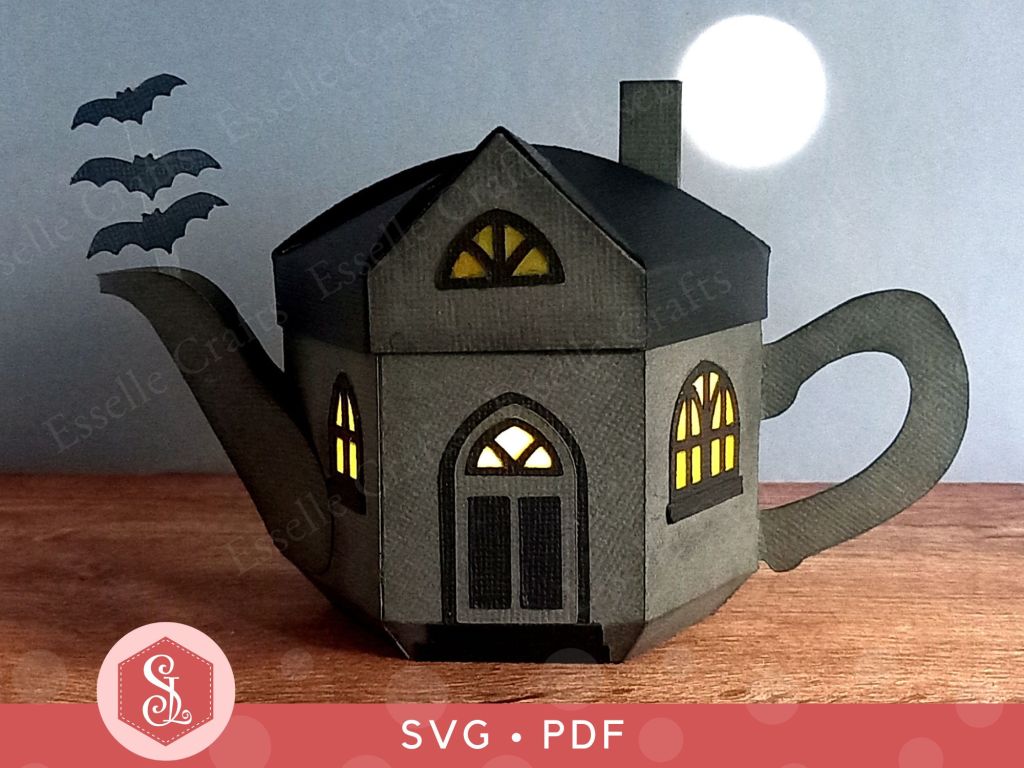
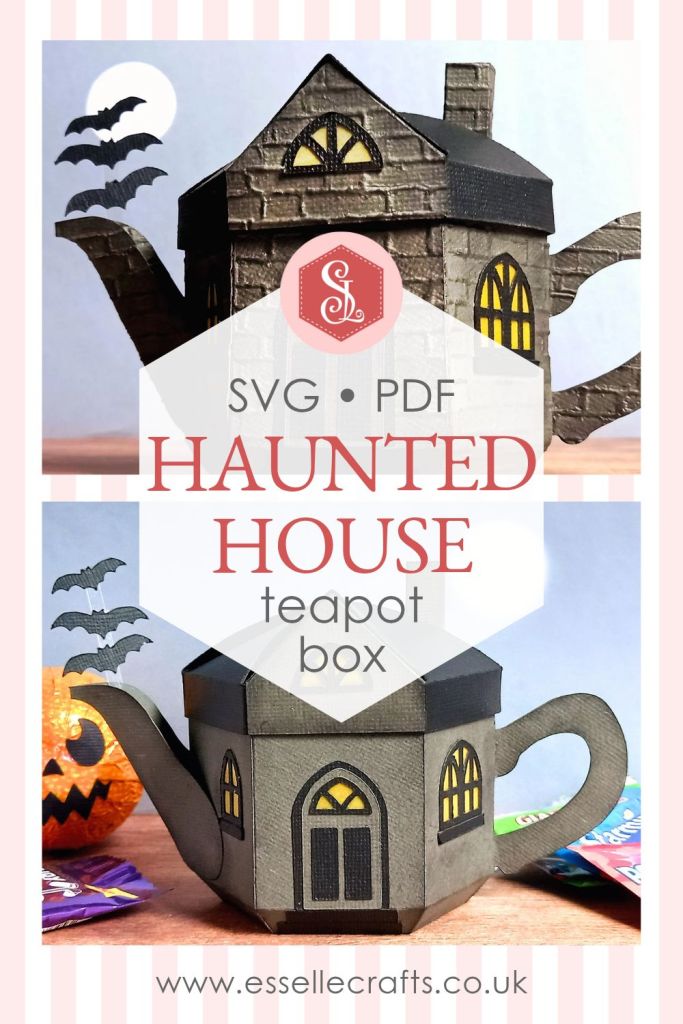
Spooky season is almost upon us! Ghosts, bats, spiders and skeletons will soon be adorning our homes, and pumpkins will be glowing menacingly at our doors and windows 🎃 So it’s only right that the next design in my house-shaped teapot box collection is this eerie-looking, gothic haunted house!
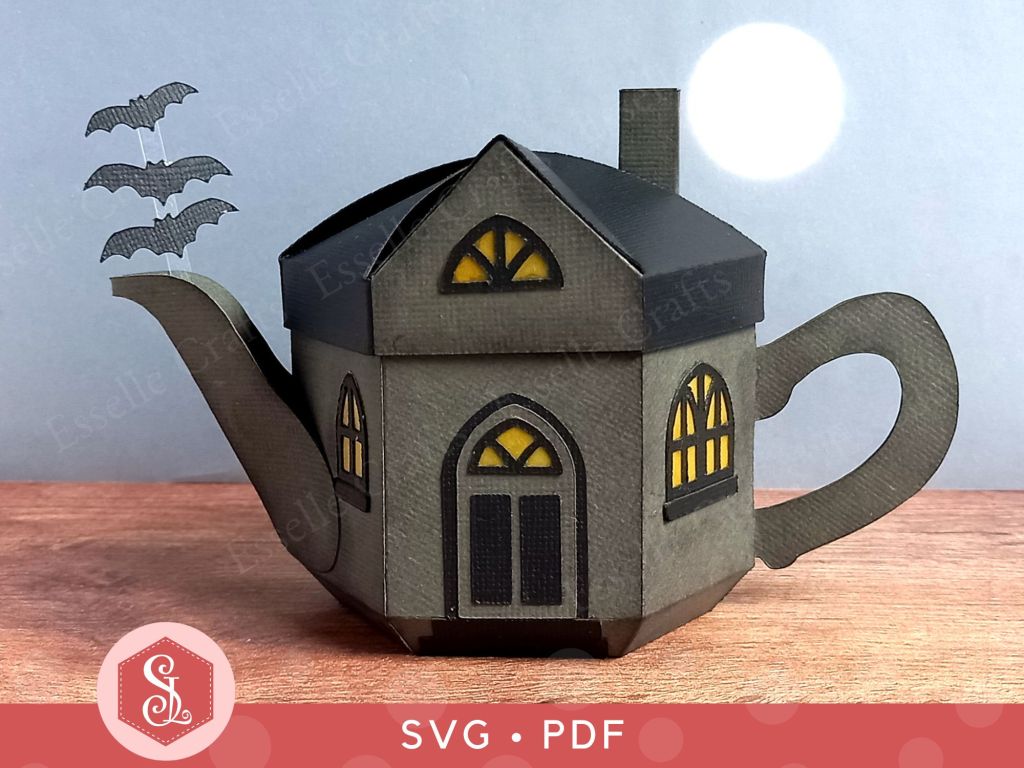
Perfect to make for Halloween parties, trick or treating or seasonal home decor, this versatile candy box can also serve as a glowing lantern centrepiece – guaranteed to surprise your guests!
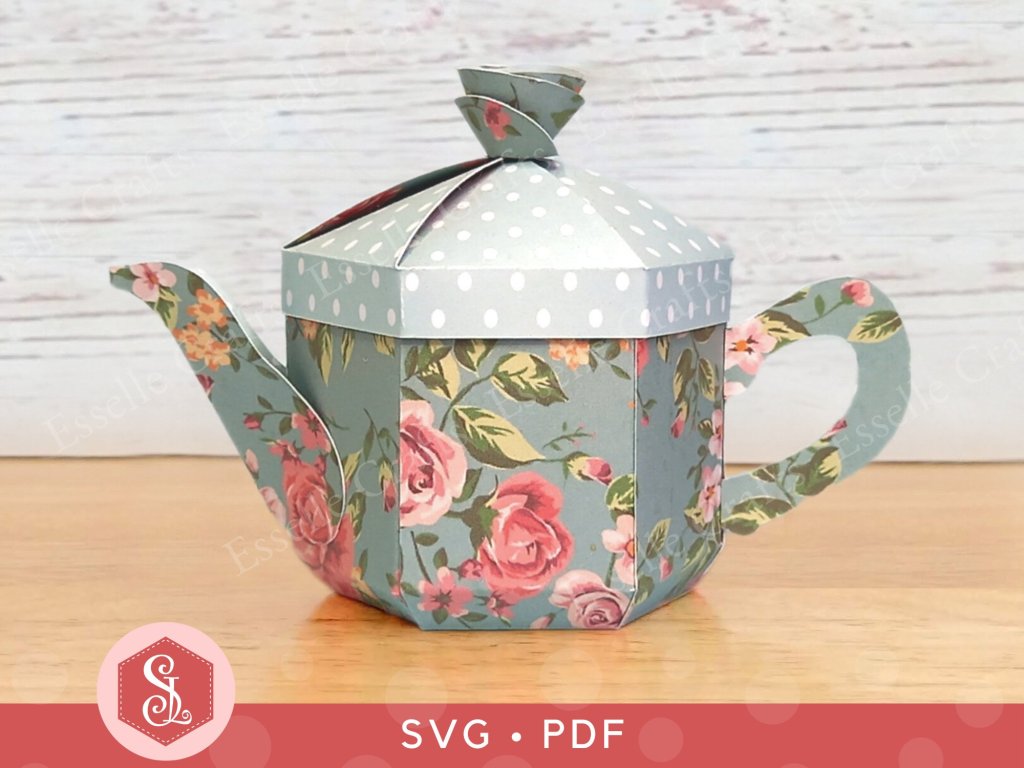
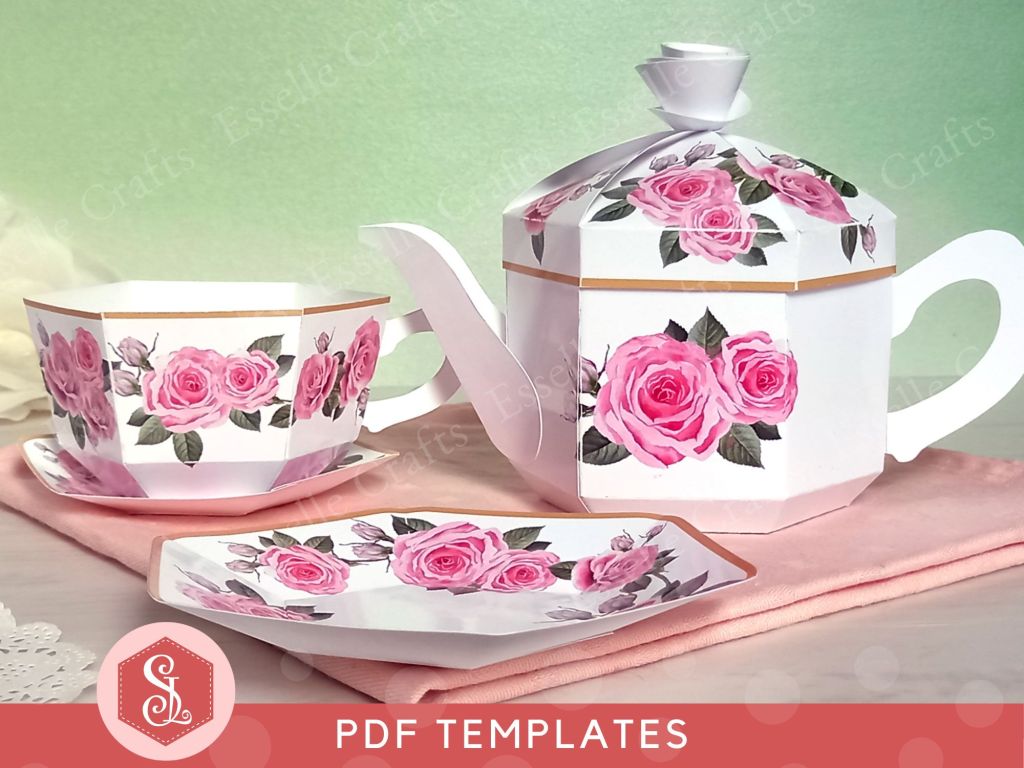
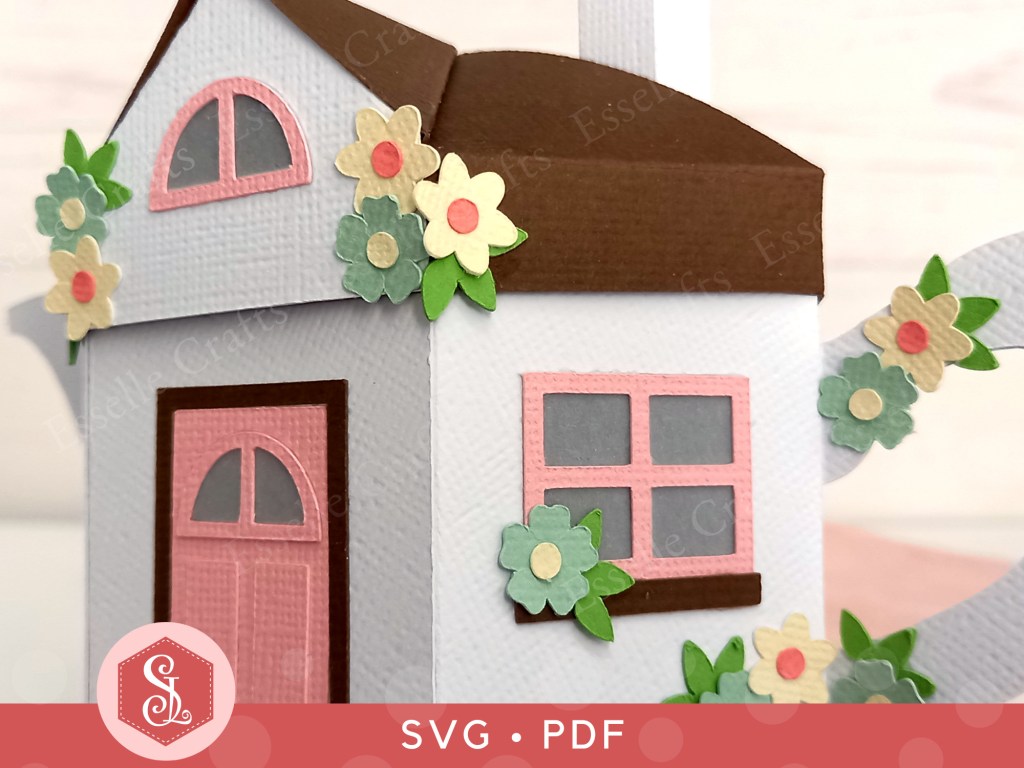
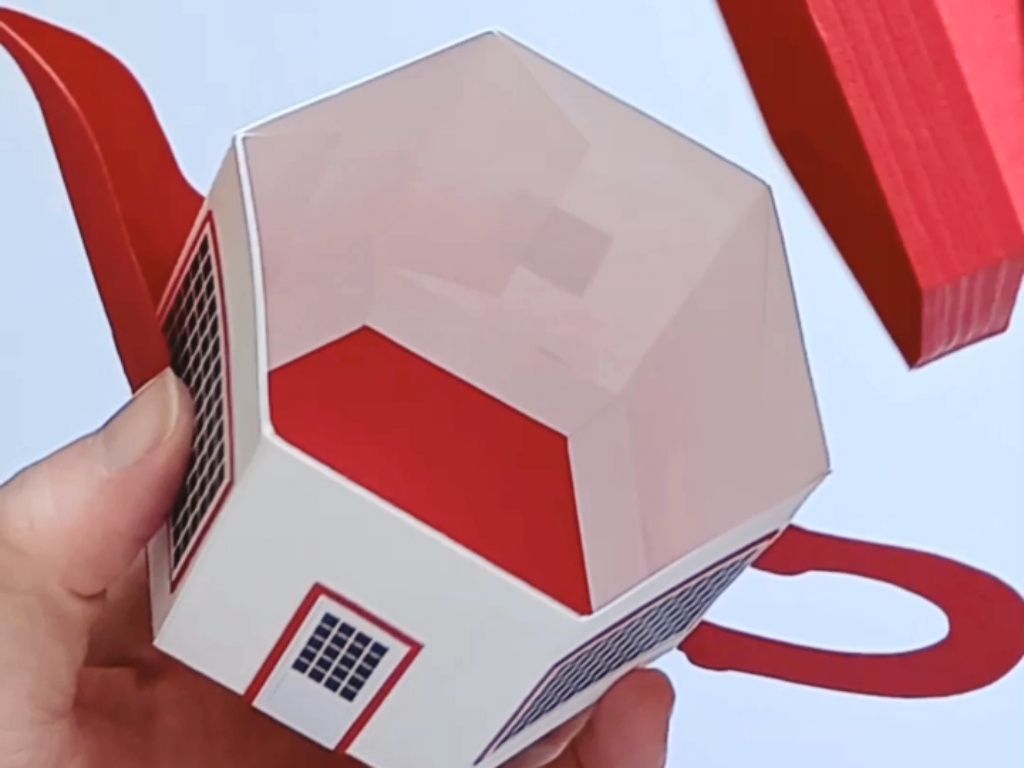
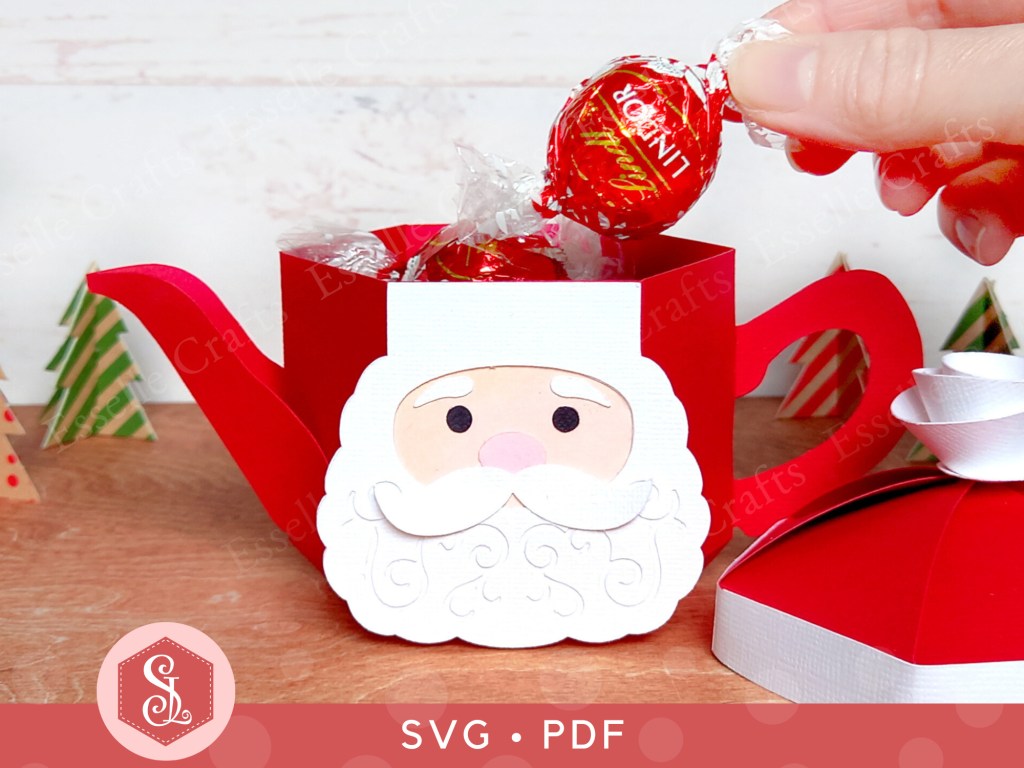
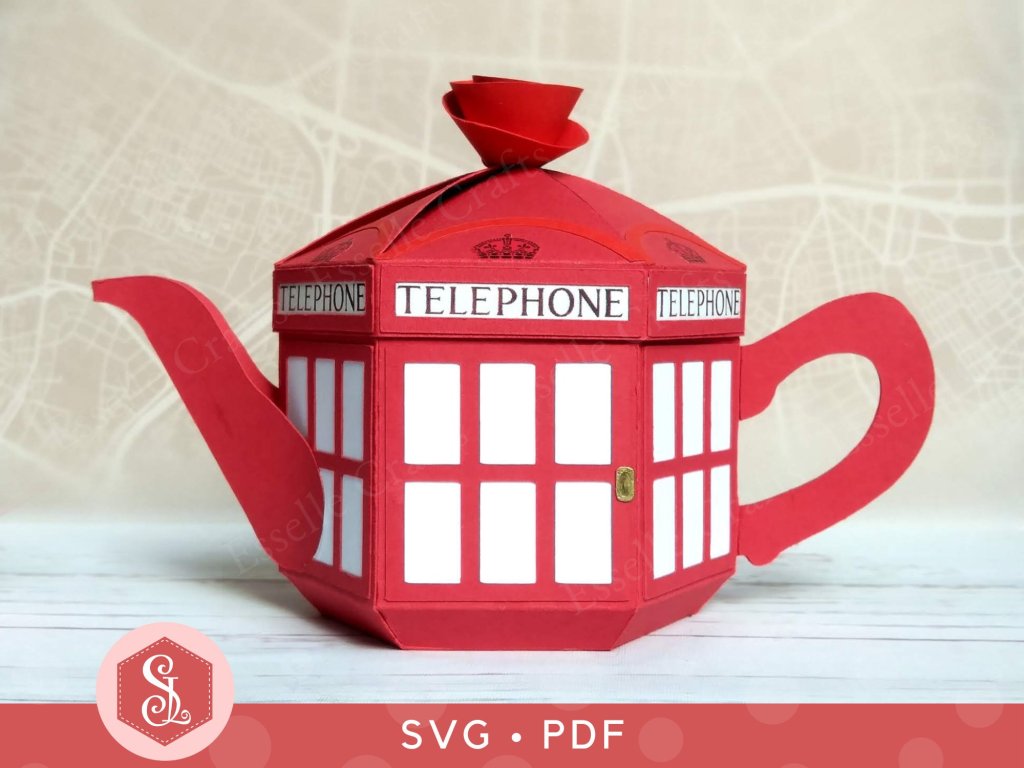
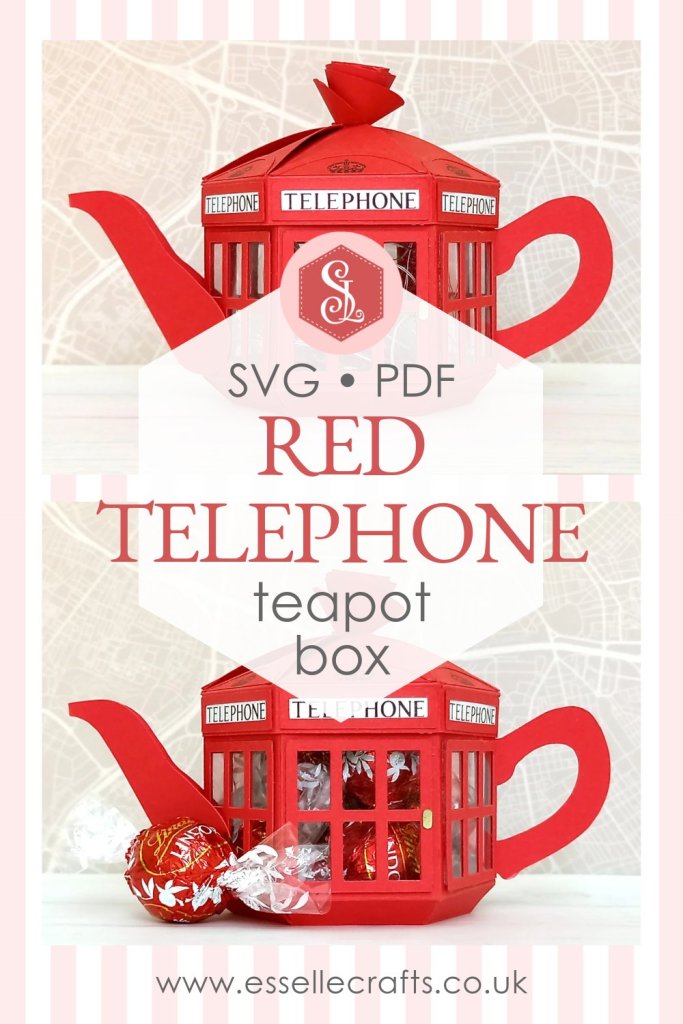
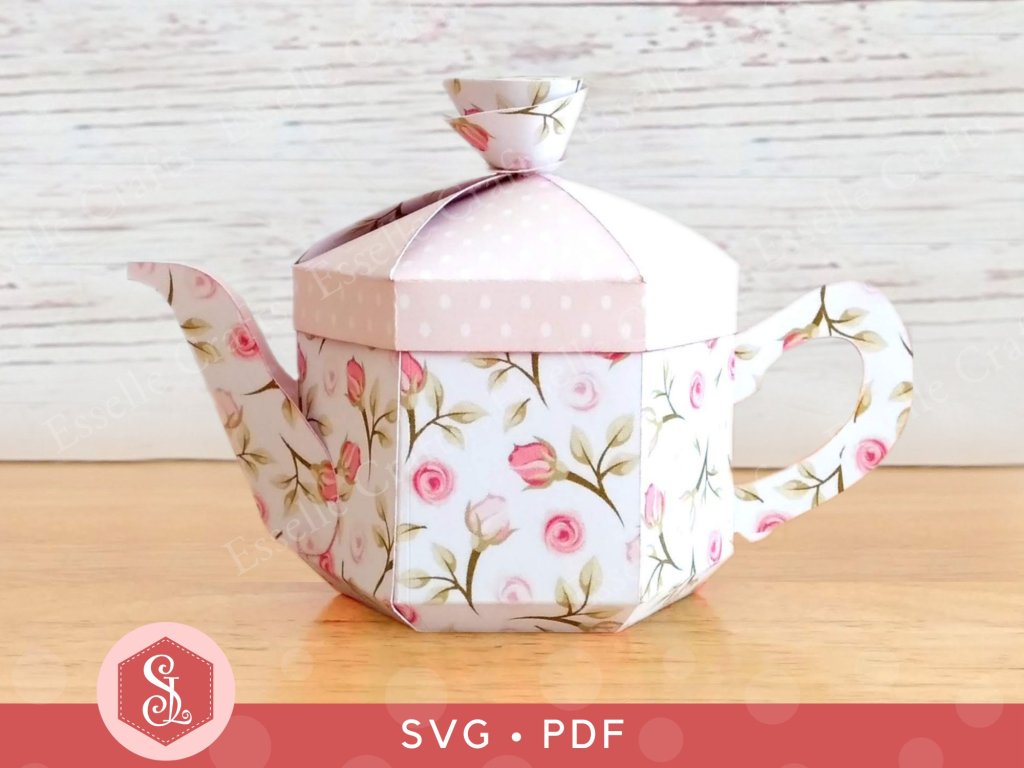
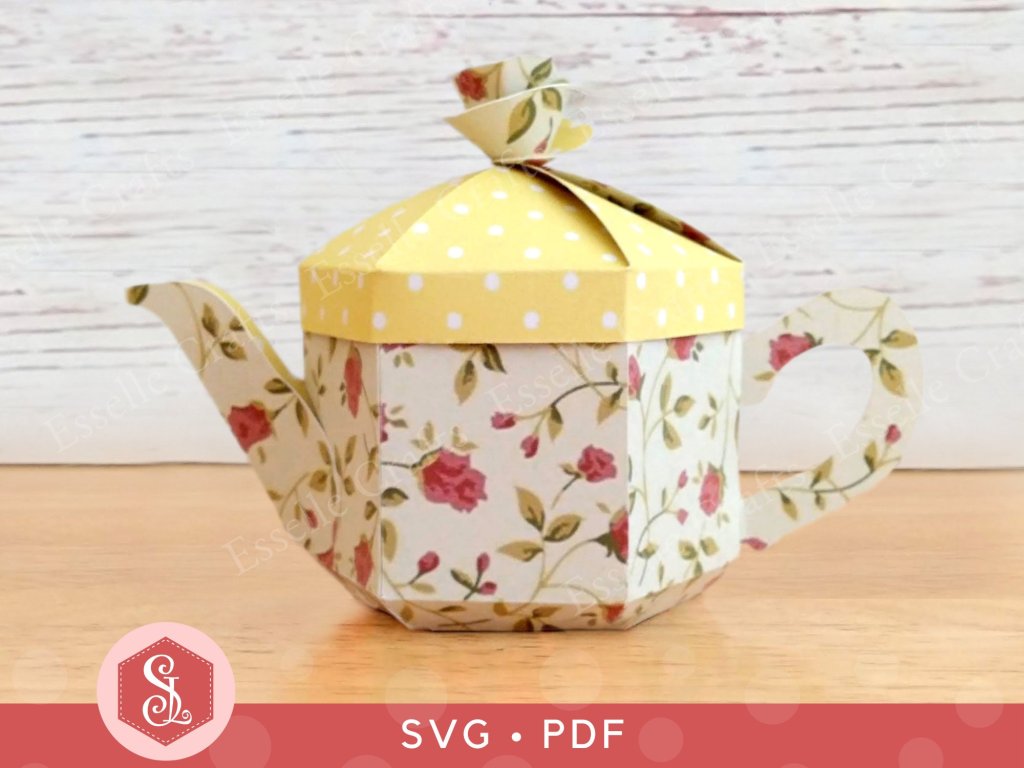
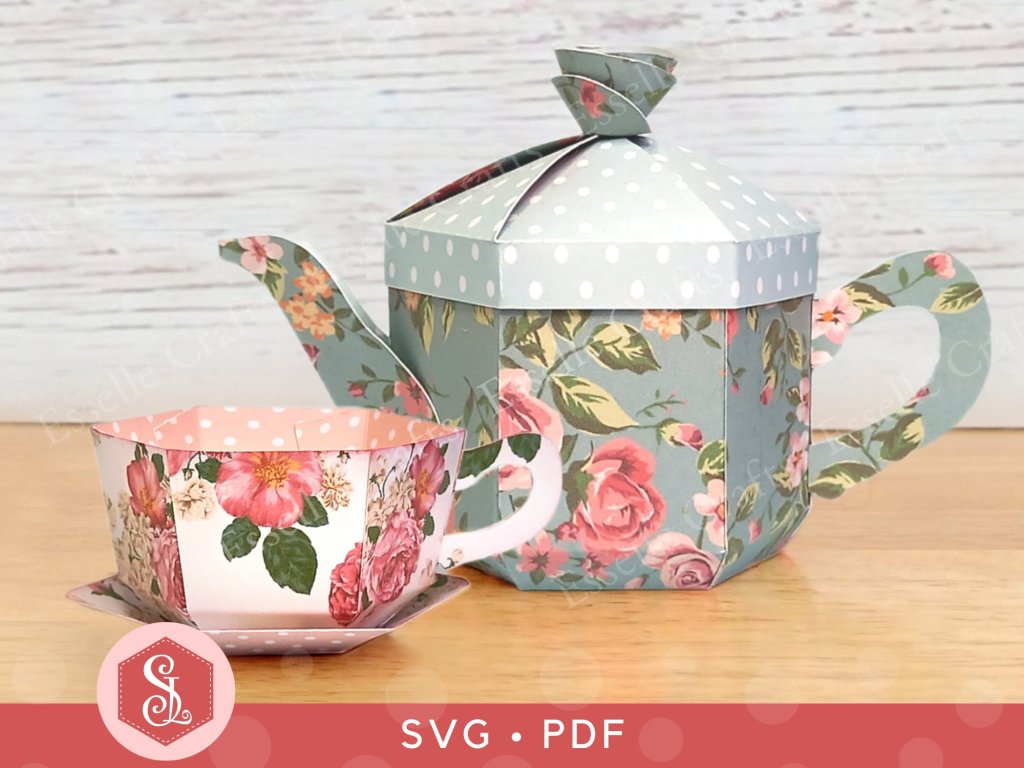
The templates come as both SVG cut files and printable PDFs, making them accessible for a variety of crafting needs.

To make one, you will need:
* Haunted House Teapot Box template (SVG and PDF available)
* Computer and printer to print the PDF templates and instructions
* Digital cutting machine
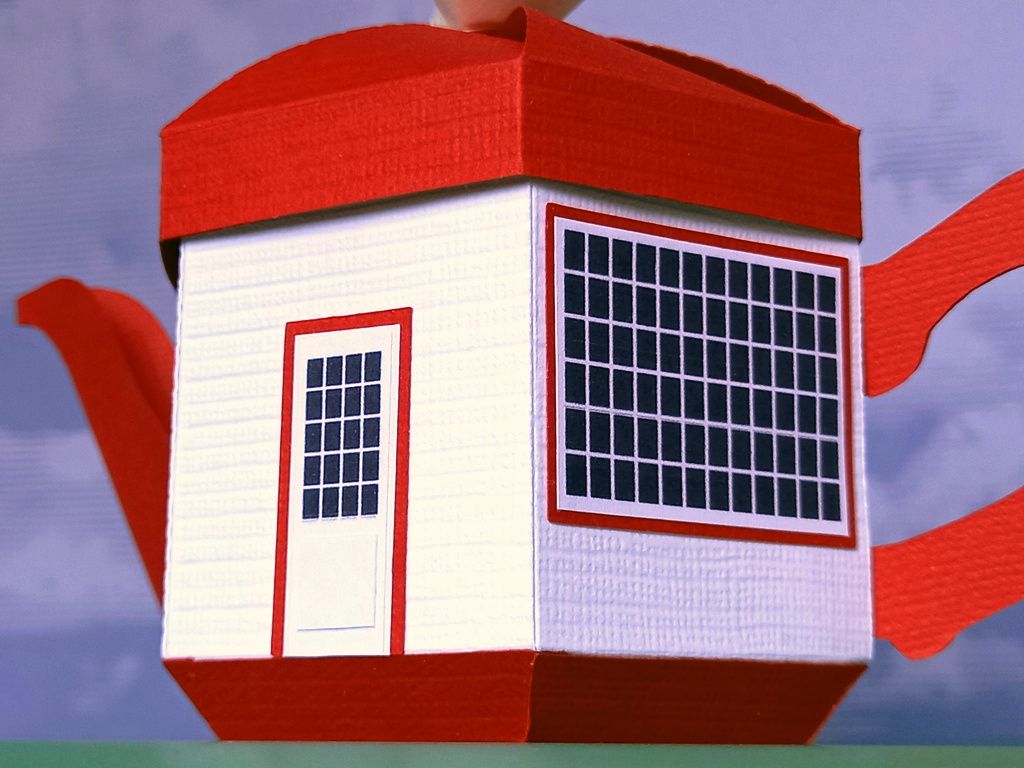
* Double-sided cardstock (220-250gsm / 80-92lb recommended)
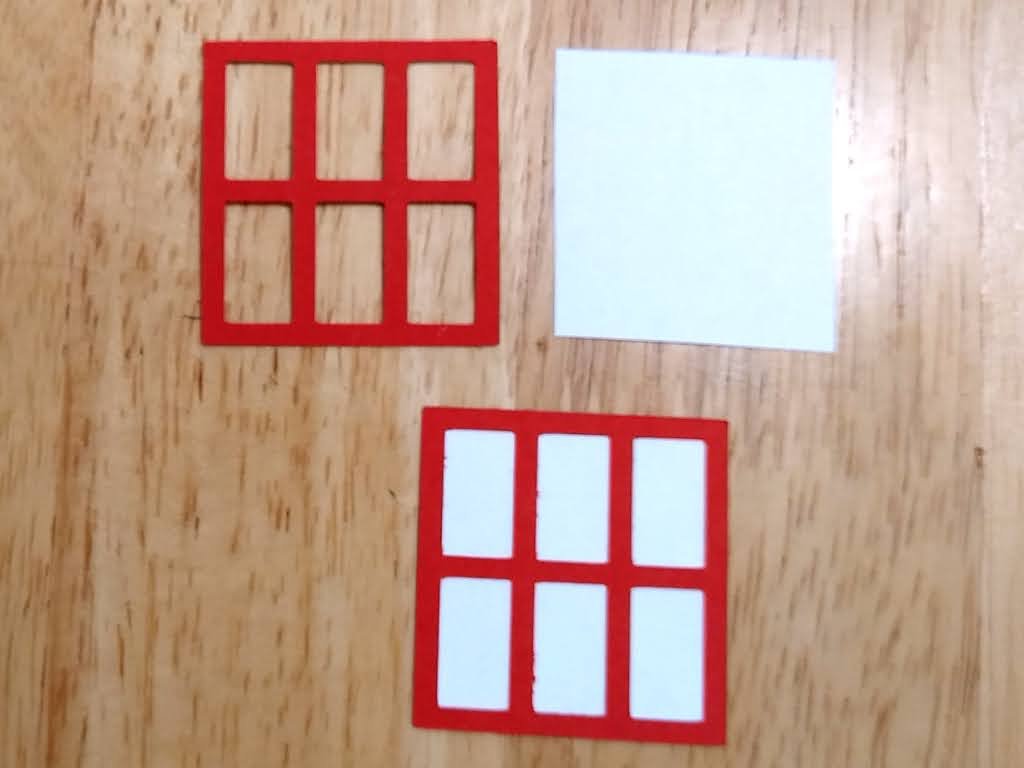
* Vellum or tracing paper
* Yellow or orange permanent marker
* Thin strip of acetate
* Craft glue and red-liner tape
If you are not using a cutting machine you will also need:
* Craft knife / scissors
* Scoring tool
* Ruler
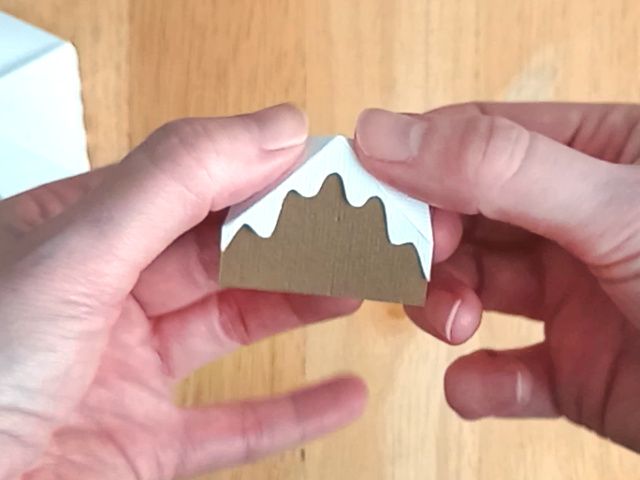
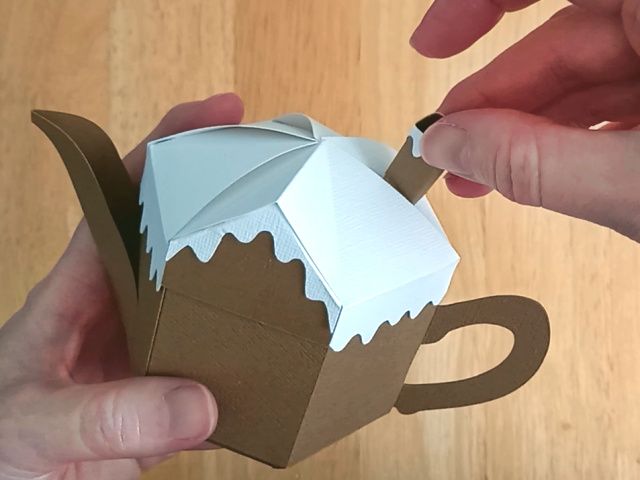
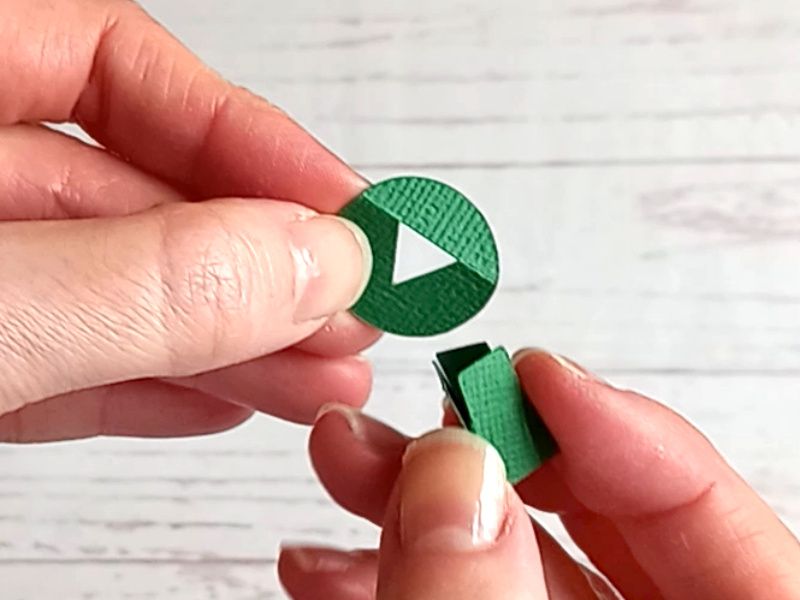
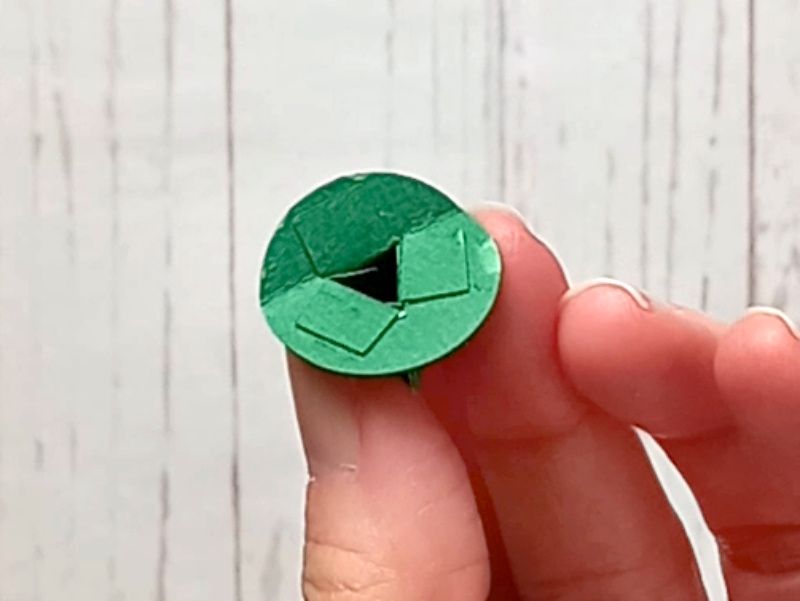
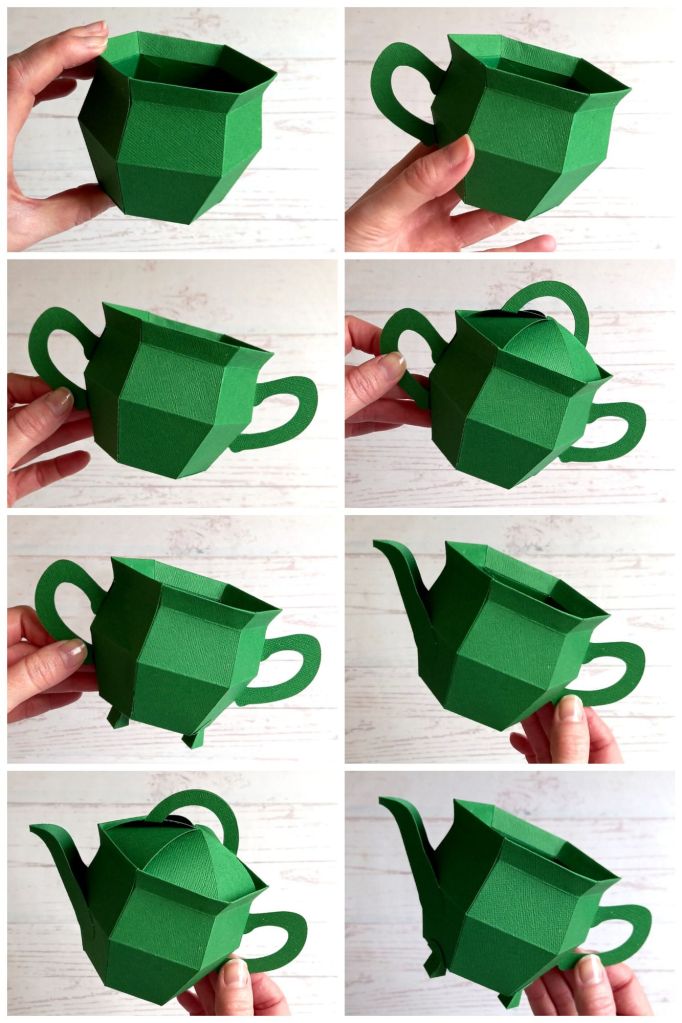
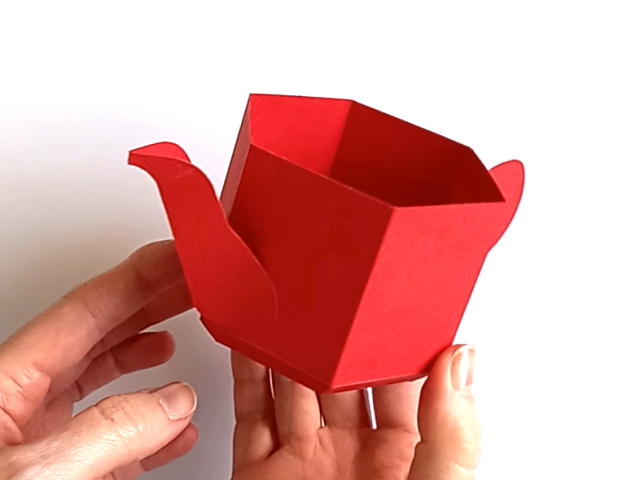
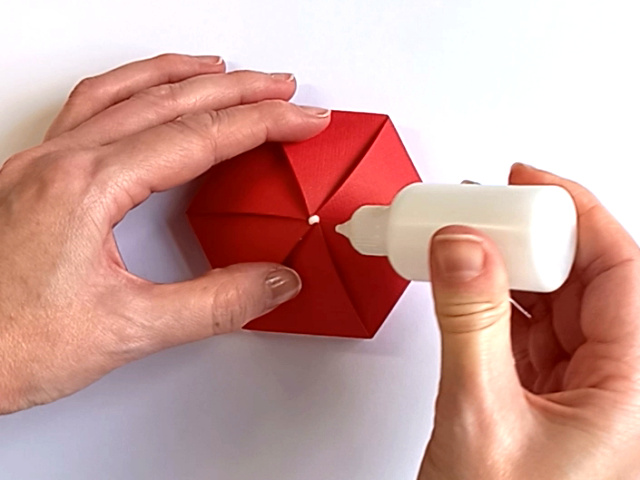
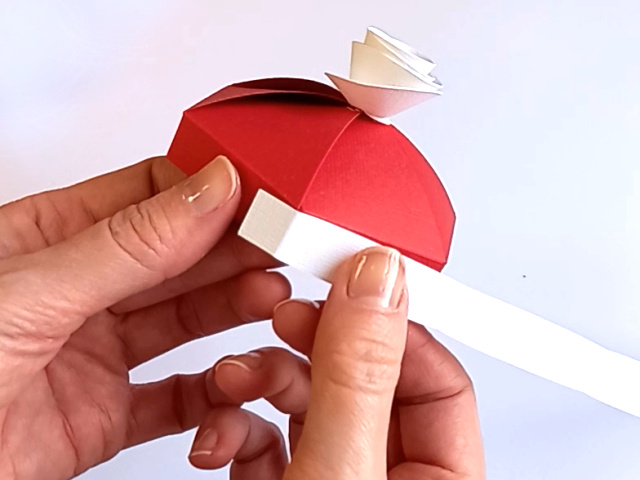
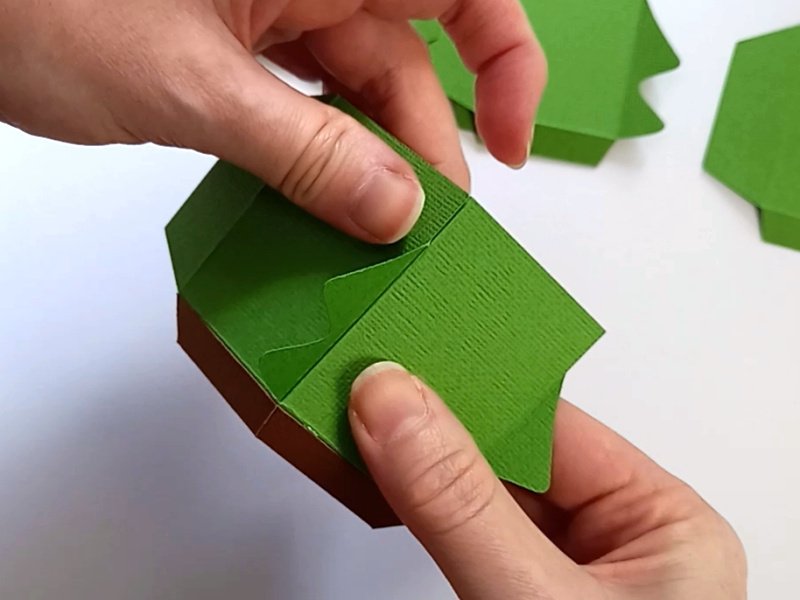
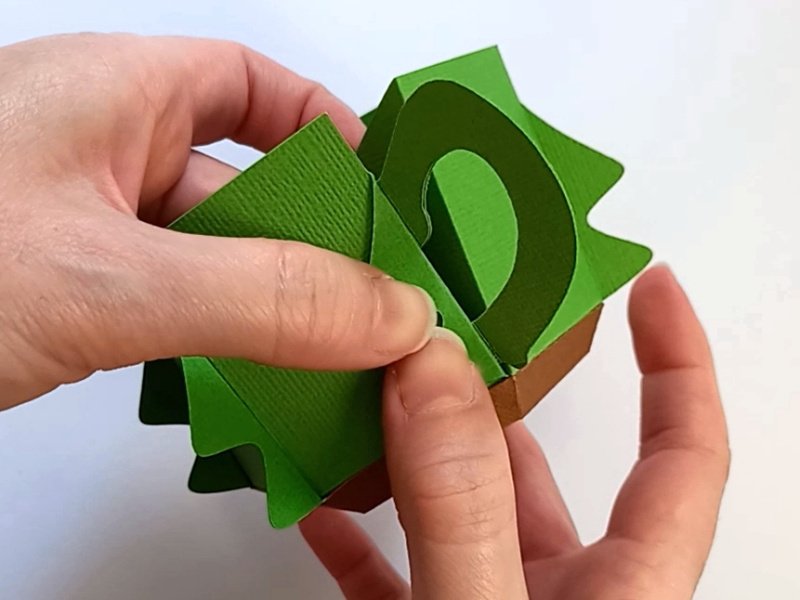
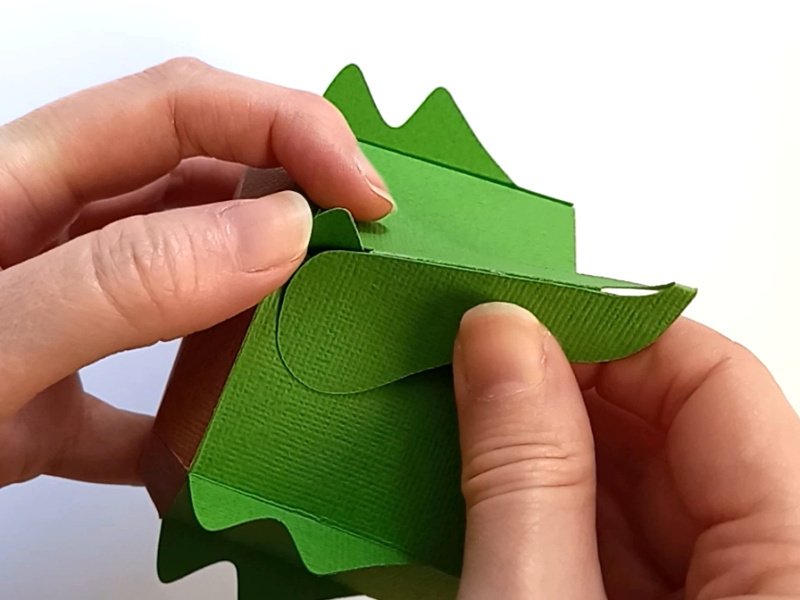
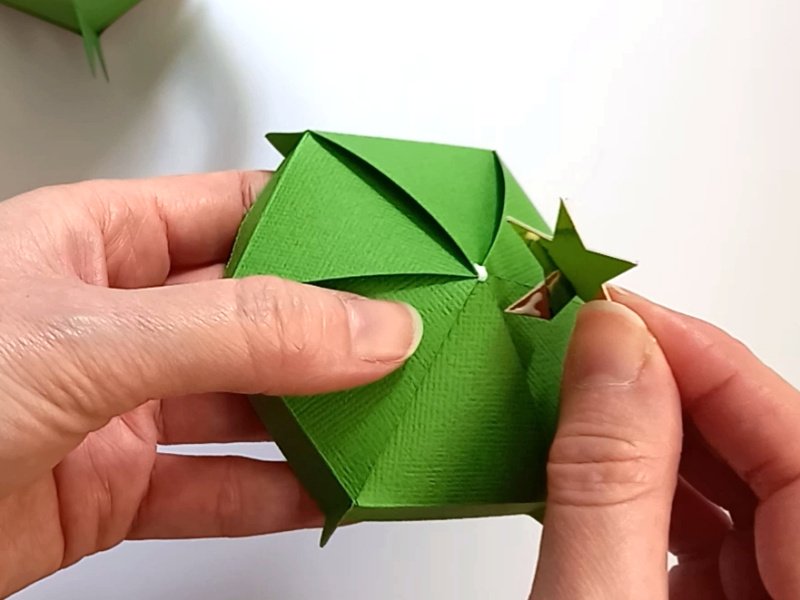
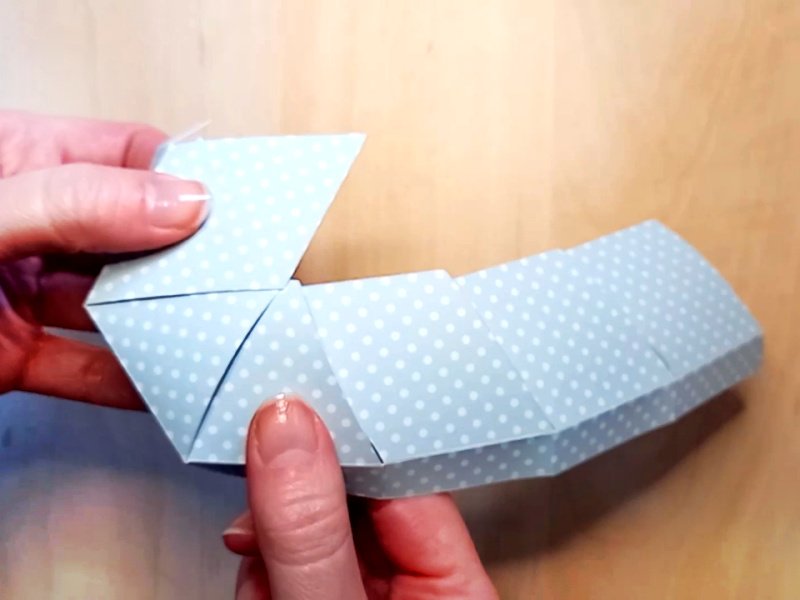
Watch my video tutorial showing how to assemble the box, and be sure to follow the tips below:
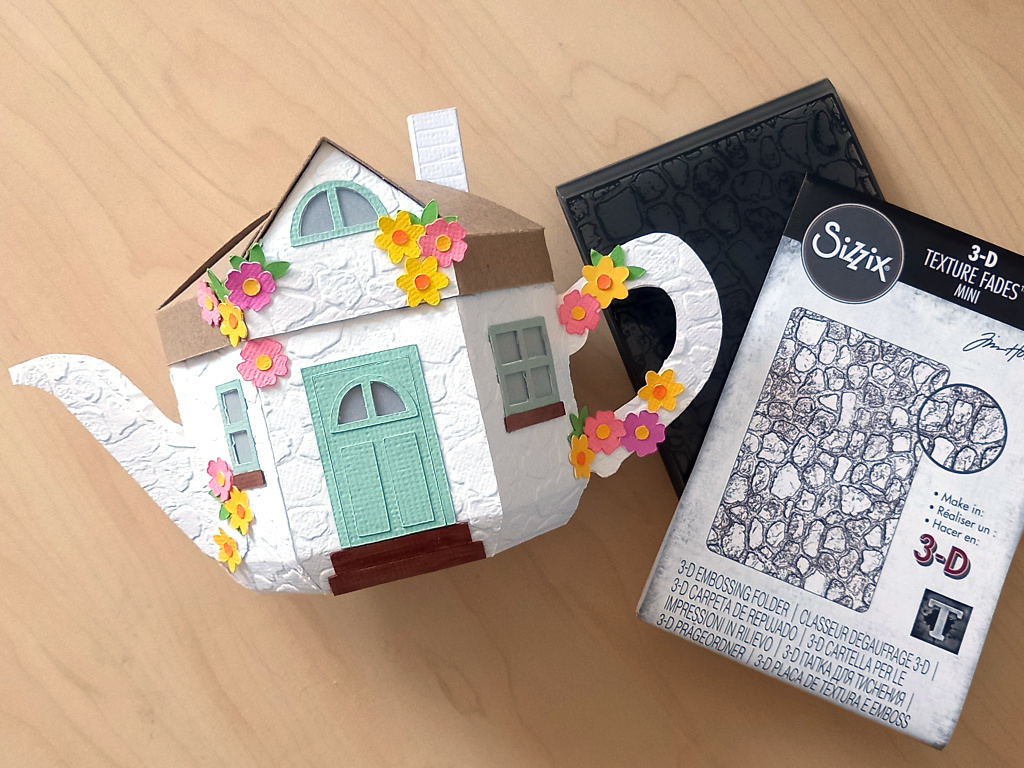
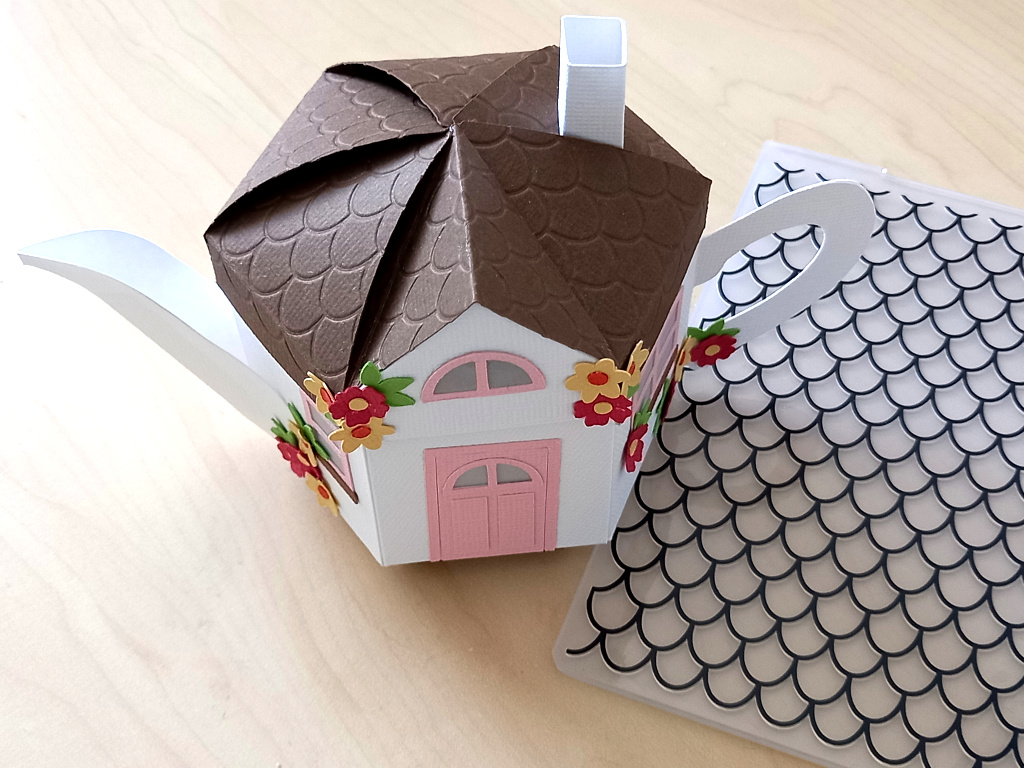
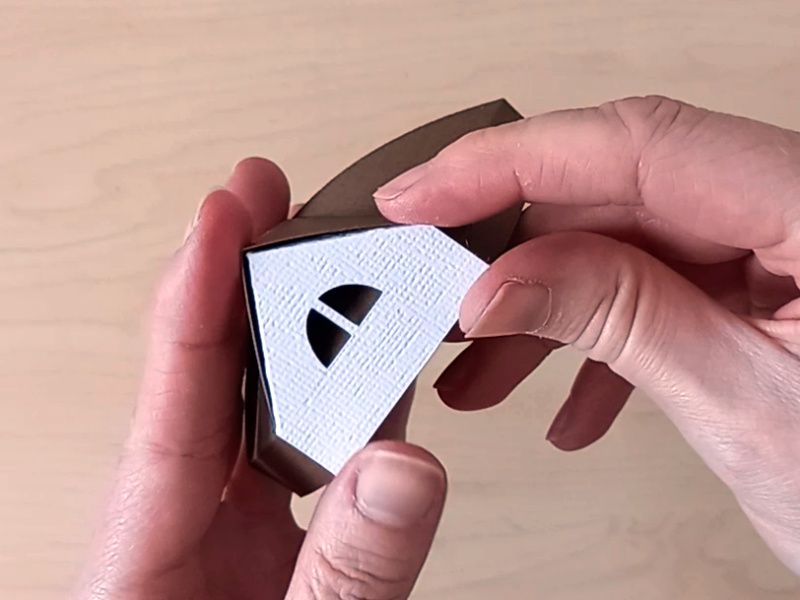
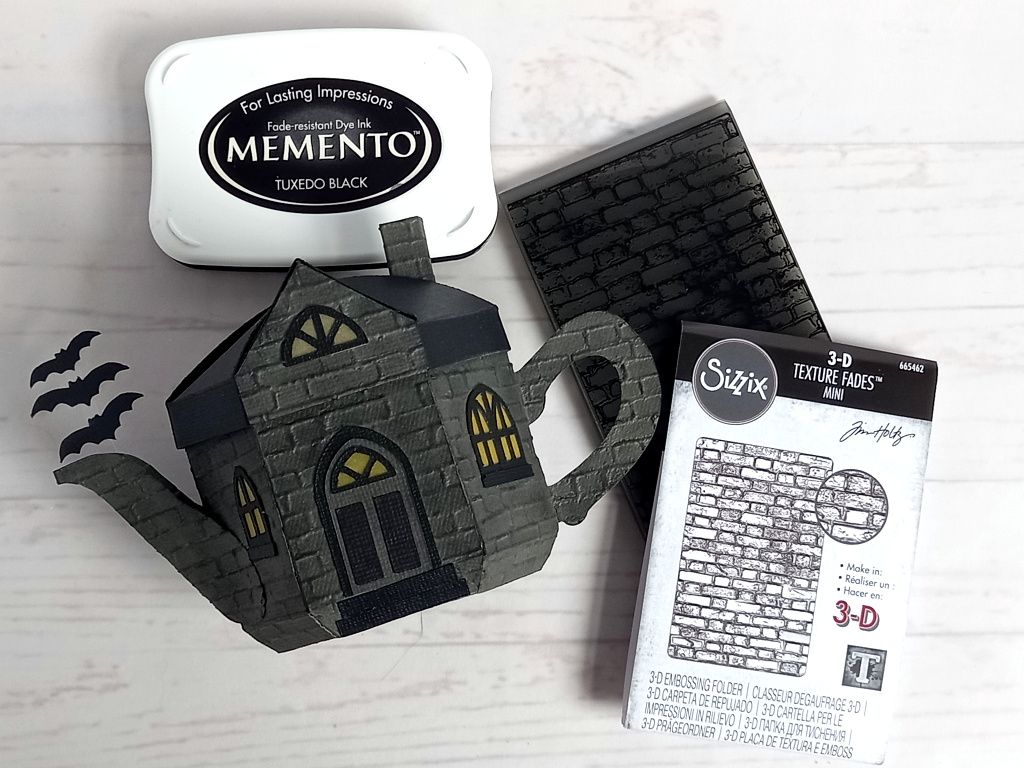
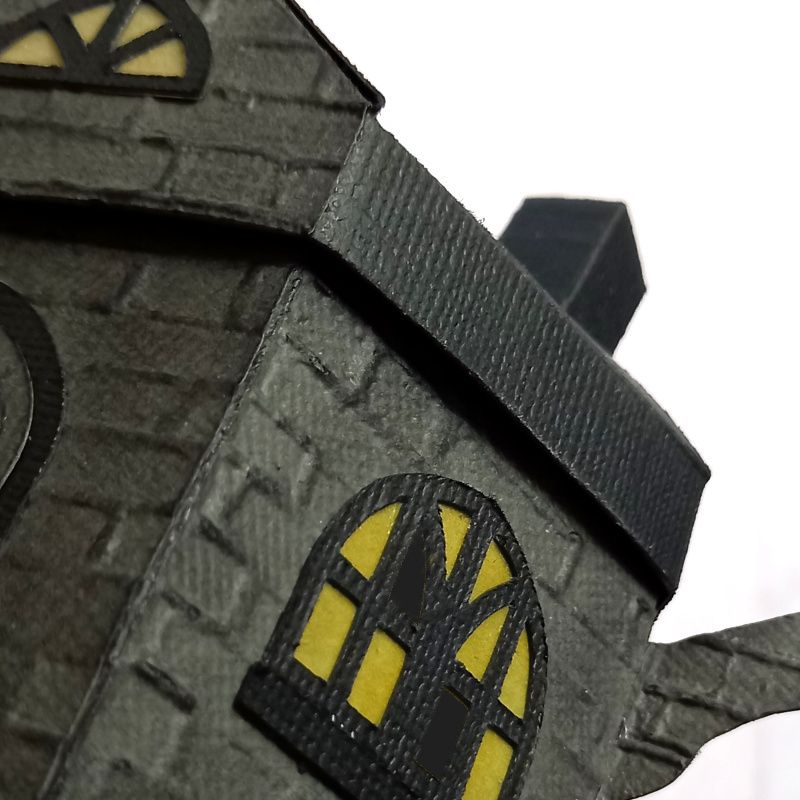
TIP 1 : If you would like to add more texture to your box, then you can try embossing the pieces before assembling. For this teapot, I used this Sizzix 3D Texture Fades Mini Brickwork embossing folder by Tim Holtz on the main body, the handle, spout, chimney and pitched roof piece. I had to do three passes on both of the main body pieces, carefully covering one side at a time. I actually debossed it instead to create more interest, then added black ink to pick out the details.
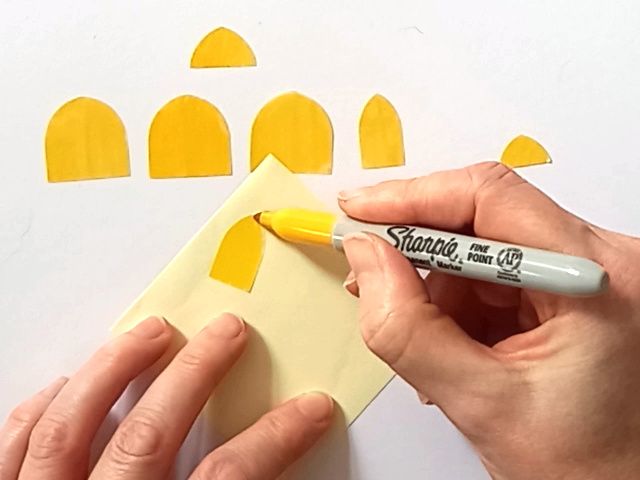
TIP 2 : Colour the vellum (or tracing paper) window pieces with a yellow or orange permanent marker. This will add to the eerie glowing effect when you place battery operated lights inside.
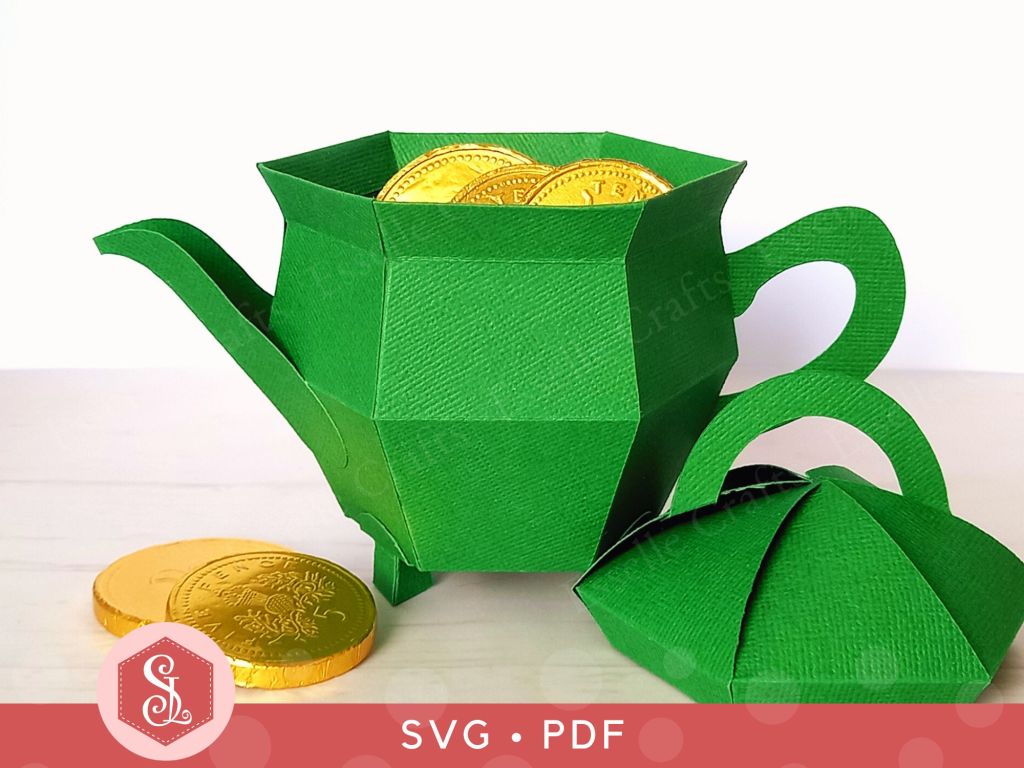
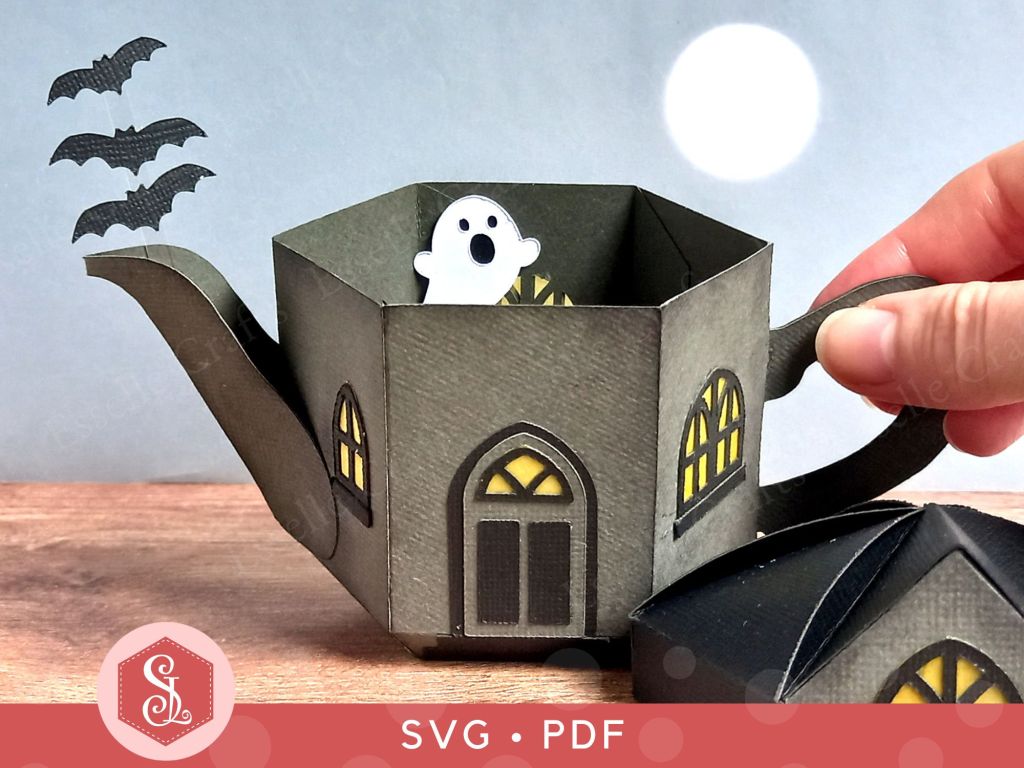
TIP 3 : Add a dimensional foam pad or scraps of layered cardstock to the back of the ghost and position it wherever you like on the teapot. I placed mine inside as a scary surprise! 👻

TIP 4 : The three bats can also be placed anywhere around the teapot. I attached mine to a thin strip of acetate using red-liner tape, and stuck it to the inside of the spout. It looks as though the bats are flying out of the teapot! This could work equally as well coming out of the chimney.
TIP 5 : You really don’t need to be neat when assembling this box as it’s meant to look old and abandoned. Try gluing the window sills on at a crooked angle or maybe board up a window or two.
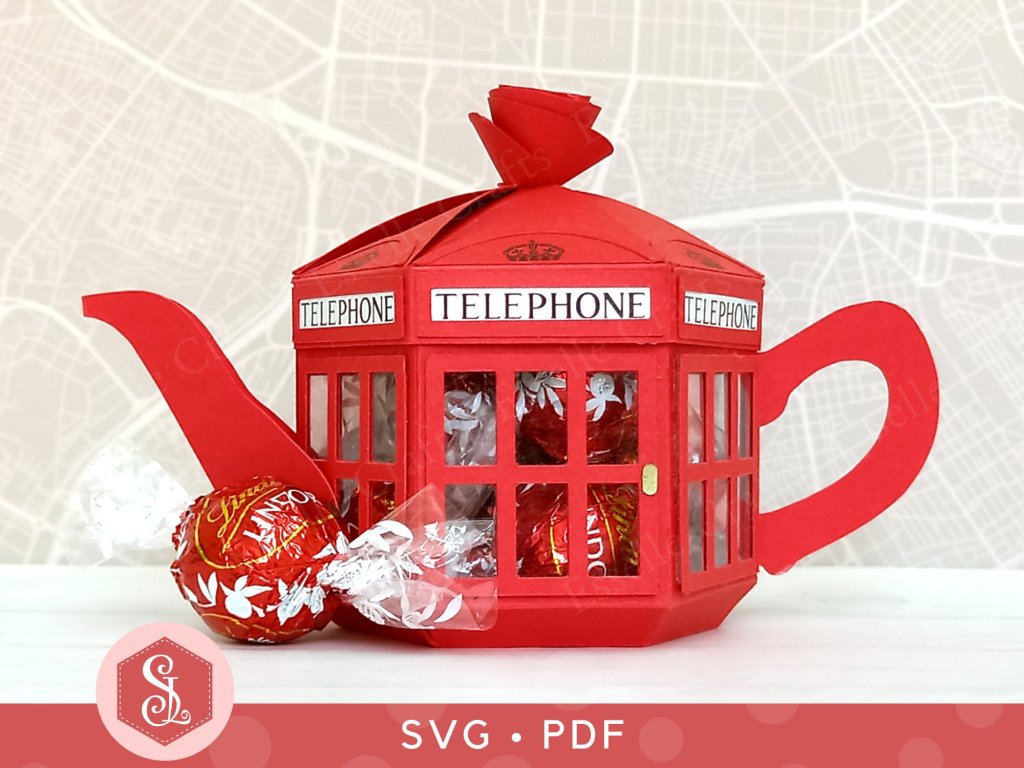
Once assembled, your little teapot boxes are ready to be filled with candy treats. A spooky customised chocolate orange fits perfectly! 🎃 Or try putting a string of battery operated lights inside for an eerie glowing lantern!
What do you think of this new teapot box design? Will you be brave enough to make some?
Happy crafting! 👻
Suzanne