In this post, I will be answering some of the most frequently asked questions about using my digital files. I hope you find this information useful, but if you still have any questions, feel free to contact me through my Etsy shop and I will do my best to answer them.
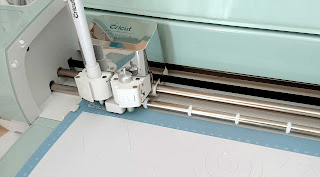
Please note – all of my SVG files are tested in Cricut Design Space and are cut out using my Cricut Explore Air 2. I also cut out smaller versions (using the small dashed cuts SVG file) on my Cricut Joy. Results may vary with other cutting machines.
I have downloaded a zip folder, so how do I access the files?
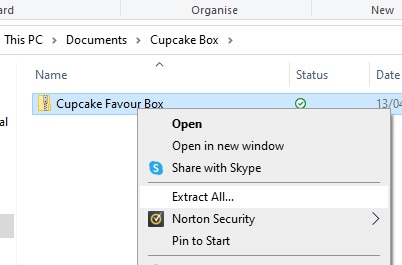
All of the files are compressed within a zip folder to make downloading easier. If you right click on the zip folder, then go to ‘Extract All’ this will save the files into a new, accessible folder.
How do I upload the SVG files into Cricut Design Space?
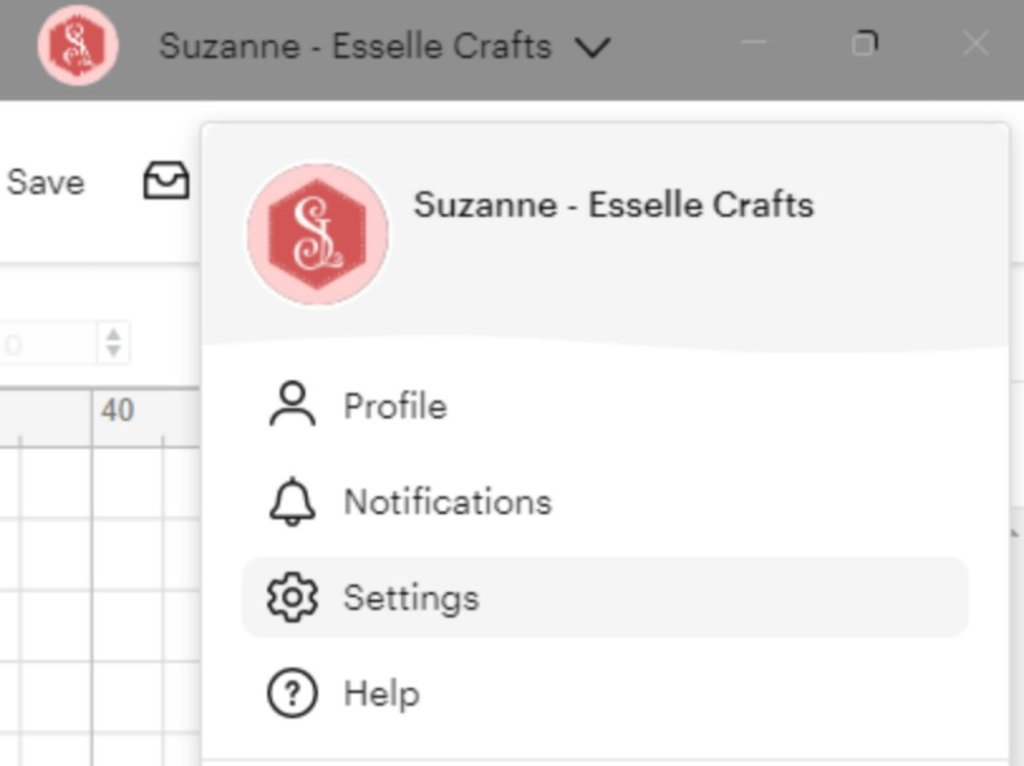
Once you have Cricut Design Space open, click ‘New’ to create a new blank canvas. Then click ‘Upload’, then ‘Upload Image’ and ‘Browse’. You will then need to find the file that you want to work with.
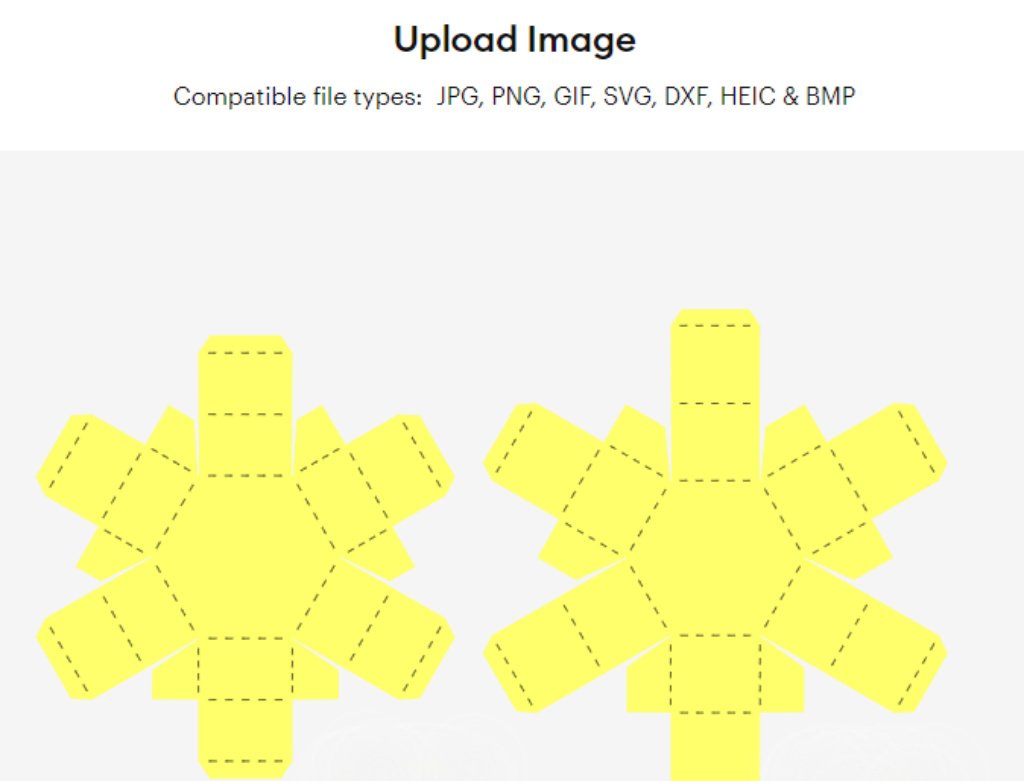
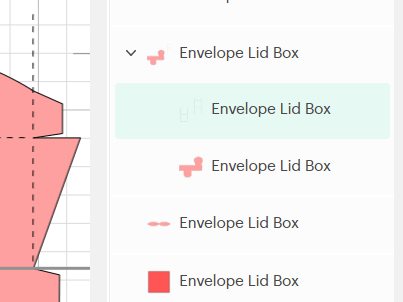
There are two different SVG files. Which one do I use?
Most of my templates come as two different versions. One has solid score lines (_solid.svg), for cutting machines that can score, and one has the more traditional dashed lines, which your machine will cut out as small perforations. Select the version that you want to use, then click ‘Upload’, then ‘Add to Canvas’.
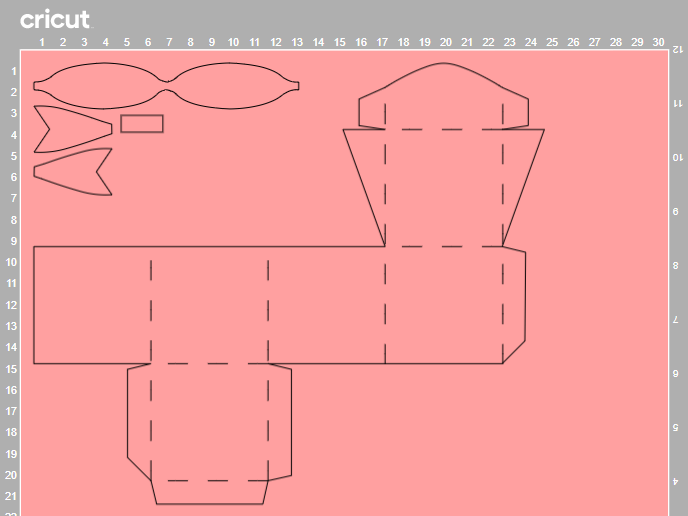
How do I resize my SVG files?
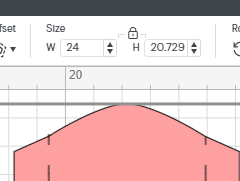
Firstly, make sure that everything on the canvas is selected, then either type in the measurement that you require in the size box (W ) or drag the resize arrow in the bottom right corner. Just make sure that the padlock icon is locked before you do this to ensure that all of the pieces stay in proportion.
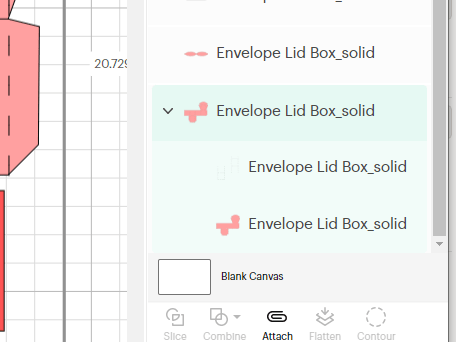
How do I work with solid score lines?
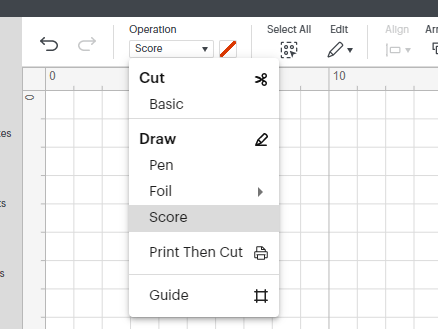
If you are using one of my _solid.svg files you will need to select each of the score lines, then go to ‘Operation’ and change them from ‘Basic Cut’ to ‘Score’.

If you don’t have a digital cutting machine that can score, use the other .svg file, which will cut the score lines as small perforations.
Why are my score lines showing up on a separate mat?
Firstly, you will need to select the score lines, together with the piece that they need to be attached to, then click ‘Attach’.
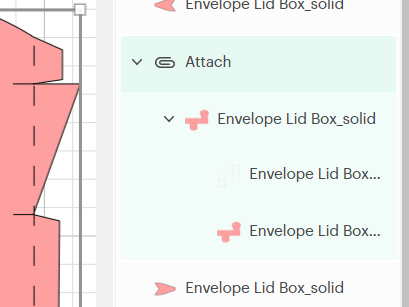
This will ensure that the score lines are attached to the piece on the mat.
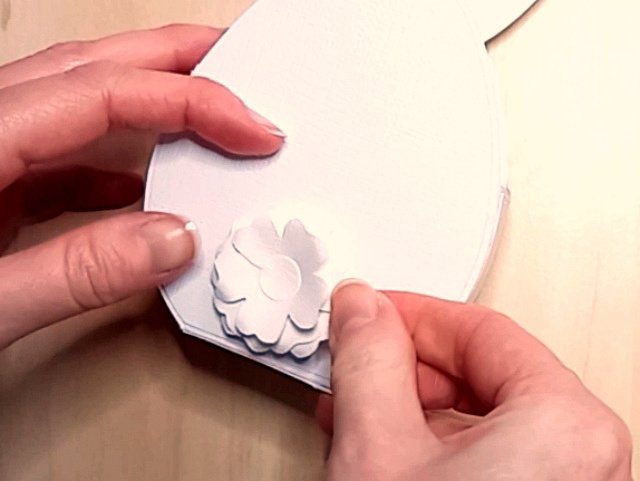
I have also created this short video tutorial, showing the entire process, which might help:
I don’t have a digital cutting machine. Can I still make your products?
Yes, in most cases you can! The majority of my templates include at least one PDF template that can be printed and cut out by hand. Please check the individual listings in my Etsy shop for more information.
How do I resize the PDF template?
If you wish to reduce the size of the PDF template, click on ‘Custom Scale’ within the printer properties box and enter the value that you need (eg; 75%).

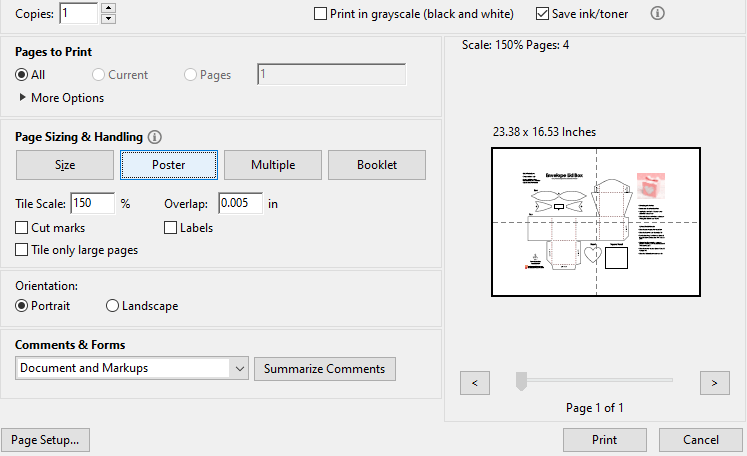
If you wish to increase the size of the PDF template, click on ‘Poster’ and enter the value that you need (eg; 150%). This will spread the template over several pages, and will include an overlap. If you need the template a lot bigger, then you can take the file to a print shop.
What weight of cardstock do you recommend for your projects?
For construction, I recommend using about 240gsm cardstock (88lb), but generally anything around 220 – 250gsm (80 – 92lb) will work just fine. If you choose to make your project smaller, then a lighter (thinner) cardstock may be required. Similarly, if you choose to make your project bigger, then a heavier (thicker) cardstock may be required. For some of the decorative panels, a lighter card or paper 90 – 120gsm (30 – 44lb) will work best, but I will always state in the instructions if this differs.