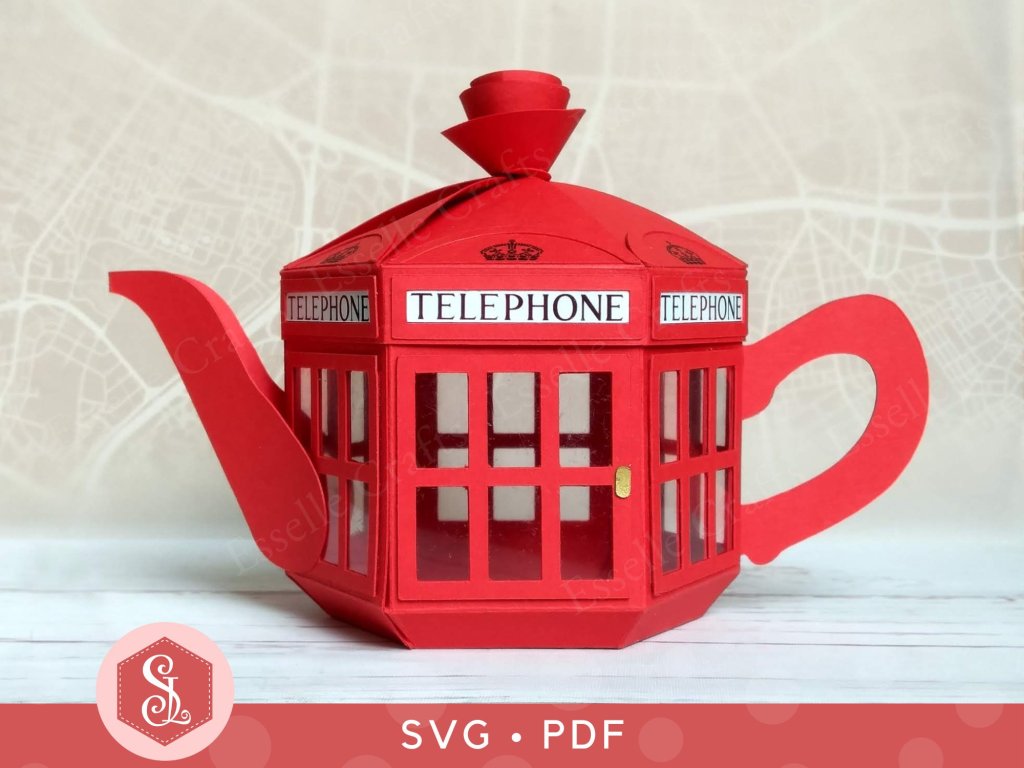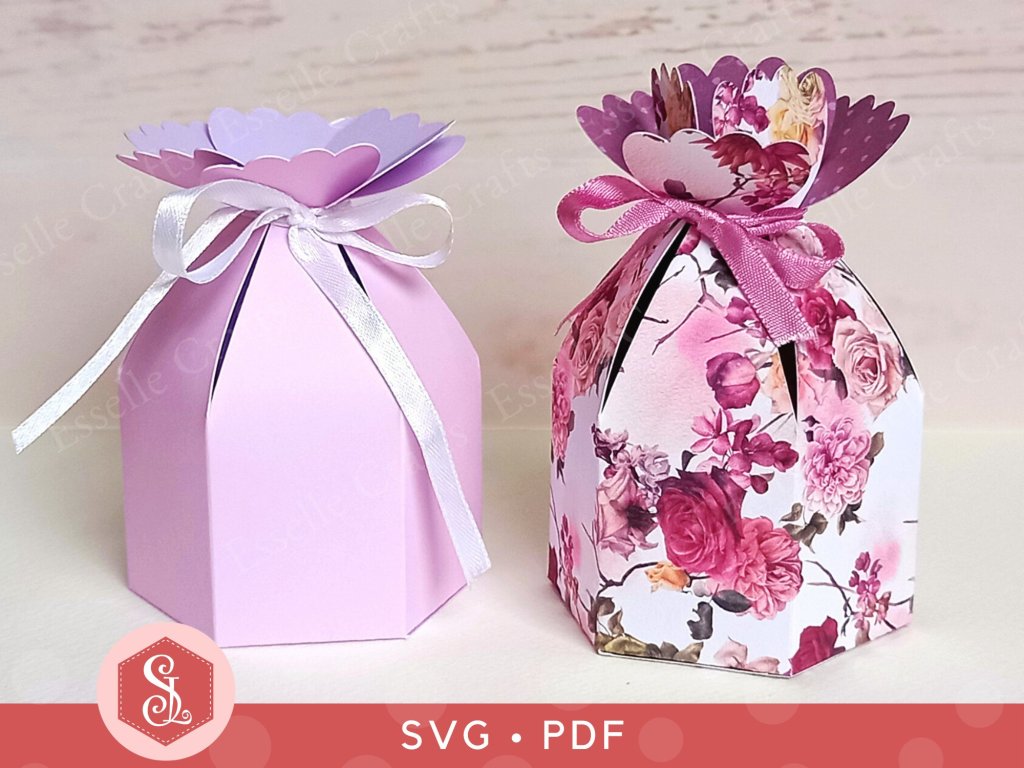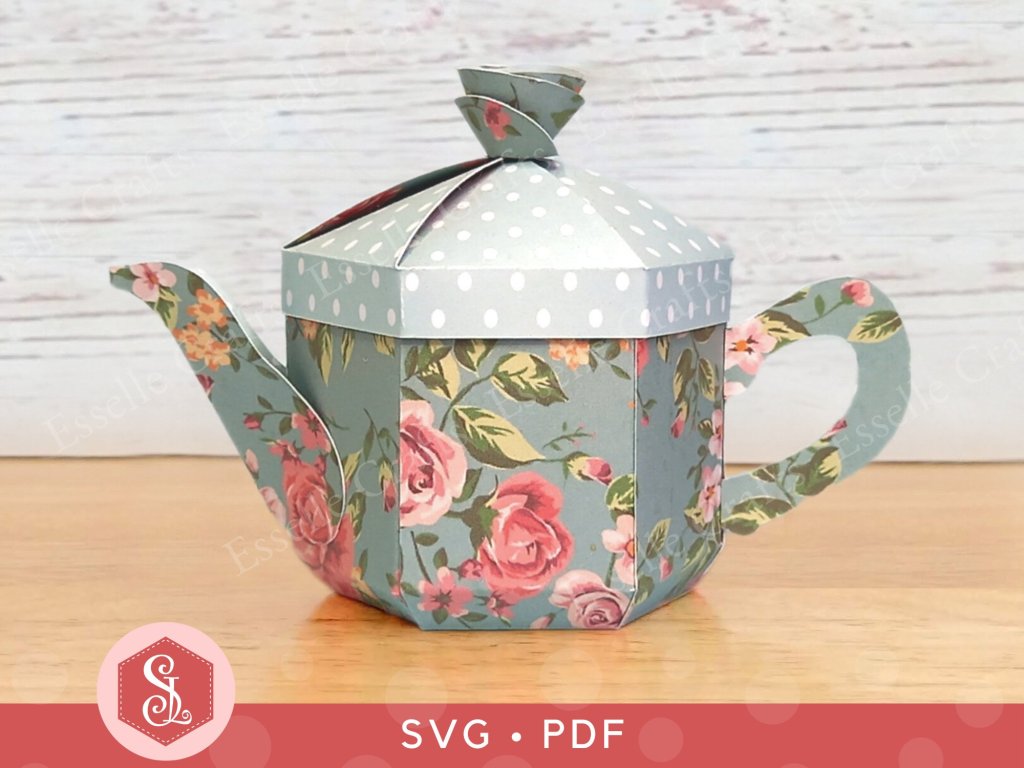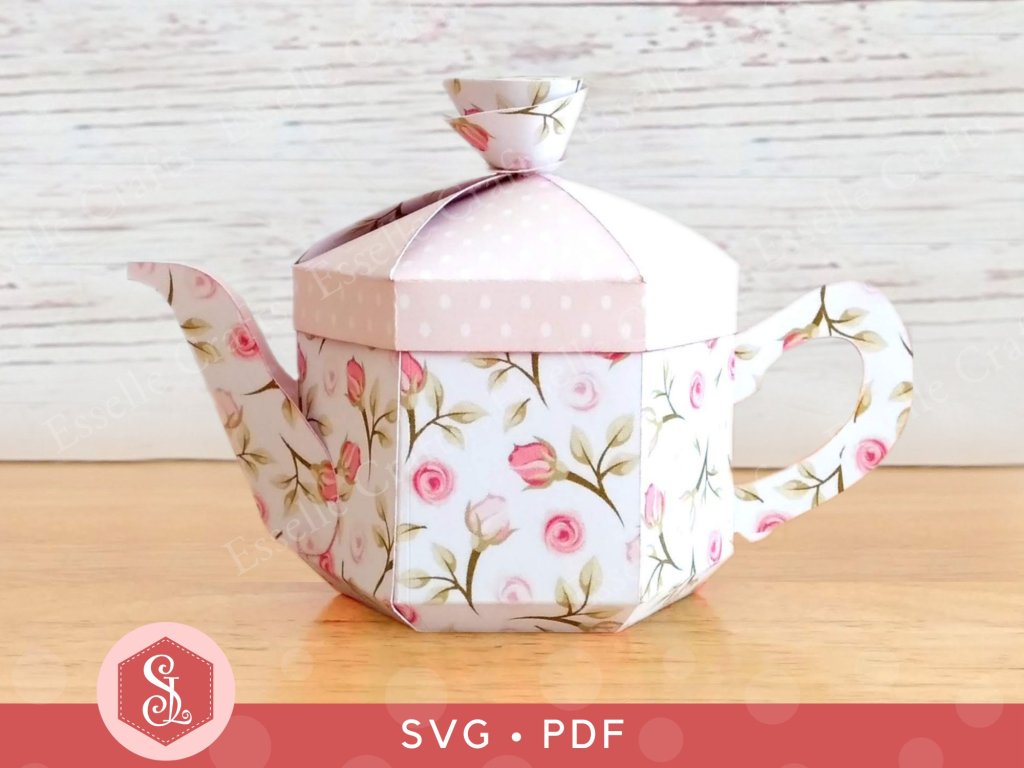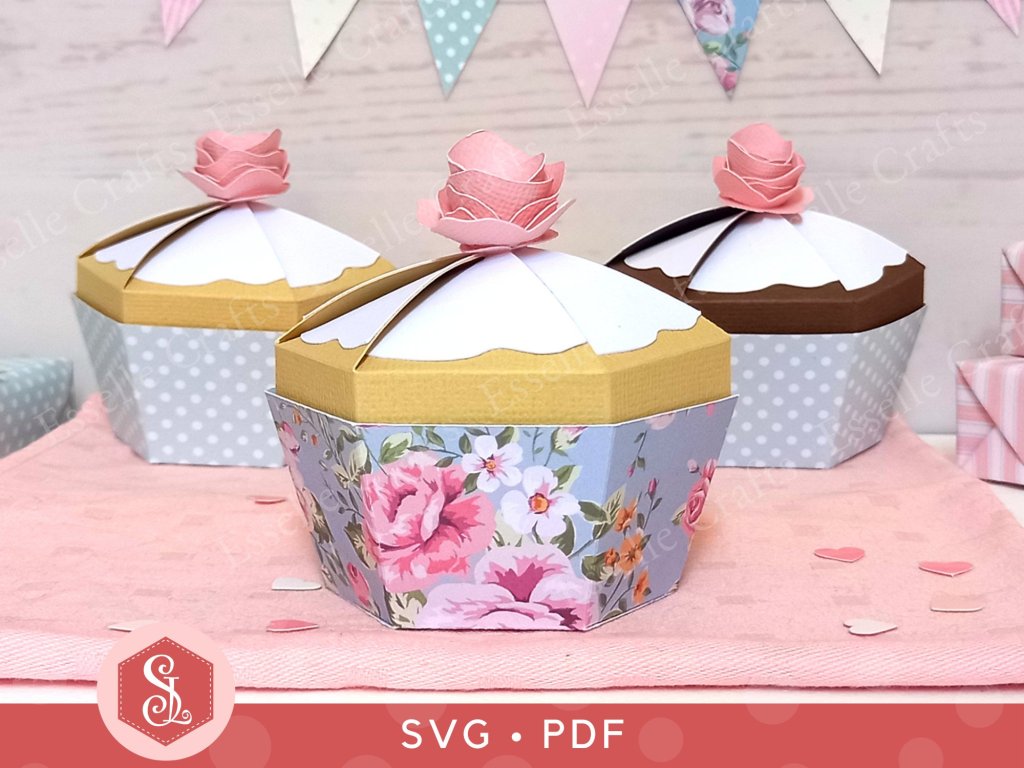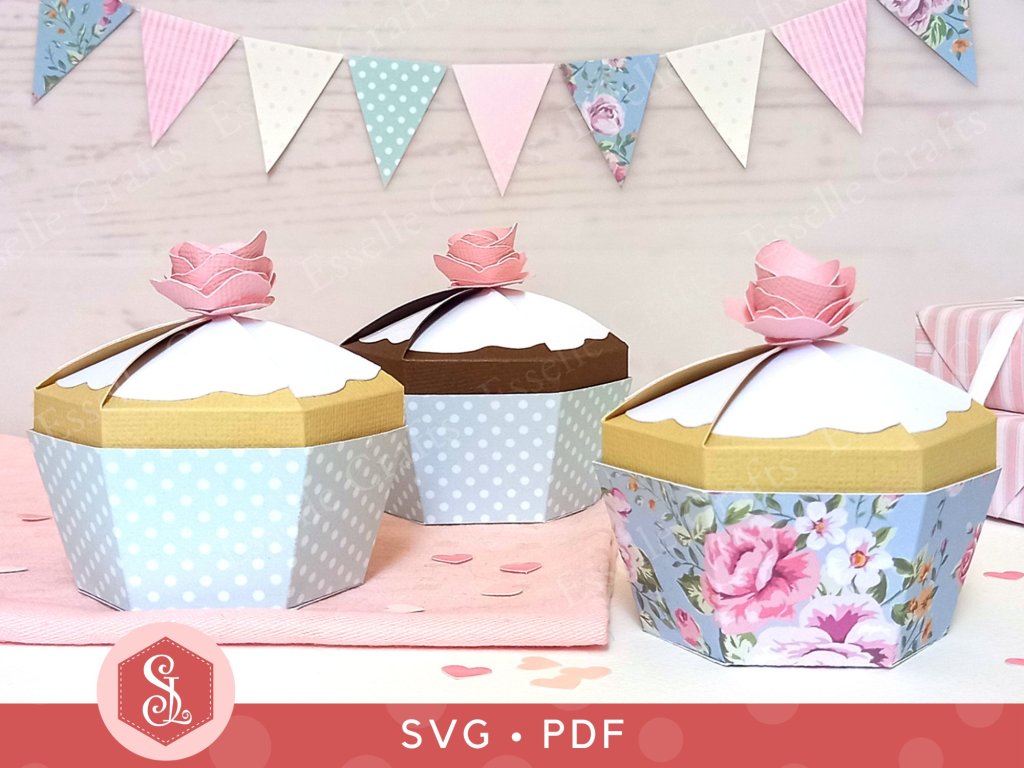
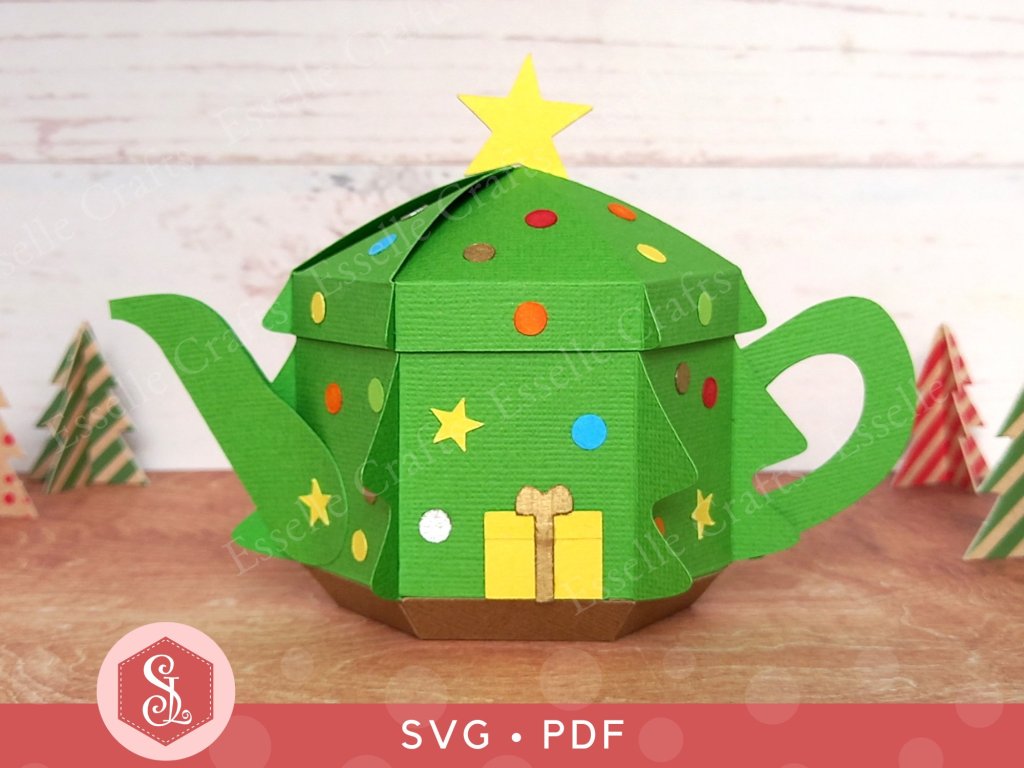
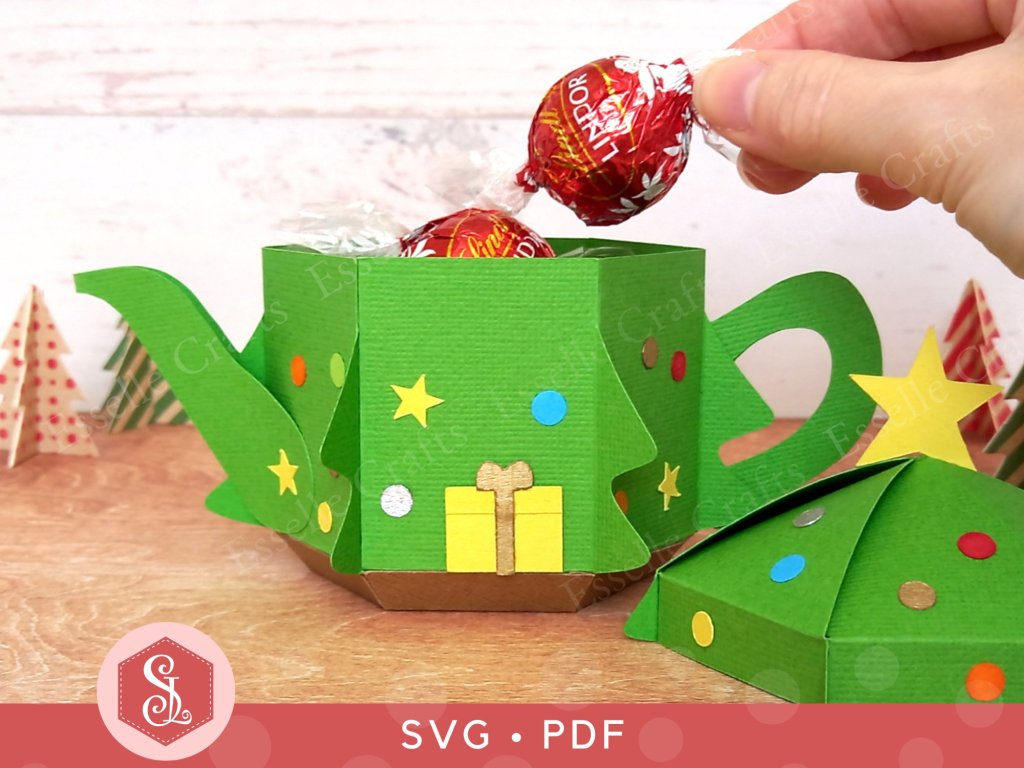
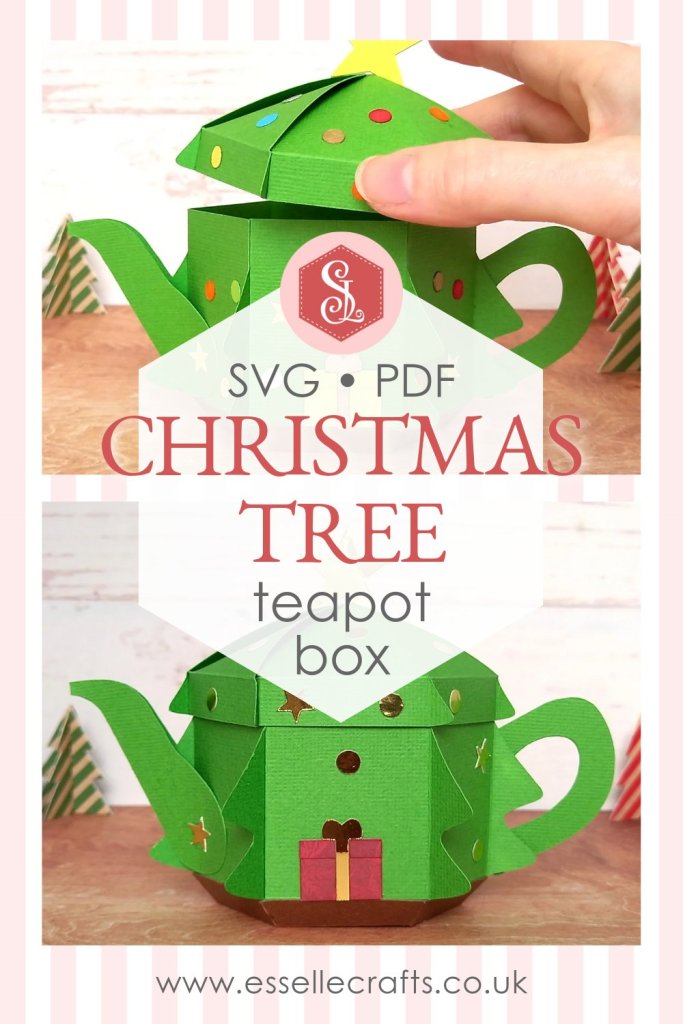
It’s time for another teapot favour box design and this time I’ve created one in the style of a Christmas Tree! 🎄
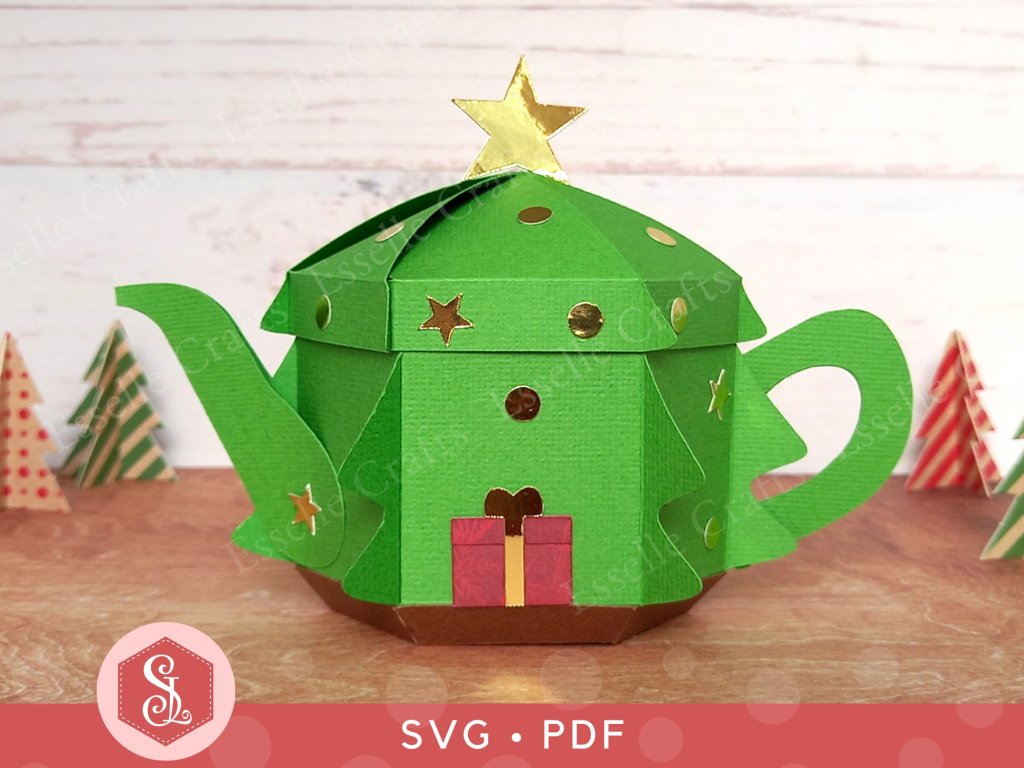
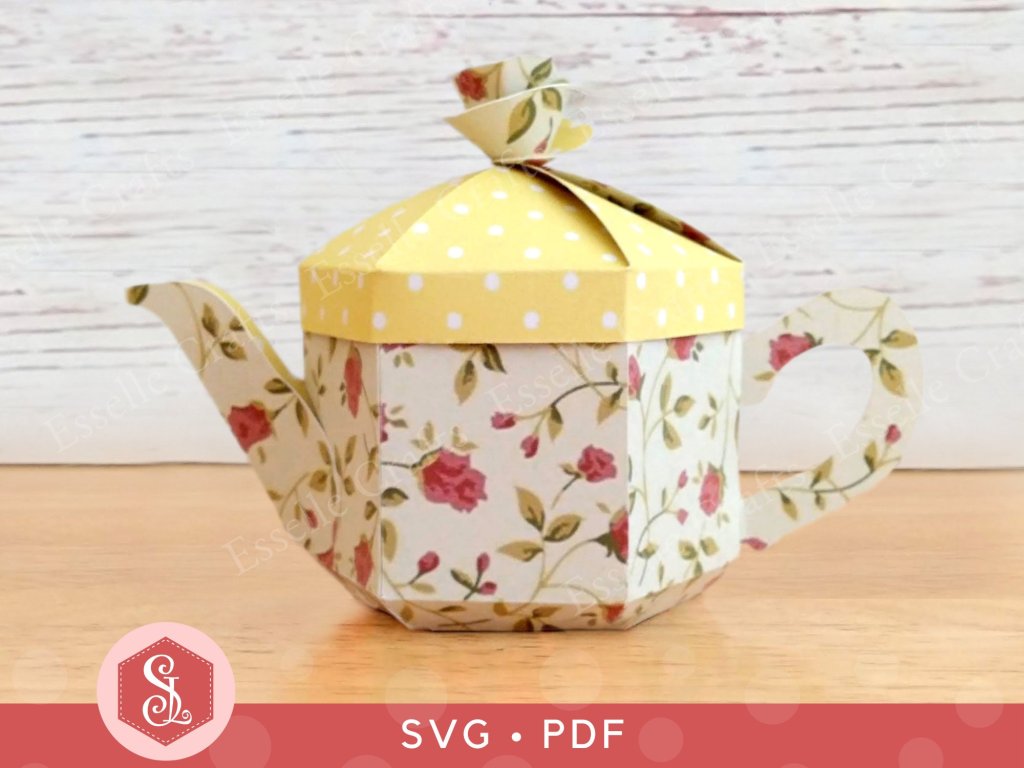
Doesn’t it look amazing! With a shiny star on the top and lots of decorations to add on, you can really go to town with this design, using any colour scheme of your choice!
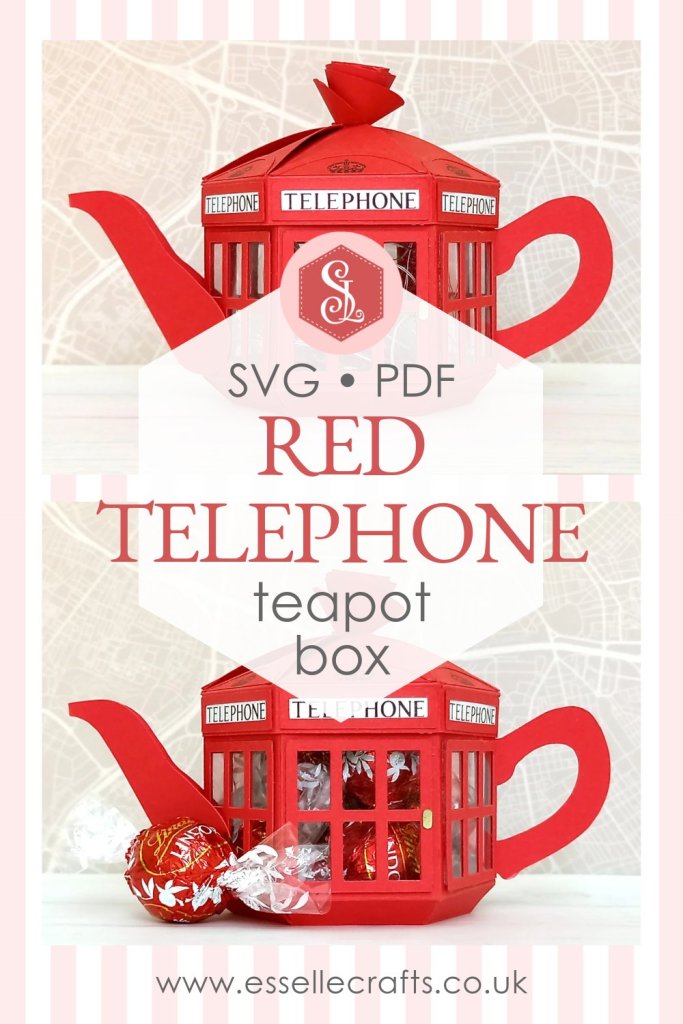
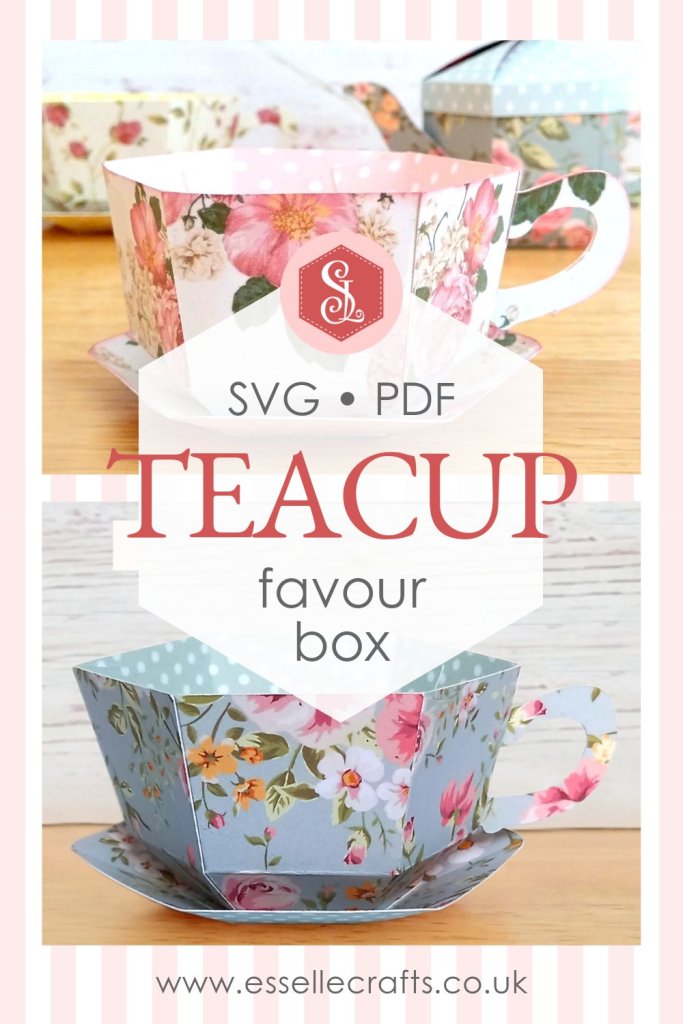
The templates come in both SVG and PDF format, making them accessible for a variety of crafting needs and the easy to follow instructions make it quick and effortless to assemble these novelty gift boxes.

To make one, you will need:
* Christmas Tree Teapot Box template (PDF and SVG available)
* Computer and printer to print the PDF templates and instructions
* Digital cutting machine
* Double-sided cardstock (220-250gsm / 80-92lb recommended)
* Craft glue / double-sided tape
If you are not using a cutting machine you will also need:
* Craft knife / scissors
* Scoring tool
* Ruler
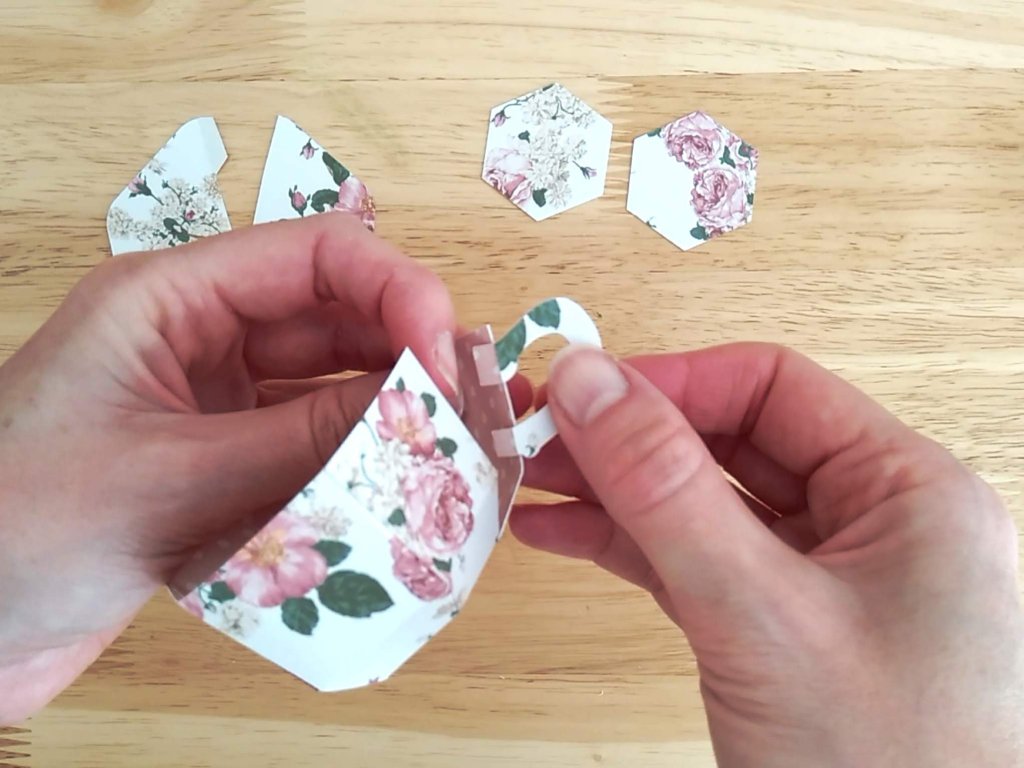
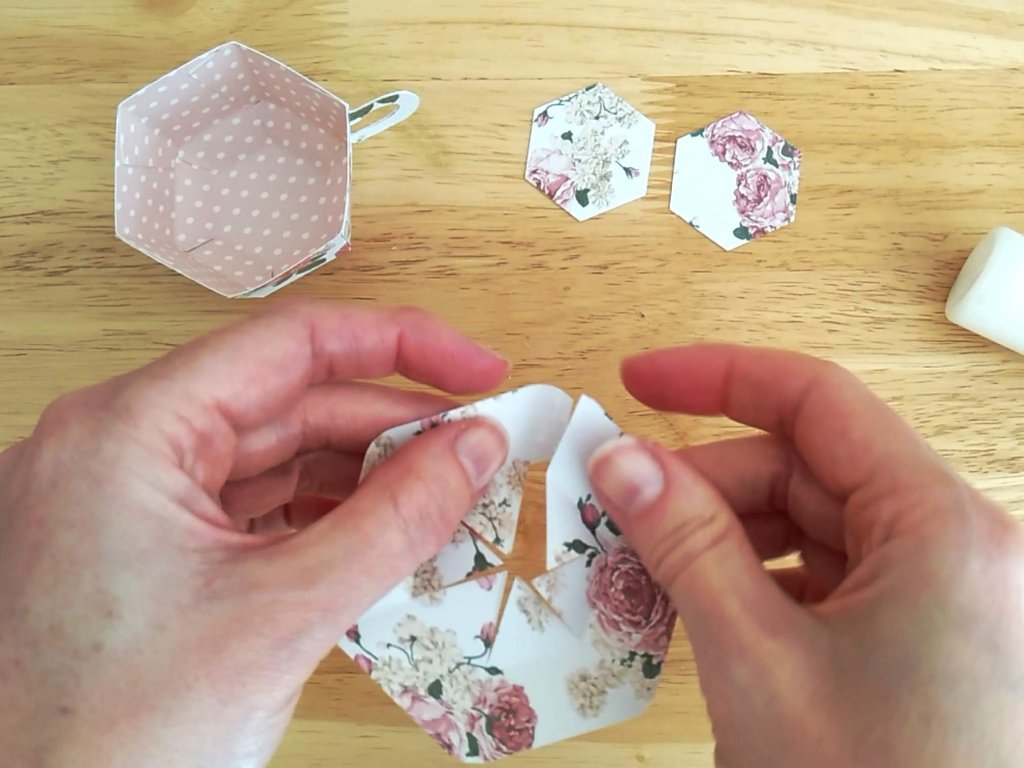
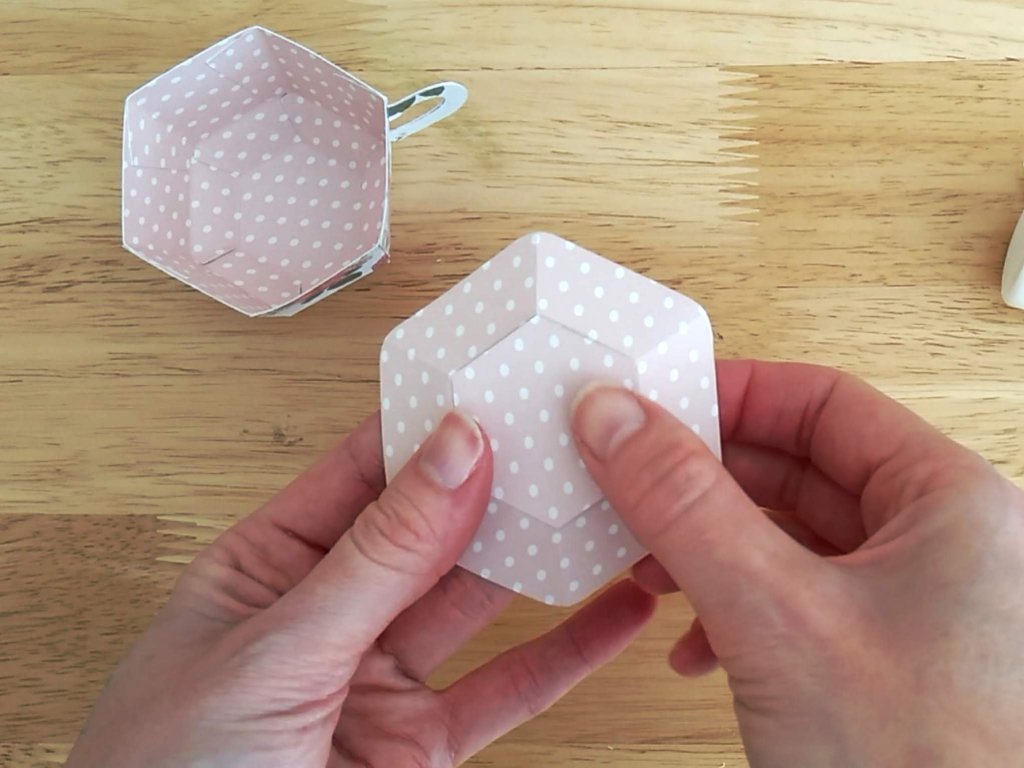
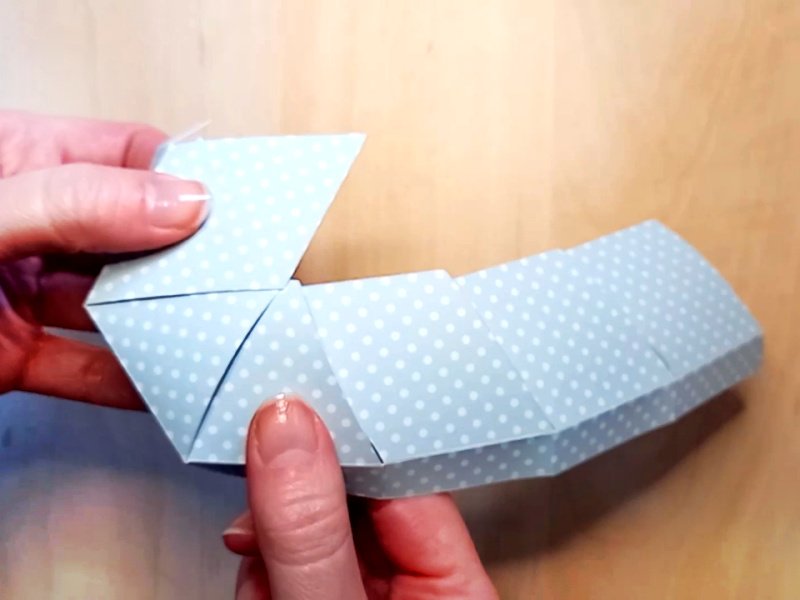
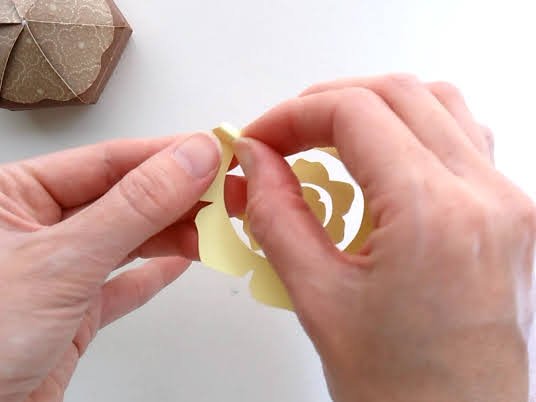
Watch my video tutorial showing how to assemble the teapot box, and be sure to follow the tips below:
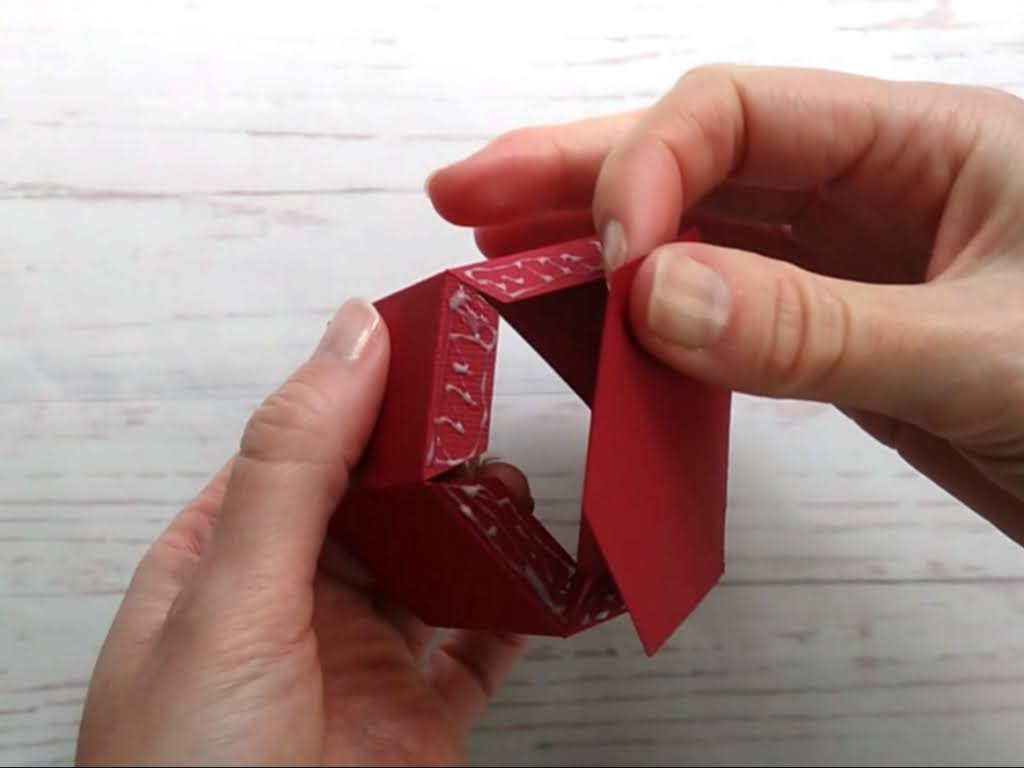
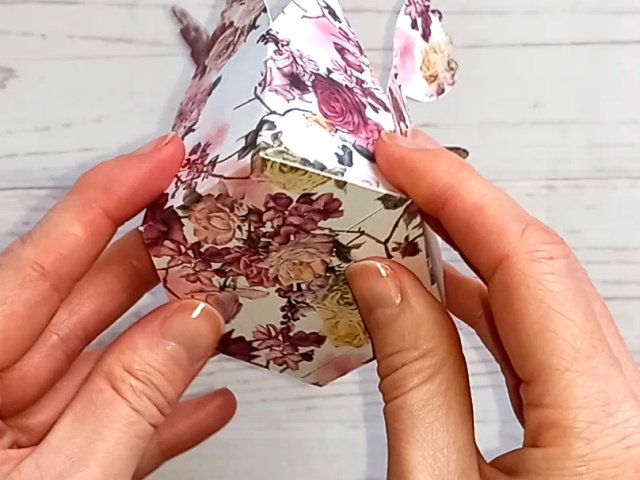
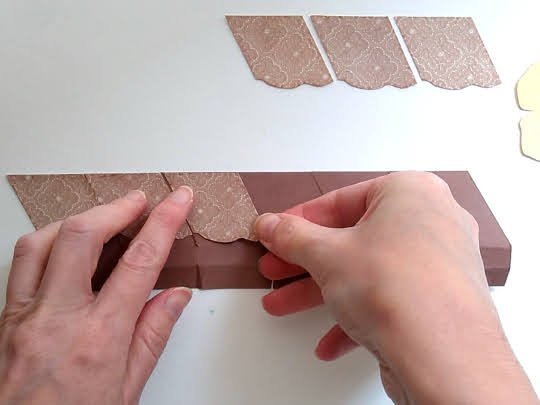
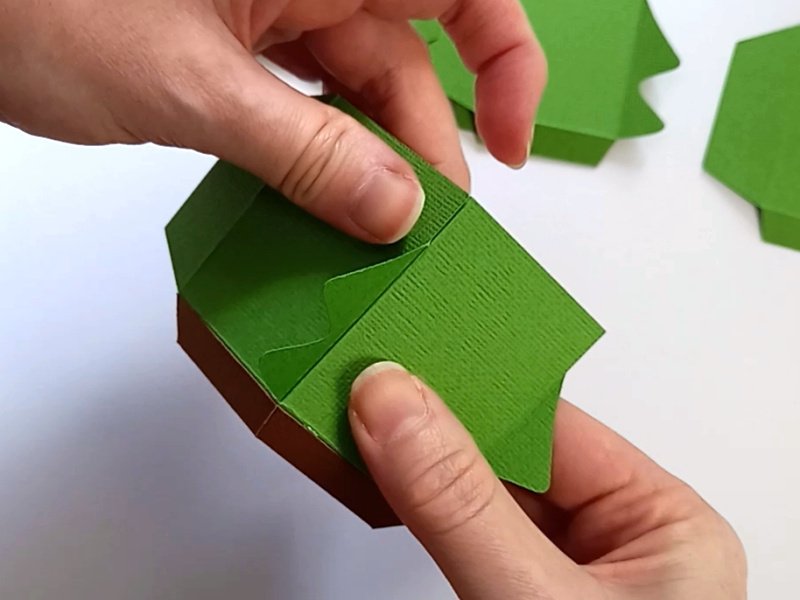
TIP 1 : Attach the six side pieces one at a time to the base, and don’t forget to leave the last side open.
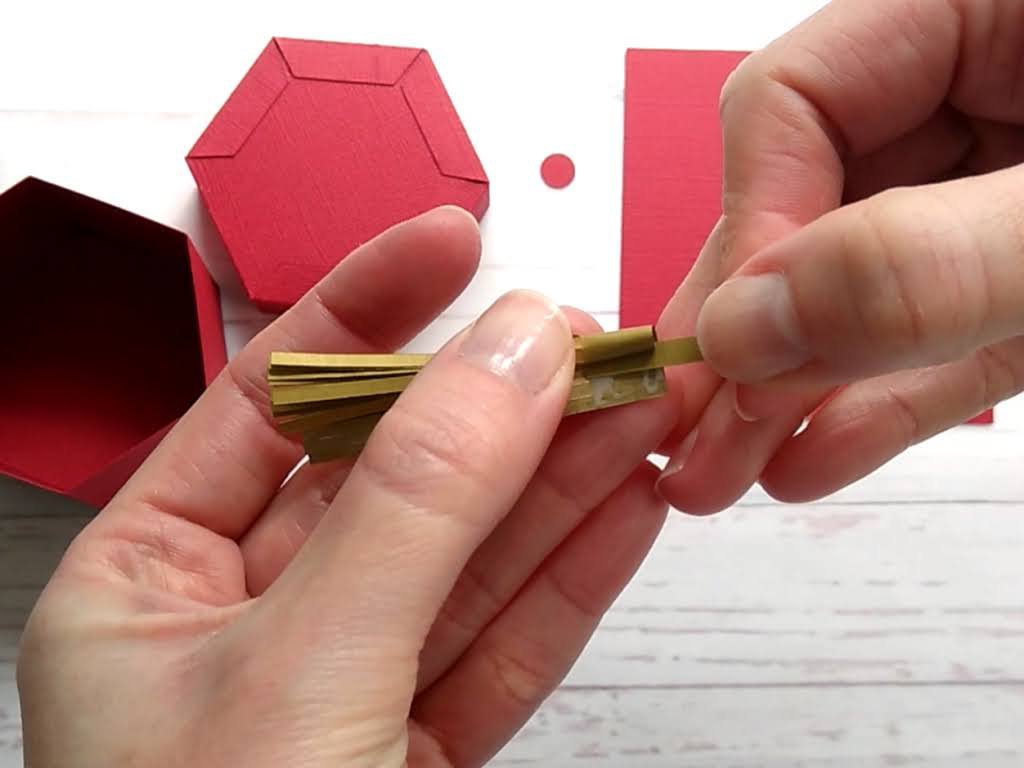
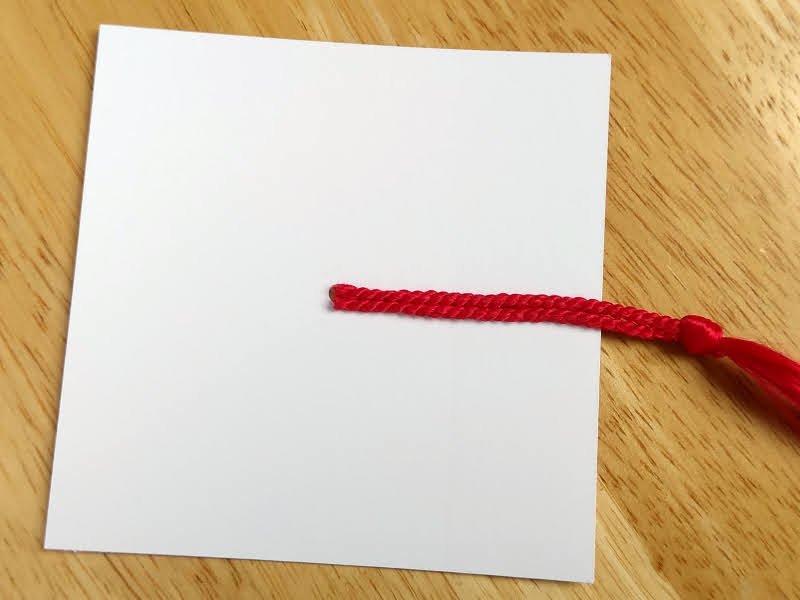
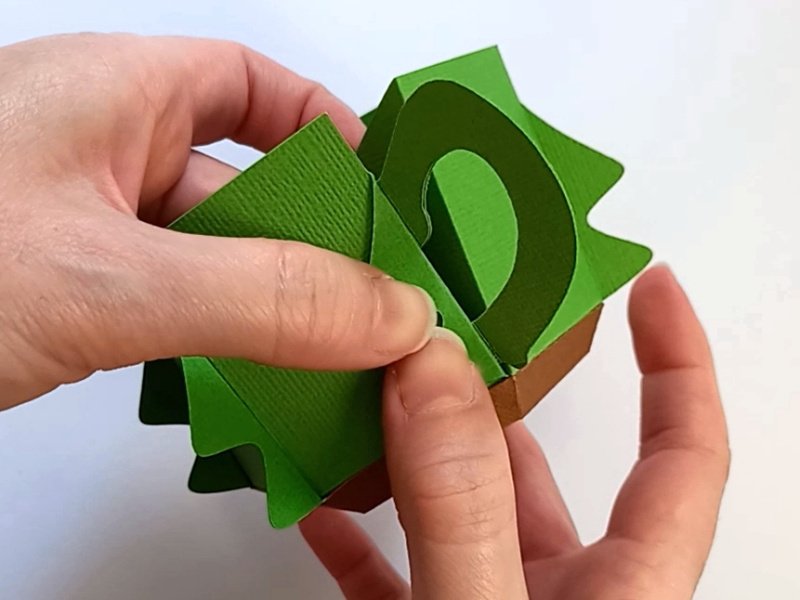
TIP 2 : When attaching the handle, bend the last ‘branch’ towards you so you can line up the score line.
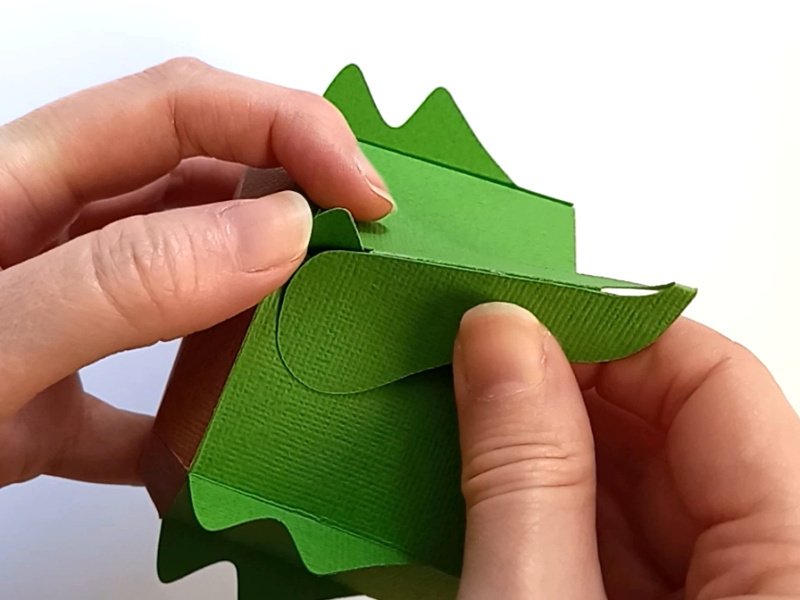
TIP 3 : When attaching the spout, carefully place it over the lower ‘branch’ to get it in the correct position.
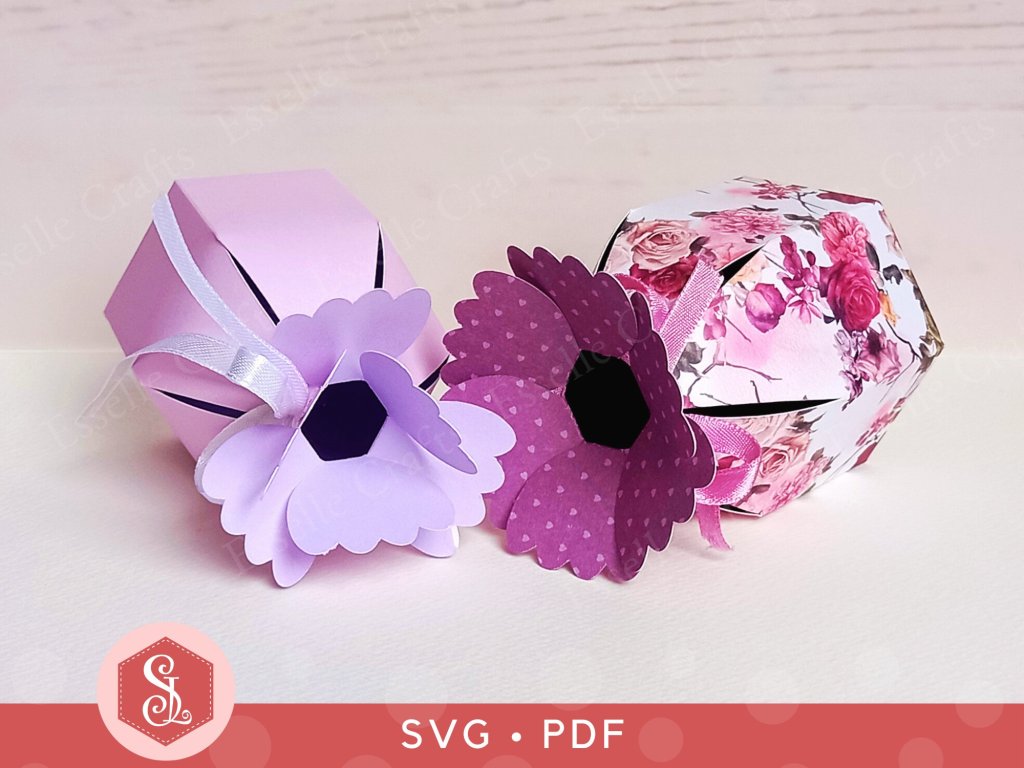
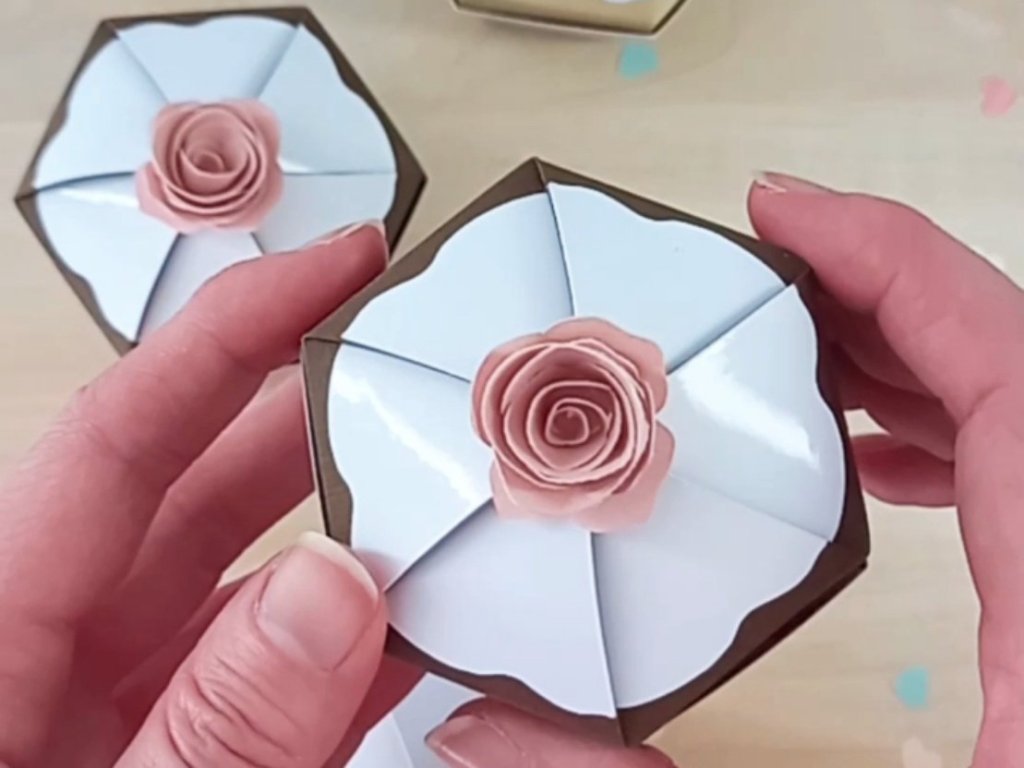
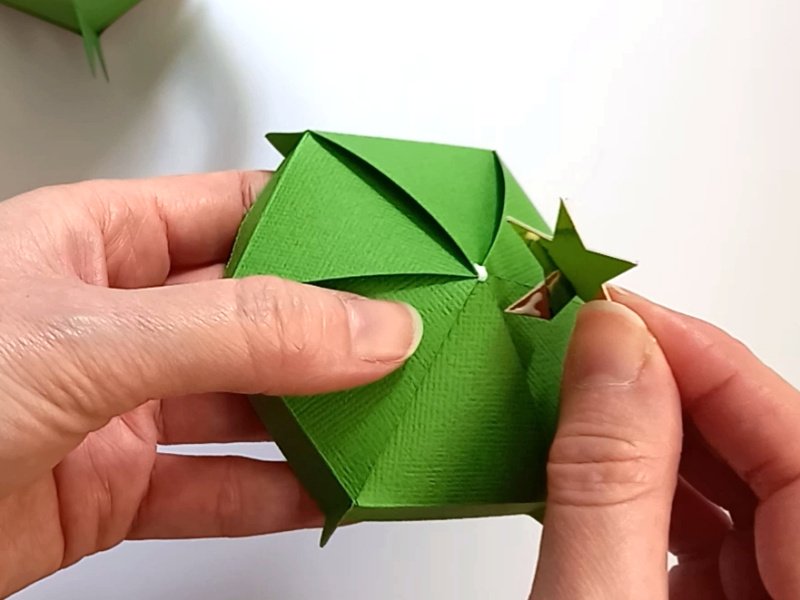
TIP 4 : Once the lid is assembled, add a small dot of glue to the centre to hold its position. The star will cover this when it’s positioned correctly.
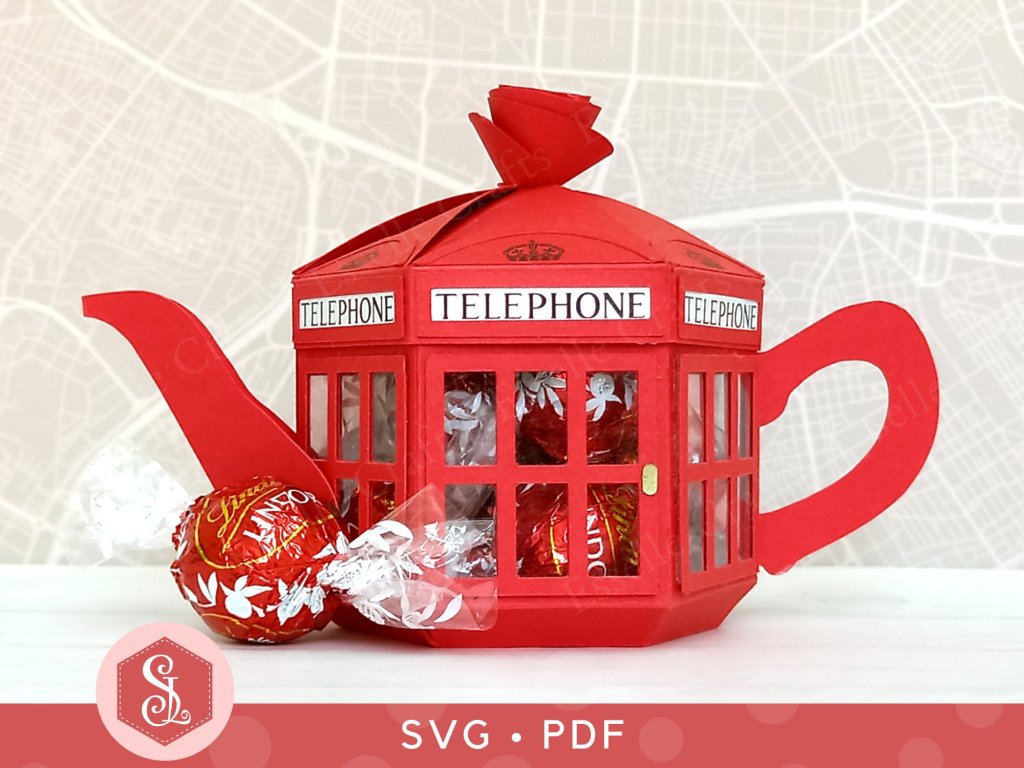
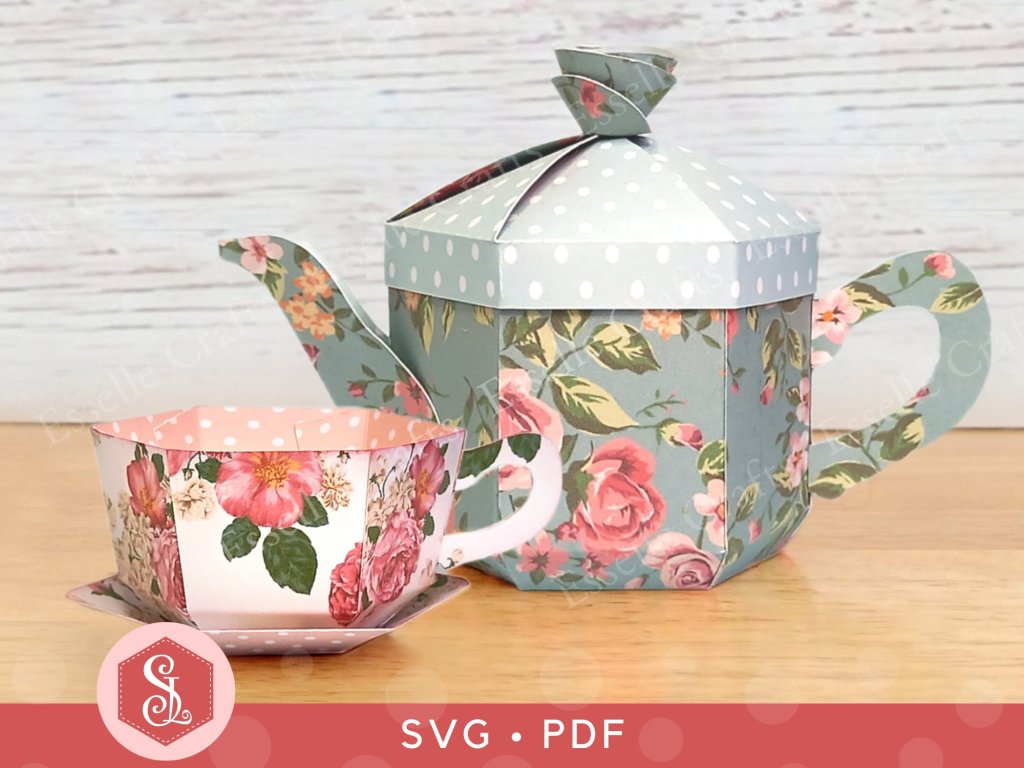
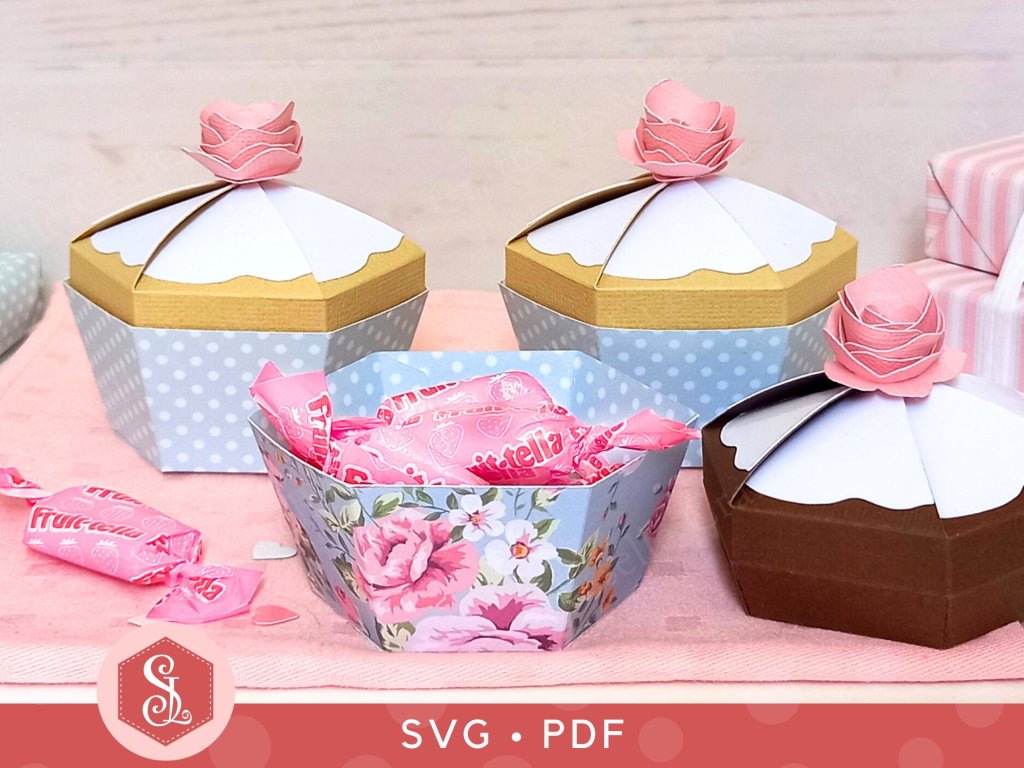
Once assembled, the little teapot box will hold eight of these Lindt chocolates, making it perfect for table favours and Christmas parties! 🎄
But what will you fill your little Christmas tree teapot boxes with? Let me know in the comments below!
Happy crafting!
Suzanne 🎄