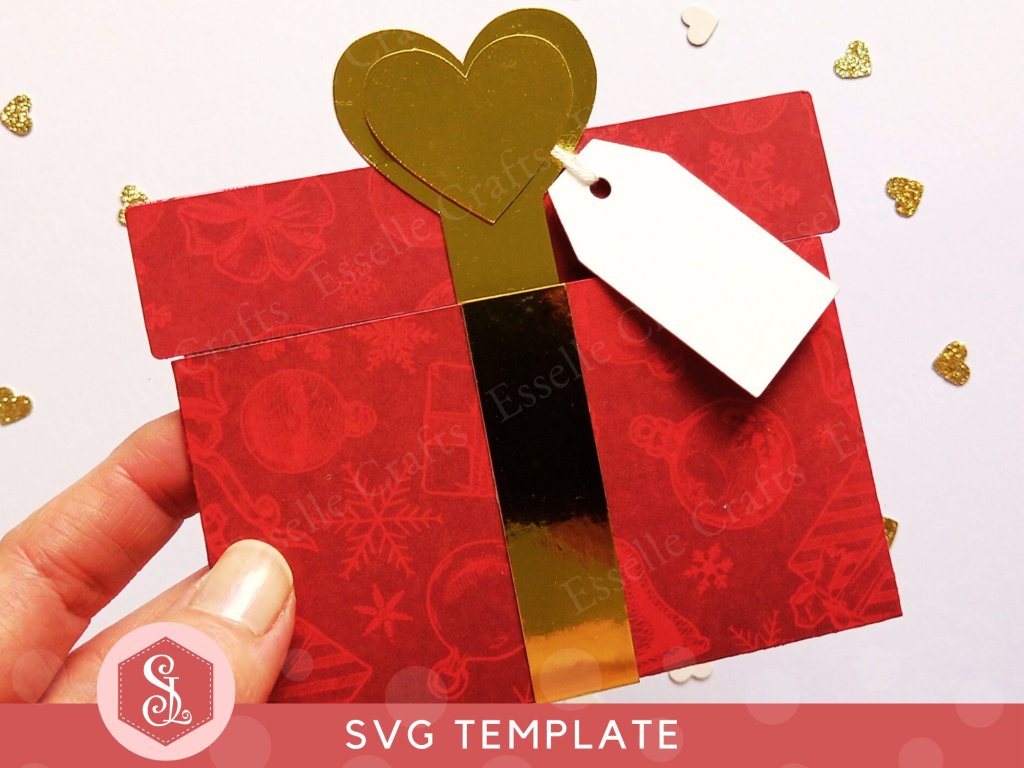
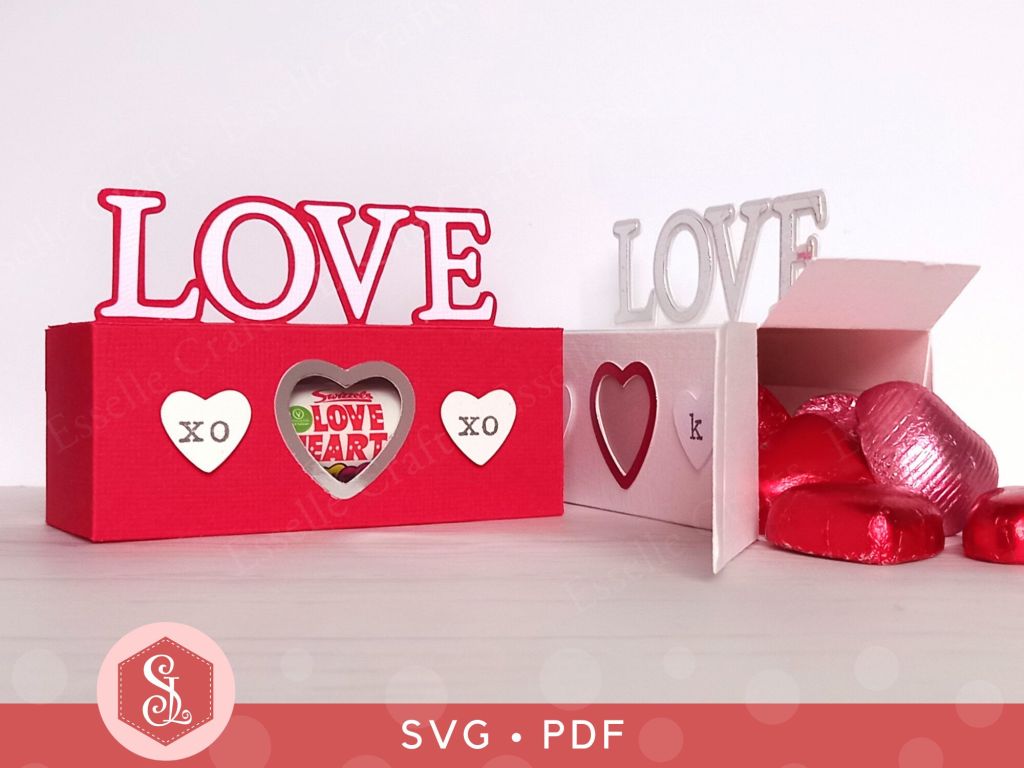
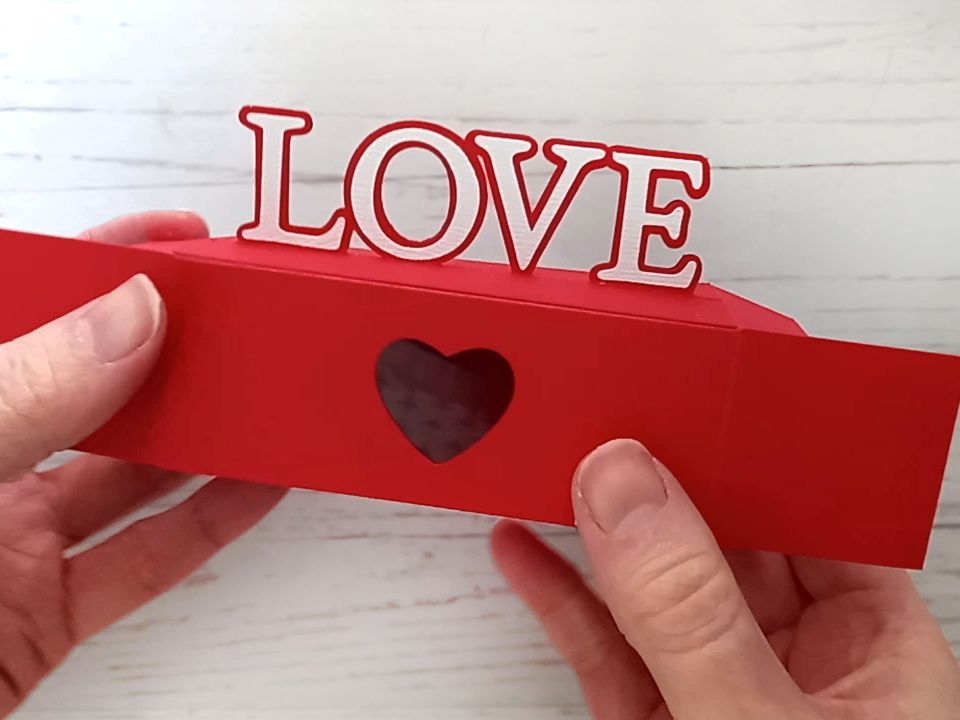
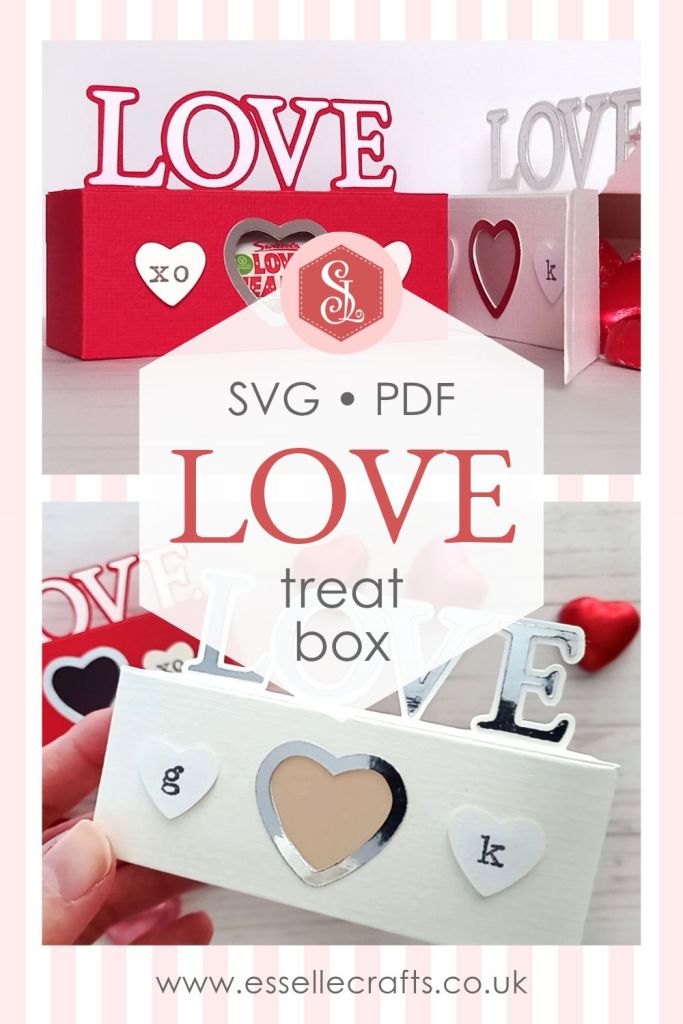
This impressive LOVE treat box is the perfect way to add a little handmade happiness to your gift giving.
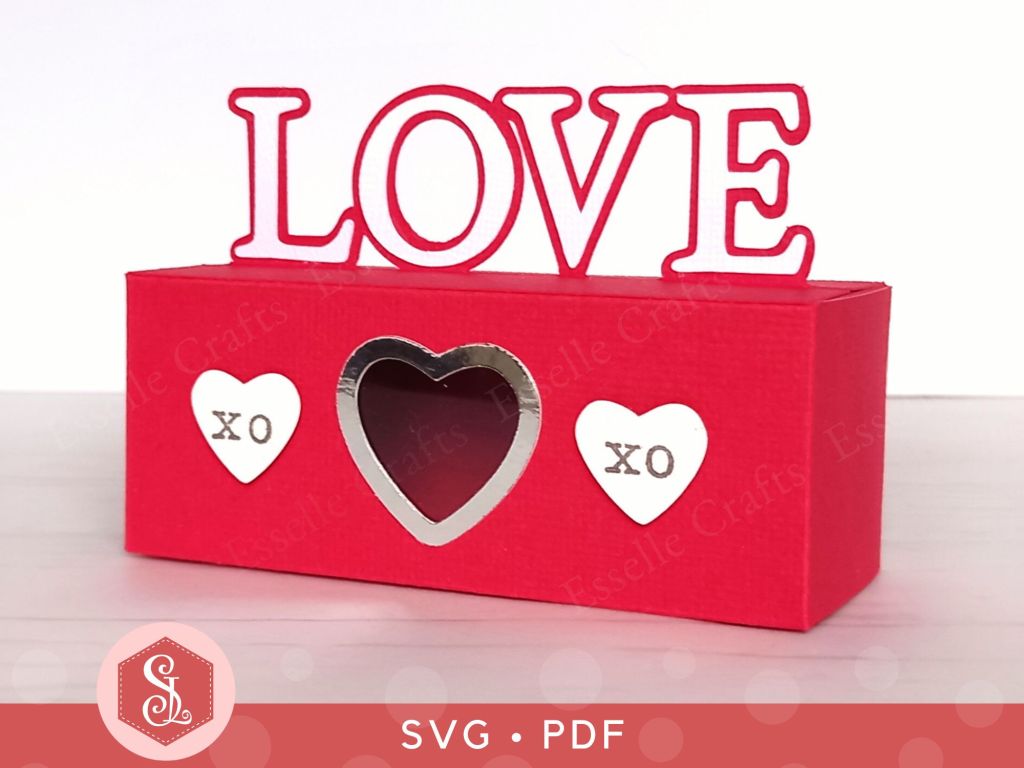
Designed with simplicity and creativity in mind, it can be filled with chocolate hearts, sweets, small gifts or thoughtful surprises for the people you love most ❤️
The templates for this heartfelt box come as SVG cut files, as well as printable PDFs if you prefer to cut out by hand.

To make one, you will need:
* LOVE Treat Box template (available as SVG cut files and printable PDFs)
* Computer and printer to print the PDF templates and instructions
* Digital cutting machine
* Double-sided cardstock (220-250gsm / 80-92lb recommended)
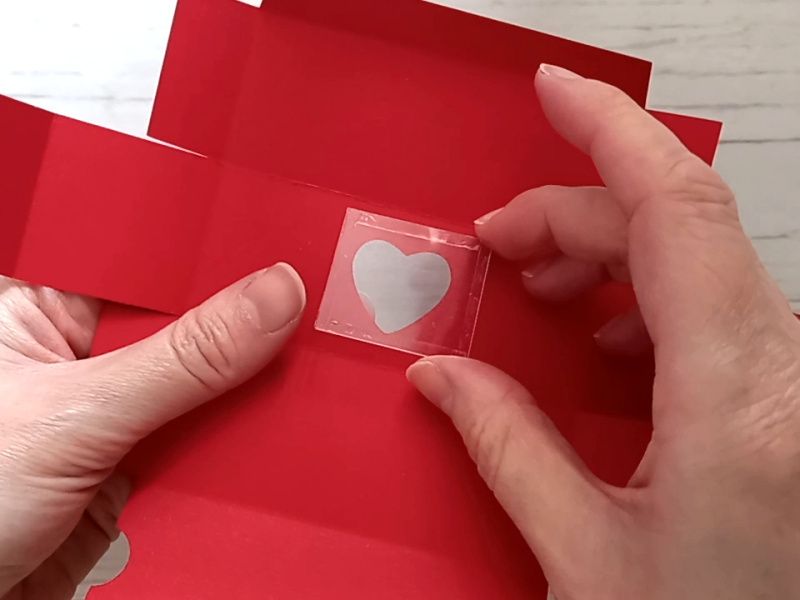
* Acetate or vellum for the window
* Craft glue / double-sided tape
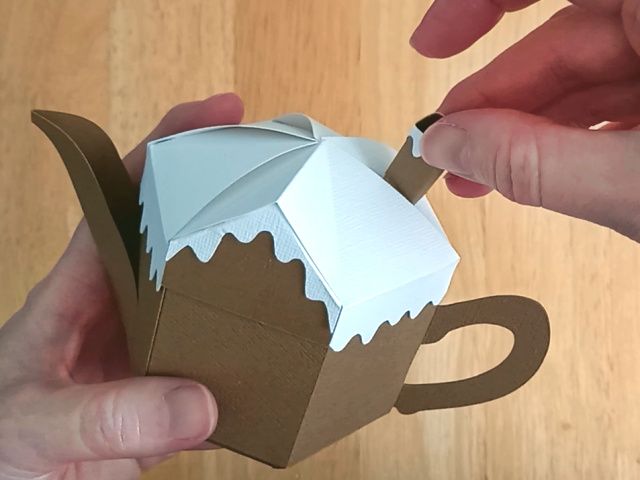
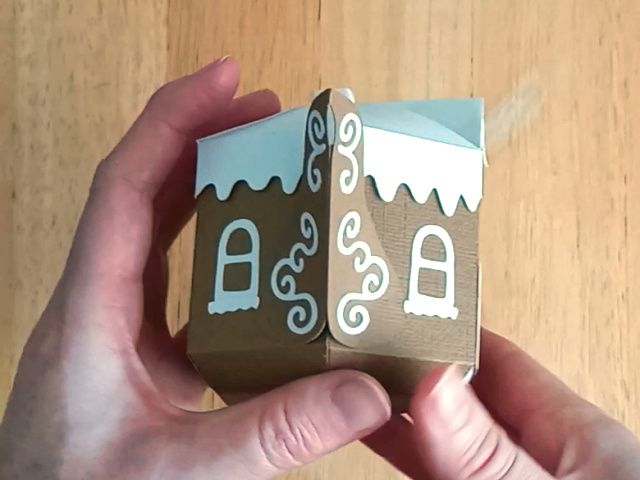
Watch my video tutorial showing how to assemble treat box, and be sure to follow the tips below:
TIP 1 : If you are using acetate for the window piece, use double-sided tape or red-liner tape to attach it securely to the inside of the box.
TIP 2 : After gluing the backs of the letters, slide the two top pieces together, so that the word LOVE lines up perfectly.
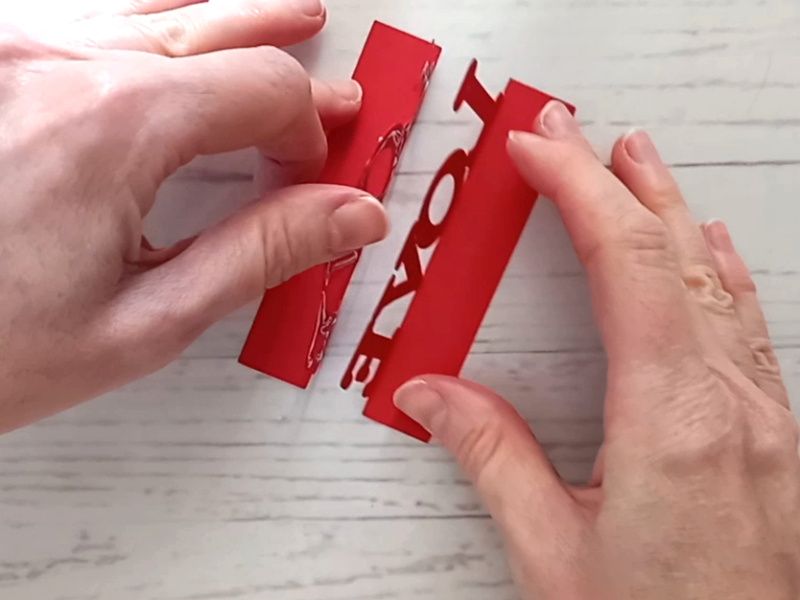
TIP 3 : Glue the individual letters on before gluing the finished top piece to the top of the box.
TIP 4 : You have the option to decorate the front of your box with two little paper hearts, either keeping them plain or stamping initials onto them. You could also stamp XO, or simply leave the box with just the central heart border in place.
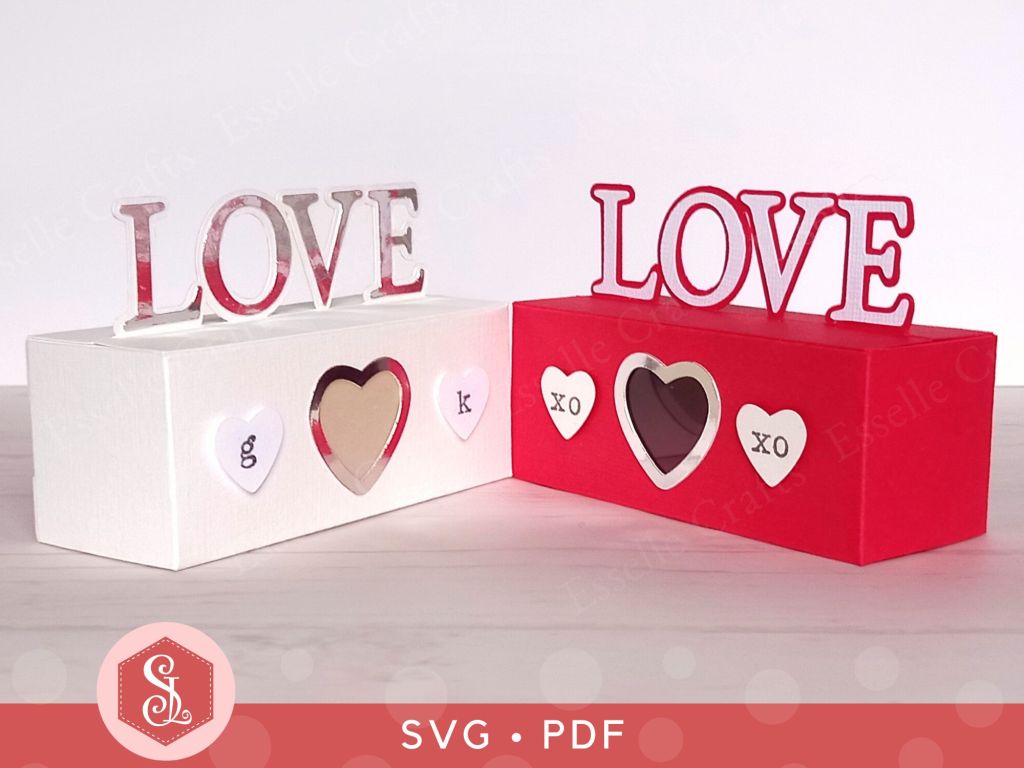
Whether you’re crafting for family or friends, this little treat box comes together quickly and easily – perfect for Valentine’s Day or wedding favours! ❤️
Happy crafting!
Suzanne ❤️