3D Papercraft Projects · Christmas Papercraft · Gift Card Holders · Papercraft Projects

Cosy Mug Gift Card Holder

Continuing with my range of papercraft gift card holders, my latest design is this cosy Christmas mug. They are such fun to create, and make gift giving so much easier, especially if you are having to post it.
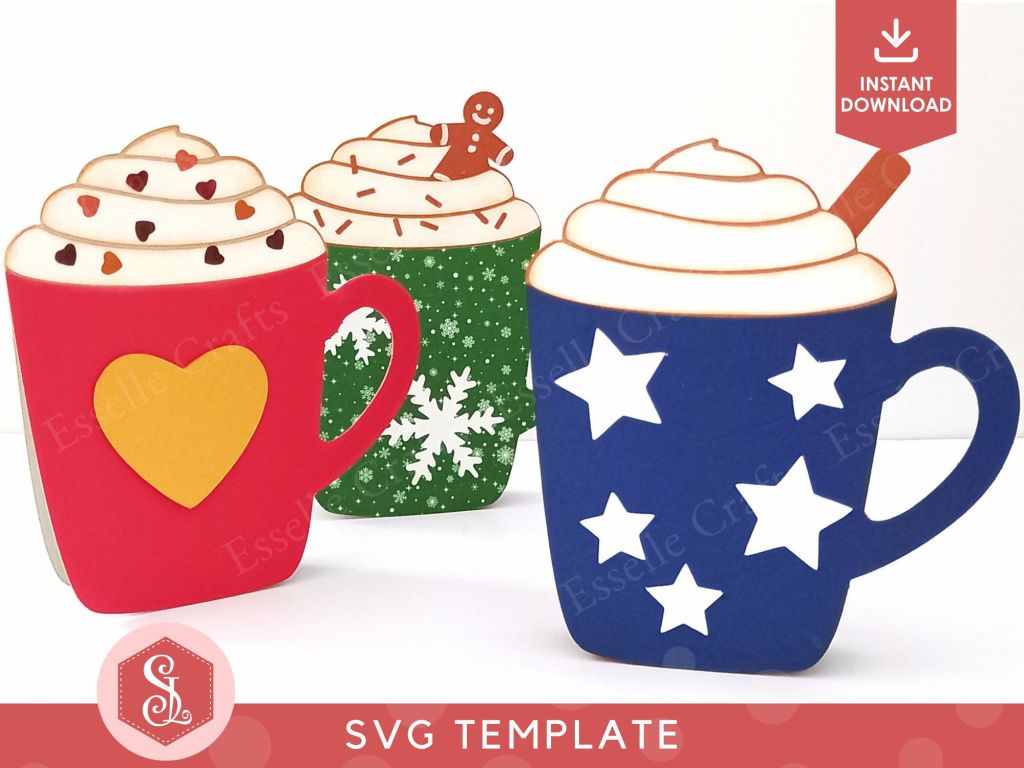
Three  papercraft gift card holders in the shape of a cosy Christmas mug. They are decorated with stars, hearts and snowflakes and are topped with white paper whipped cream, a brown paper cinnamon stick and dark brown paper sprinkles.

Perfect for Christmas favours, this cosy mug gift card holder will hold a standard credit card sized gift card, and can also be used as a greeting card! Think Father’s Day, teacher gifts, or a unique wedding day gift!
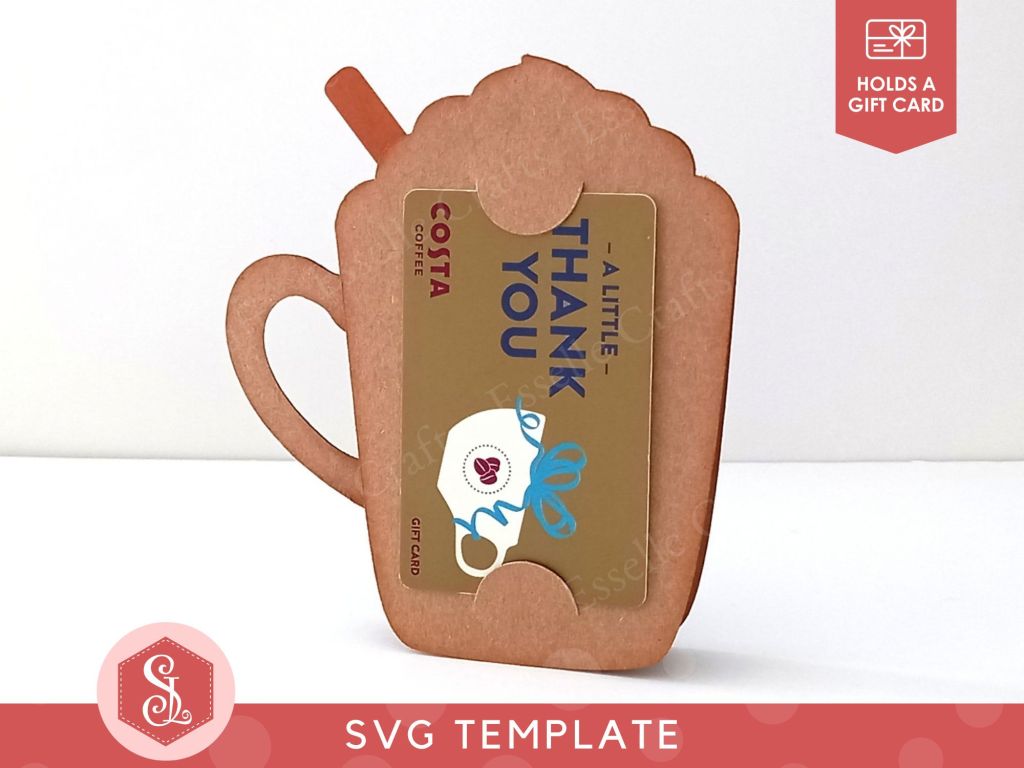
A papercraft gift card holder in the shape of a cosy Christmas mug. It is holding a Costa thank you gift card in the back.

The template for this gift card holder comes as a single SVG cut file, and can be found in my Etsy shop. There are lots of decorations included in the download, plus you can also choose to personalise your mug with an initial!
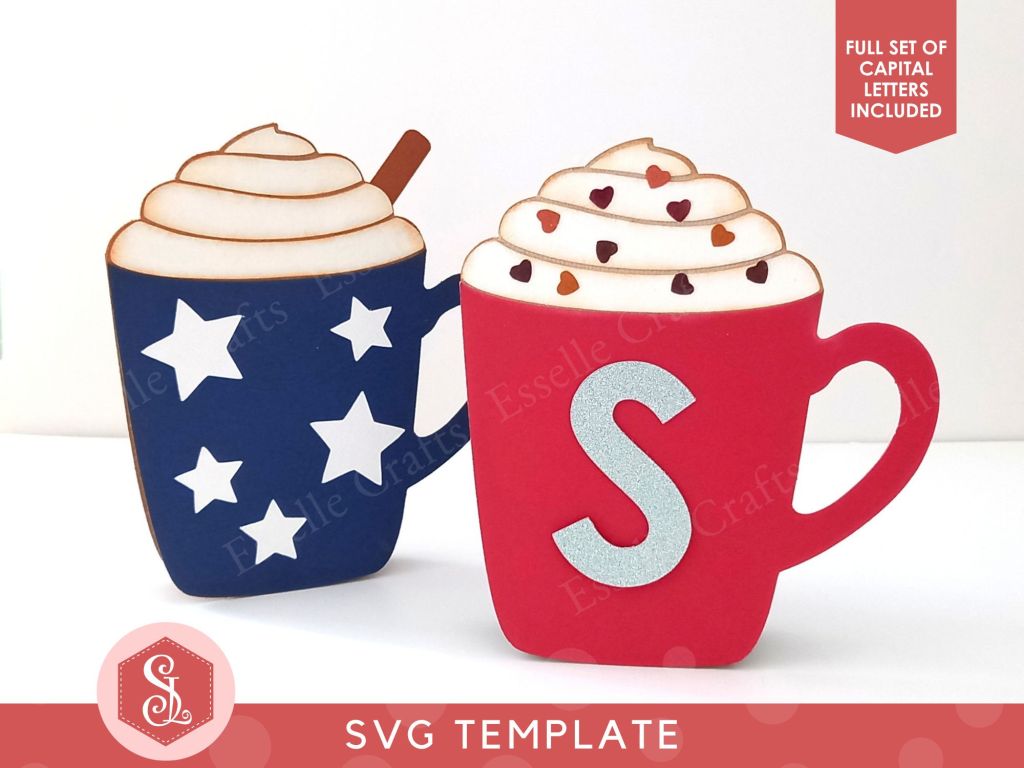
Two papercraft gift card holders in the shape of a cosy Christmas mug. One is dark blue decorated with white paper stars and one is dark red decorated with a silver letter S.

To make one, you will need:

* Cosy Mug Gift Card Holder template (available as an SVG cut file)
* Computer and printer to print the PDF instructions
* Digital cutting machine
* Double-sided solid colour or patterned cardstock (220-250gsm / 80-92lb recommended)
* Light brown ink pad (optional)
* Craft glue

Watch my video tutorial showing how to assemble the gift card holder, and be sure to follow the tips below:

TIP 1 : Slide the gift card into the back piece before assembling. This will make it easier to get the gift card in and out. Alternatively, use a piece of plain white card the same size as a gift card.
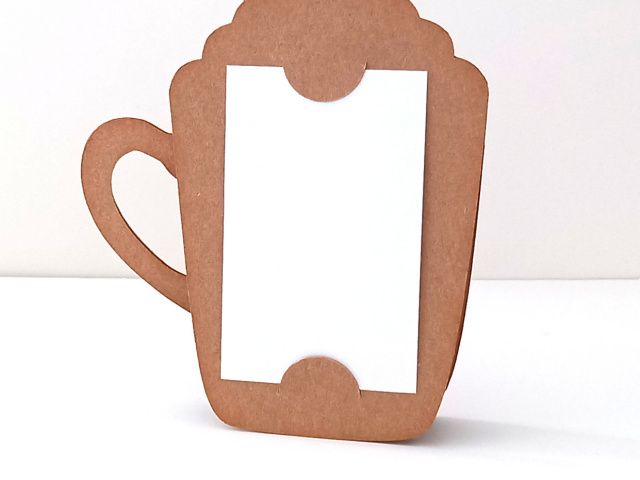
A papercraft gift card holder in the shape of a cosy Christmas mug. It is holding a plain white card in the back.

TIP 2 : Apply glue to the top 2 sections of whipped cream only to attach the two pieces together.
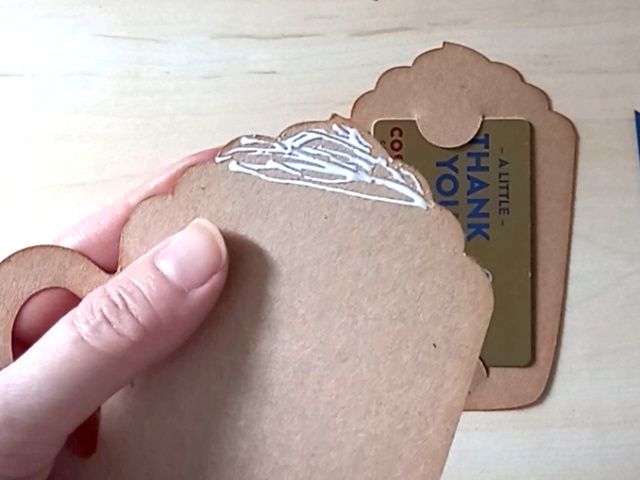
A papercraft gift card holder in the shape of a cosy Christmas mug. It is holding a Costa thank you gift card in the back.

TIP 3 : Glue one end of the tab to the inside of the front piece, then fold it over and glue the other end to the inside of the back piece.
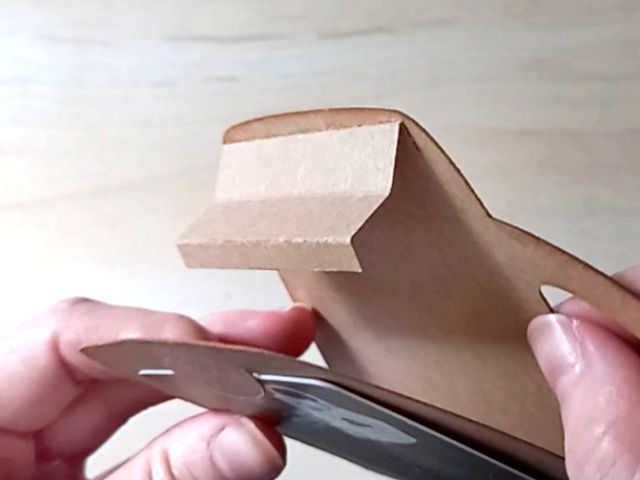
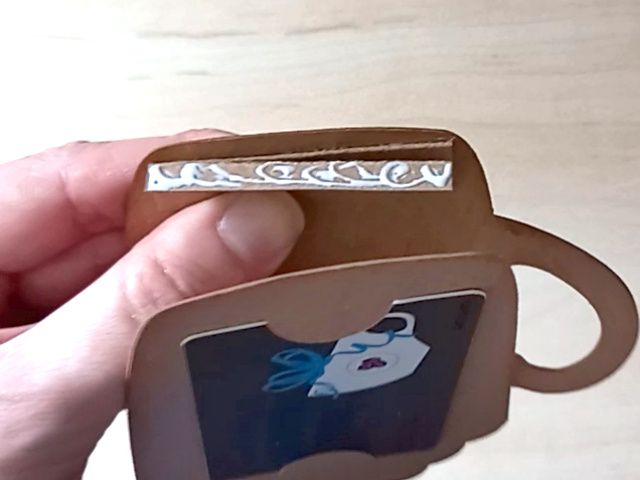
A papercraft gift card holder in the shape of a cosy Christmas mug. It is holding a Costa thank you gift card in the back.

TIP 4 : To add the cinnamon stick or the little gingerbread man, glue it to the back of either the second or third layer of whipped cream.
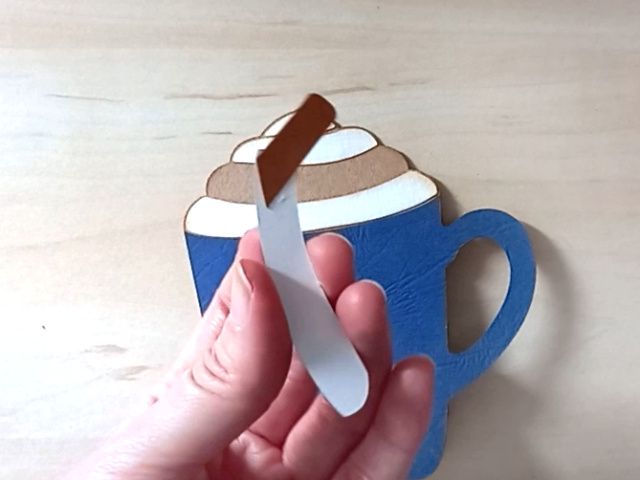
A papercraft gift card holder in the shape of a cosy Christmas mug.

Once assembled, your cosy mug gift card holder is ready to go and, because it folds flat, it can easily be popped into a 14cm x 14cm / 5.5″ x 5.5″ envelope for posting!
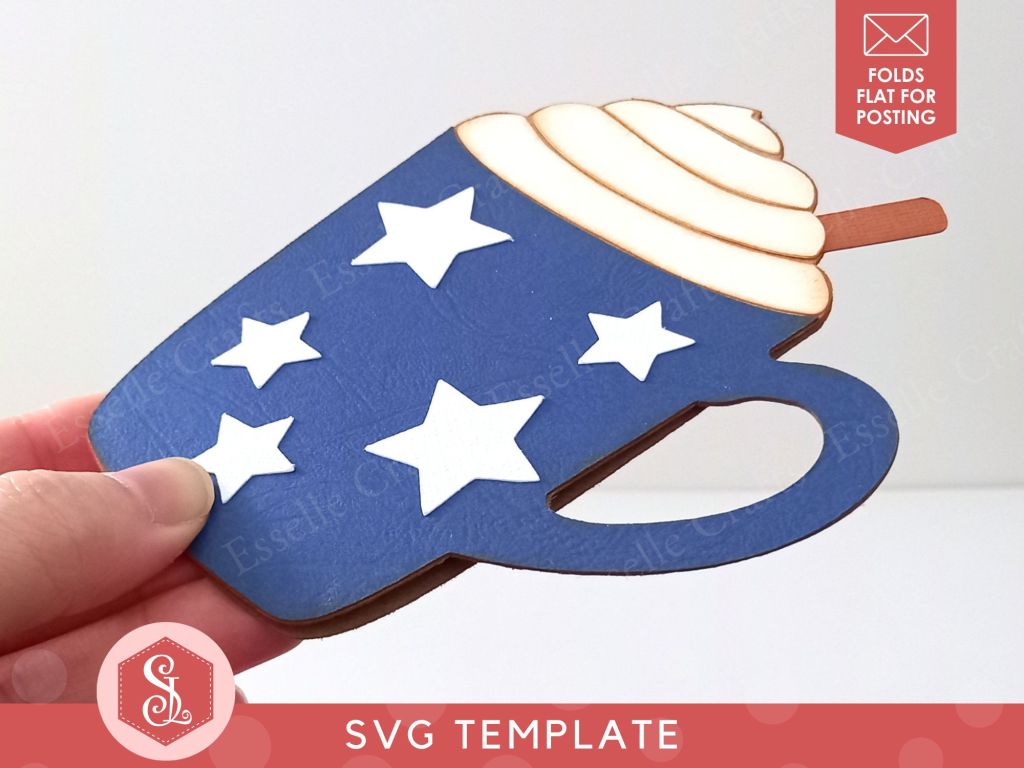
A papercraft gift card holder in the shape of a cosy Christmas mug. It is dark blue, decorated with white paper stars, and is topped with white paper whipped cream and a brown paper cinnamon stick. It is folded flat for easy posting.

When opened up, it becomes freestanding, and is perfect for Christmas home dรฉcor or as a unique winter birthday card / gift!
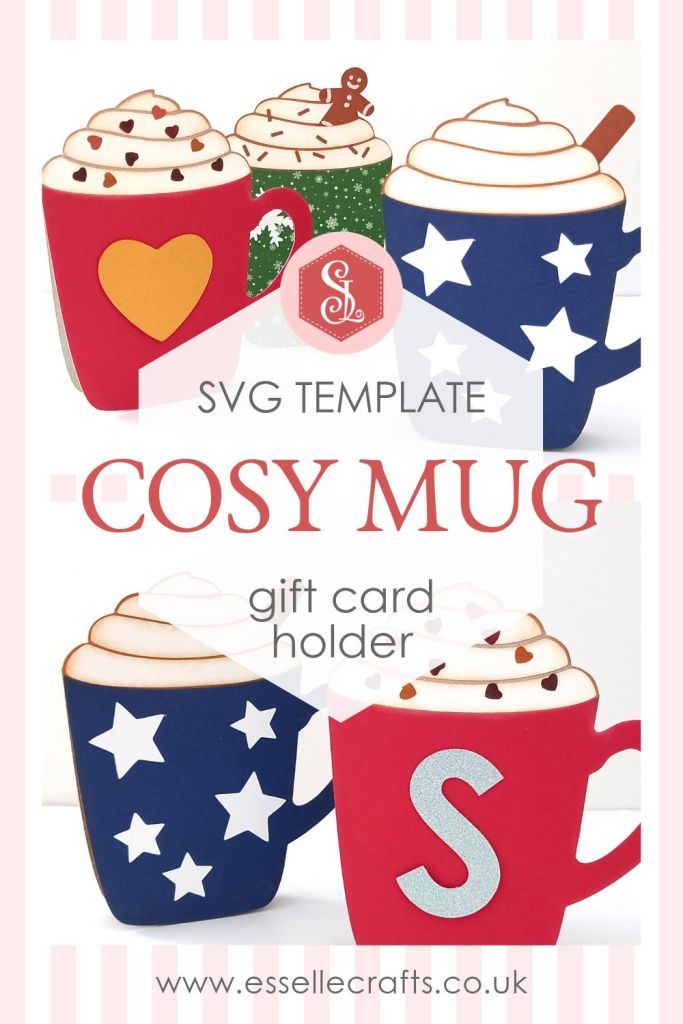
Three  papercraft gift card holders in the shape of a cosy Christmas mug. They are decorated with stars, hearts and snowflakes and are topped with white paper whipped cream, a brown paper cinnamon stick and dark brown paper sprinkles.

Happy crafting!
Suzanne
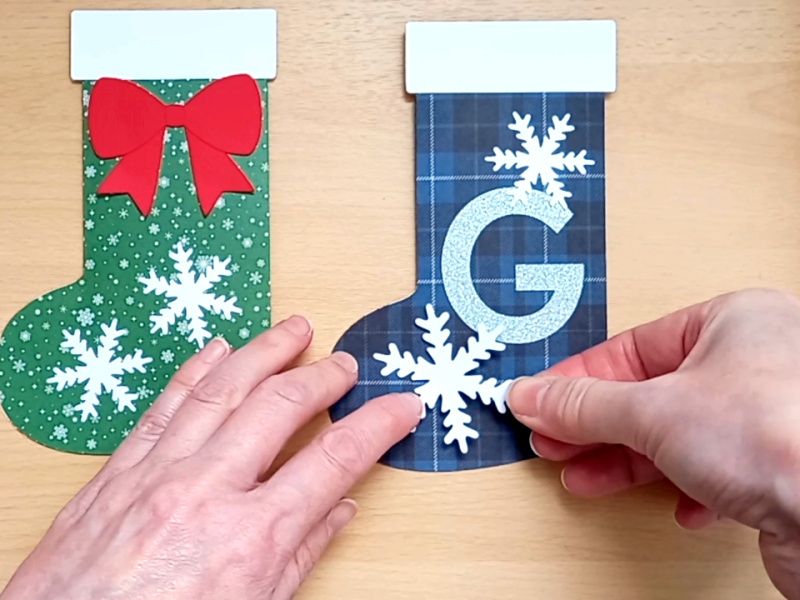
Christmas Papercraft · Gift Card Holders · Papercraft Projects

Poinsettia Teapot Gift Card Holder

If you’ve ever struggled to know what to buy someone as a gift, you will have undoubtedly opted for a gift card at some point. But how can you turn that gift into something fun and memorable? By making your very own unique gift card holder, of course!

A papercraft gift card holder in the style of a vintage cream teapot with a dark red handle and spout. It is decorated with red and green paper poinsettias on the front.

Disguised as a vintage teapot, this stunning poinsettia gift card holder is designed to hold a standard credit card sized gift card, and can also be used for home decor!

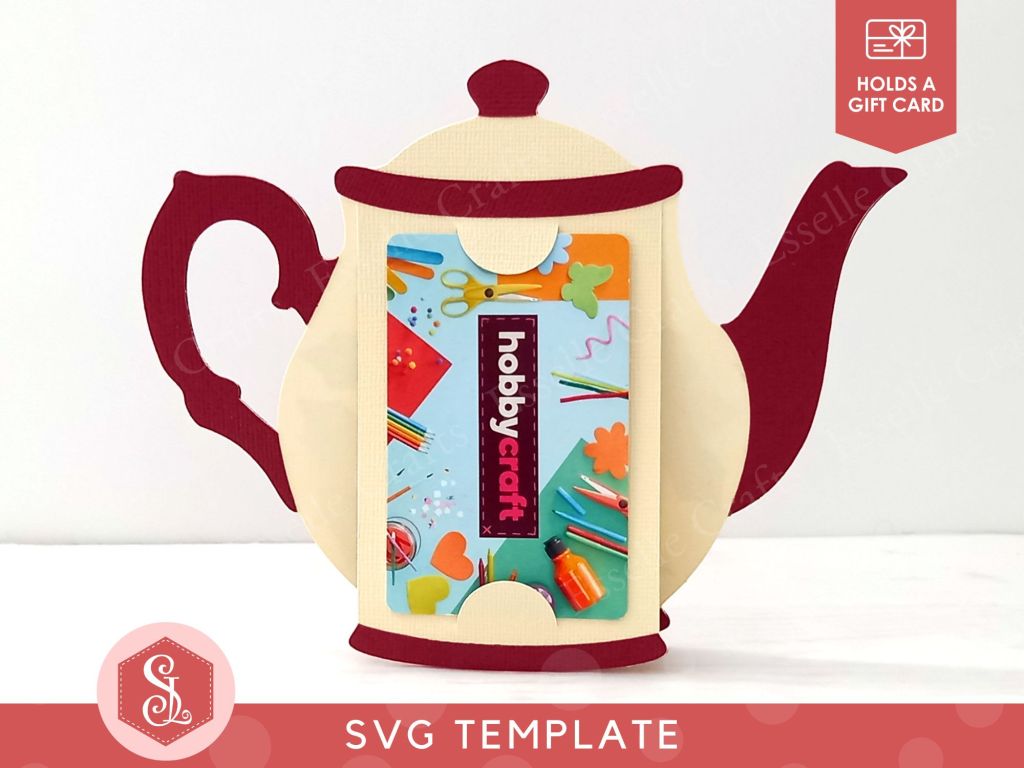
A papercraft gift card holder in the style of a vintage cream teapot with a dark red handle and spout. It is holding a Hobbycraft gift card in the back.

The template for this gift card holder comes as a single SVG cut file, and can be found in my Etsy shop.

To make one, you will need:

* Poinsettia Teapot Gift Card Holder template (available as an SVG cut file)
* Computer and printer to print the PDF instructions
* Digital cutting machine
* Double-sided cardstock (220-250gsm / 80-92lb recommended)
* Craft glue

Watch my video tutorial showing how to assemble the gift card holder, and be sure to follow the tips below:

TIP 1 : When attaching the green leaf pieces, carefully line up the base so that it’s just up from the teapot base.

A papercraft gift card holder in the style of a vintage cream teapot with a dark red handle and spout. It is decorated with red and green paper poinsettias on the front.

TIP 2 : Gently curl the red poinsettia leaves upwards, then offset the layers like this to give them added dimension.

A papercraft gift card holder in the style of a vintage cream teapot with a dark red handle and spout. It is decorated with red and green paper poinsettias on the front.

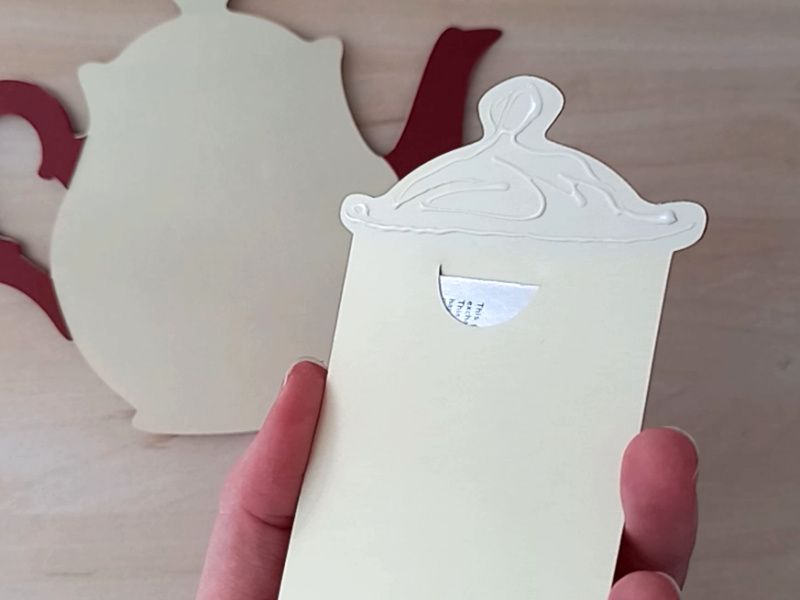
TIP 3 : When attaching the back piece, only apply glue to the top part (the lid and rim section).

A papercraft gift card holder in the style of a vintage cream teapot with a dark red handle and spout. It is decorated with red and green paper poinsettias on the front.

TIP 4 : Fold the base tab in half and apply glue to the last part only so that it attaches to the base of the teapot piece.

A papercraft gift card holder in the style of a vintage cream teapot with a dark red handle and spout. It is decorated with red and green paper poinsettias on the front.

Once assembled, your little poinsettia teapot gift card holder is ready to go and, because it folds flat, it can easily be popped into an envelope for posting!

A papercraft gift card holder in the style of a vintage cream teapot with a dark red handle and spout. It is decorated with red and green paper poinsettias on the front.

When opened up, it becomes freestanding, and will even rock, making it perfect for Christmas cards, Mother’s day, birthday greetings or as a unique housewarming gift!

A papercraft gift card holder in the style of a vintage cream teapot with a dark red handle and spout. It is decorated with red and green paper poinsettias on the front.

Happy crafting!
Suzanne
3D Papercraft Projects · Christmas Papercraft · Gift Card Holders · Papercraft Projects

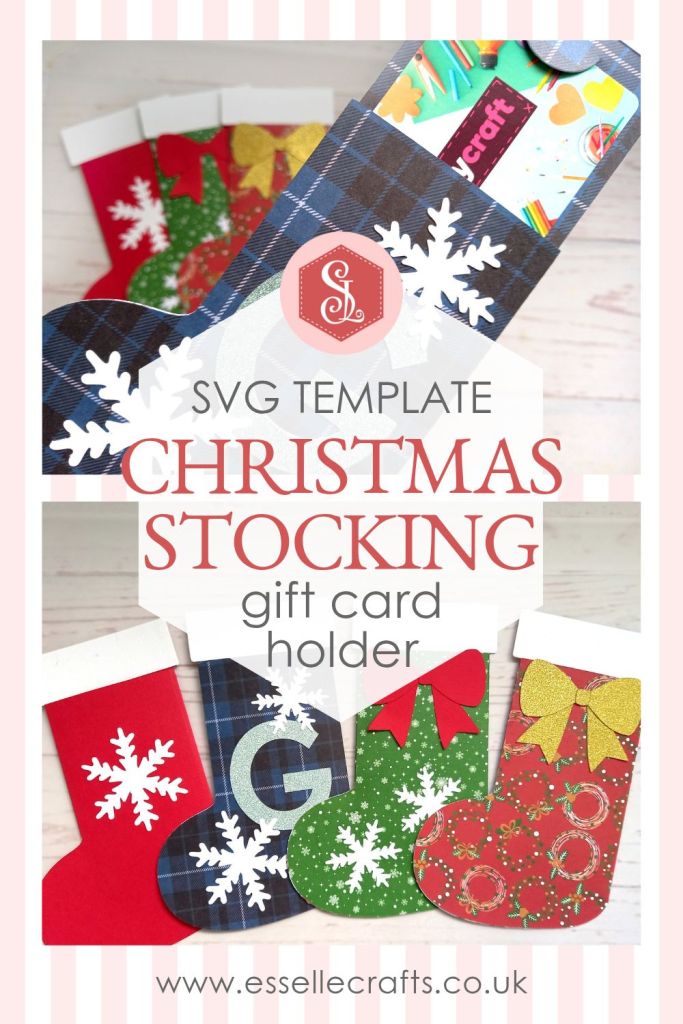
Christmas Stocking Gift Card Holder

If you’ve ever struggled to know what to buy someone as a gift, you will have undoubtedly opted for a gift card at some point. But how can you turn that gift into something fun and memorable? By making your very own personalised gift card holder, of course! ๐ŸŽ

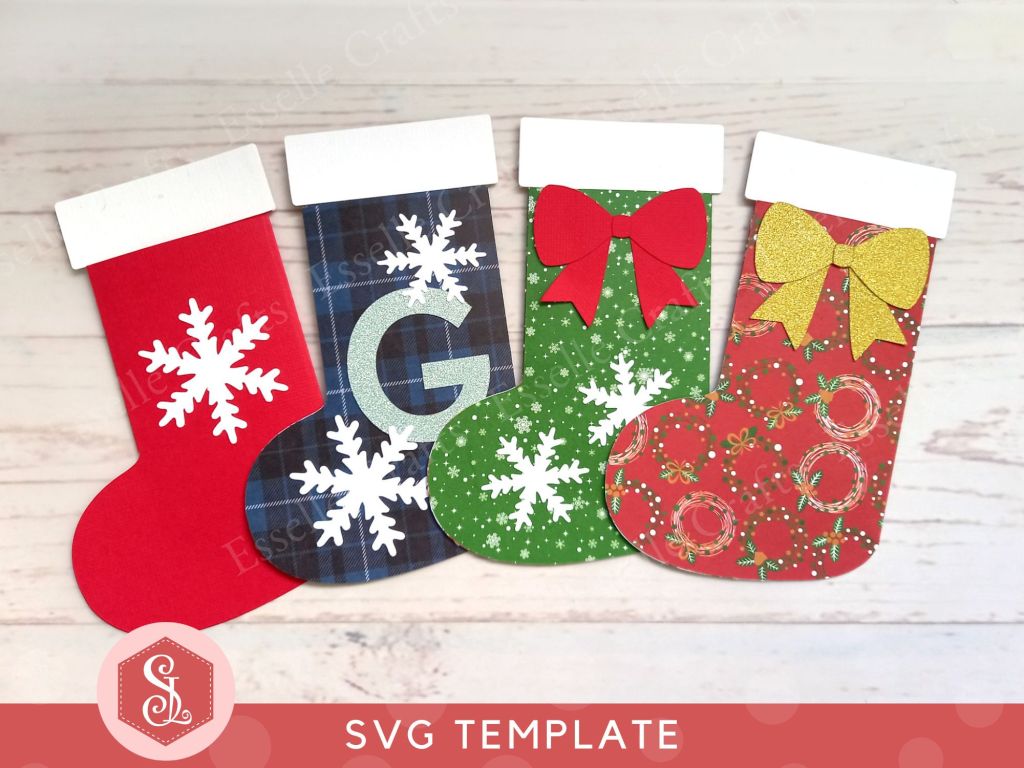
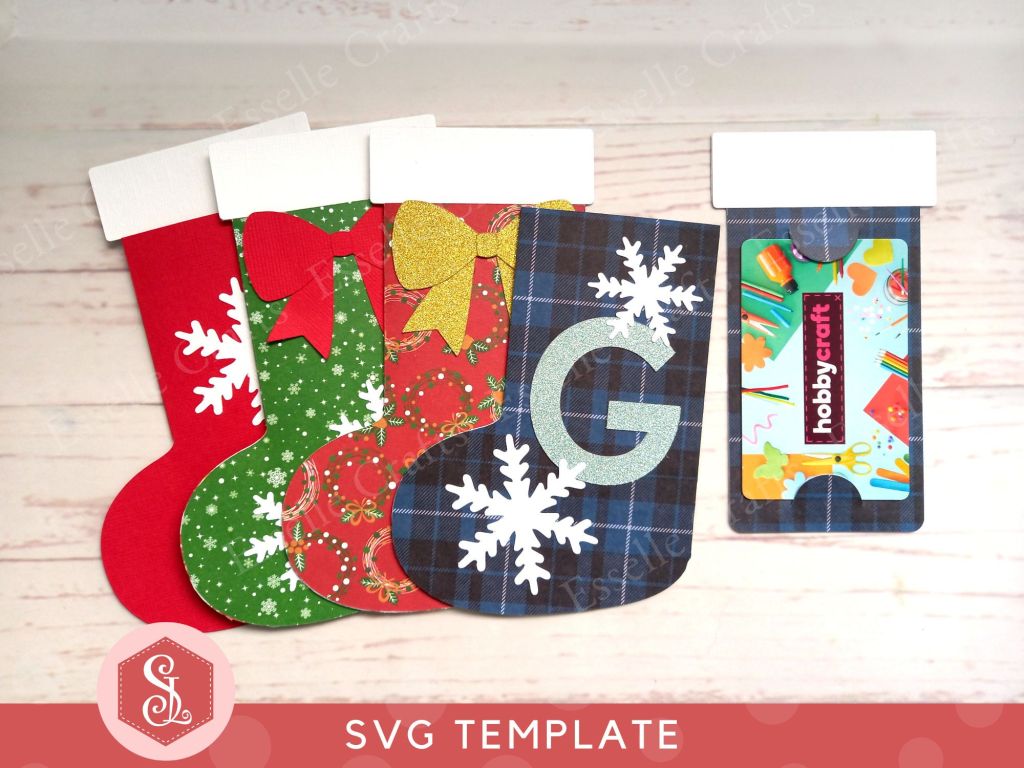
Four festive paper craft gift card holders in the shape of Christmas stockings decorated with snowflakes and bows

Disguised as a Christmas stocking, this interactive gift card holder is super easy to assemble and will bring an element of surprise to your gift recipient! ๐ŸŽ

Four festive paper craft gift card holders in the shape of Christmas stockings decorated with snowflakes and bows

Theย templates for this gift card holder come as SVG cut files, and can be found in my Etsy shop.

Four festive paper craft gift card holders in the shape of Christmas stockings decorated with snowflakes and bows

To make one, you will need:

* Christmas Stocking Gift Card Holder template (available as an SVG cut file)
* Computer and printer to print the PDF instructions
* Digital cutting machine
* Double-sided cardstock (220-250gsm / 80-92lb recommended)
* Craft glue / double-sided tape

Watch my video tutorial showing how to assemble the gift card holder, and be sure to follow the tips below:

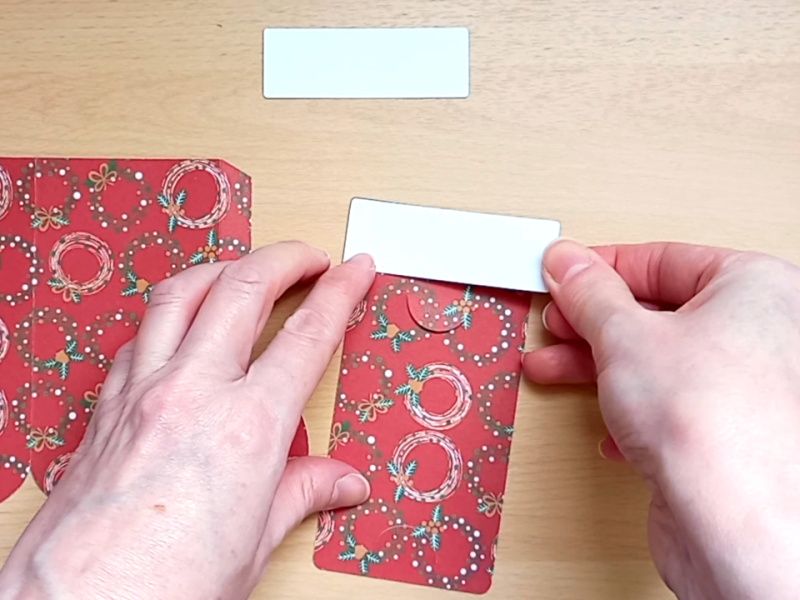
TIP 1 : When attaching the two rectangular pieces to the insert, make sure they are lined up neatly along the top edge.

Making a festive paper craft gift card holder in the shape of a Christmas stocking

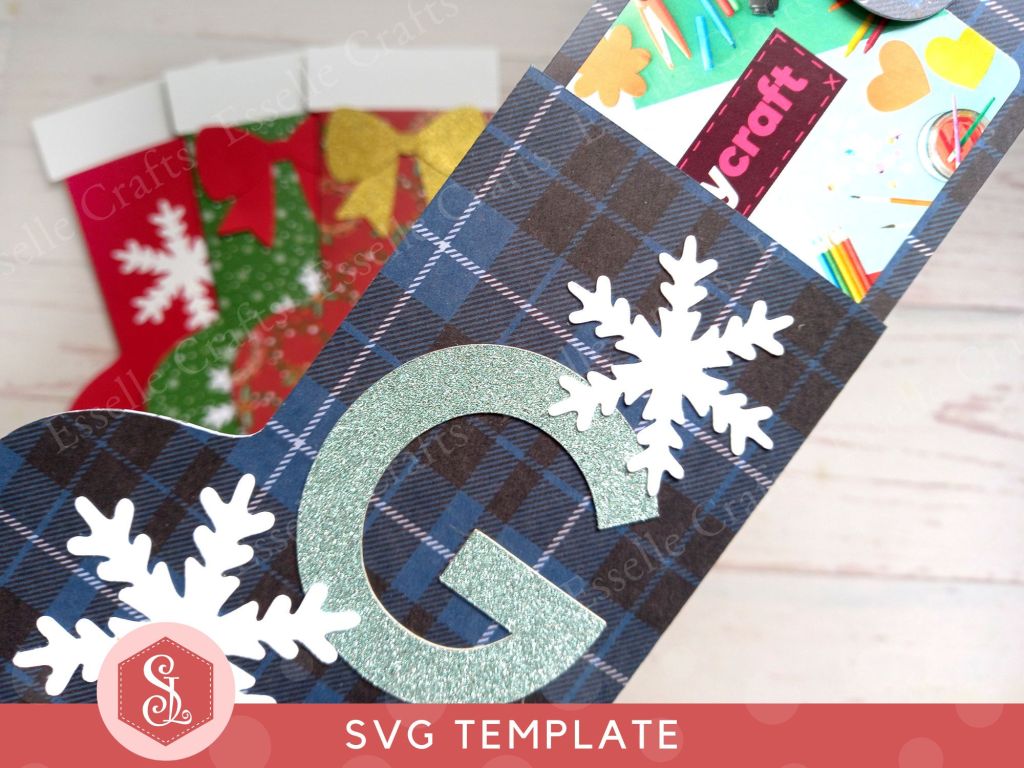
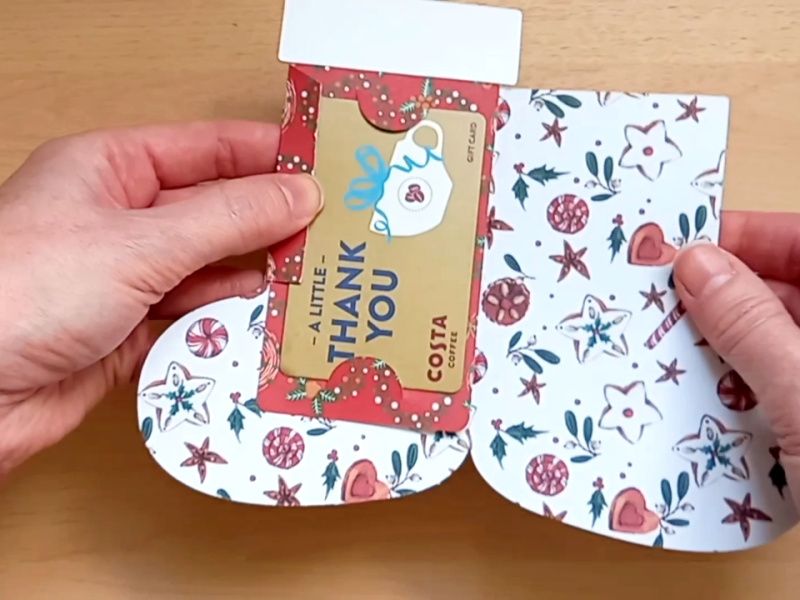
TIP 2 : After slotting the gift card into place, slide the insert into the holder, then apply glue to the tab and around the curved edges. Once assembled, check that the insert slides in and out freely.

Making a festive paper craft gift card holder in the shape of a Christmas stocking

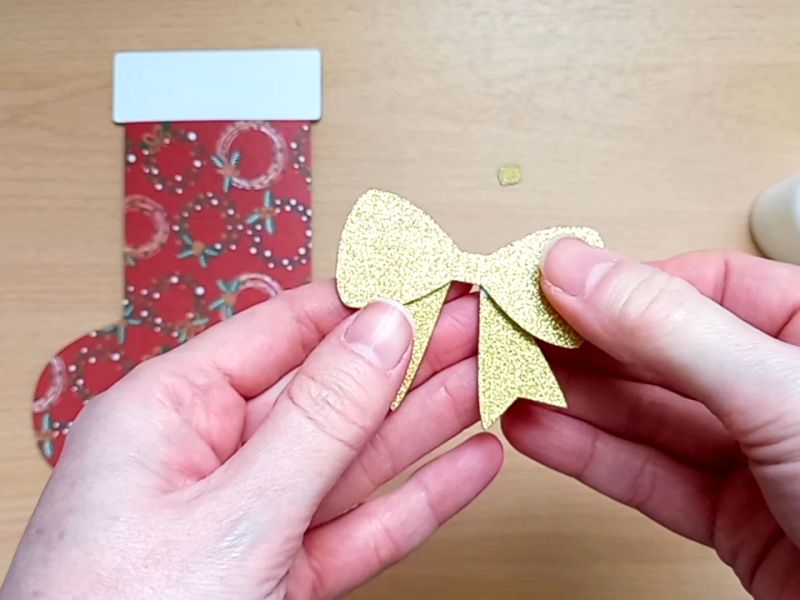
TIP 3 : If you wish to decorate your stocking with a bow, simply layer the three bow pieces and glue it on.

Making a festive paper craft gift card holder in the shape of a Christmas stocking

TIP 4 : There’s also the option to add snowflakes (which you can duplicate if you need more) and if you wish to personalise your stocking, the download also comes with a bonus full set of capital letters. Just choose your letter and size it to approximately 5.5cm / 2.16″ high.

Making a festive paper craft gift card holder in the shape of a Christmas stocking

Once assembled, your little stocking gift card holder is ready to go – it doesn’t need to be wrapped – and because it’s fairly flat, it can easily be popped into an envelope for posting! โœ‰๏ธ๐Ÿ“ฎ

Four festive paper craft gift card holders in the shape of Christmas stockings decorated with snowflakes and bows

You could also try punching a hole in the top of the insert, adding a length of ribbon or festive twine and hanging it on the Christmas tree or mantelpiece ๐ŸŽ„

Paper Craft Christmas Stocking Gift Card Holders

Happy crafting!
Suzanne ๐ŸŽ
3D Papercraft Projects · Christmas Papercraft · Favour Boxes · Papercraft Projects · Teapot Favour Boxes

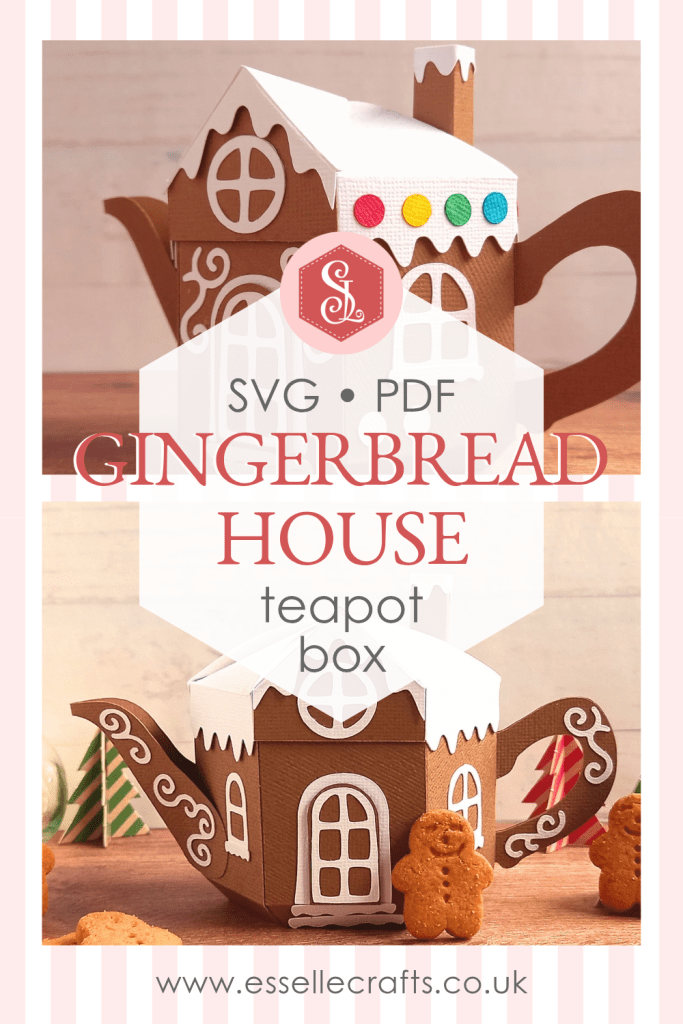
Gingerbread House Teapot Gift Box

During one of the hottest weeks of the year so far, here I am thinking about Christmas!

I had such lovely feedback following the launch of my Cottage Teapot Box design last month that I decided to continue with the house-shaped theme and create one in the style of a classic gingerbread house!

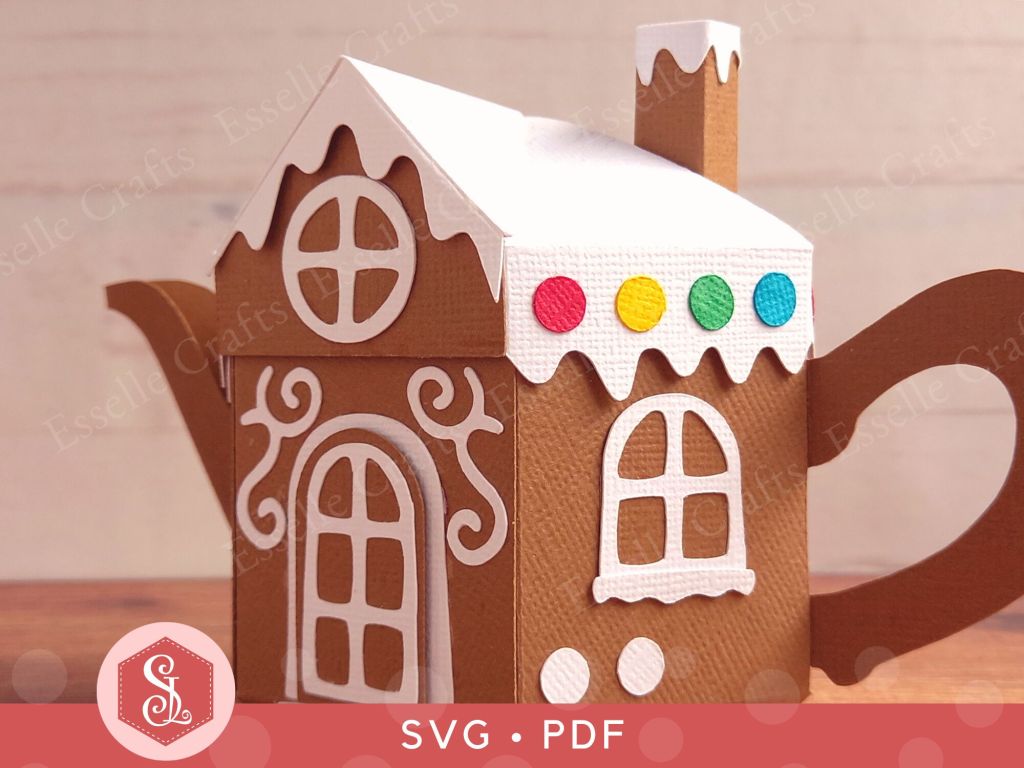
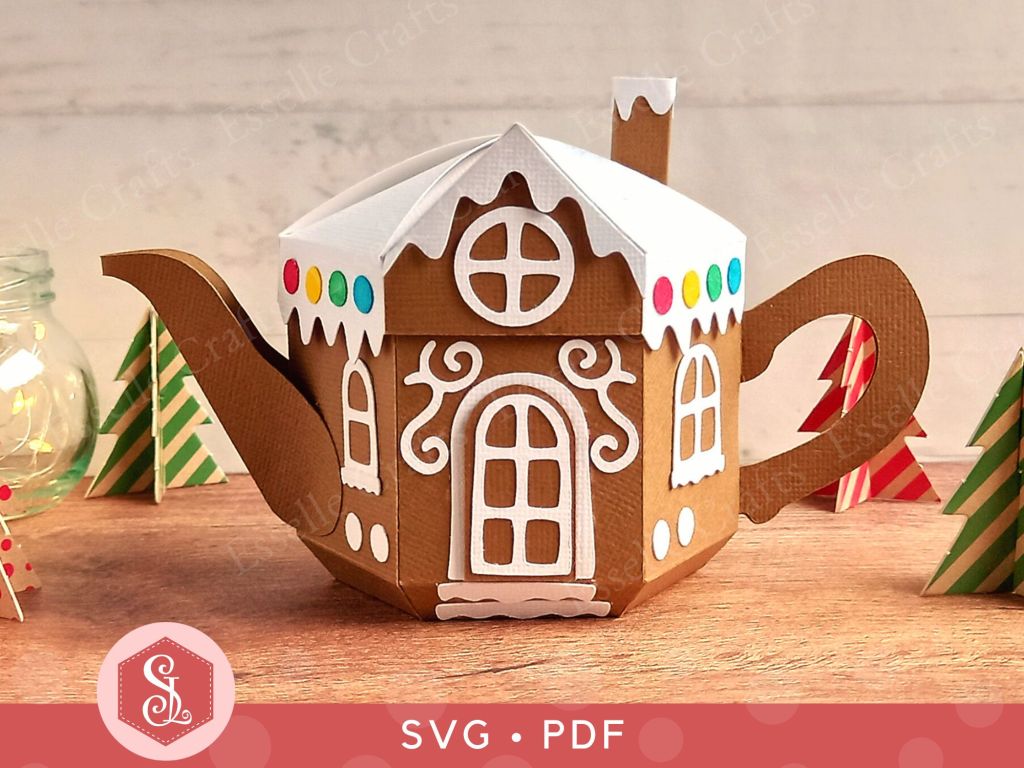
A brown paper craft teapot gift box in the style of a classic gingerbread house with a white icing lid white icing door and windows and white icing swirls

If you’re ready to sprinkle some early Christmas magic, then these charming little boxes are perfect to make for table favours, teacher gifts or seasonal home decor. Fill them with sweet treats or small gifts and they’re guaranteed to deliver warm memories to anyone who receives one!

A brown paper craft teapot gift box in the style of a classic gingerbread house with a white icing lid white icing door and windows and white icing swirls

The templates come as both SVG cut files and printable PDFs, making them accessible for a variety of crafting needs.

A brown paper craft teapot gift box in the style of a classic gingerbread house with a white icing lid white icing door and windows and white icing swirls

To make one, you will need:

* Gingerbread House Teapot Box template (SVG and PDF available)
* Computer and printer to print the PDF templates and instructions
* Digital cutting machine
* Double-sided cardstock (220-250gsm / 80-92lb recommended)
* Craft glue / double-sided tape

If you are not using a cutting machine you will also need:
* Craft knife / scissors
* Scoring tool
* Ruler

Watch my video tutorial showing how to assemble the box, and be sure to follow the tips below:

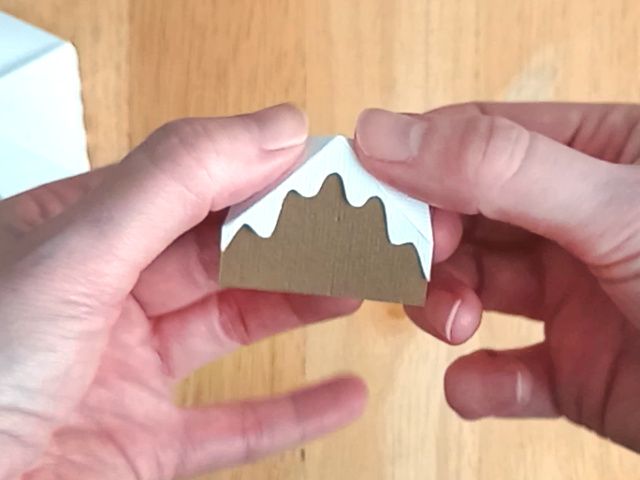
TIP 1 : Glue the white icing piece to the front pitched window piece using the two triangular tabs only. Do this before attaching it to the inside of the pitched roof.

Making part of a brown paper craft teapot gift box in the style of a classic gingerbread house

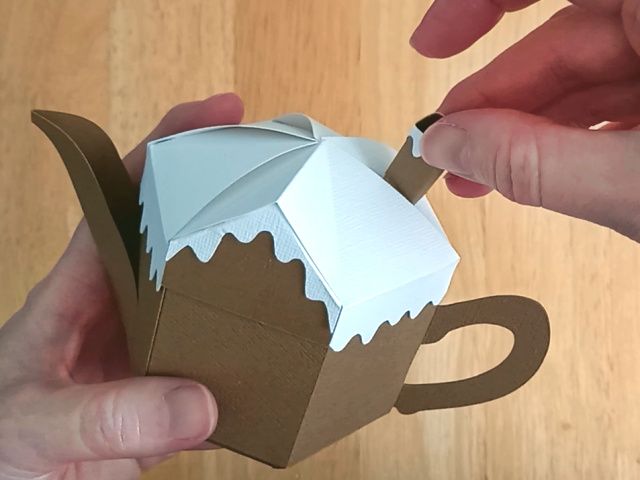
TIP 2 : Assemble the chimney before gluing the icing to the top. The chimney icing piece has no score lines, but will simply wrap around the chimney. Just remember to keep the join at the back.

A brown paper craft teapot gift box in the style of a classic gingerbread house

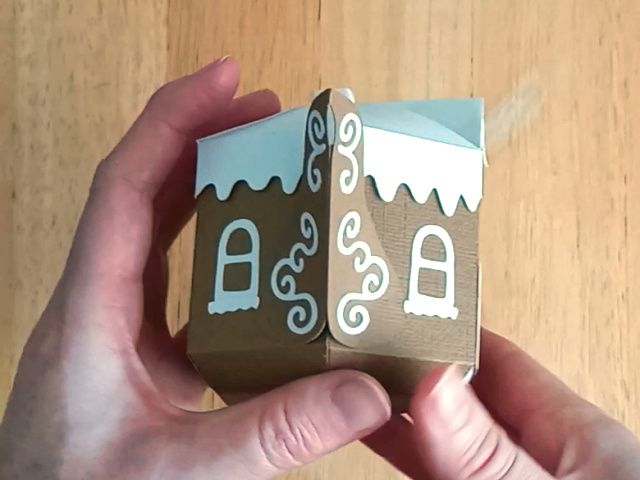
TIP 3 : The decorative icing swirls can be placed anywhere around the teapot box. The designs are mirrored (flipped), so if you add them to the handle and spout, they will be the same on both sides.

A brown paper craft teapot gift box in the style of a classic gingerbread house with a white icing lid white icing windows and white icing swirls

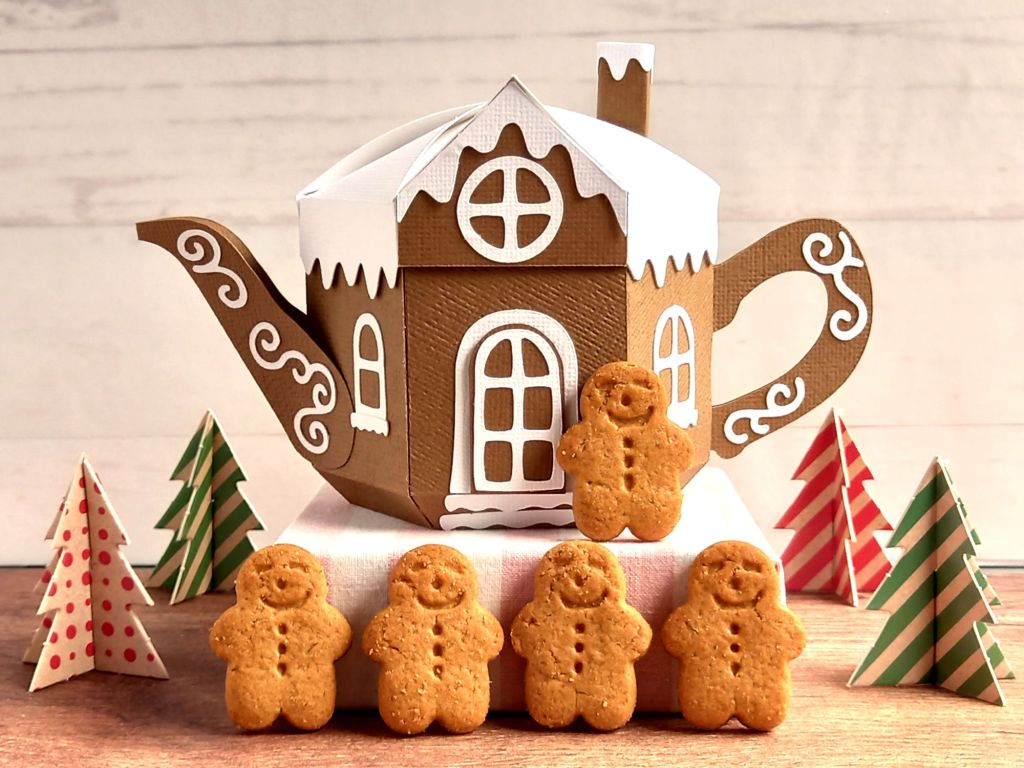
Once assembled, your little teapot boxes are ready to be filled with delicious sweet treats! These packets of mini gingerbread men fit perfectly!

A brown paper craft teapot gift box in the style of a classic gingerbread house with white icing door and windows and white icing swirls with some mini gingerbread men around it

One teapot box will hold a surprising amount of mini gingerbread men! But they may not last long!

A brown paper craft teapot gift box in the style of a classic gingerbread house with white icing door and windows and white icing swirls with some mini gingerbread men around it

A brown paper craft teapot gift box in the style of a classic gingerbread house with white icing door and windows and white icing swirls with some mini gingerbread men around it

What do you think of this new teapot box design? Would you like to see more house-shaped designs? Let me know in the comments! 

A 3D paper craft teapot gift box made in the style of a gingerbread house with a white lid and white iced door and windows decorated with white icing swirls

Happy crafting!
Suzanne
3D Papercraft Projects · Christmas Papercraft

DIY Reusable Advent Calendar

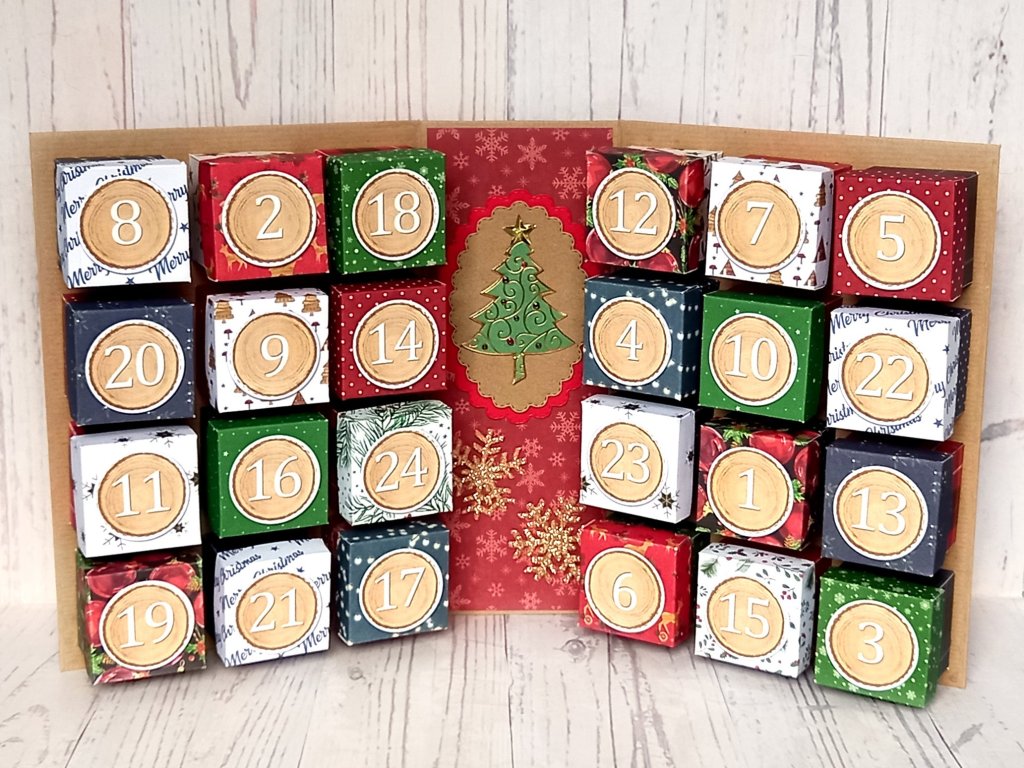
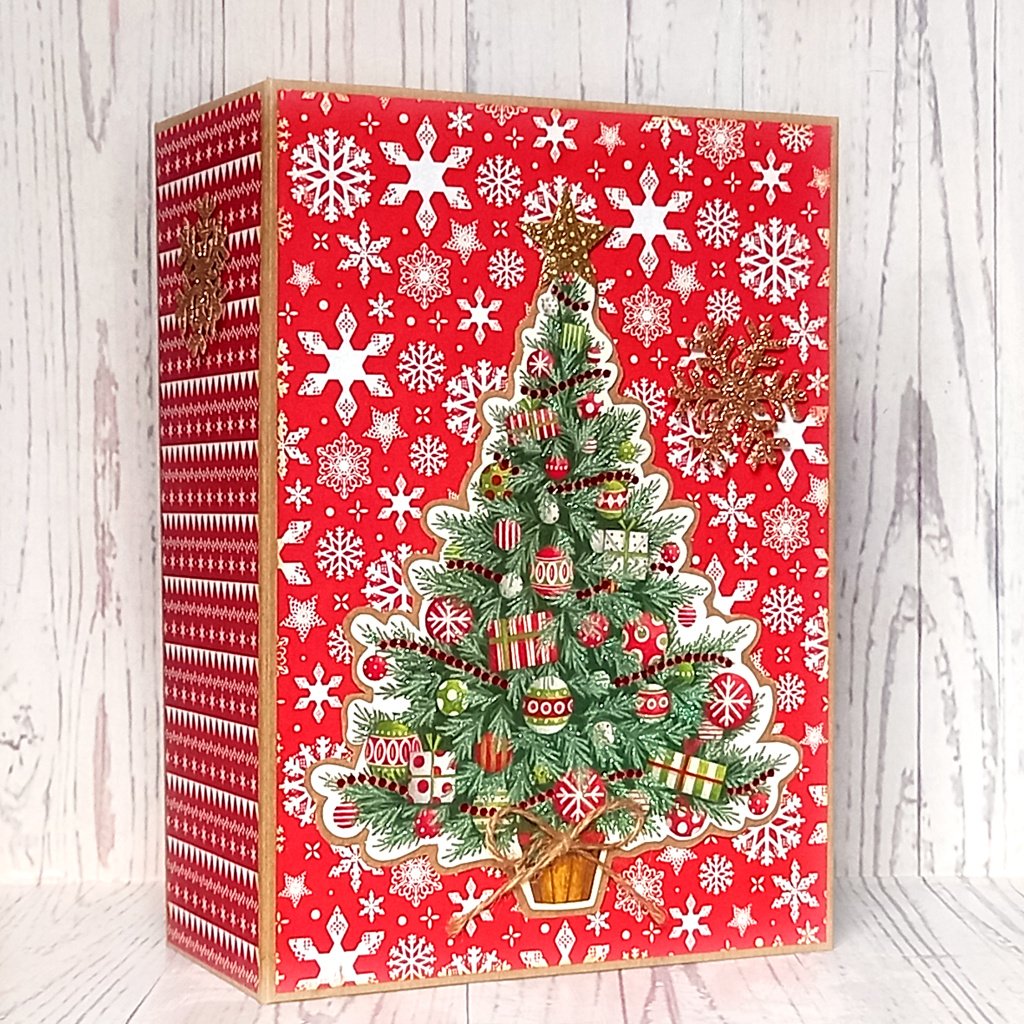
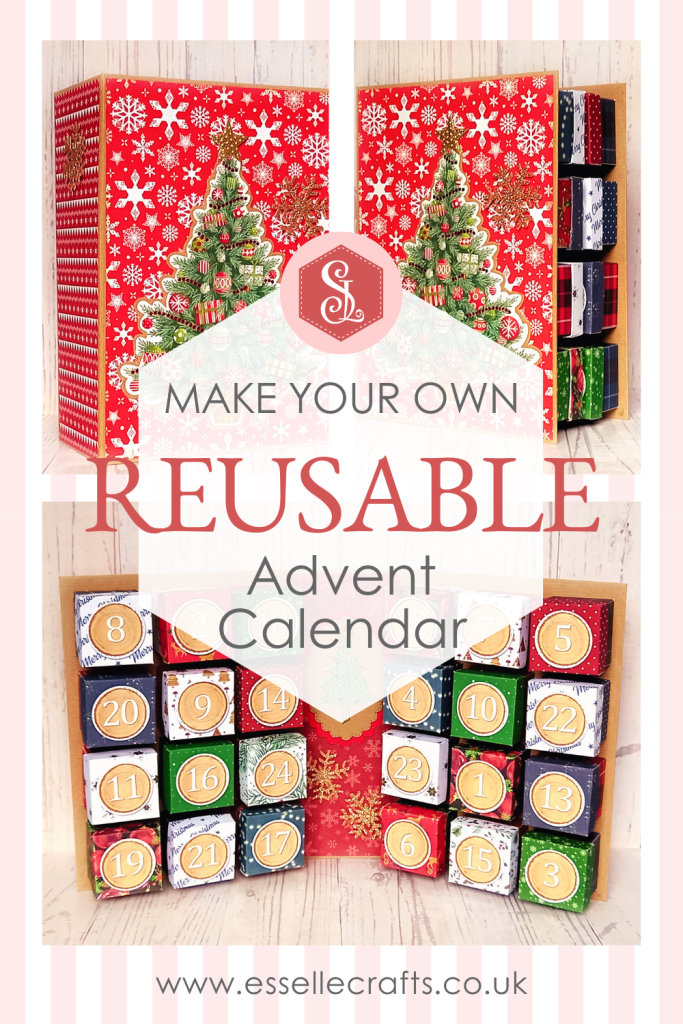
Last year, I decided to make my own eco-friendly advent calendar! Although very time-consuming it was so worth the effort and it looks amazing! It can be reused year after year and can be filled with lots of different treats!

eco-friendly DIY reusable advent calendar

To make this advent calendar, I used:

  • festive patterned cardstock 230gsm / 85lb
  • festive patterned paper 90gsm / 33lb
  • thick card, such as grey board
  • strong tape, such as duct tape
  • brown wrapping paper
  • white cardstock 220gsm / 80lb
  • scissors / craft knife / paper trimmer
  • ruler
  • scoring board
  • craft glue
  • circular stitched die 4cm / 1.57″ diameter
  • Sizzix Big Shot Foldaway
  • used Christmas card embellishments

Here’s my video tutorial showing how I made it:

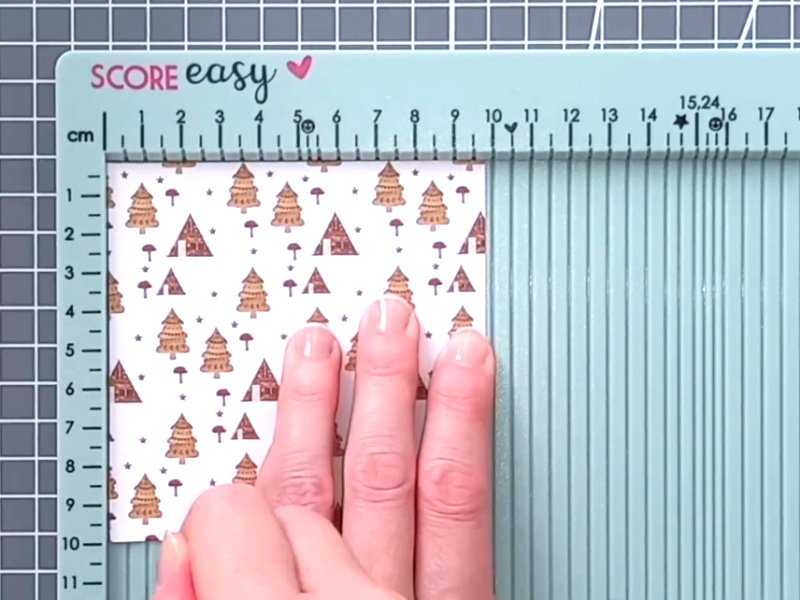
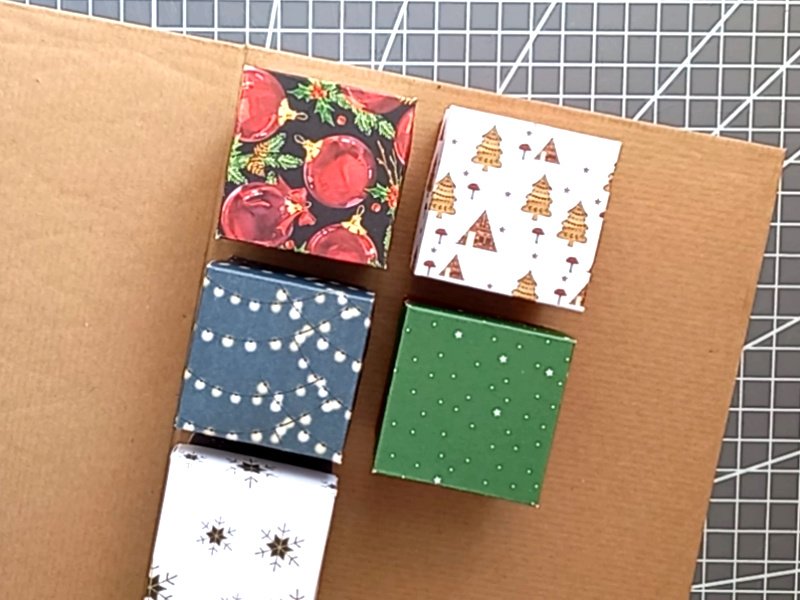
For the box lids, I cut out 24 pieces of patterned cardstock, each measuring 9.8 x 9.8cm / 3.85 x 3.85″ and scored them at 1cm and 2.5cm / 0.4″ and 1″ on all four sides.

eco-friendly DIY reusable advent calendar

For the box bases, I cut out 24 pieces of patterned cardstock, each measuring 14.5 x 14.5cm / 5.7 x 5.7″ and scored them at 1cm and 5cm / 0.4″ and 2″ on all four sides.

eco-friendly DIY reusable advent calendar

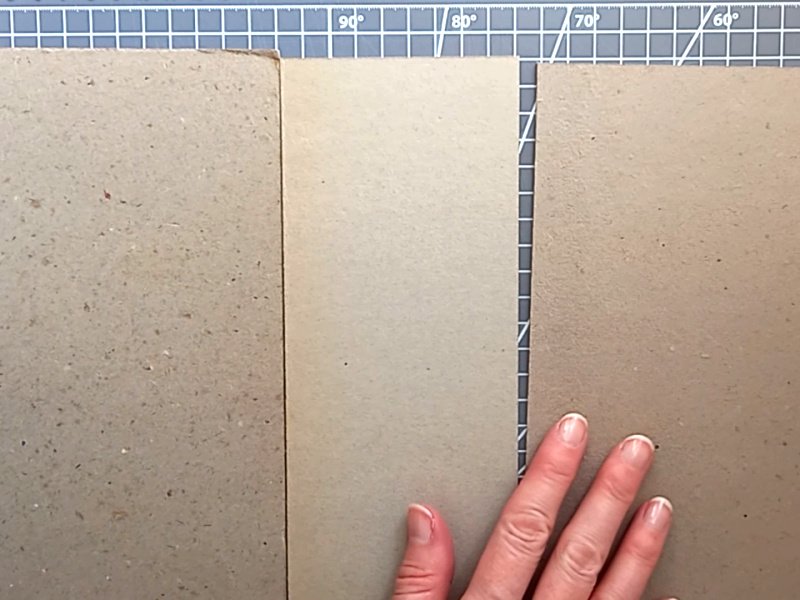
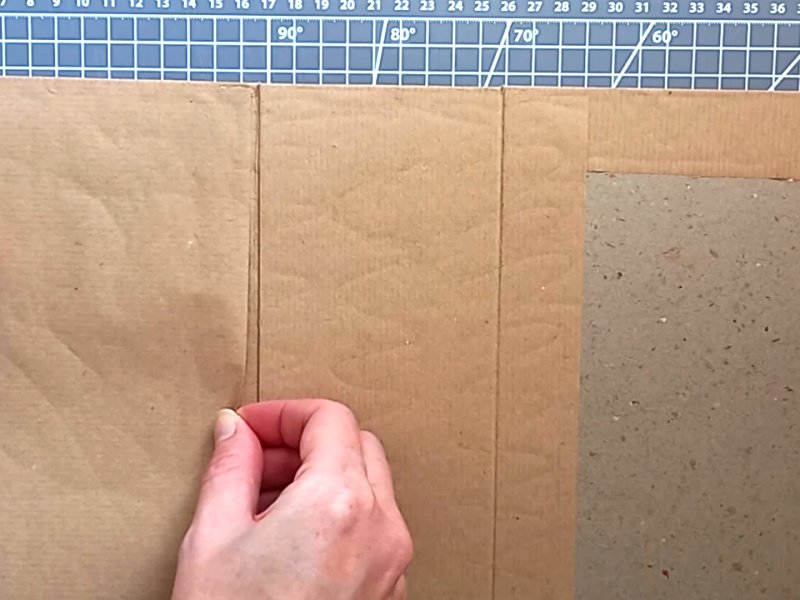
Next, I cut out two pieces of thick card, one for the front and one for the back, each measuring 17.5 x 24cm / 6.9 x 9.45″ and another piece for the spine, measuring 9cm x 24cm / 3.5 x 9.45″.

eco-friendly DIY reusable advent calendar

I used brown wrapping paper to cover the outside of the calendar and left approximately 2.5cm / 1″ around the outside. Then I cut another piece to cover the inside of the spine, measuring 23 x 13cm / 9 x 5″ and two pieces (one to cover the inside front and one to cover the inside back) measuring 23 x 16.5cm / 9 x 6.5″

eco-friendly DIY reusable advent calendar

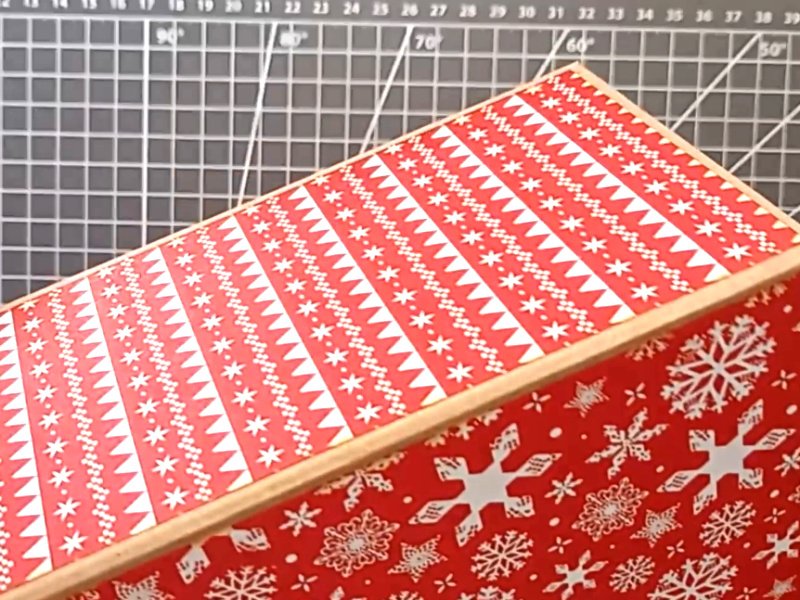
I cut two decorative patterned paper panels for the front and back covers, each measuring 17 x 23.5cm / 6.7 x 9.25″ and another panel for the spine, measuring 8.5cm x 23.5cm / 3.35 x 9.25″.

eco-friendly DIY reusable advent calendar

I also cut a piece of patterned cardstock to cover the inside of the spine, measuring 8.5 x 23.5cm / 3.35 x 9.25″.

eco-friendly DIY reusable advent calendar

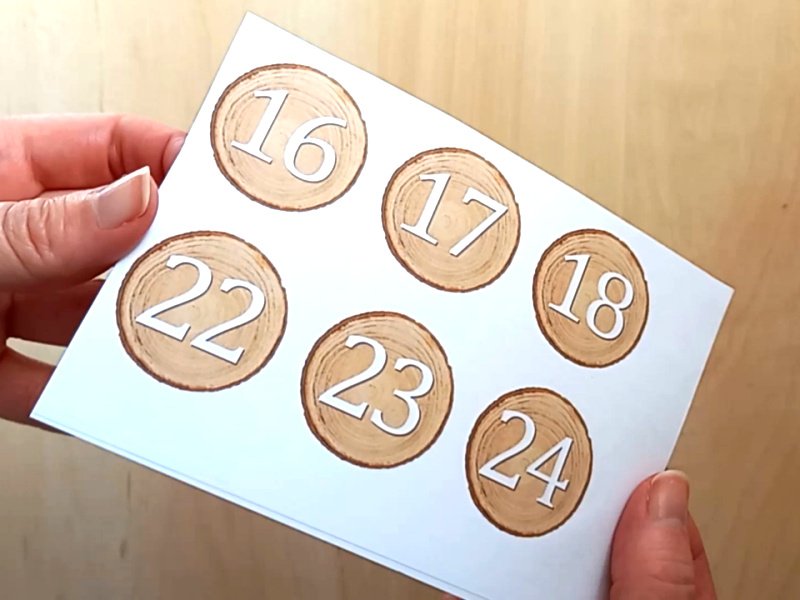
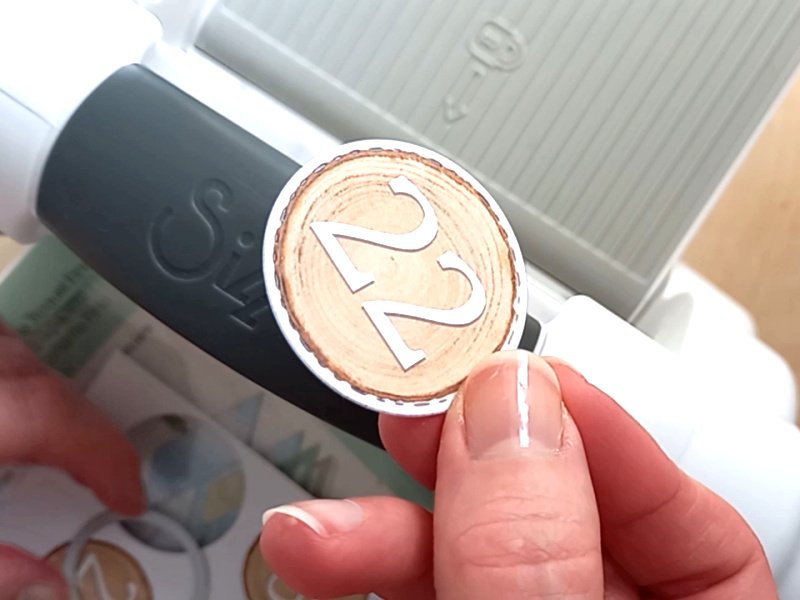
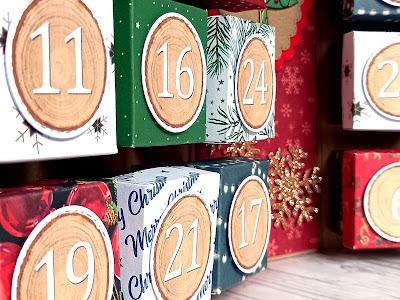
I typed the numbers 1 – 24 onto images of a woodgrain slice, printed them onto white cardstock, then cut them out using a circular stitched die 4cm / 1.57″ diameter.

eco-friendly DIY reusable advent calendar

eco-friendly DIY reusable advent calendar

Before I attached the boxes, I arranged them so that they were evenly spaced.

eco-friendly DIY reusable advent calendar

I then added three layers of scrap cardstock behind each of the numbers to give them more dimension. (Foam pads would work just as well, but, as you know, I don’t like to use them.)

eco-friendly DIY reusable advent calendar

Once it was all assembled, I decorated the calendar with embellishments I’d saved from used Christmas cards!

eco-friendly DIY reusable advent calendar

eco-friendly DIY reusable advent calendar

It really was such a worthwhile project to make and will undoubtedly be a talking point for many years to come! I hope I have now inspired you to make one of your own!

Happy crafting
Suzanne ๐ŸŽ„