During one of the hottest weeks of the year so far, here I am thinking about Christmas!
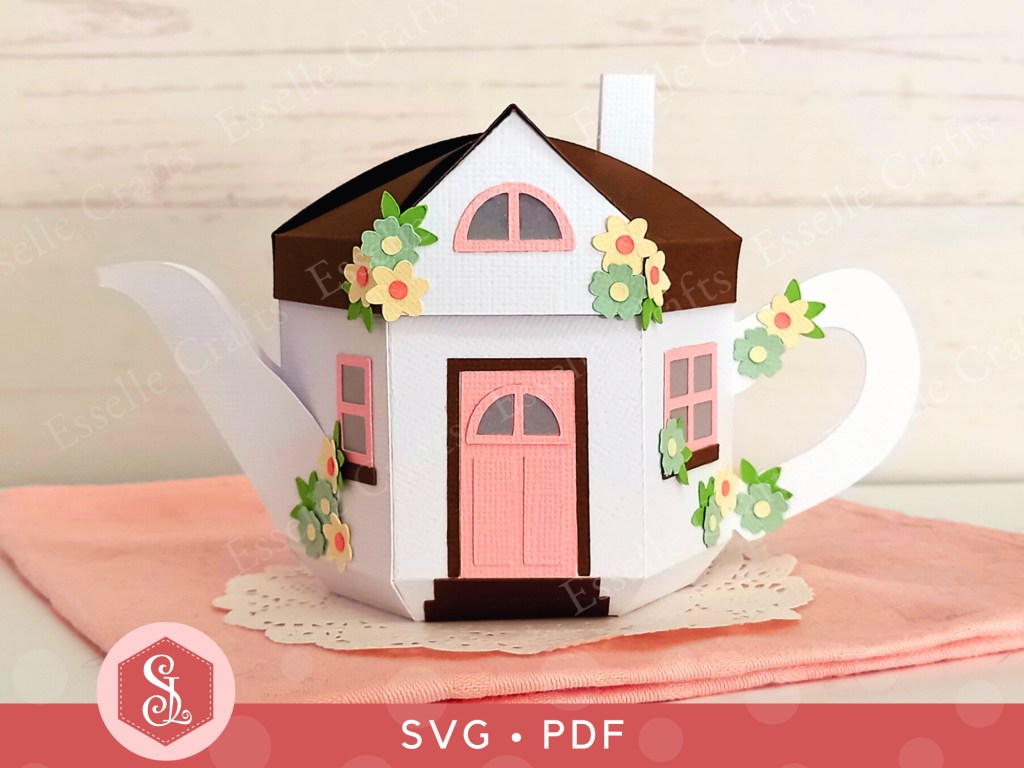
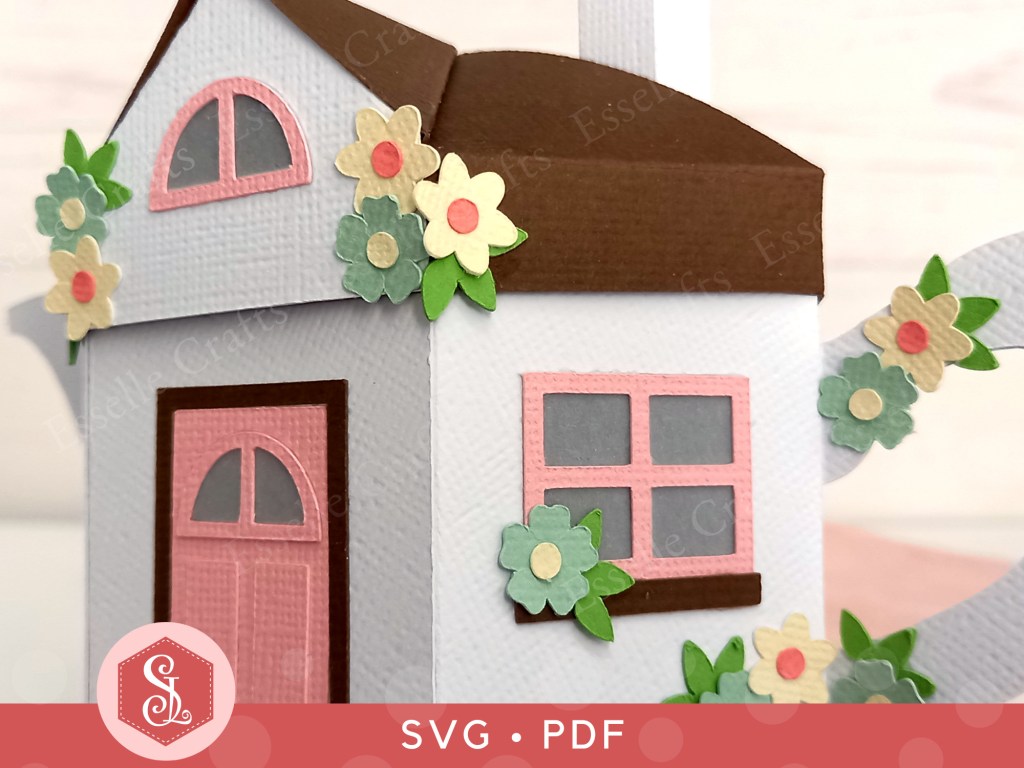
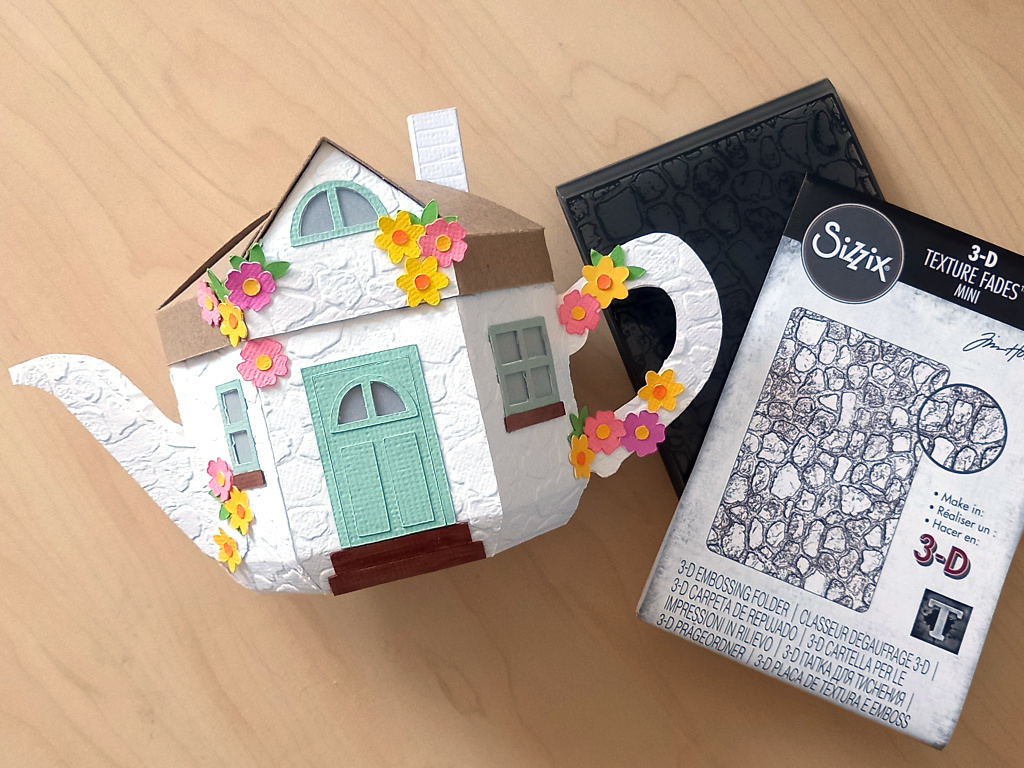
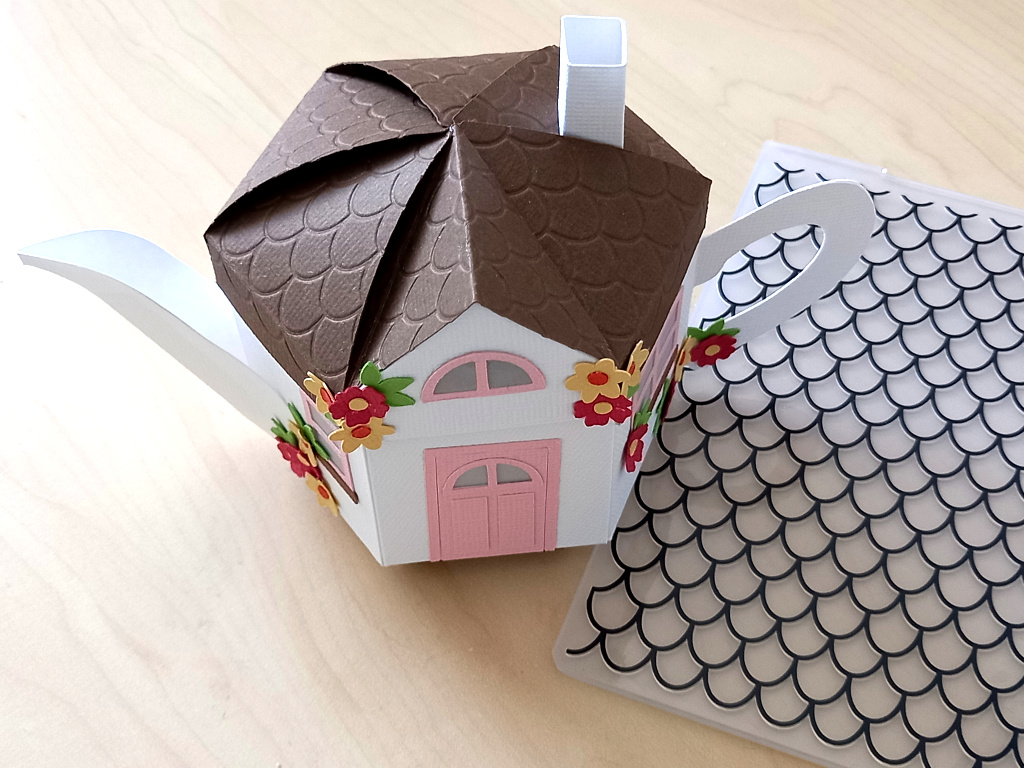
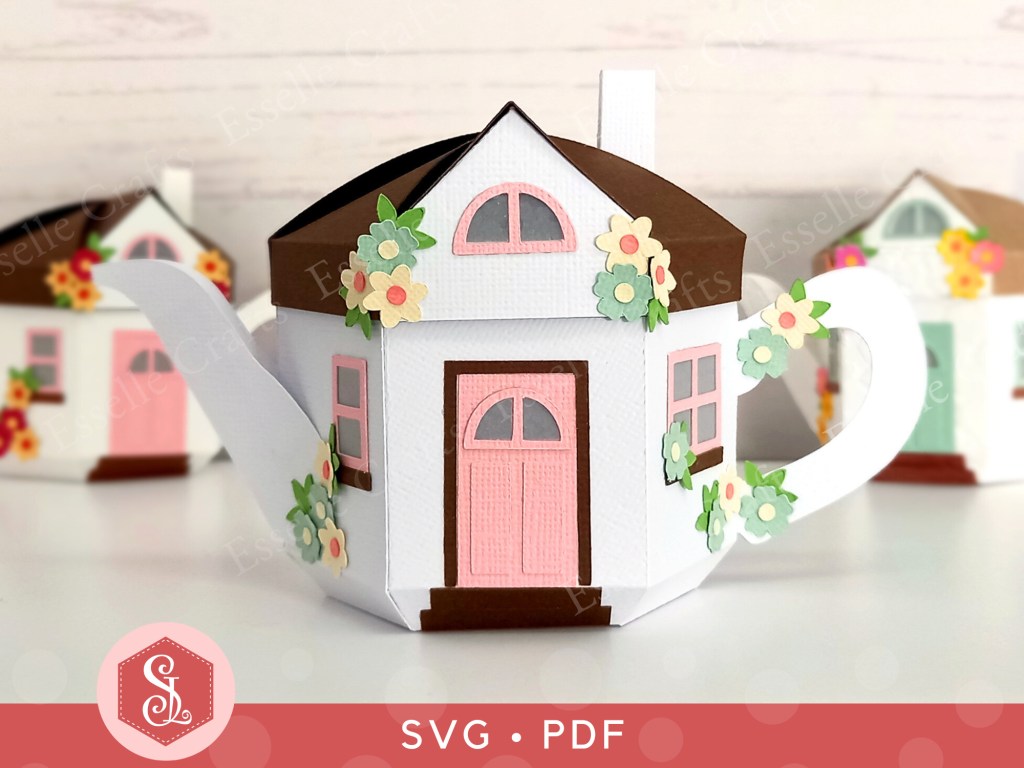
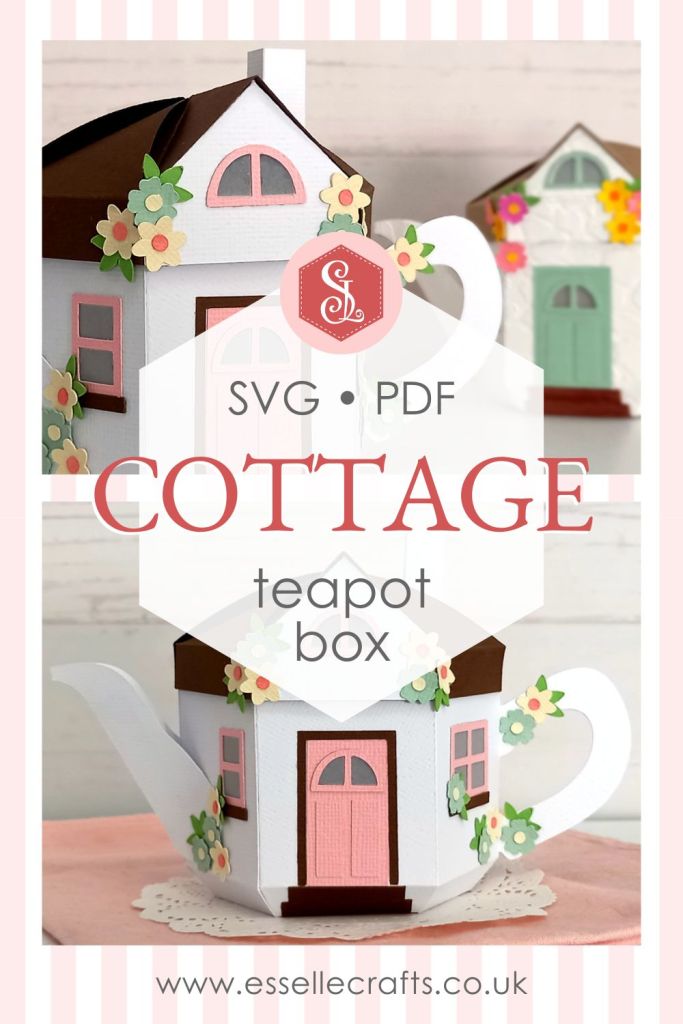
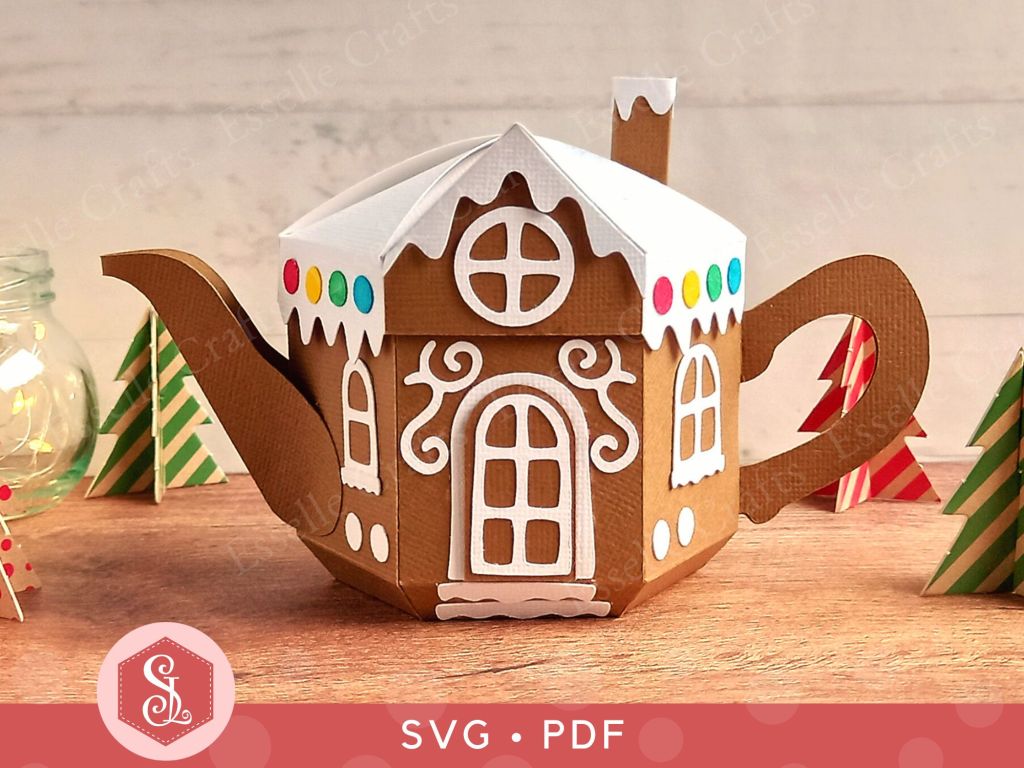
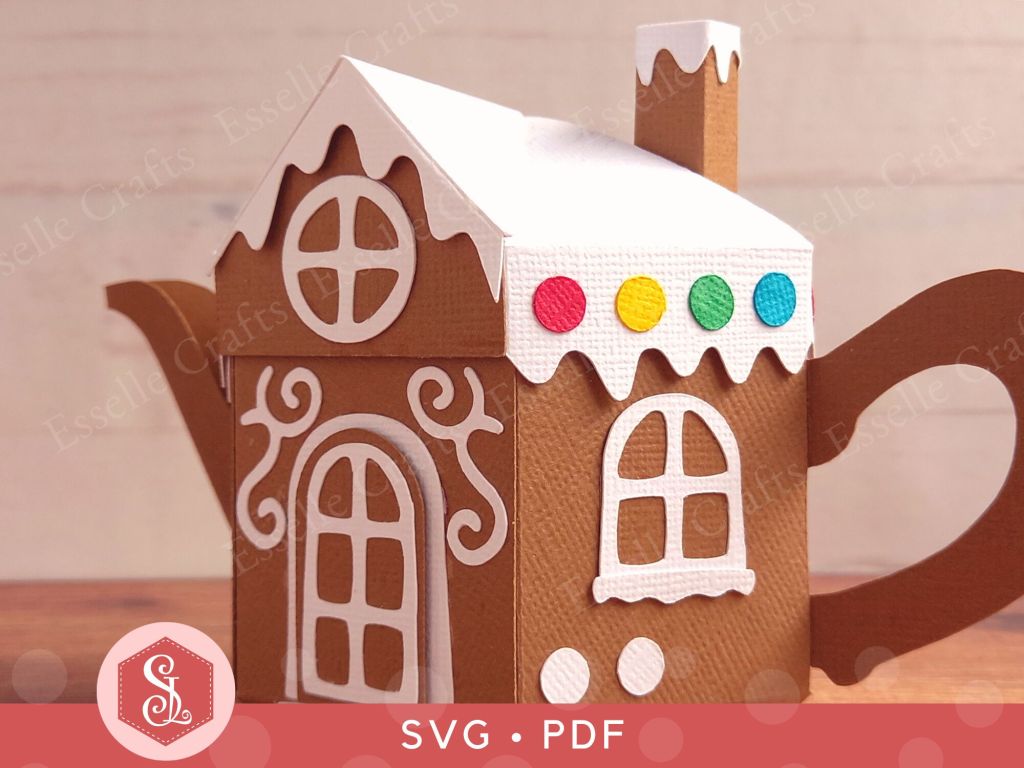
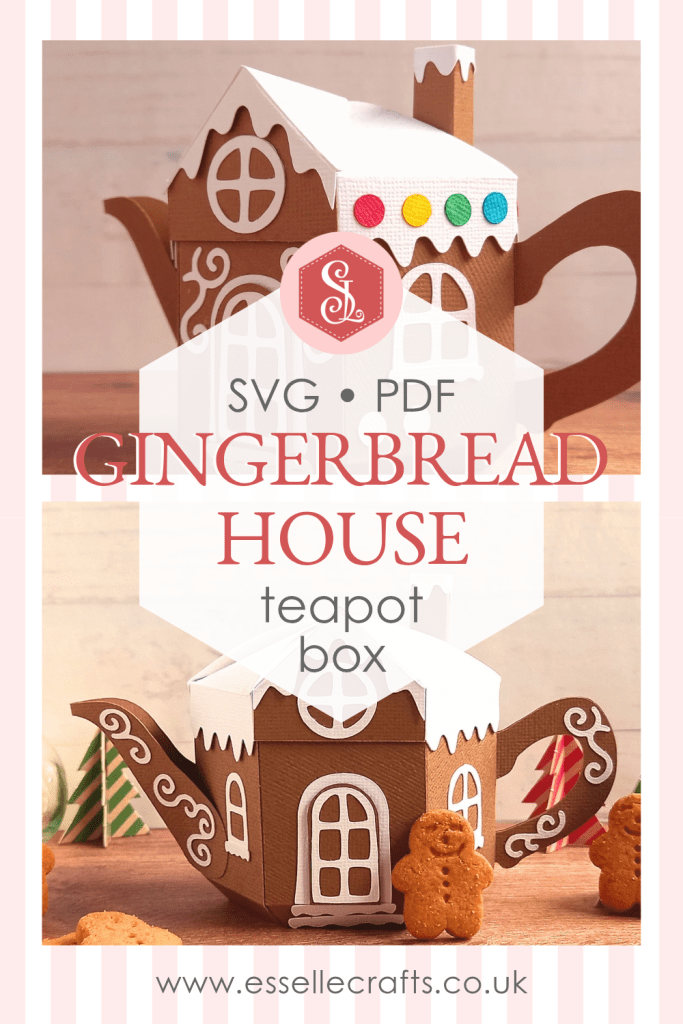
I had such lovely feedback following the launch of my Cottage Teapot Box design last month that I decided to continue with the house-shaped theme and create one in the style of a classic gingerbread house!
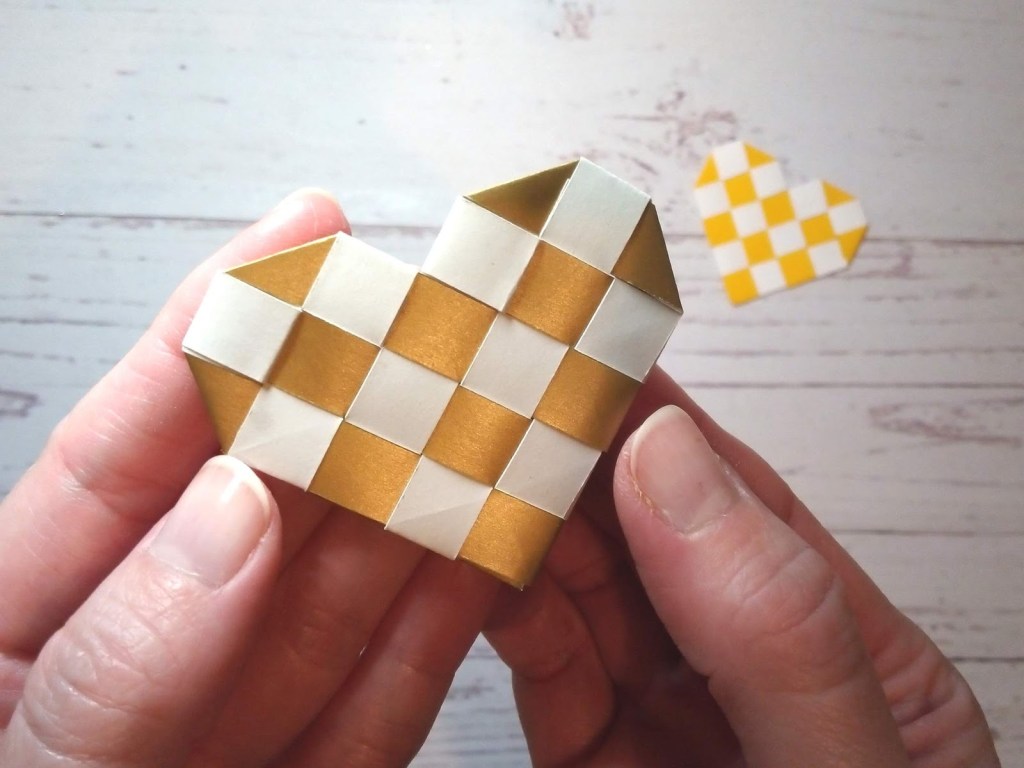
If you’re ready to sprinkle some early Christmas magic, then these charming little boxes are perfect to make for table favours, teacher gifts or seasonal home decor. Fill them with sweet treats or small gifts and they’re guaranteed to deliver warm memories to anyone who receives one!
The templates come as both SVG cut files and printable PDFs, making them accessible for a variety of crafting needs.

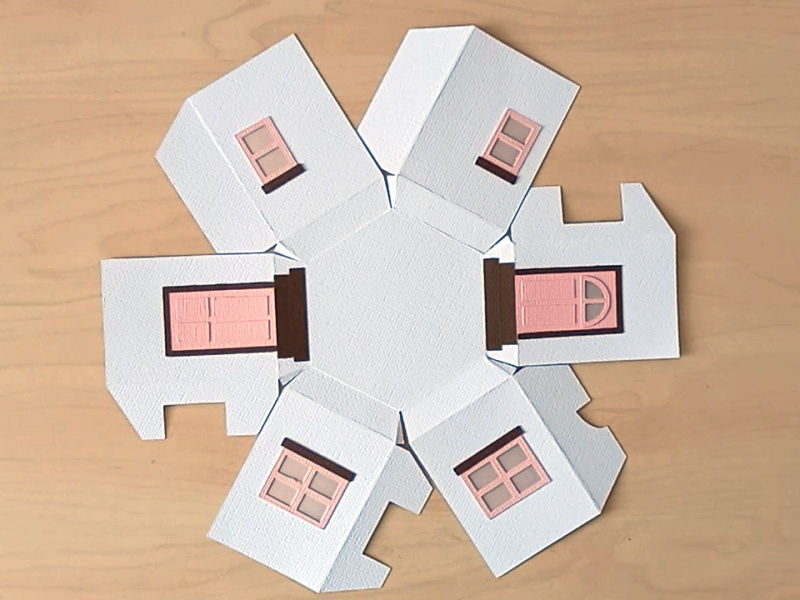
To make one, you will need:
* Gingerbread House Teapot Box template (SVG and PDF available)
* Computer and printer to print the PDF templates and instructions
* Digital cutting machine
* Double-sided cardstock (220-250gsm / 80-92lb recommended)
* Craft glue / double-sided tape
If you are not using a cutting machine you will also need:
* Craft knife / scissors
* Scoring tool
* Ruler
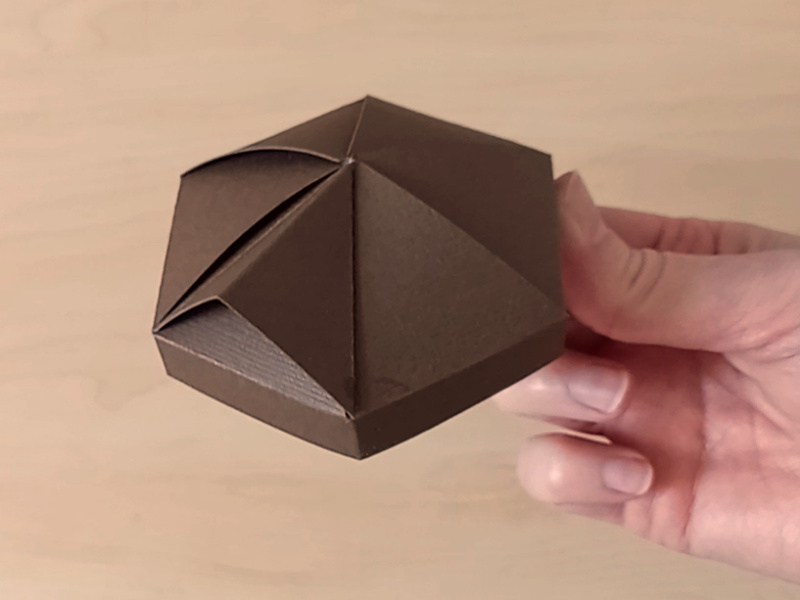
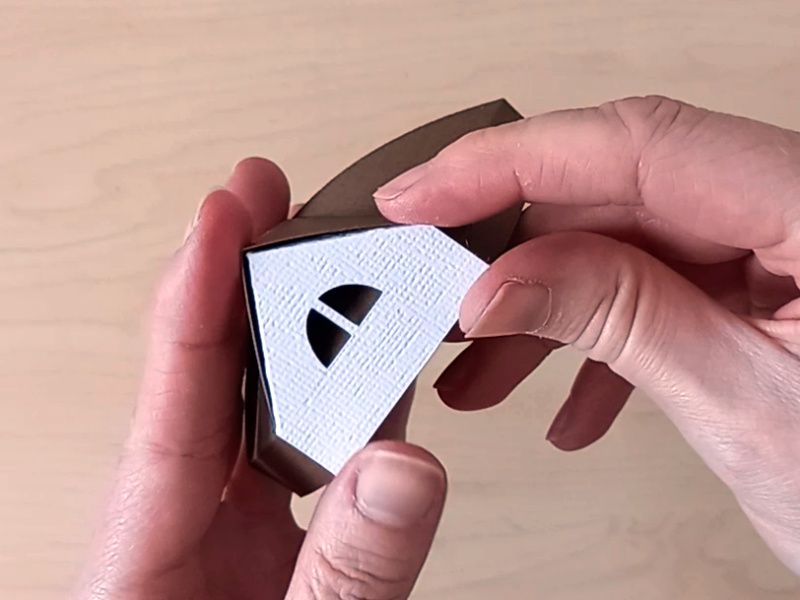
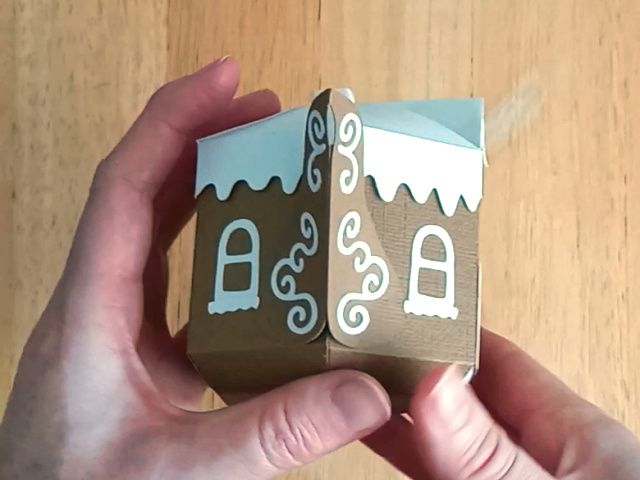
Watch my video tutorial showing how to assemble the box, and be sure to follow the tips below:
TIP 1 : Glue the white icing piece to the front pitched window piece using the two triangular tabs only. Do this before attaching it to the inside of the pitched roof.
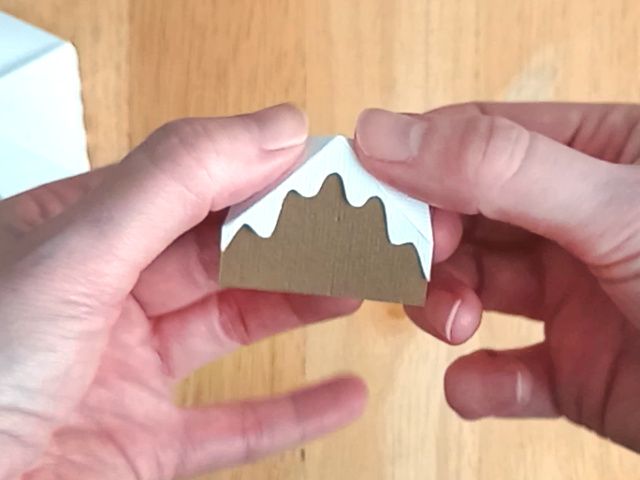
TIP 2 : Assemble the chimney before gluing the icing to the top. The chimney icing piece has no score lines, but will simply wrap around the chimney. Just remember to keep the join at the back.
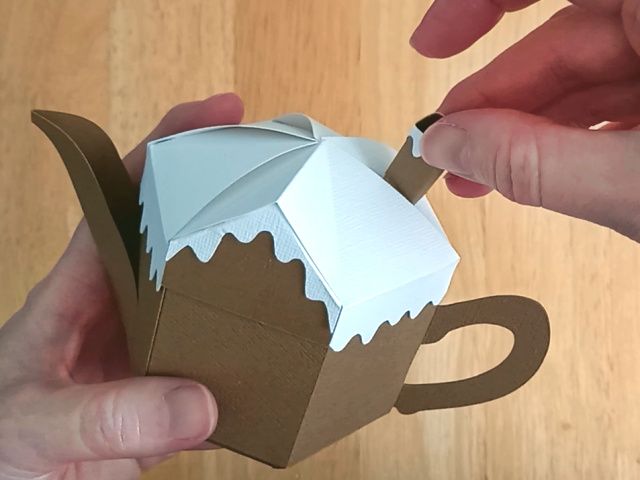
TIP 3 : The decorative icing swirls can be placed anywhere around the teapot box. The designs are mirrored (flipped), so if you add them to the handle and spout, they will be the same on both sides.
Once assembled, your little teapot boxes are ready to be filled with delicious sweet treats! These packets of mini gingerbread men fit perfectly!

One teapot box will hold a surprising amount of mini gingerbread men! But they may not last long!


What do you think of this new teapot box design? Would you like to see more house-shaped designs? Let me know in the comments!
Happy crafting!
Suzanne