3D Papercraft Projects · Christmas Papercraft · Upcycling Projects

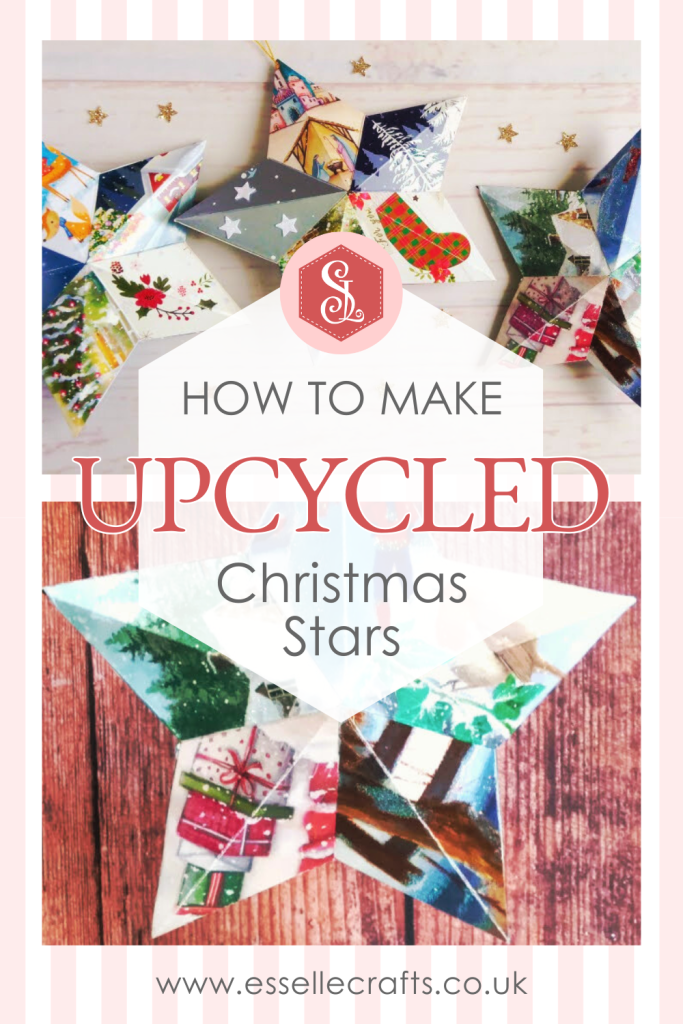
DIY Upcycled Hanging Star Decorations

Several years ago, I sorted through my huge pile of used Christmas cards, wondering what I could possibly do with them. Most of them had glitter on them and were donated to me because they couldn’t be recycled. So I started to think about ways to upcycle them. This led to new creations, including these fabulous hanging star decorations!

DIY Upcycled Christmas Card Hanging Star Decorations

I created a template (see below), which is about 7.5cm / 2.95″ high, and cut out as many as I could from the cards. Then I sorted them into groups of 5 and arranged them in the order that I wanted them to be. As they are double-sided, you will need 10 of this shape to complete one star decoration:
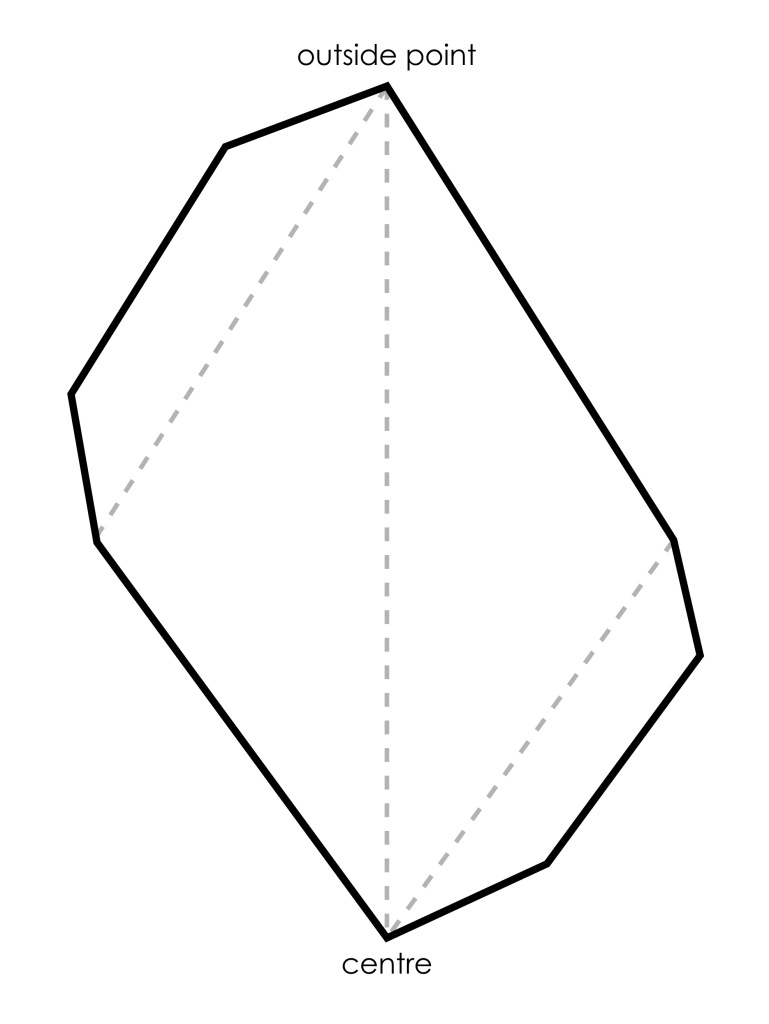
Upcycled Christmas Card Star Template

To make one, you will need:

  • used Christmas cards, greeting cards or card packaging
  • star template (see above)
  • pencil or pen
  • scissors or craft knife
  • ruler
  • scoring tool
  • strong, all purpose glue or double-sided tape
  • ribbon, string or thread

Here’s my video tutorial showing how to make the stars:

They really are a fabulous way of using up old Christmas cards. In fact, any type of greeting cards or card packaging can be reused to make these stars. They’re not just for Christmas!

DIY Upcycled Christmas Card Hanging Star Decoration

DIY Upcycled Christmas Card Hanging Star Decoration

I still seem to have quite a large pile of used Christmas cards, so I will have a think as to what else I could make out of them!

Pile of used Christmas Cards

Happy crafting and happy upcycling!
Suzanne ๐ŸŒŸ

3D Papercraft Projects · Christmas Papercraft

Present Gift Card Holder

Sometimes it can be difficult to know what to buy someone special as a gift, and so you opt for a gift card. But how can you elevate your choice of gift into something fun and memorable? By making your very own cute gift card holder, of course! ๐ŸŽ

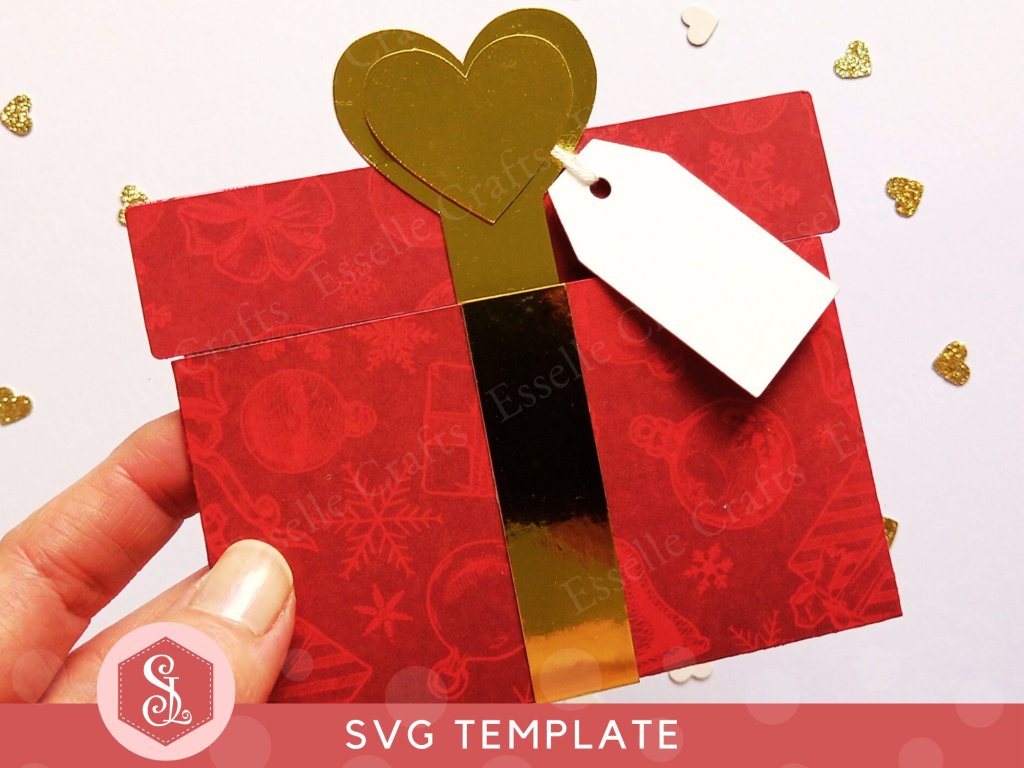
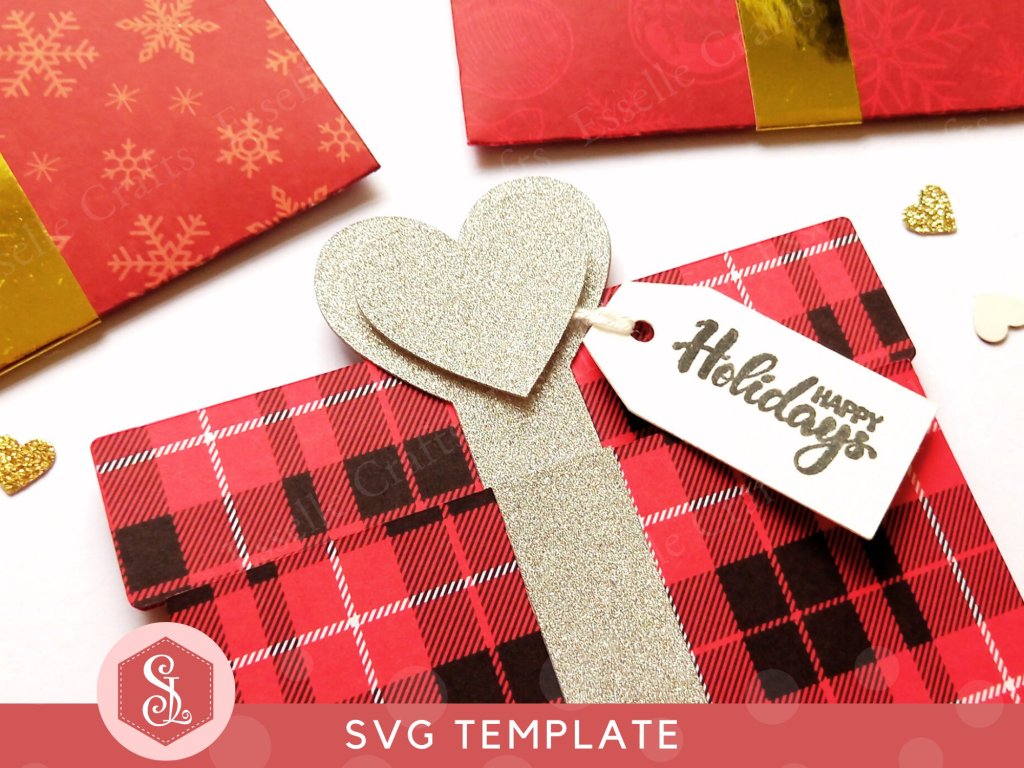
Paper Craft Present Gift Card Holder for Special Occasions

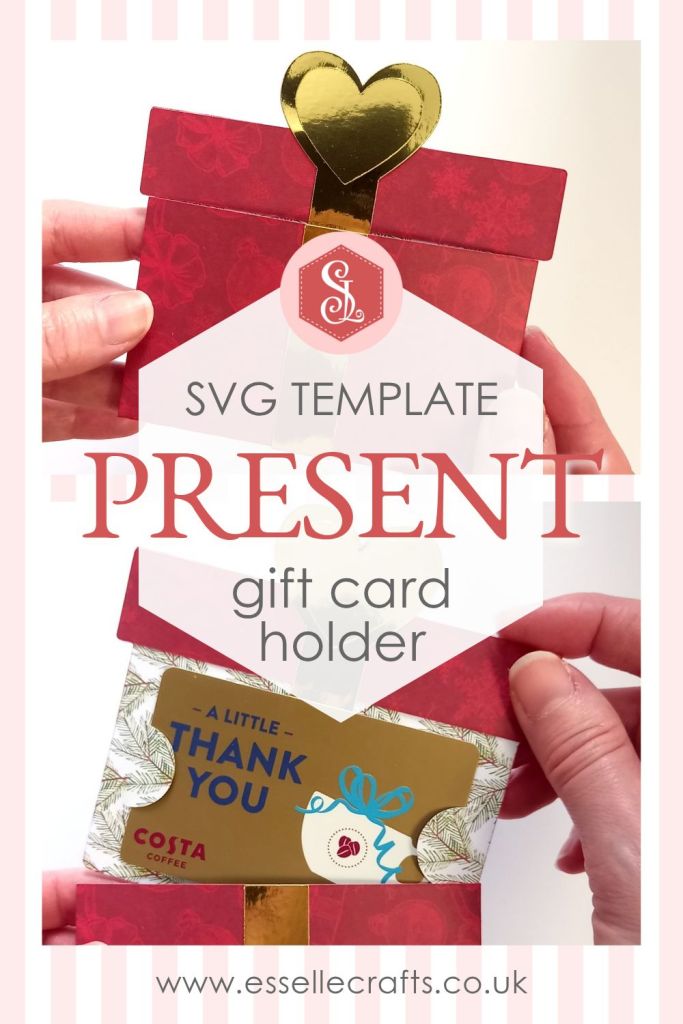
Disguised as a wrapped present, this interactive gift card holder is super easy to assemble and will undoubtedly bring an element of surprise to your gift recipient! ๐ŸŽ

Paper Craft Present Gift Card Holder for Special Occasions

The templates for this gift card holder come as SVG cut files, and can be found in my Etsy shop.

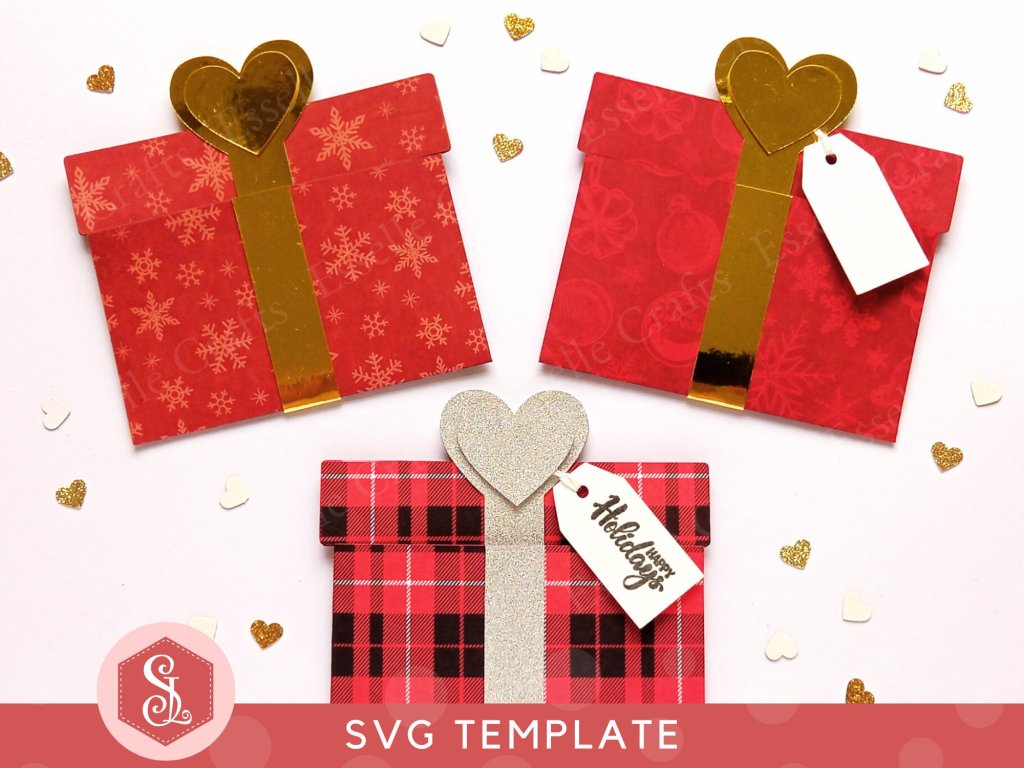
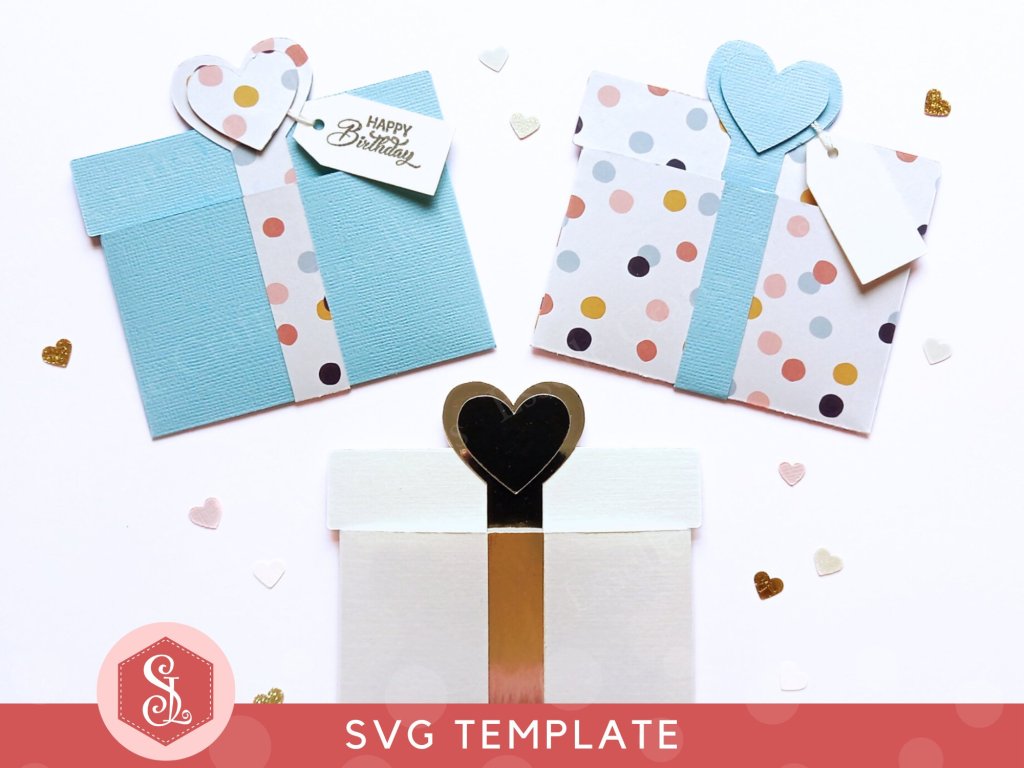
Paper Craft Christmas Present Gift Card Holders for Special Occasions

To make one, you will need:

* Present Gift Card Holder template (available as an SVG cut file)
* Computer and printer to print the PDF instructions
* Digital cutting machine
* Double-sided cardstock (220-250gsm / 80-92lb recommended)
* Craft glue / double-sided tape
* Thin cord / string / thread for the optional gift tag

Watch my video tutorial showing how to assemble the gift card holder, and be sure to follow the tips below:

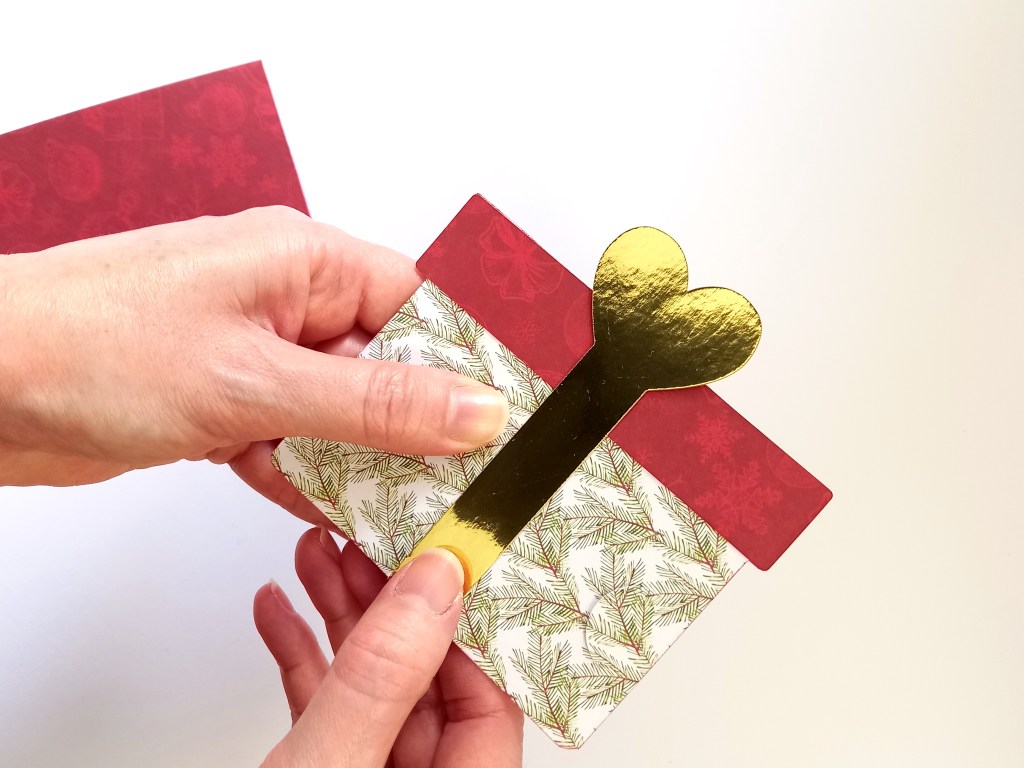
TIP 1 : Glue the long ribbon piece down the centre of the insert, making sure that the two hearts meet neatly at the top.

Paper Craft Present Gift Card Holder for Special Occasions

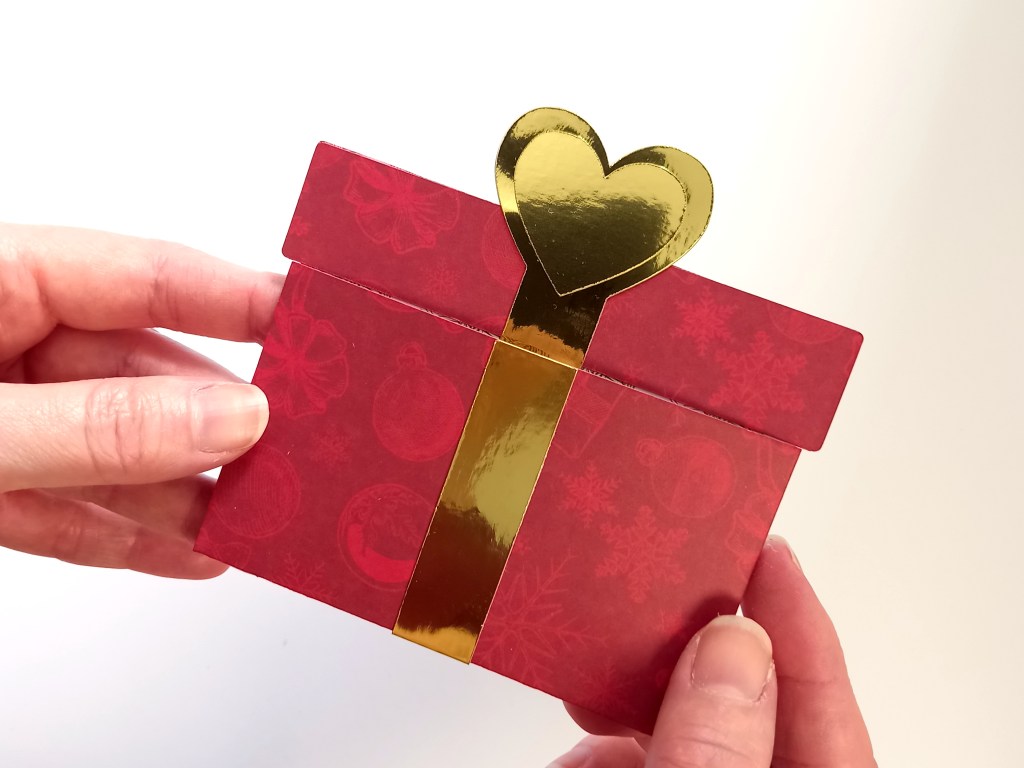
TIP 2 : Slide the insert into the holder, then glue the shorter ribbon piece down the centre, so that the ends join up with the other ribbon piece on the front and the back. You can then trim off any excess.

Paper Craft Present Gift Card Holder for Special Occasions

TIP 3 : Attach the two separate heart pieces to the larger heart using dimensional foam or scraps of layered cardstock (one on the front and one on the back).

Paper Craft Present Gift Card Holder for Special Occasions

There’s also an optional gift tag that you could stamp a sentiment onto and attach it behind the smaller heart.

Paper Craft Christmas Present Gift Card Holder for Special Occasions

And don’t think that they have to be just for Christmas, you can customize them for any occasion using any cardstock of your choice!

Paper Craft Present Gift Card Holder for Special Occasions

Once assembled, your cute little gift card holder is ready to go – it doesn’t need to be wrapped – and because it’s fairly flat, it can easily be popped into an envelope for posting! โœ‰๏ธ๐Ÿ“ฎ

Paper Craft Christmas Present Gift Card Holder for Special Occasions

Happy crafting!
Suzanne ๐ŸŽ

3D Papercraft Projects · Christmas Papercraft · Favour Boxes · Teapot Favour Boxes

Santa Claus Teapot Box

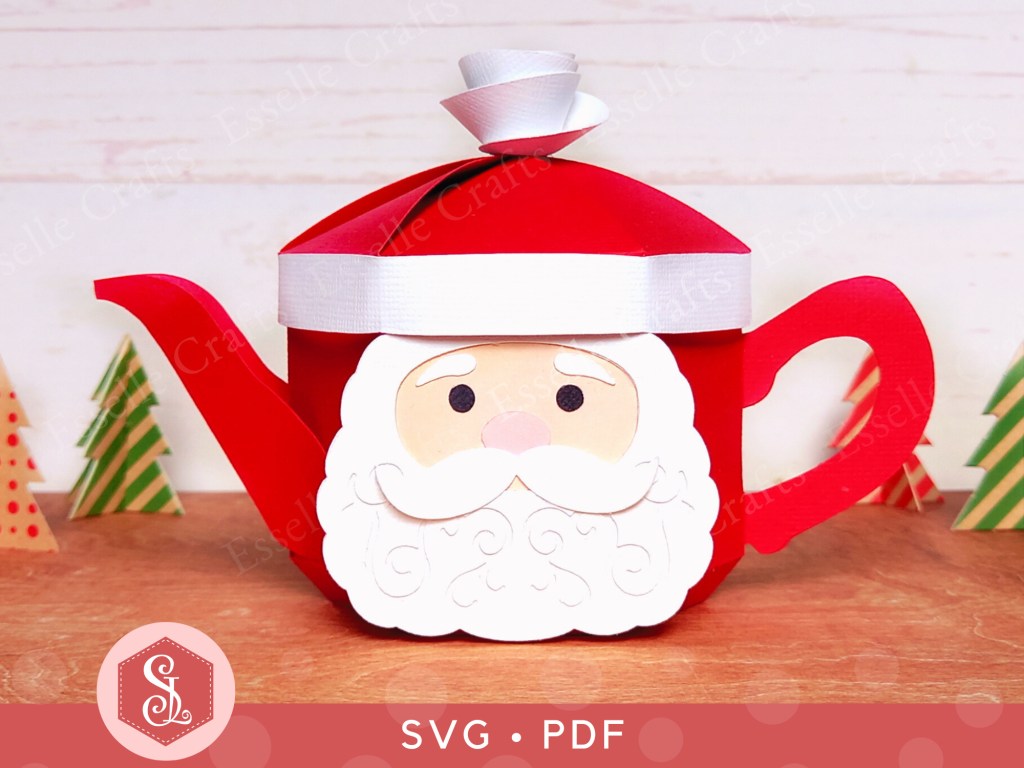
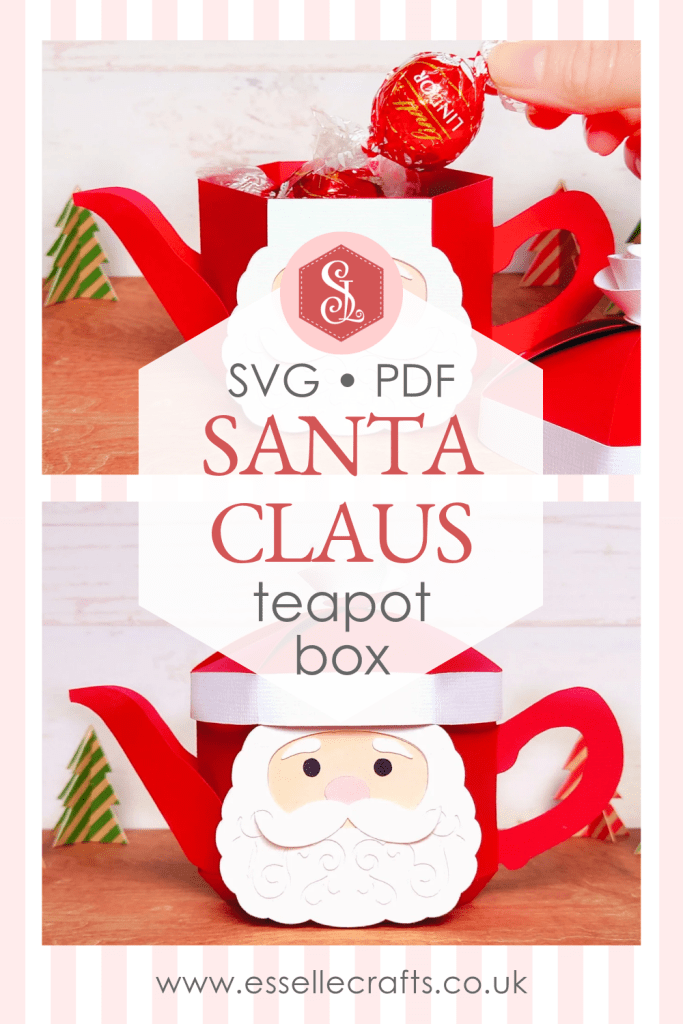
It’s time for another teapot favour box design and, with Christmas fast approaching, I’ve created this one in the style of Santa Claus! ๐ŸŽ…๐Ÿป

Paper Craft Santa Claus Christmas Teapot Gift Box

Doesn’t he look jolly! With a big, textured beard and a festive hat that doubles up as the lid, you’re going to have such fun arranging his features and filling it with all sorts of delicious Christmas treats!

Paper Craft Santa Claus Christmas Teapot Gift Box

The templates come in both SVG and PDF format, making them accessible for a variety of crafting needs.

Paper Craft Santa Claus Christmas Teapot Gift Boxes

To make one, you will need:

* Santa Claus Teapot Box template (SVG and PDF available)
* Computer and printer to print the PDF templates and instructions
* Digital cutting machine
* Double-sided cardstock (220-250gsm / 80-92lb recommended)
* Craft glue / double-sided tape

If you are not using a cutting machine you will also need:
* Craft knife / scissors
* Scoring tool
* Ruler

Watch my video tutorial showing how to assemble the teapot box, and be sure to follow the tips below:

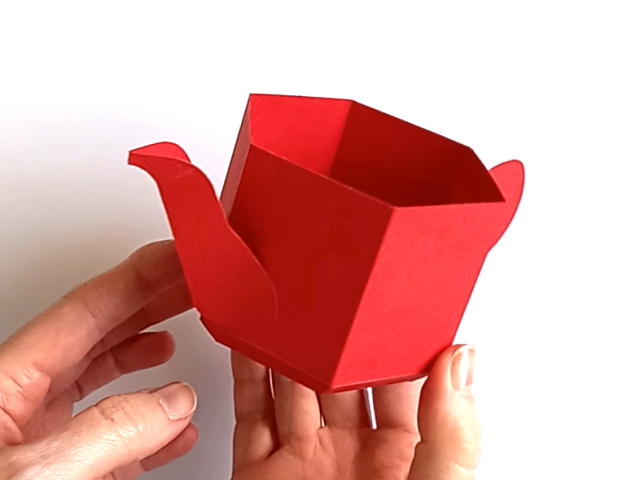
TIP 1 : Assemble the main teapot pieces first before adding any of the features.

Paper Craft Santa Claus Christmas Teapot Gift Box

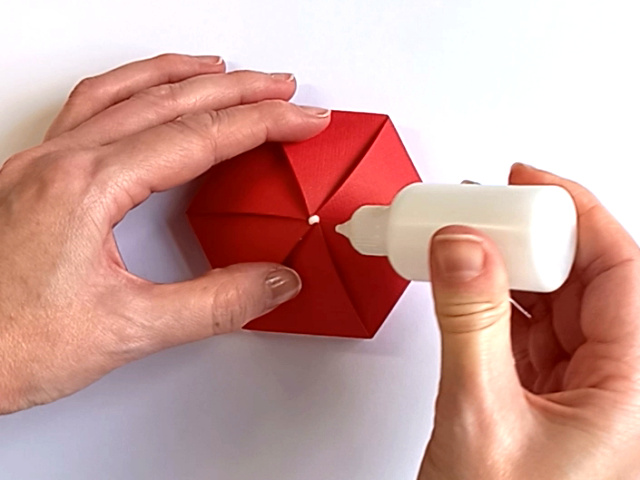
TIP 2 : Once the lid is assembled, apply a small dot of glue to the centre to help it hold its position. The rose on top will cover this when it’s positioned correctly.

Paper Craft Santa Claus Christmas Teapot Gift Box

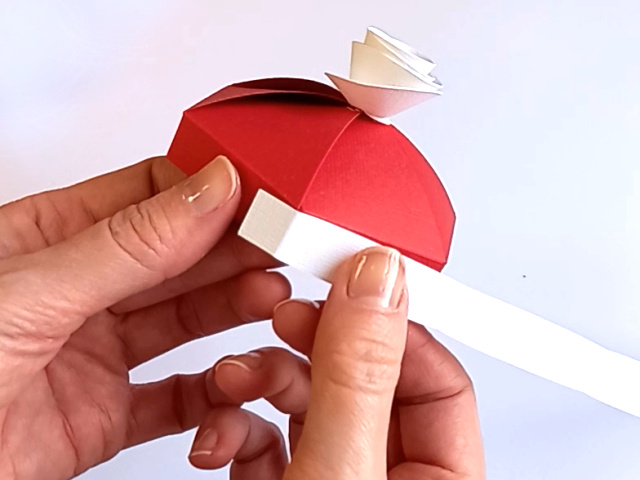
TIP 3 : Join the two white hat trim pieces together using one of the small tabs. This can then be glued to the lid by lining up the score line against one of the lid joins and wrapping it around the lid. You may need to trim off some excess at the end, depending on the weight of your cardstock.

Paper Craft Santa Claus Christmas Teapot Gift Box

TIP 4 : Join the two beard pieces together so that the one with the cut out design is on top and they both line up at the base. You can then attach the face panel to the back (lining up the top edge between the two corners) and add the features. I recommend curling up his moustache at the ends for added dimension!

Paper Craft Santa Claus Christmas Teapot Gift Box

Paper Craft Santa Claus Christmas Teapot Gift Box

TIP 5 : When attaching the face to the front of the teapot, carefully line it up along the top edge.

Paper Craft Santa Claus Christmas Teapot Gift Box

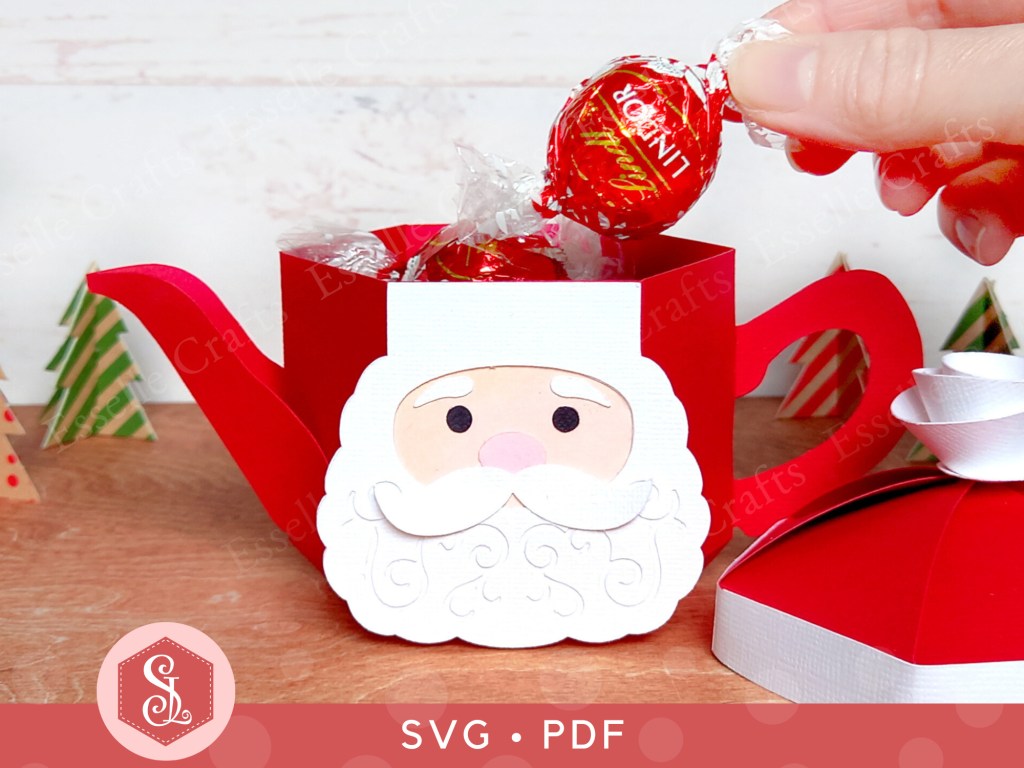
Once assembled, your little teapot box will hold eight of these Lindt chocolates, making it perfect for table favours and Christmas parties! ๐ŸŽ…๐Ÿป

Paper Craft Santa Claus Christmas Teapot Gift Box

But what will you fill your little Santa Claus teapot boxes with? Let me know in the comments below! 

Paper Craft Santa Claus Christmas Teapot Gift Box

Happy crafting!
Suzanne ๐ŸŽ„

3D Papercraft Projects · Christmas Papercraft · Favour Boxes · Teapot Favour Boxes

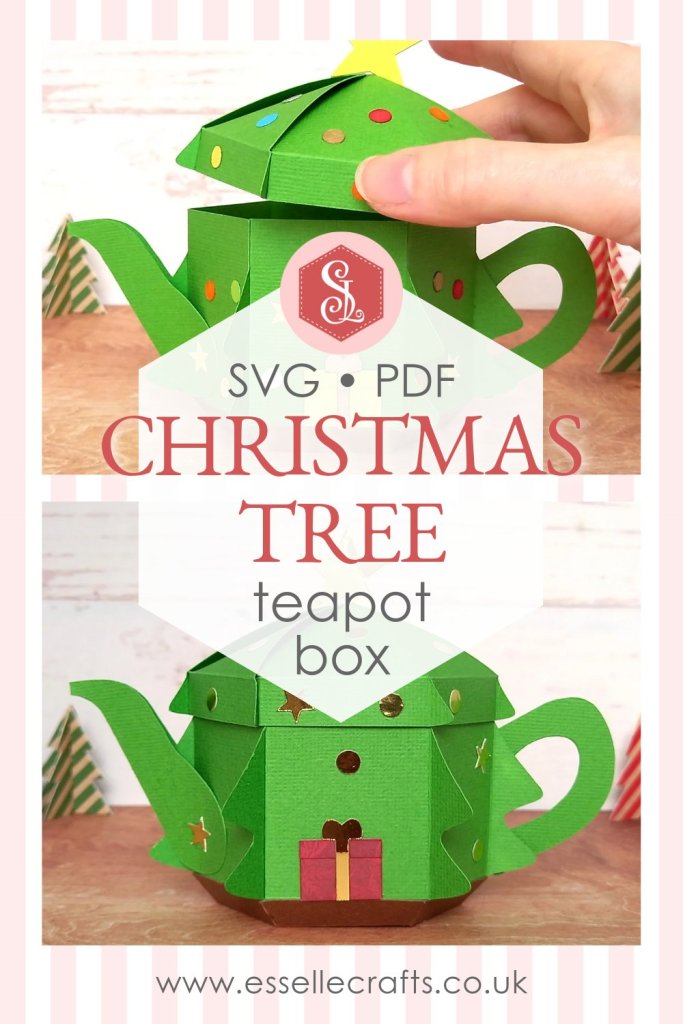
Christmas Tree Teapot Box

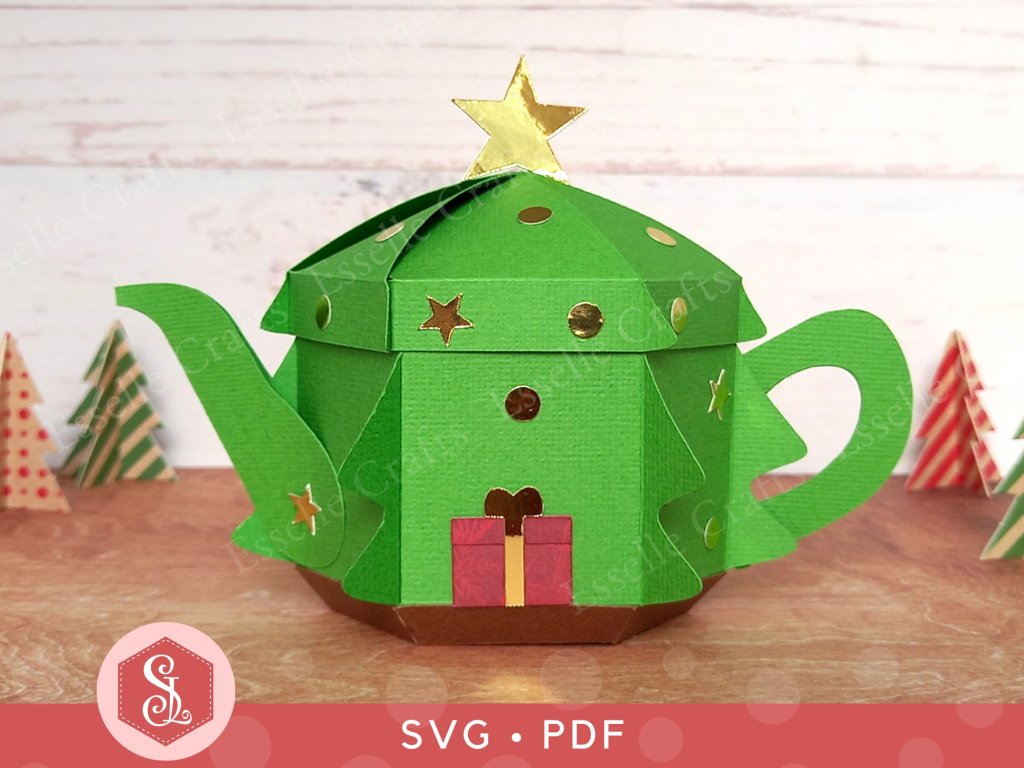
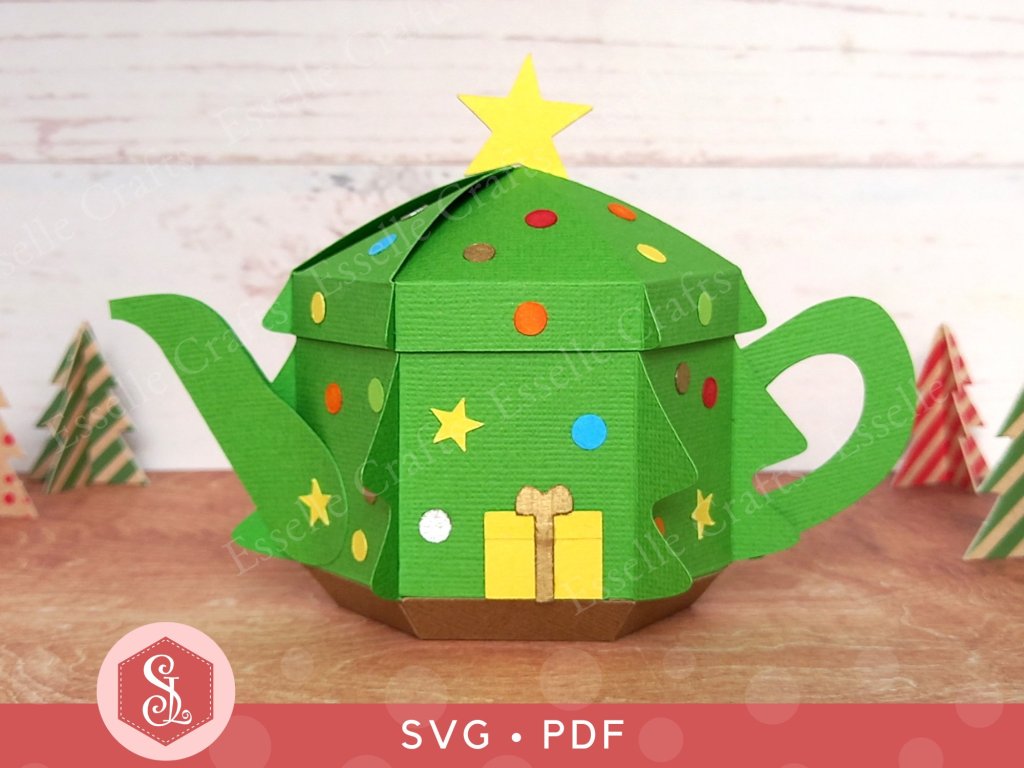
It’s time for another teapot favour box design and this time I’ve created one in the style of a Christmas Tree! ๐ŸŽ„

Paper Craft Christmas Tree Teapot Box for Gift Giving

Doesn’t it look amazing! With a shiny star on the top and lots of decorations to add on, you can really go to town with this design, using any colour scheme of your choice!

Paper Craft Christmas Tree Teapot Box for Gift Giving

The templates come in both SVG and PDF format, making them accessible for a variety of crafting needs and the easy to follow instructions make it quick and effortless to assemble these novelty gift boxes.

Paper Craft Christmas Tree Teapot Box for Gift Giving

To make one, you will need:

* Christmas Tree Teapot Box template (PDF and SVG available)
* Computer and printer to print the PDF templates and instructions
* Digital cutting machine
* Double-sided cardstock (220-250gsm / 80-92lb recommended)
* Craft glue / double-sided tape

If you are not using a cutting machine you will also need:
* Craft knife / scissors
* Scoring tool
* Ruler

Watch my video tutorial showing how to assemble the teapot box, and be sure to follow the tips below:

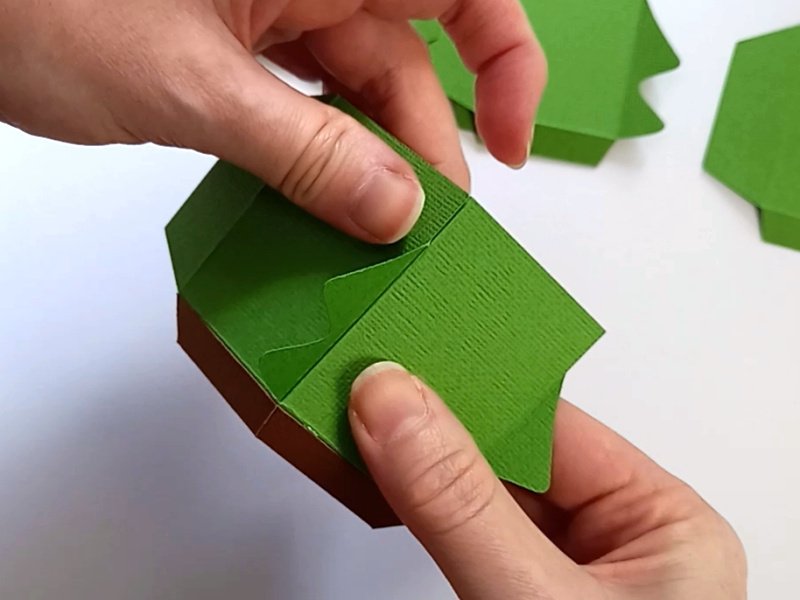
TIP 1 : Attach the six side pieces one at a time to the base, and don’t forget to leave the last side open.

Paper Craft Christmas Tree Teapot Box for Gift Giving

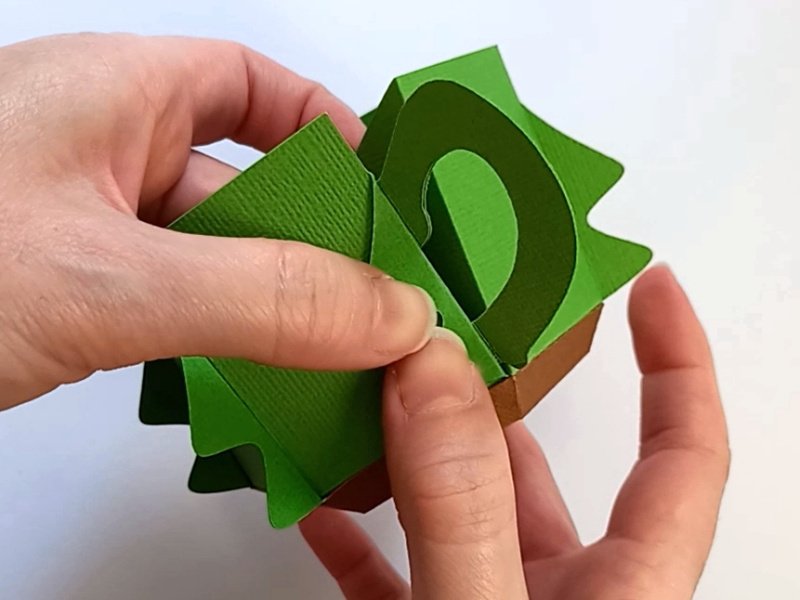
TIP 2 : When attaching the handle, bend the last ‘branch’ towards you so you can line up the score line.

Paper Craft Christmas Tree Teapot Box for Gift Giving

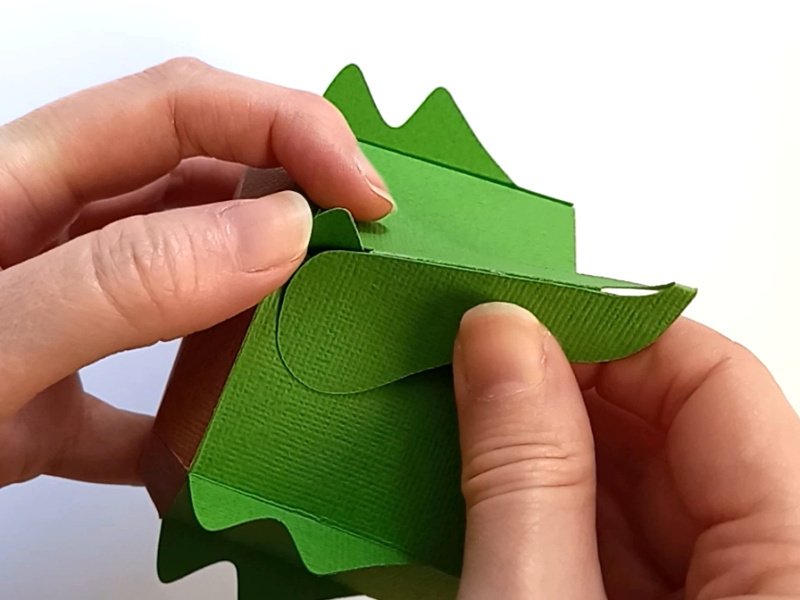
TIP 3 : When attaching the spout, carefully place it over the lower ‘branch’ to get it in the correct position.

Paper Craft Christmas Tree Teapot Box for Gift Giving

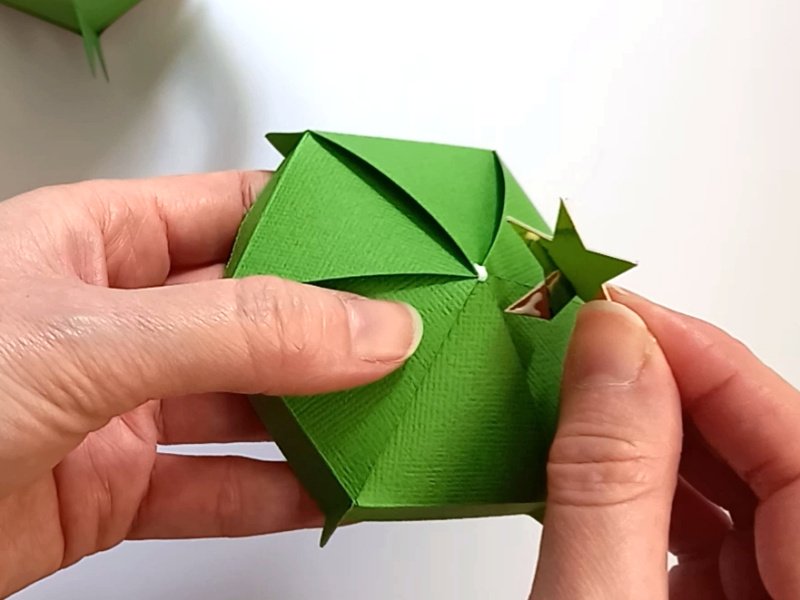
TIP 4 : Once the lid is assembled, add a small dot of glue to the centre to hold its position. The star will cover this when it’s positioned correctly. 

Paper Craft Christmas Tree Teapot Box for Gift Giving

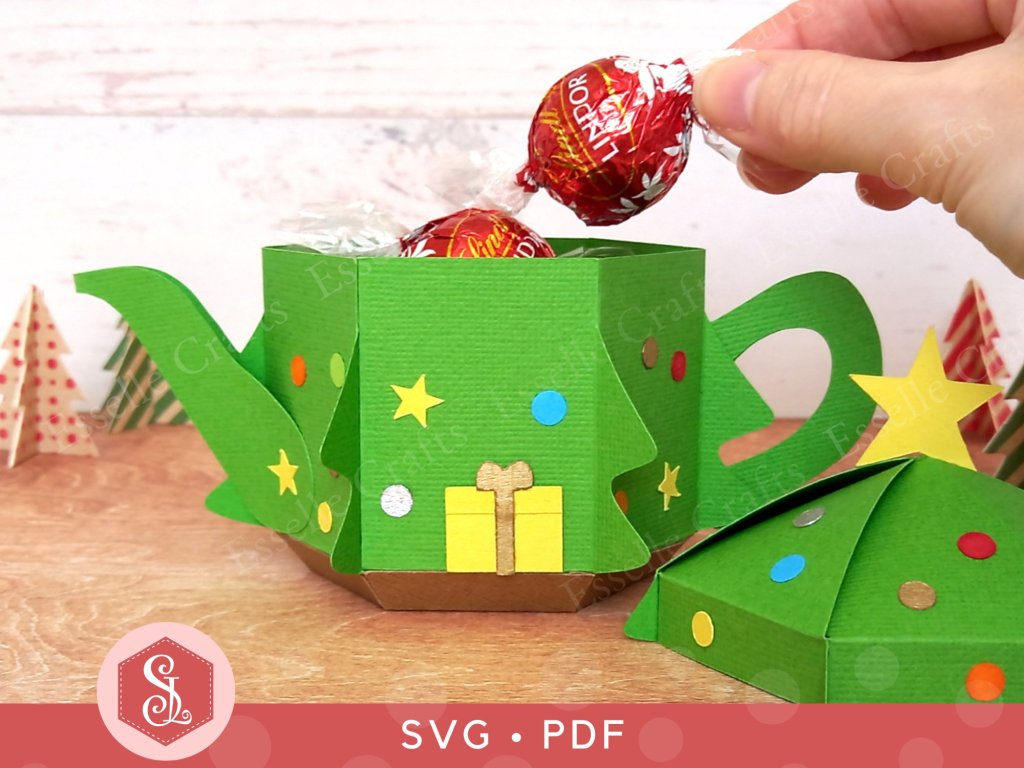
Once assembled, the little teapot box will hold eight of these Lindt chocolates, making it perfect for table favours and Christmas parties! ๐ŸŽ„

Paper Craft Christmas Tree Teapot Box for Gift Giving

But what will you fill your little Christmas tree teapot boxes with? Let me know in the comments below!

Paper Craft Christmas Tree Teapot Box Blog Post

Happy crafting!
Suzanne ๐ŸŽ„