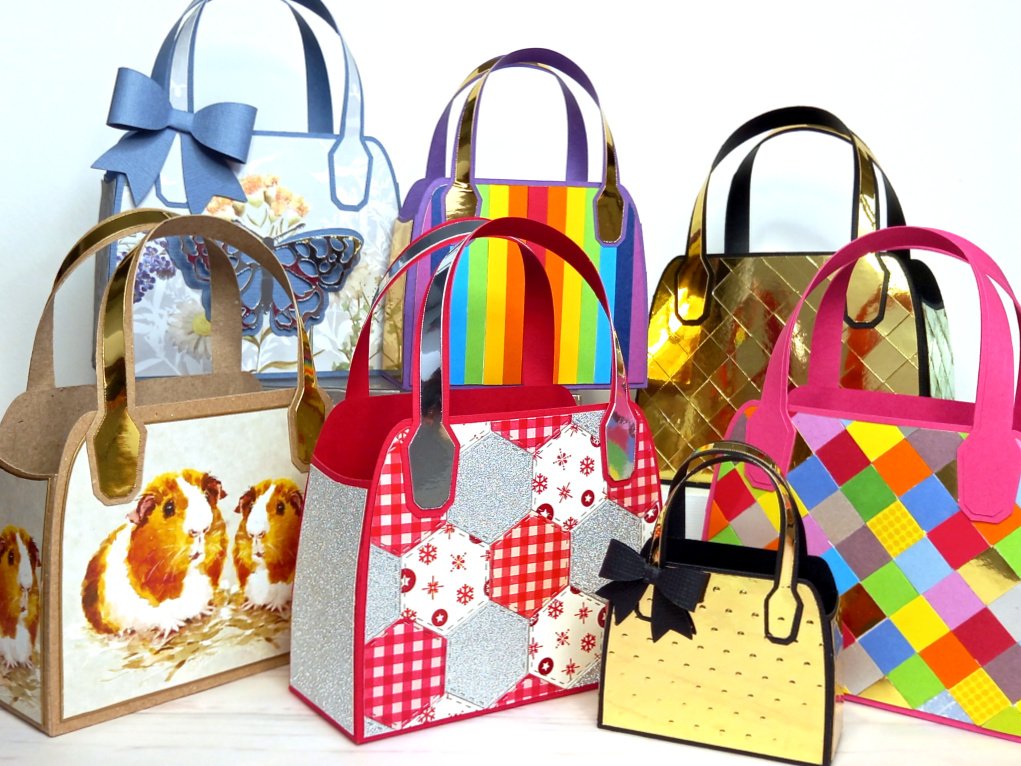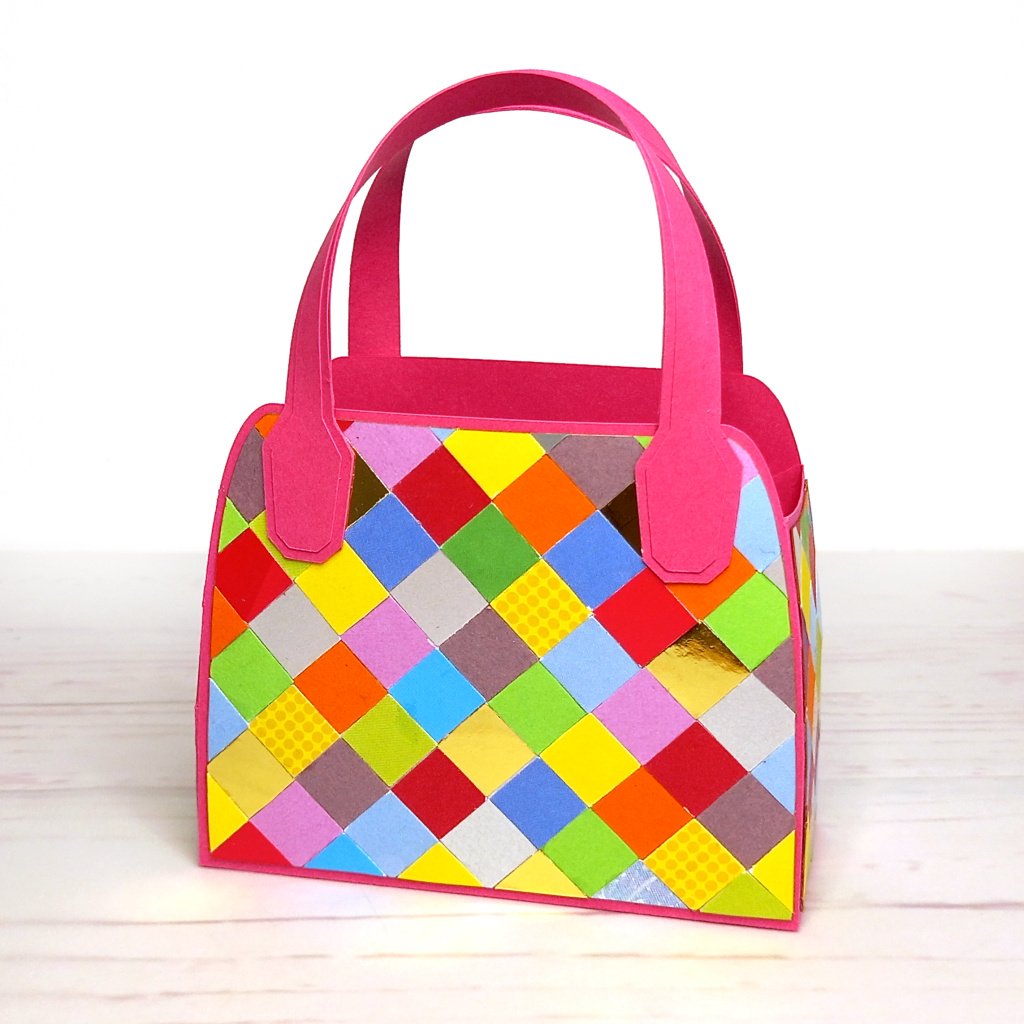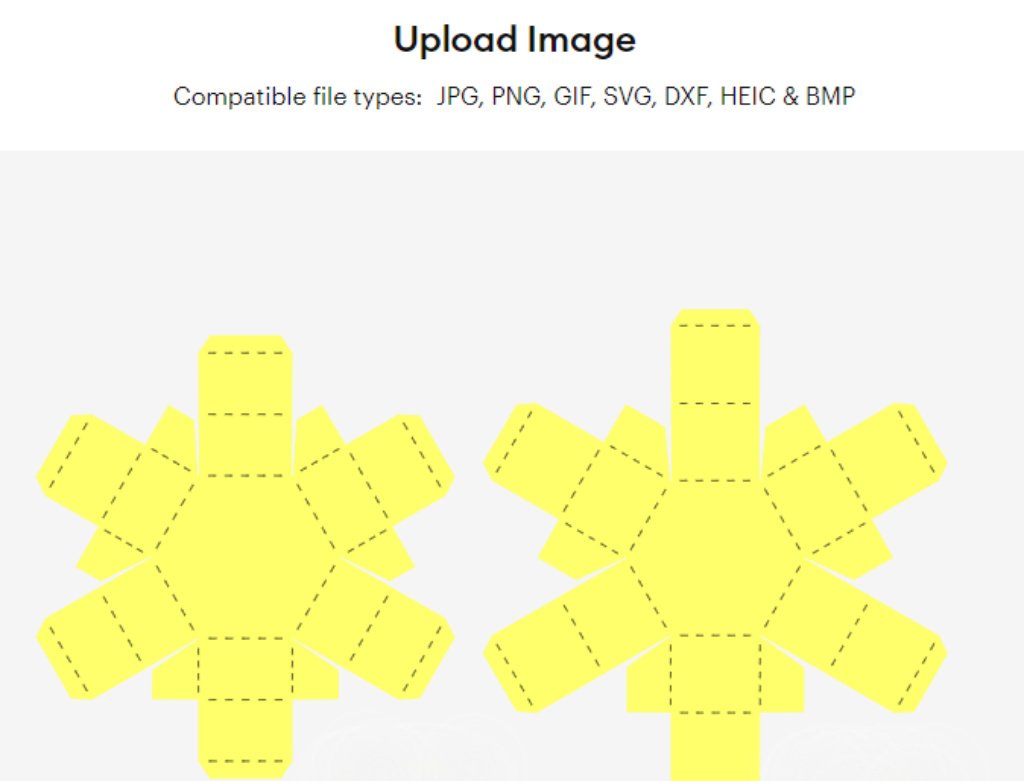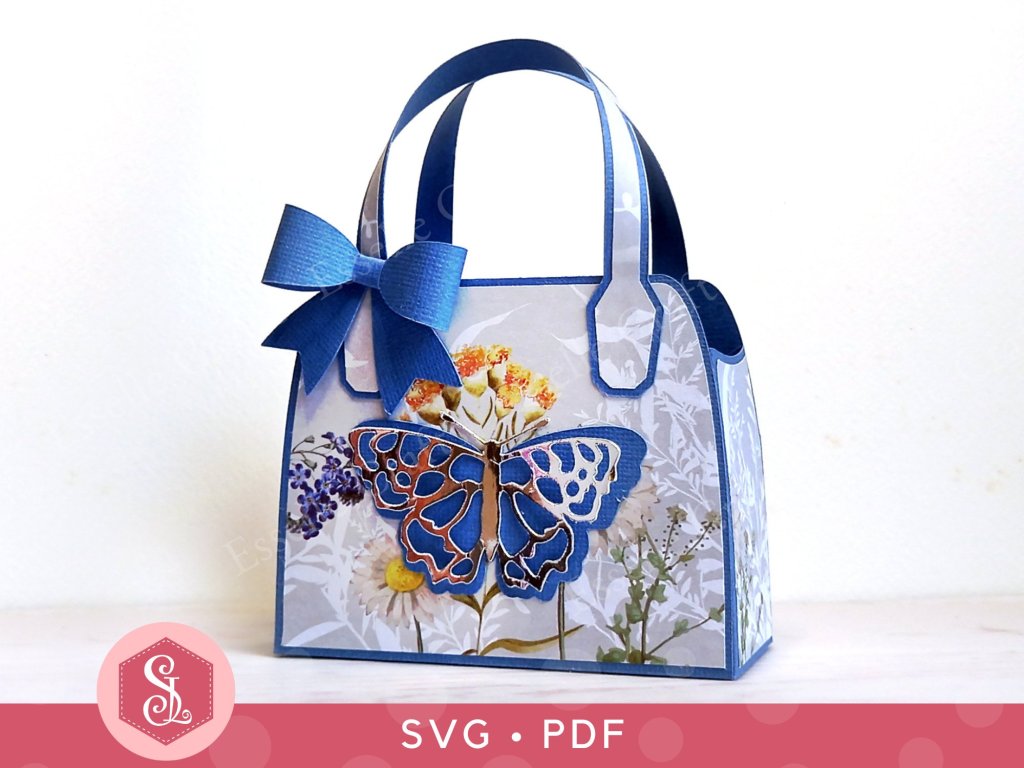
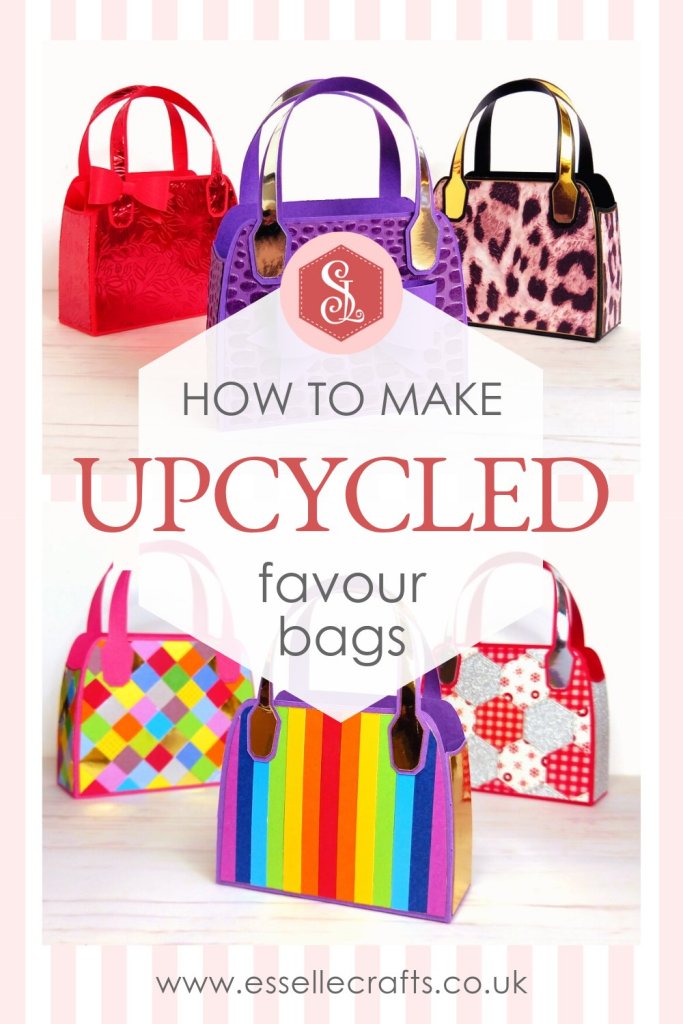
Following on from my previous post, I have been busy making more upcycled gift bags using my Butterfly Favour Bag template.

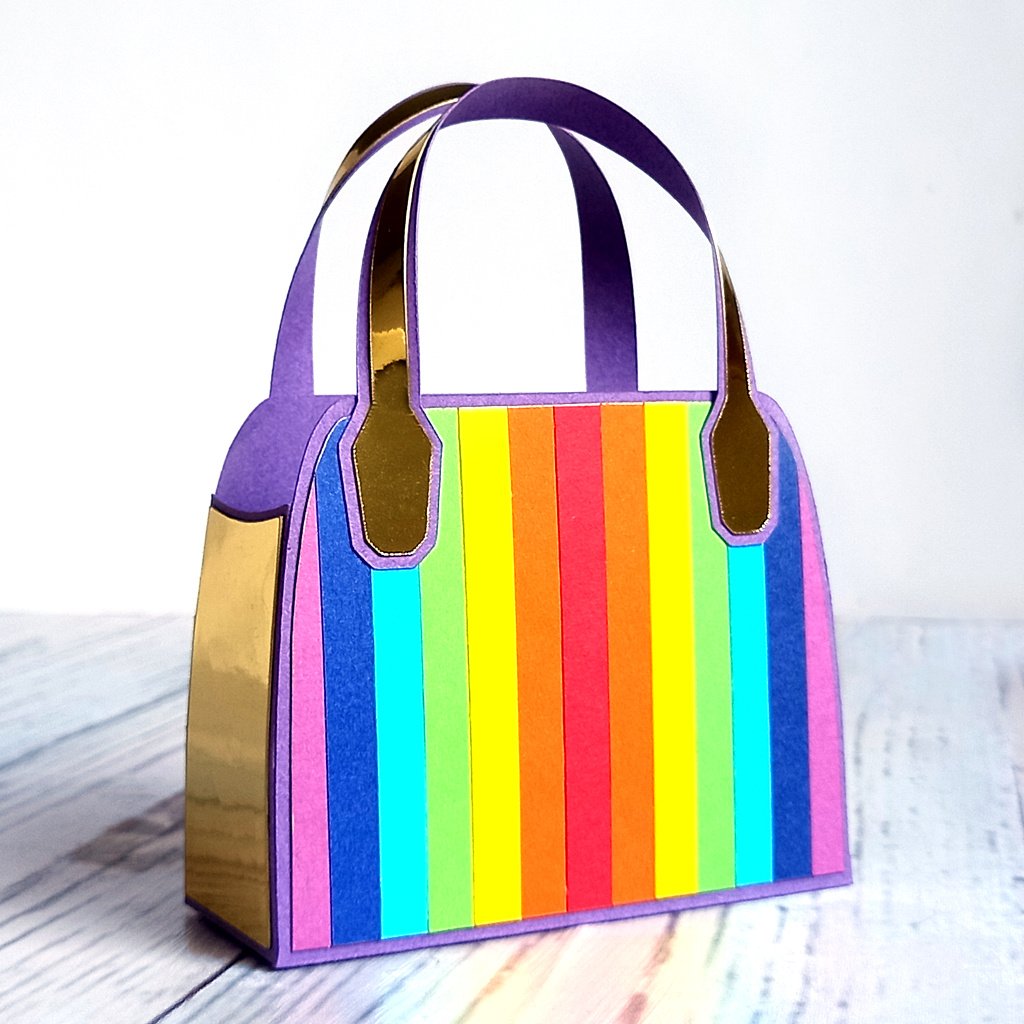
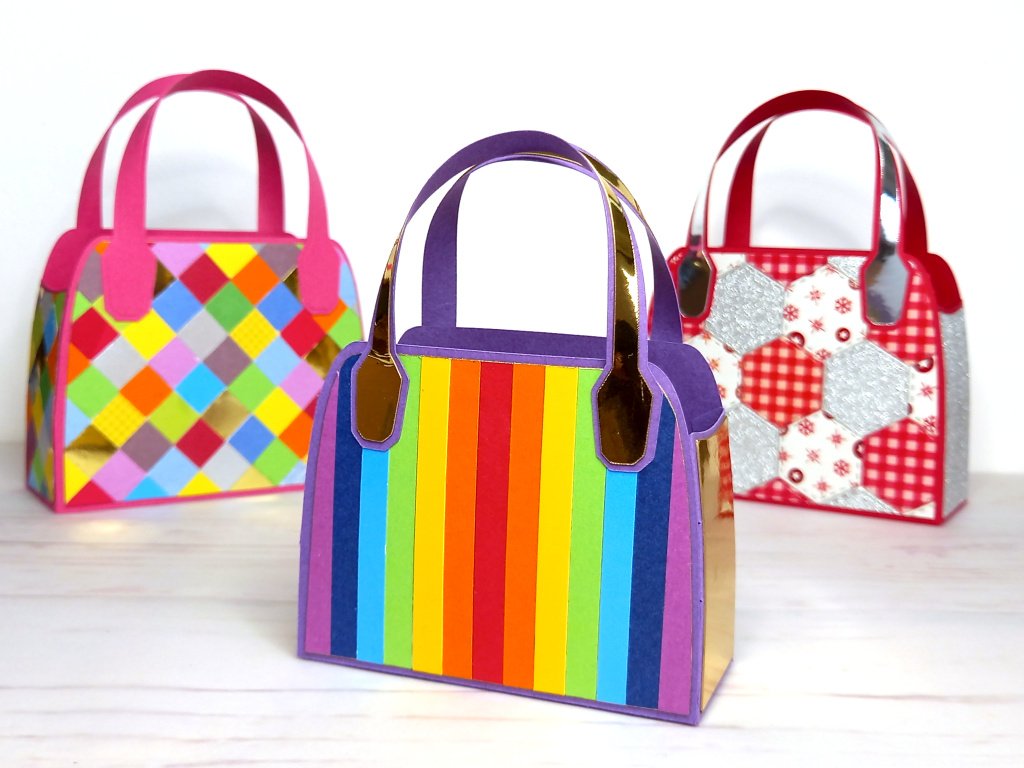
The main structure of this stunning purple bag is made from an old school book cover! I then cut the front, back and side panels out of textured paper. The handle panels were cut from silver mirror card and the enlarged bow was made from another piece of the school book cover.
I think this is definitely one of my favourites! 💜

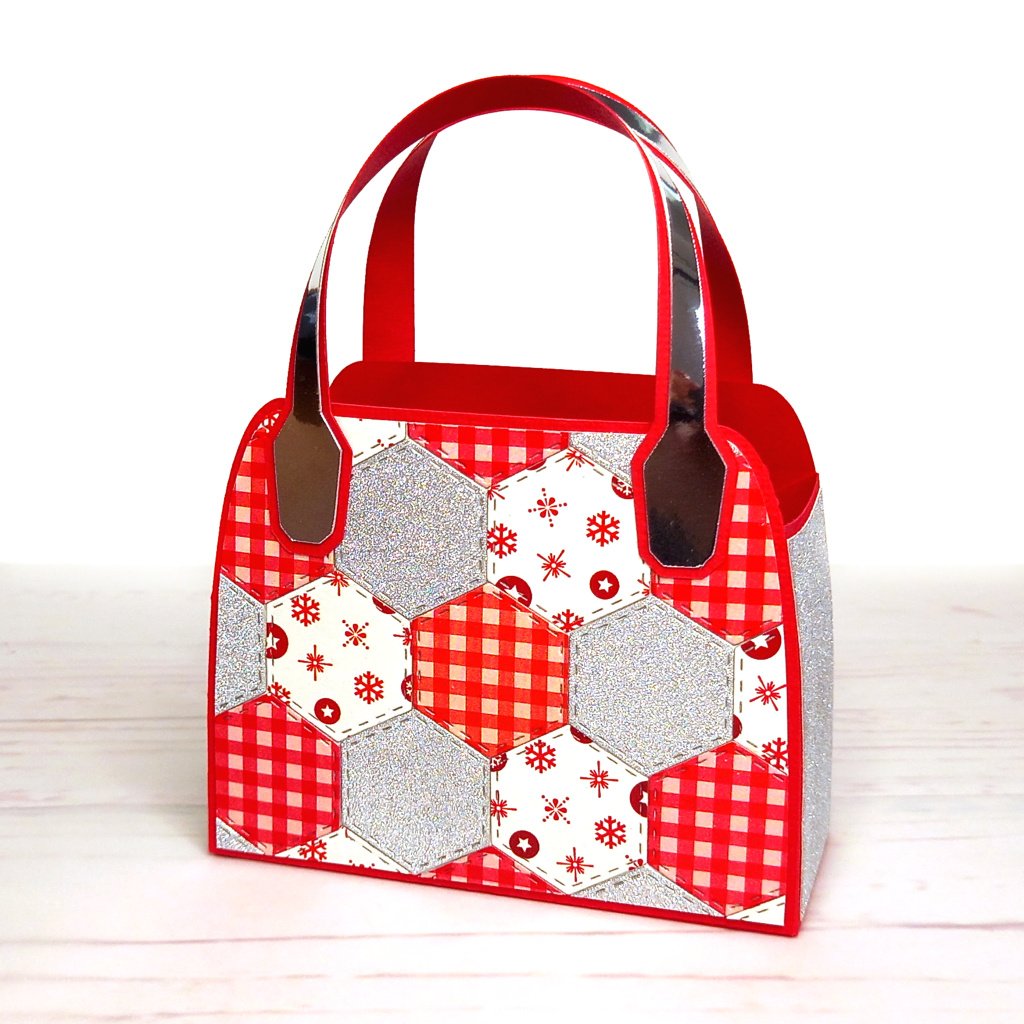
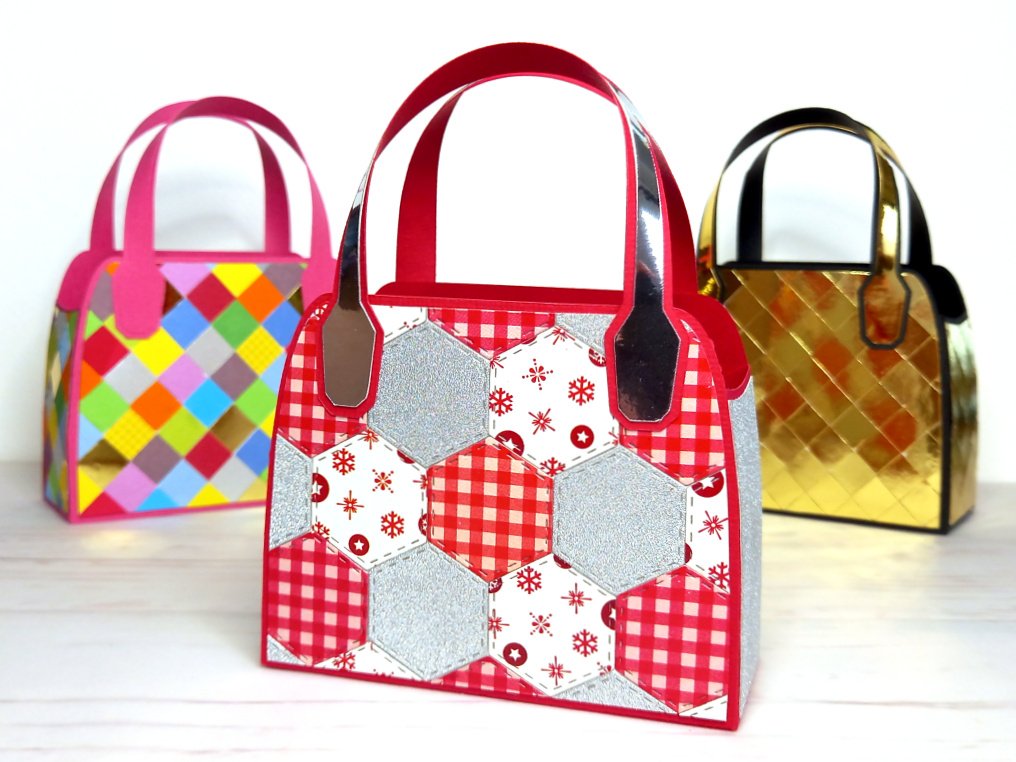
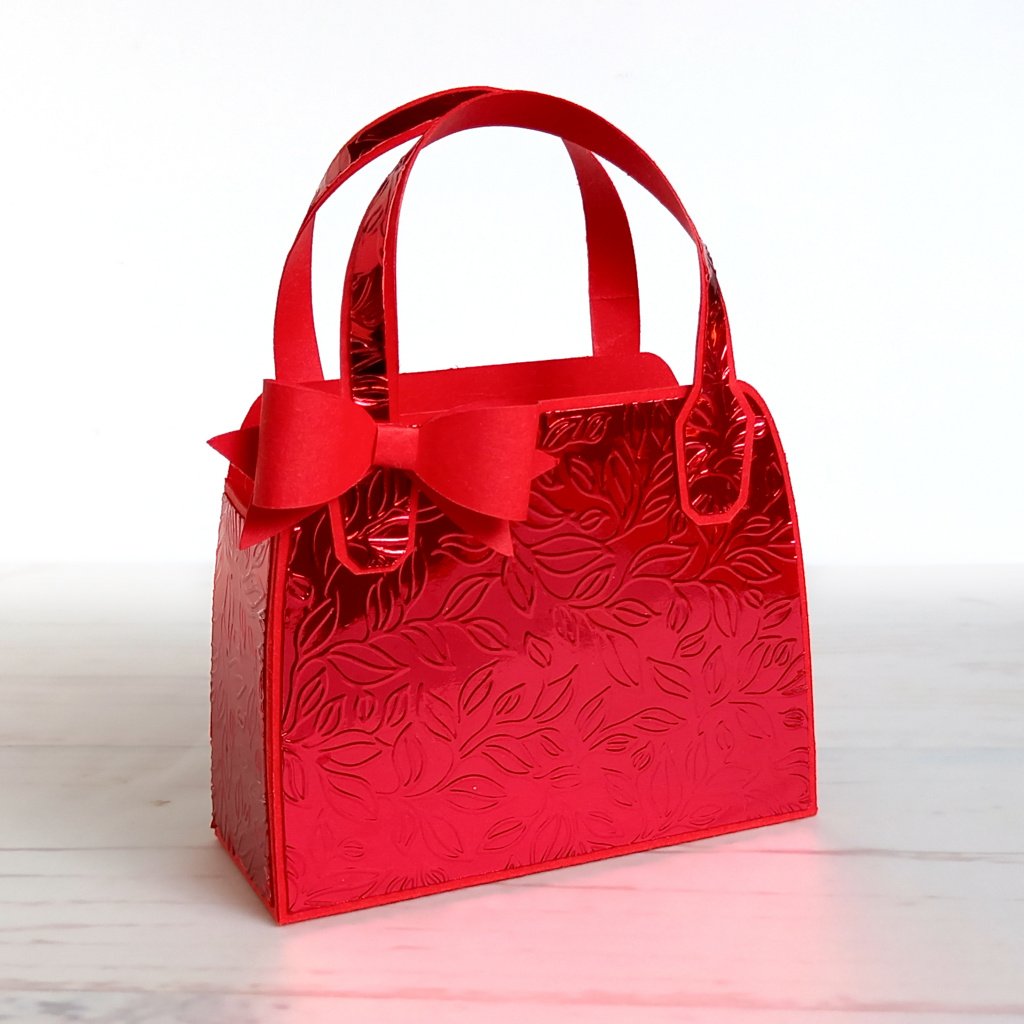
This red bag, along with its bow, also started life as a school book cover! I then cut all of the panels out of red mirror card and embossed them with a beautiful leaf design.
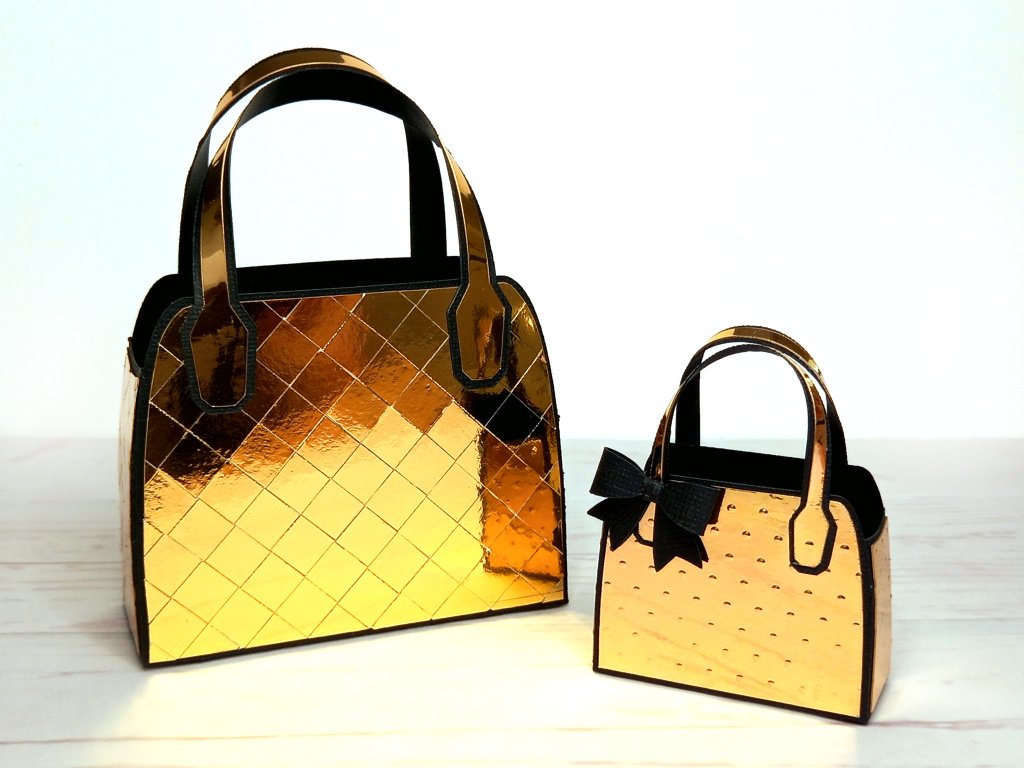
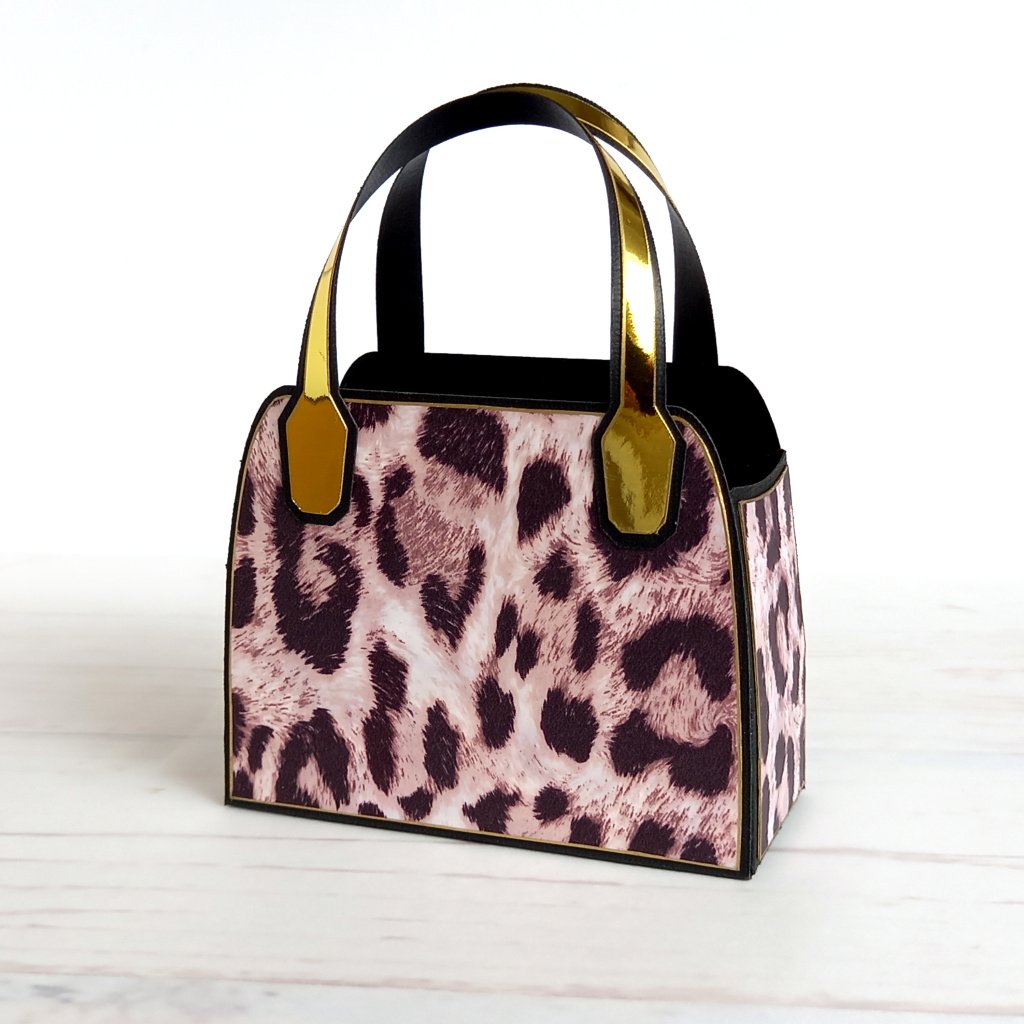
I cut the decorative panels on this black leopard print bag out of an old paper bag – you know, the ones you get from little gift shops. I first had to back the paper bag onto thin white card to give it some stability before cutting the panels out. I then ran a gold metallic marker pen around the edges, which perfectly compliments the gold mirror card handle panels.
Here’s all three of them together, looking absolutely gorgeous!

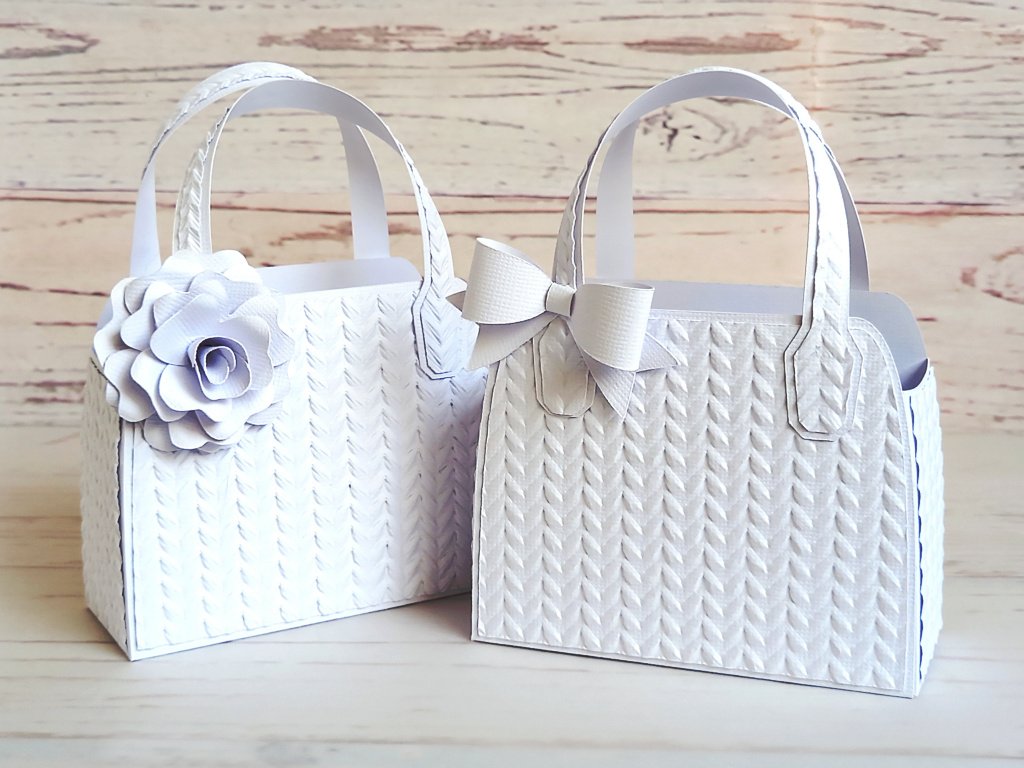
I created these two white bags from old textured cardstock that I’d taken from another project. Don’t they look amazing?! I love the look of white on white. There were a few imperfections on some of the panel pieces, so I embossed each of them using a knitted pattern design, which made them perfect! I then used the leftover scraps to make the little bow and the layered flower.
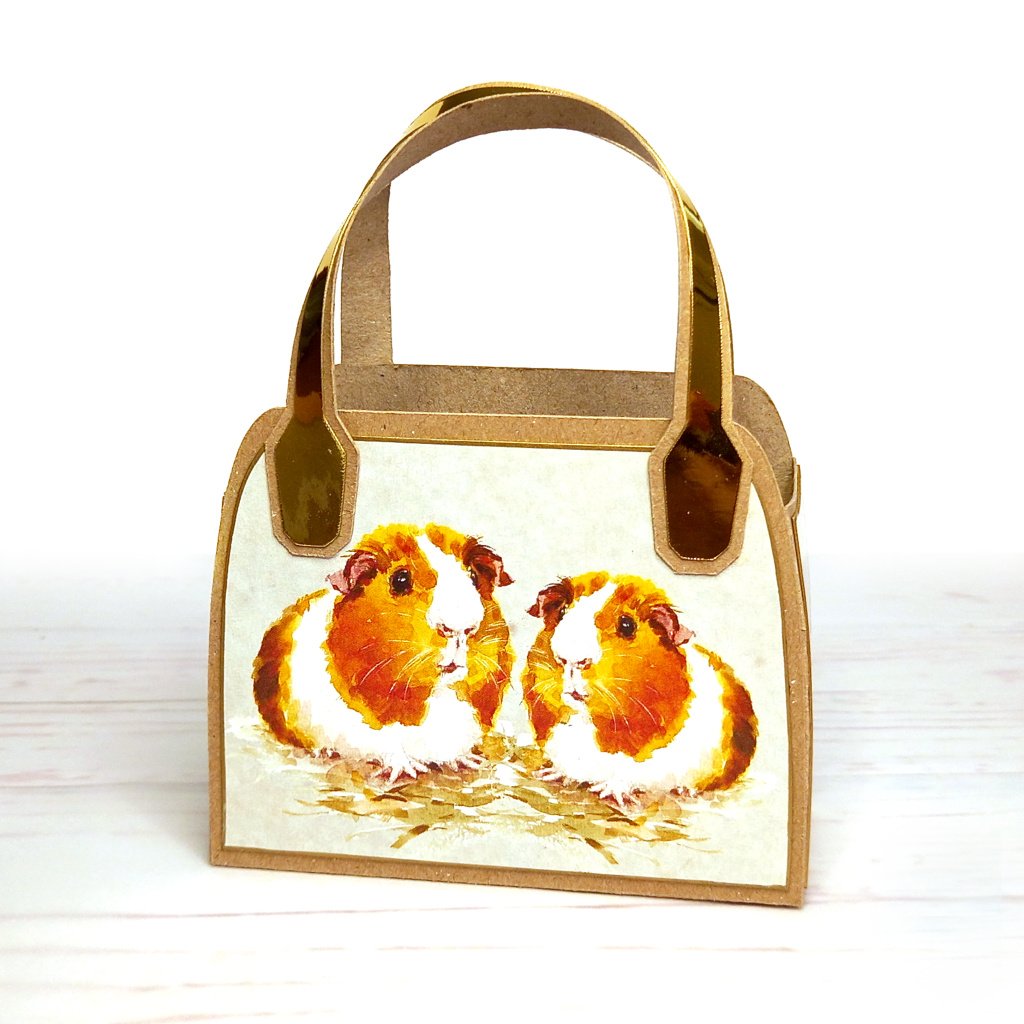
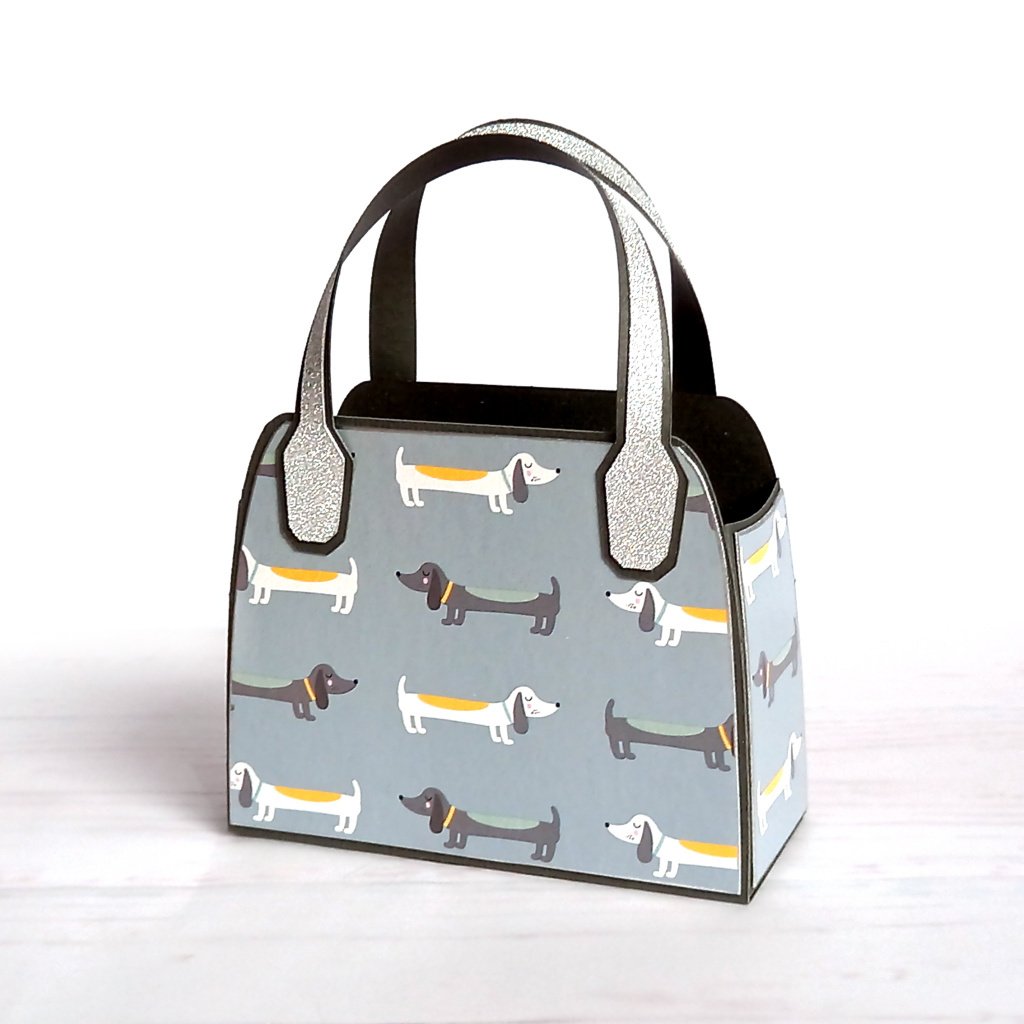
For this last bag, I cut the main black pieces out of an old art folder and the panels out of a tissue box. I cut the panels out by hand as I wanted to line the little dogs up so that the pattern was equal on both sides. I then ran a silver metallic marker pen around the edges and cut the handle panels out of silver glitter card to match.
Whilst not all of the bags are made entirely from upcycled materials, it was a good chance to use up some of my cardstock scraps and experiment with different textures.
So, which bag is your favourite now?

Happy crafting and happy upcycling! ♻️
Suzanne