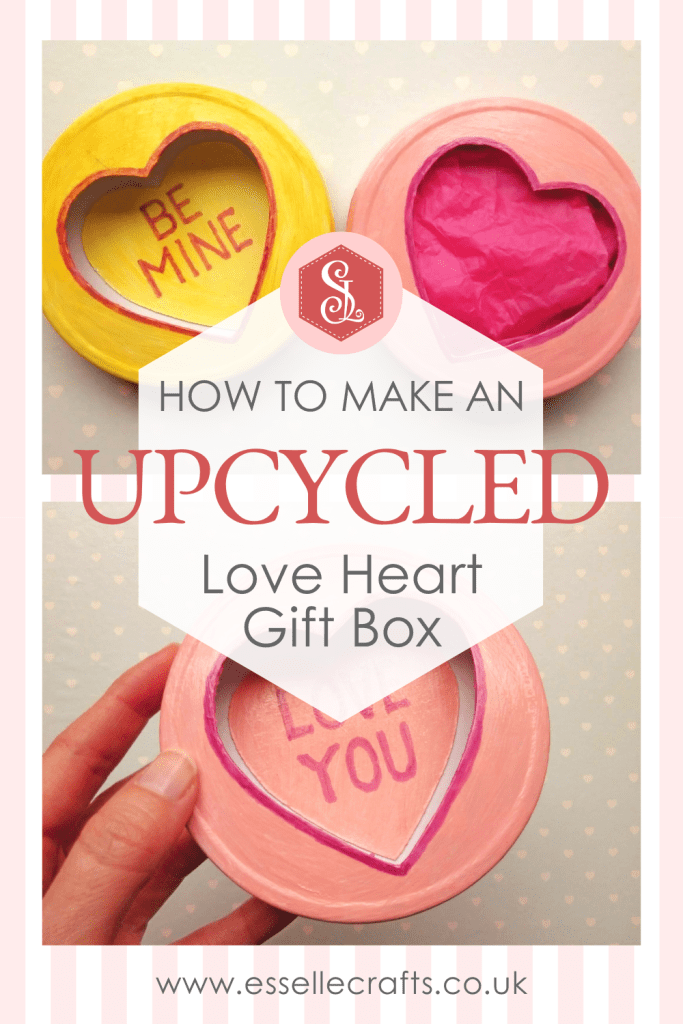
Welcome to another upcycling project! This time I am going to show you how to turn an empty cheese triangle box into a super cute love heart gift box, perfect for Valentine’s Day! ❤️

You can include your own personal message inside, then fill the box with chocolates or other small treats and present it to that special someone in your life! ❤️
To make one of these boxes, you will need:
- an empty cheese triangle box
- pencil
- paper
- scissors
- craft knife
- sandpaper
- white acrylic paint
- pastel acrylic paints
- paintbrushes
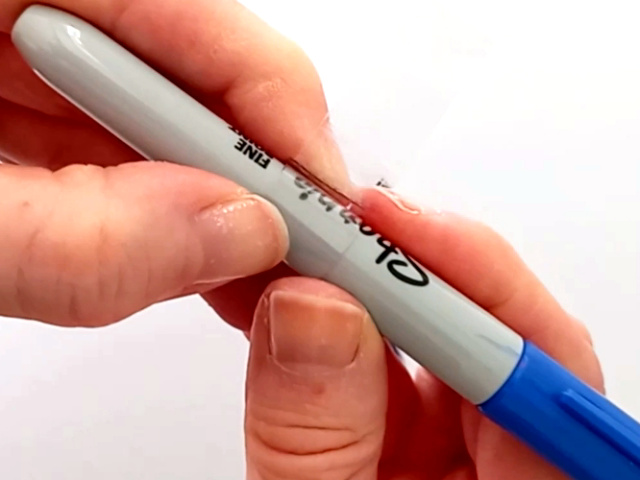
- lilac or pale purple Sharpie
- gloss varnish (optional)
- craft glue
- thin ribbon
You can watch my video tutorial to see me making one of these boxes, or simply follow the written instructions below:
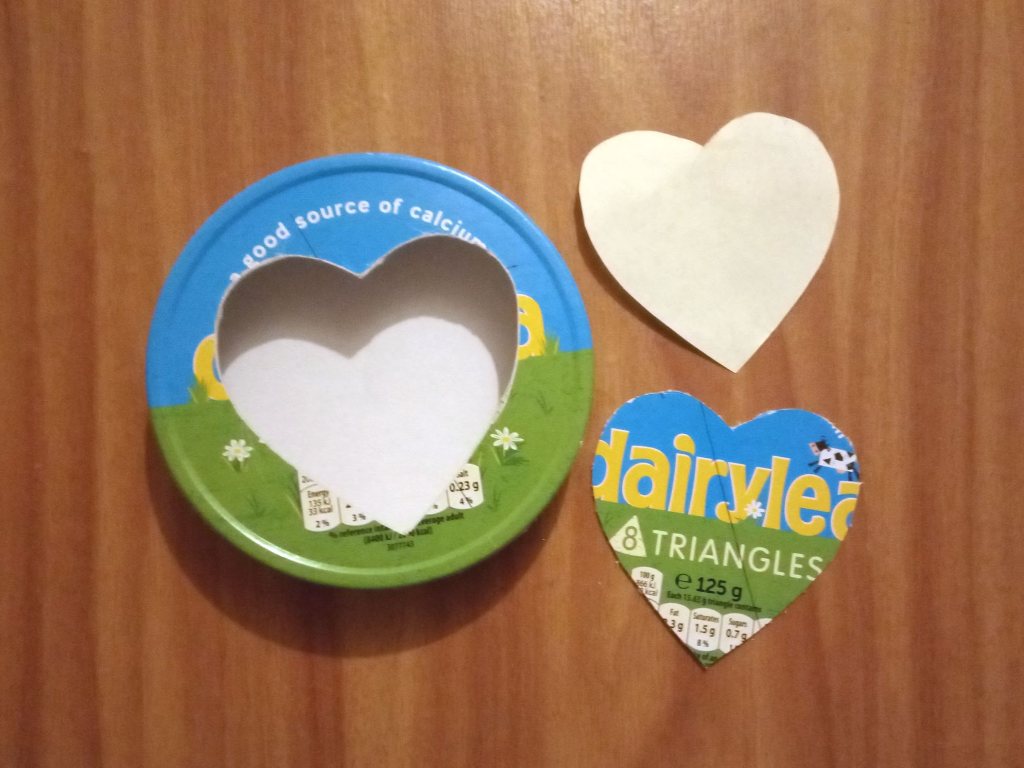
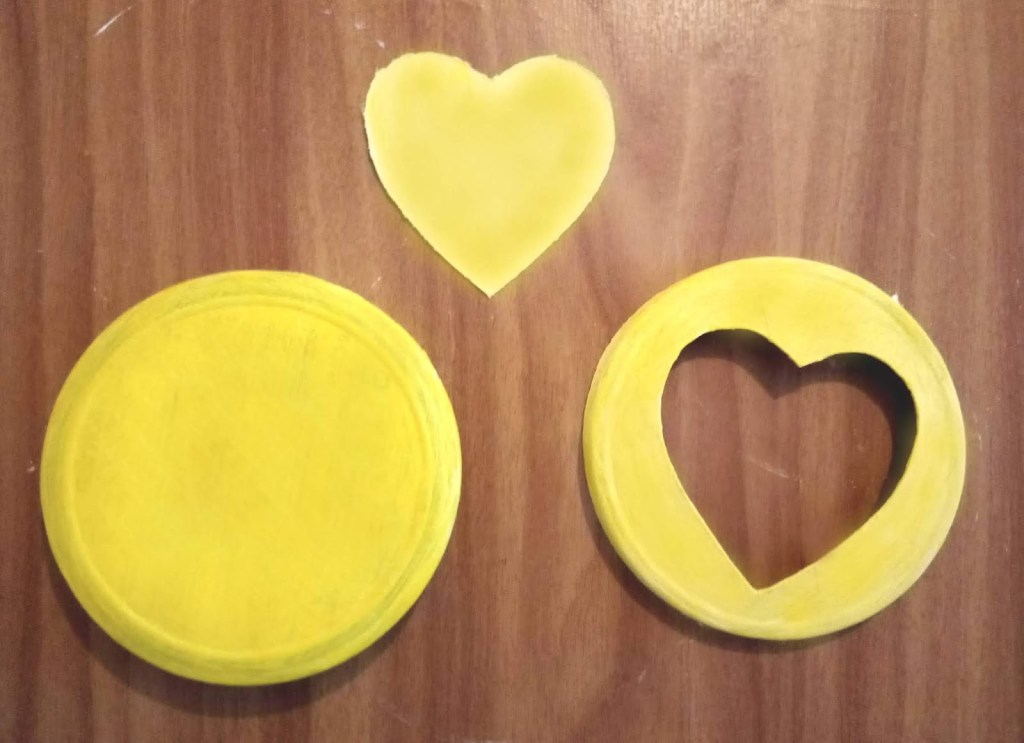
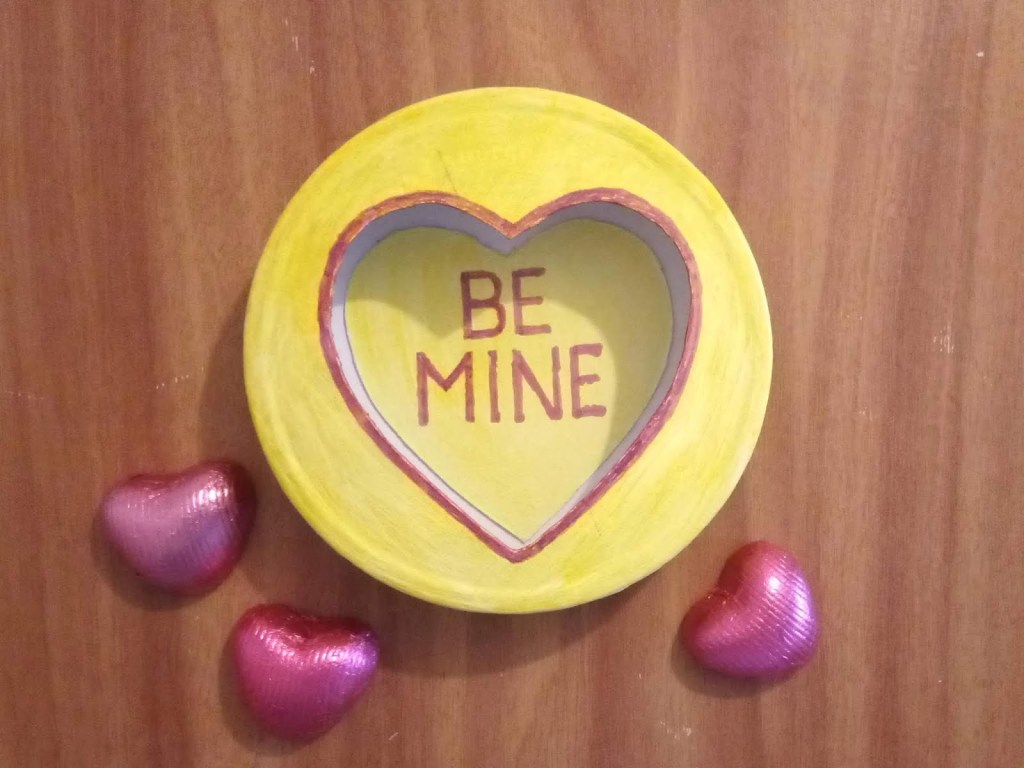
First, fold a 7.6cm x 7.6cm / 3″ x 3″ piece of paper in half and draw half a heart shape onto it (I used a square Post-it note for mine). Cut this template out and draw around it onto the lid of the cheese triangle box. Cut the heart shape out carefully using a craft knife.
Using sandpaper, smooth any rough edges from where you have just cut. Then cover the lid, base and the cut out heart shape in two layers of white acrylic paint.
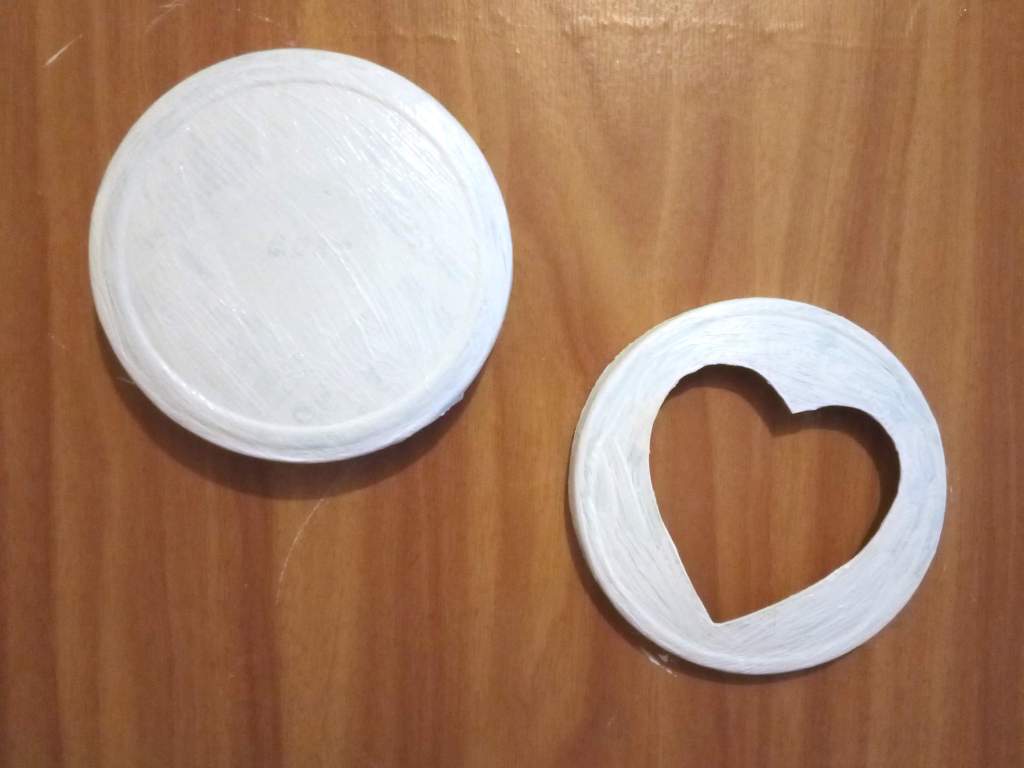
Once dry, paint the pieces in a light, pastel colour.
Next, using the Sharpie (a lilac or pale purple works well for this), colour around the outline of the heart shape on the lid approximately 2-3mm thick. Then, using a pencil, sketch your personal message onto the heart and colour over it with the Sharpie.
TIP : Leave it to dry, then apply a thin coat of clear acrylic gloss varnish to the painted pieces.

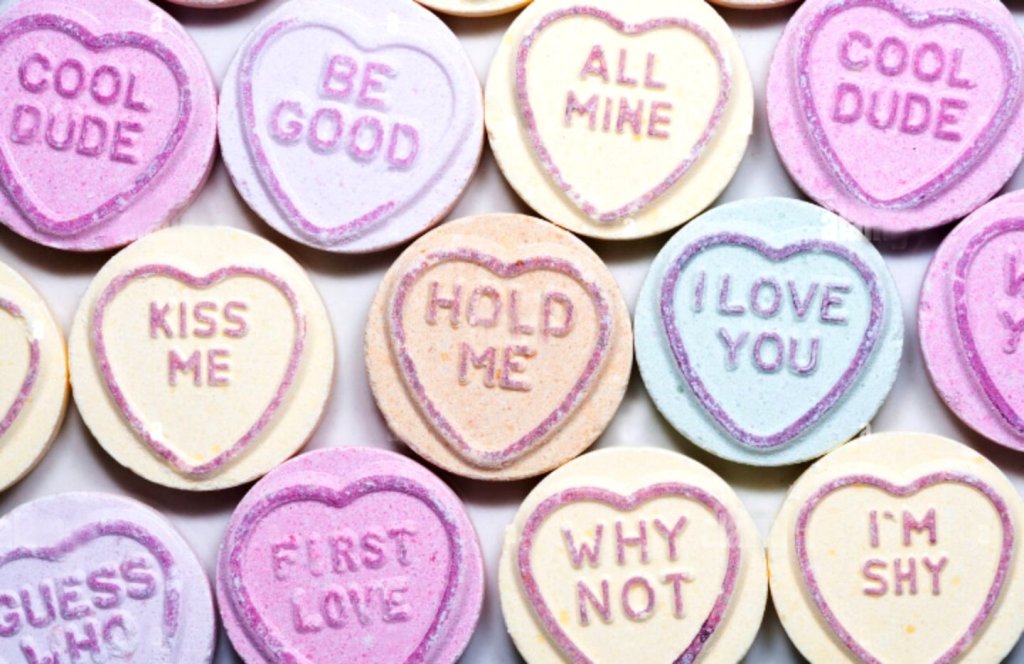
You really don’t have to be neat when doing the lettering as on the actual Love Heart sweets the purple is quite blotchy.
Glue the heart into the centre of the base, carefully lining it up so that it is visible when the lid is on.

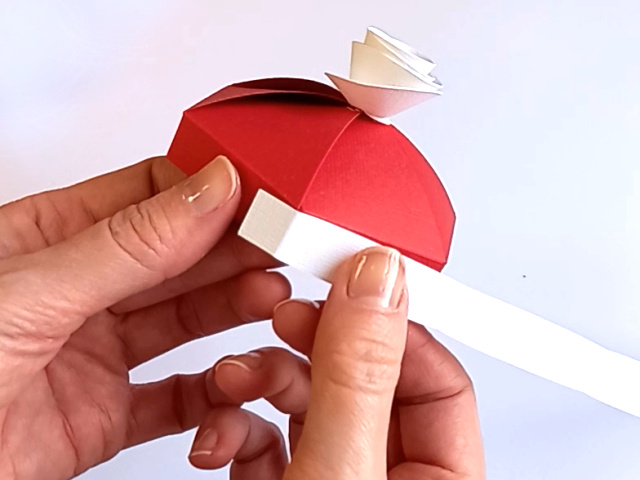
Next, take some thin ribbon (or a thin strip of paper) and glue it around the middle of the base as shown below. This helps to neaten up the edges.

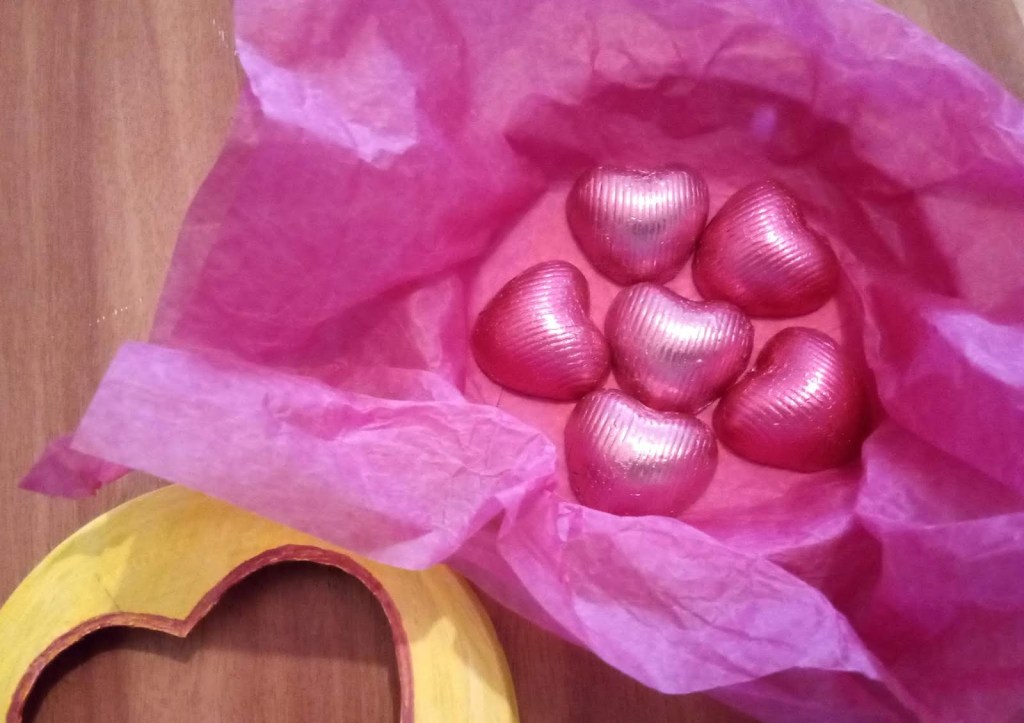
Press some tissue paper into the base and fill it with treats!
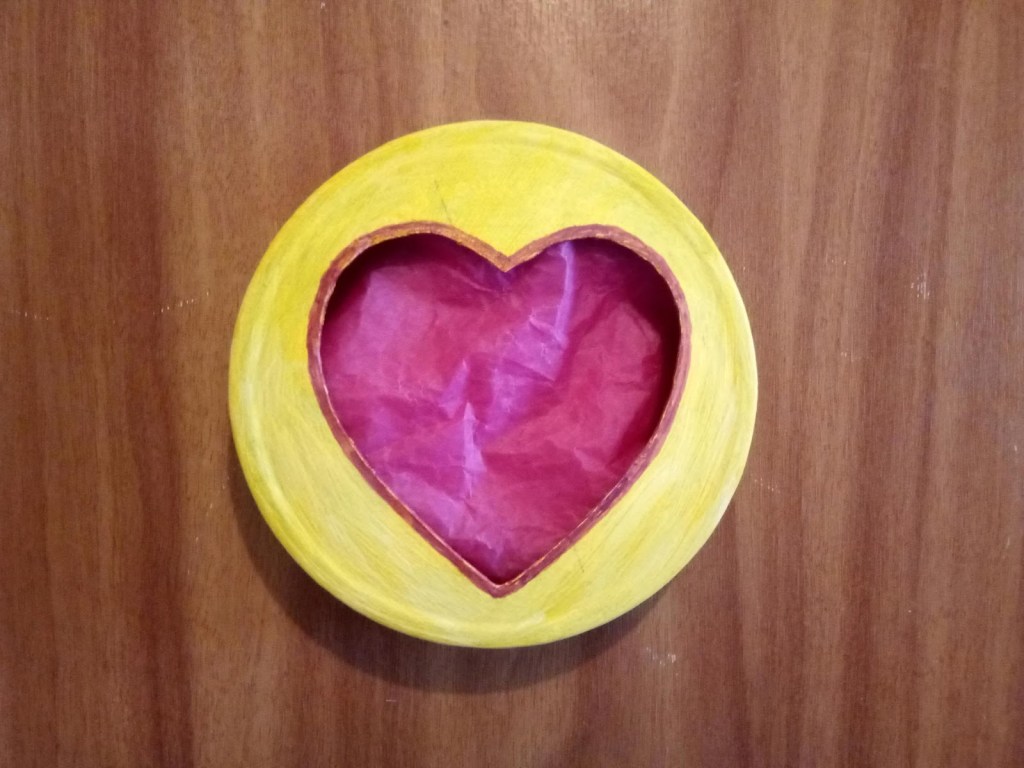
When the treats are taken out and the tissue paper is removed, your special personal message is revealed!
I really hope you enjoyed this cute Valentine’s Day upcycling project! ❤️ Once you’ve finished with the box, why not try popping a photograph inside it and hanging it on the wall as a photo frame
Happy crafting and happy upcycling!
Suzanne